Theatre Project, part 3 – Stonemasonry Heritage

This is the last part of Nightjar’s series on her work with a local theatre company’s most recent play. I’ve enjoyed this series immensely. Nightjar has carefully chosen photographs that bring the play to life even for those of us who were not able to attend and her processing in antique tones lends an authentic feel to the material. I think she’s done an outstanding job helping to bring the script to life and I have no doubt that the troupe will call on her again. Thank you so much for sharing, Nightjar.

In the last part of the series Nightjar has focused in closely on the beautiful details of life that we see, but don’t see, everyday. I’ll let Nightjar explain.
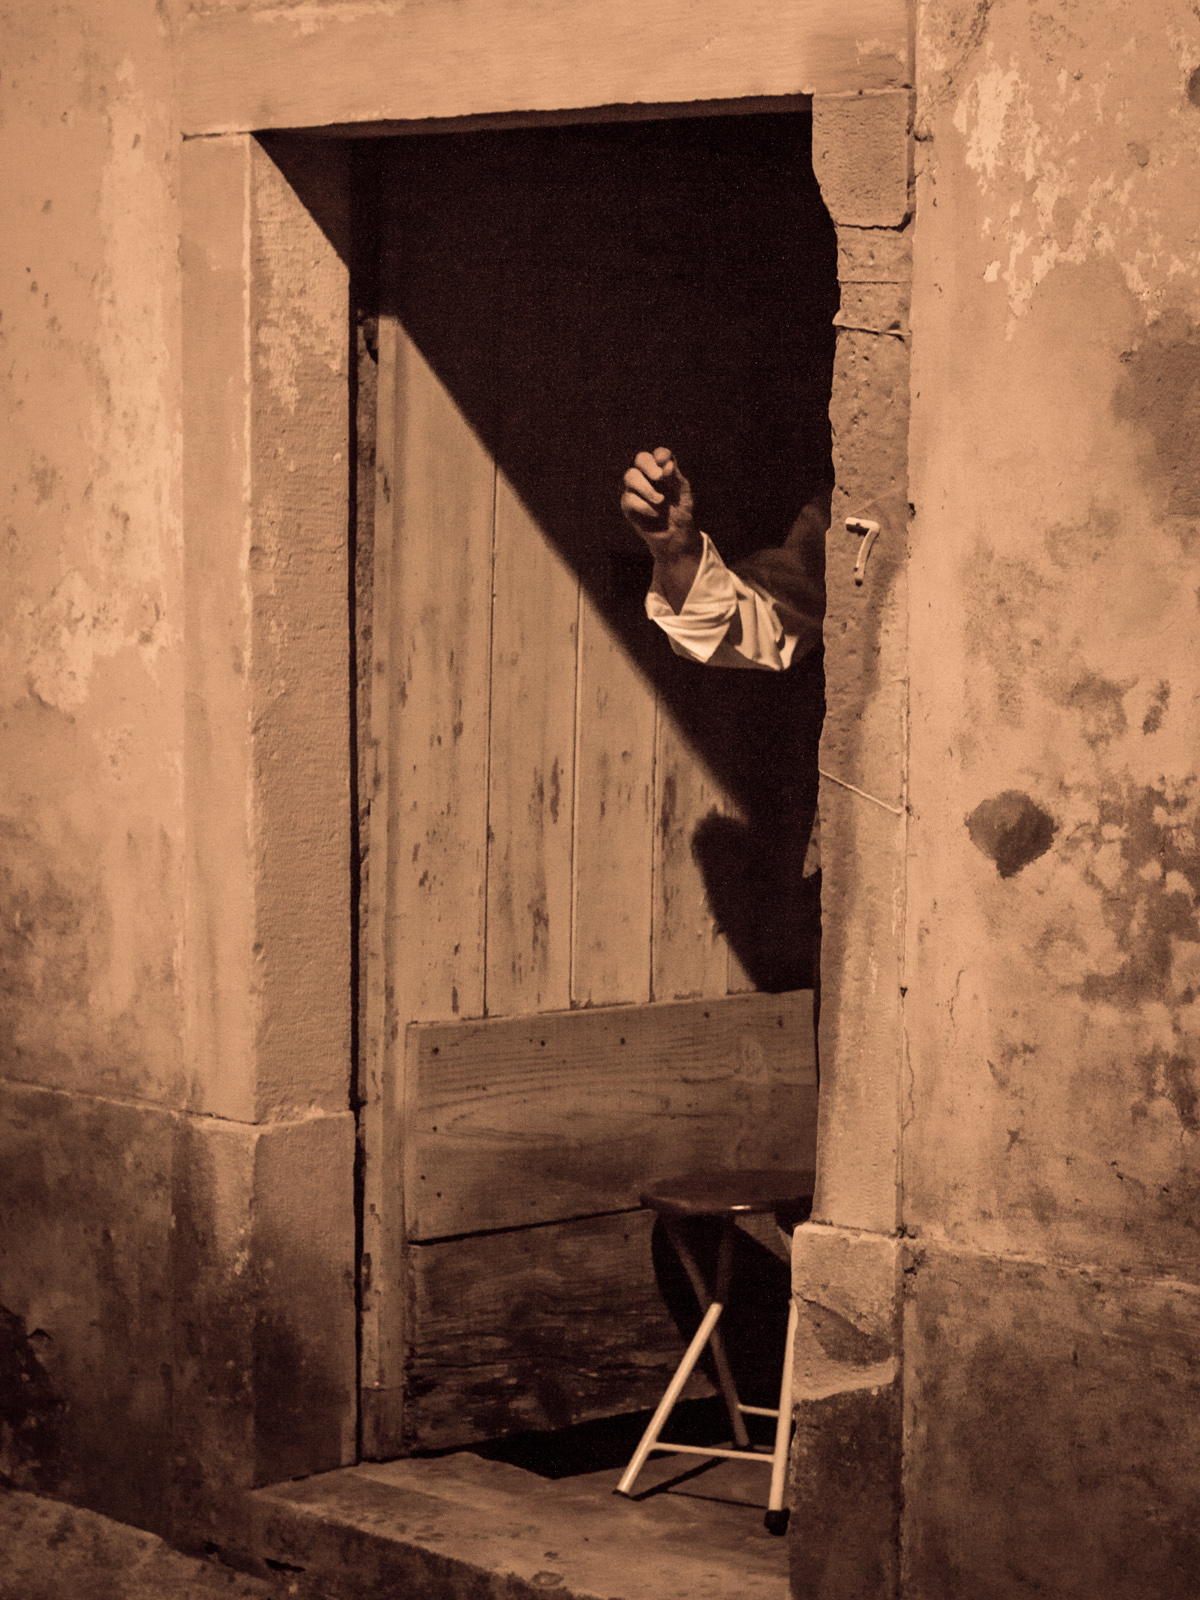
 

photo 1, ©Nightjar, all rights reserved

For the last part of this series I selected another of my favourite scenes. This may actually be my favourite part of the whole play. The audience is just strolling along one of the main streets in the center of the village when suddenly they hear the sound of a handbell. That makes them stop and notice it’s coming from the door of an old abandoned house. Sure enough, there’s someone in there.


Photo 2, ©Nightjar, all rights reserved

It’s a stonemason, carrying his set of tools. He has questions. What’s a window? Could it be more than just a hole in the wall to let air and light in?
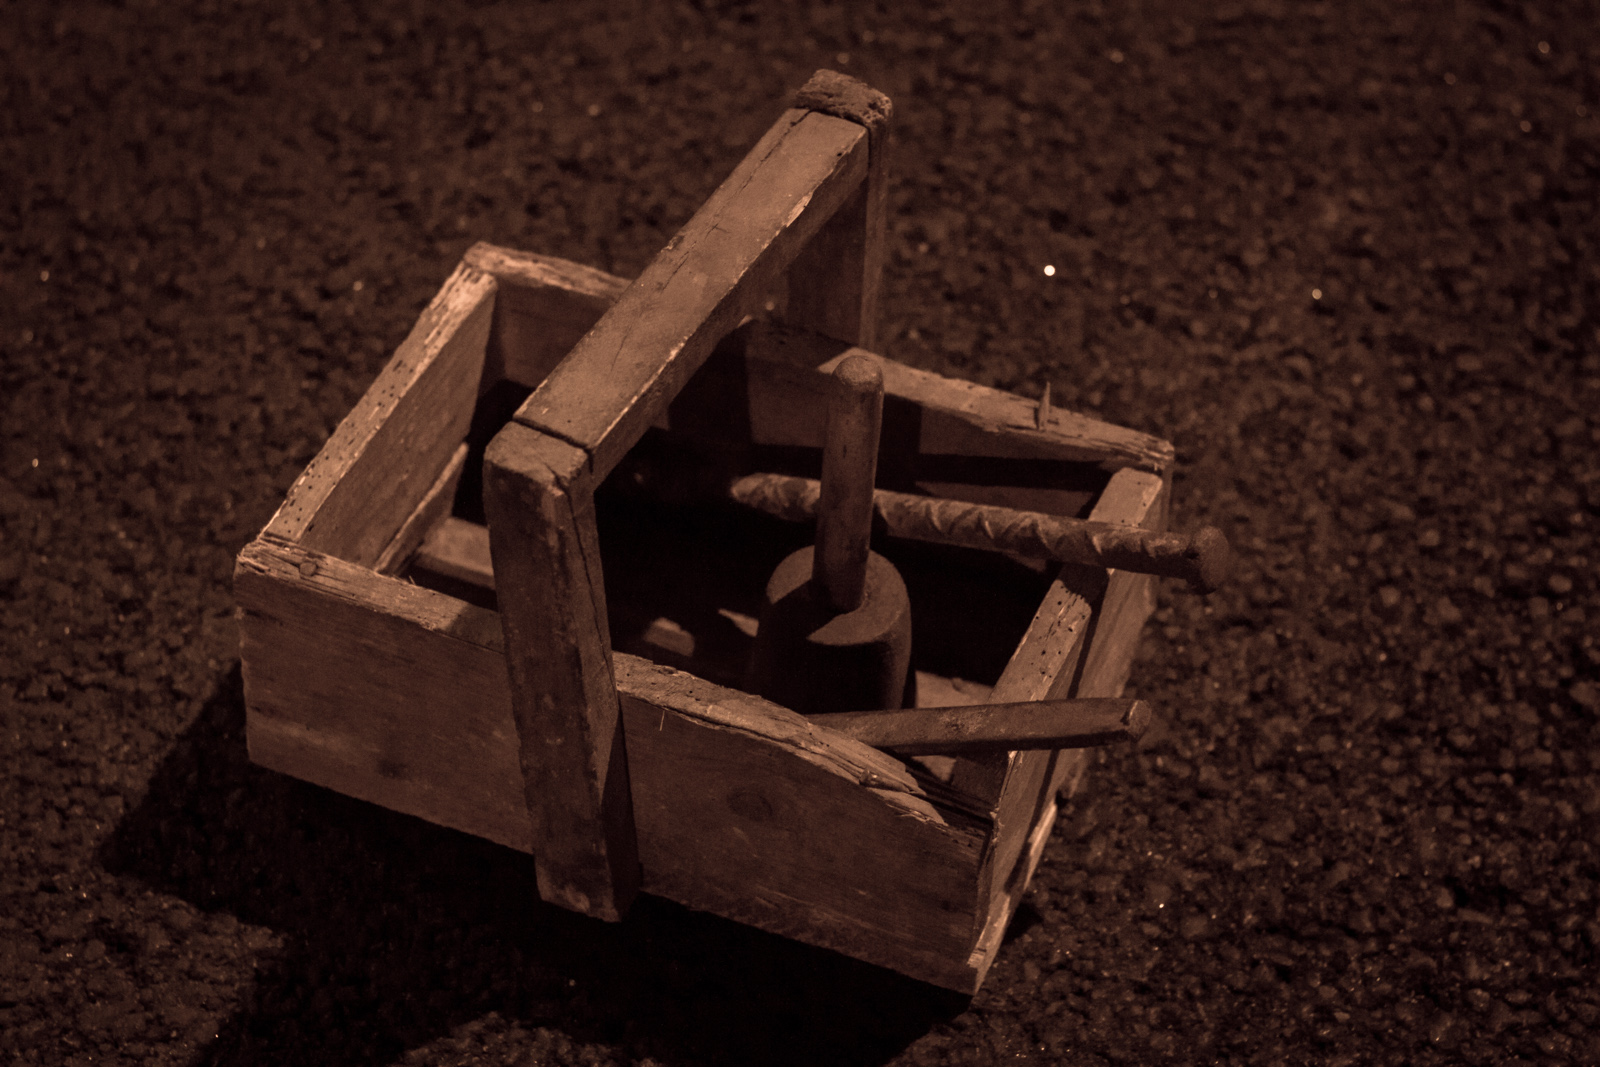
 

Photo 3, ©Nightjar, all rights reserved

We are a limestone region and stonemasonry is an old tradition. That doorjamb you see in the first photo was sculpted with these tools. There’s a diary in the tool basket, the diary of a stonemason. He picks it up and goes inside the house, leaving the tools near the audience.

Photo 4, ©Nightjar, all rights reserved

The audience’s attention is drawn to the house’s first floor and to its beautifully crafted window. That’s the work of a talented stonemason without a doubt. The man reads a piece of his diary from there. He has a few thoughts to share on what windows mean to him.

A lot of people later admitted to us that they had never looked up to notice that window. And that the answer to the question they started with (see Part 1) was indeed “yes”: this place could still surprise and move them.

And that’s it for now. I enjoyed this exercise in non-nature photography a lot more than I expected.

Outdoor Theatre Project, part 2 – Streets, Houses, Families

I really like the idea of outdoor theatre where the audience moves from scene to scene and becomes a part of the play itself. In part 2 of the series, Nightjar’s photos are done in black, white and sepia tones and have an antiquated feel to them in keeping with the play. I’ll let Nightjar explain the artistic choices behind each photo:


Photo 1, ©Nightjar, all rights reserved

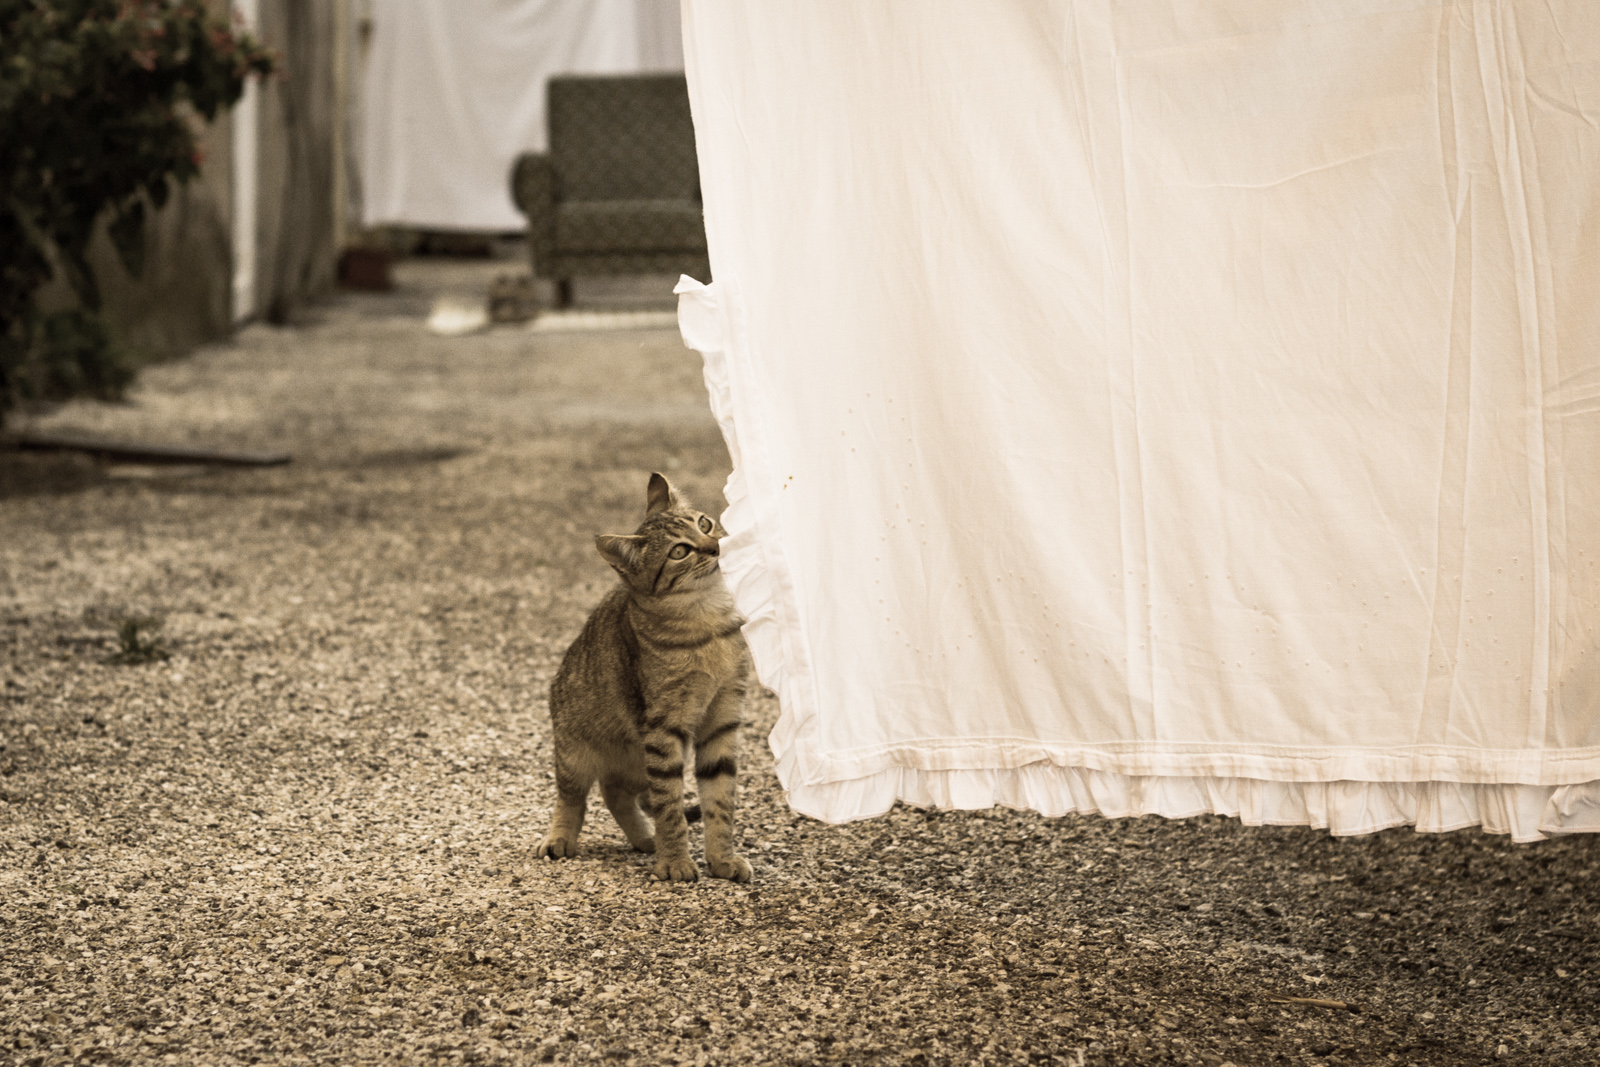
This is one of the most dynamic and beautiful scenes and took place in an old and narrow street filled with props, although the public can’t see everything right away because of all the hanged clothes blocking their vision.


photo 2, ©Nightjar, all rights reserved

White clothes and wooden clothespins gave the street a properly antique look. Plastic just wouldn’t have worked.


photo 3, ©Nightjar, all rights reserved

Not an actor and not part of the crew. Originally. I took this photo before one of the rehearsals, and I was convinced the public would scare the cats away. That was not the case. They even showed up in my recording of this scene, running along in front of the actress. Well, the scene is about houses and streets, I guess the cats concluded it could be about them as well.


photo 4, ©Nightjar, all rights reserved

Near the end of the street things get a bit more personal as you can see. Families are remembered and everyone gets a good laugh when we get to a list of family nicknames. Me, I am somehow still from the “pinenuts” family. I do not however belong to the “vinegars”, “onions” or “garlics”, definitely not to the “howevers”, “glories” or “fourteens”. I will admit to a bit of “turnip” blood and the “mouths” are still my distant cousins. I think for most of these silly nicknames no one has any idea how they came about, just that they have passed from generation to generation and when put together whole sentences can be made out of them.


Tree Tuesday

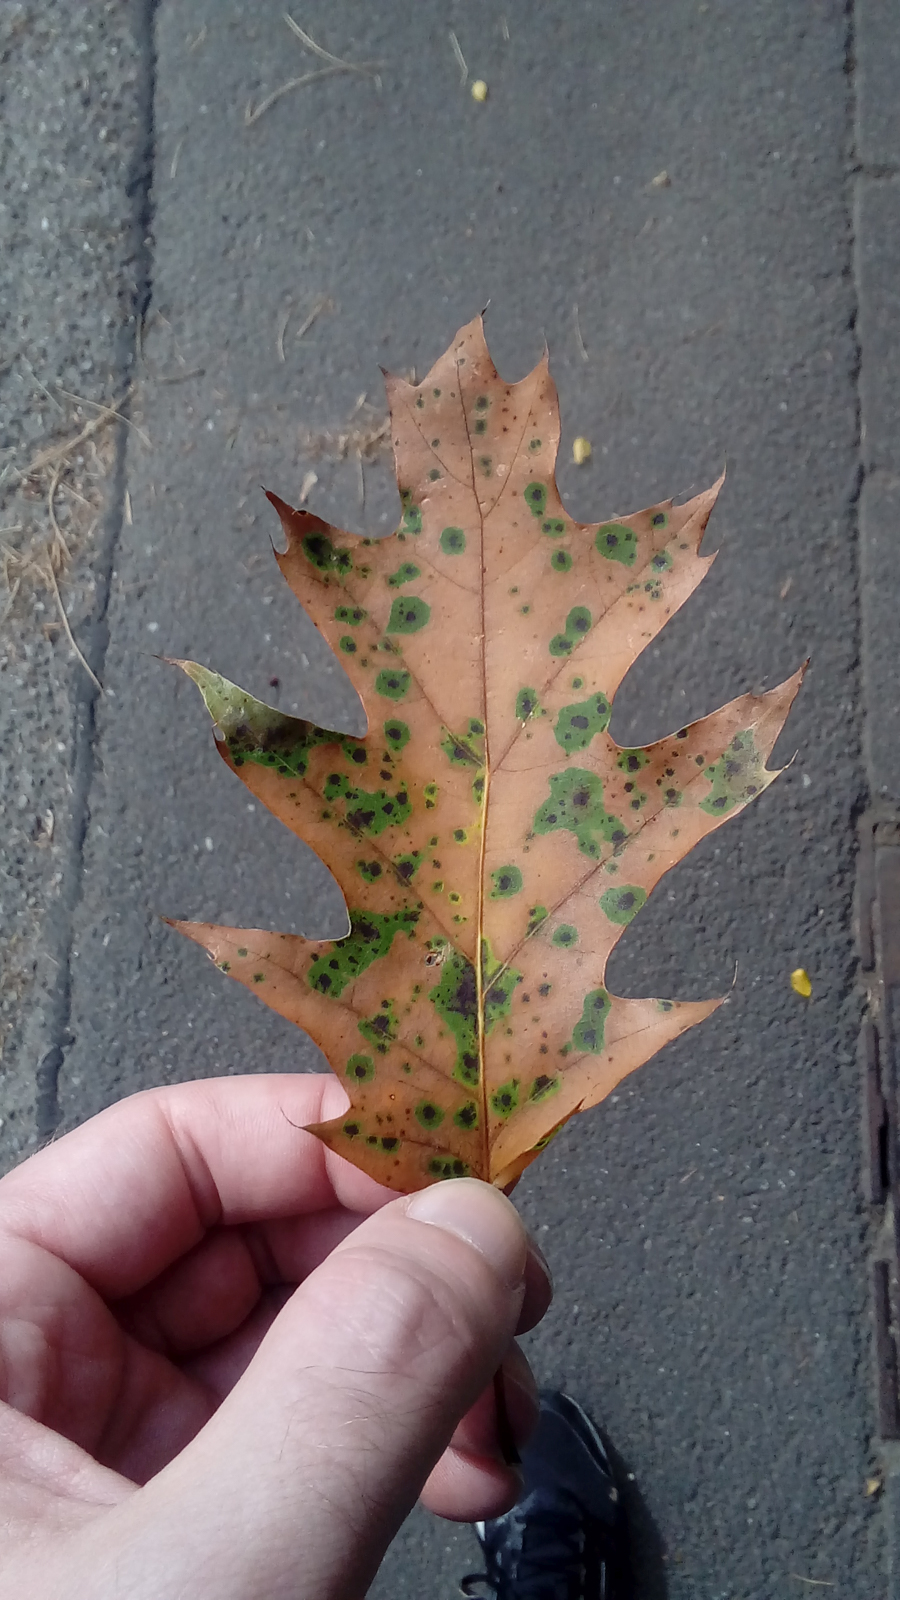
This week we have an autumn oak tree in its fieriest colours from Avalus. I love how bright the colours look against the grayish sky, almost as if the leaves are lit from within. The single oak leaf that follows, though, is seriously trippy. It’s instructions seem to read 1) lose all green colour 2) fall to the ground 3) get a fungal infection and 4) turn green again…in artistic little blobs. Thanks, Avalus, for this very interesting share.


Fall Oak, ©Avalus, all rights reserved

Fall oak leaf, ©Avalus, all rights reserved

Making Kitchen Knives – Part 7 – Assembly and Finishing

After leaving the handle scales in the ammonia overnight, I took them out the next day,  washed them in running water and quickly dried them. First by letting them for an hour above the stove in my workshop and when they were nearly dry, heating them carefully in 10 sec intervals in the microwave until there was no steam coming out. I do not count this time into the manufacturing time, because I have been doing it this way only to be able to proceed quickly and get the knife done this weekend. Normally I would let it  dry by itself.

©Charly, all rights reserved. Click for full size.

When dried, the scales had to be fitted to the handle – that is done by carefully sanding the faces that are glued on the tang on a flat stone as long as it takes to get them nicely flat. Then I screwed the handle scales without the blade together again and sanded and polished the two forward facing facets, because once the scales are on the tang, nothing can be done about them.

As far as the metal goes, I cleaned most of the scale from the tang with 80 grit sandpaper and then I cut two pins from 6 mm brass rod, hammered them through the holes in the tang and tried whether the whole assembly fits together without unseemly gaps. I was prepared to eventually sand a bit here and there, but it was not necessary, it fitted nicely. So I slathered generous amount of quick drying epoxy cement on all adjoining surfaces and squeezed the whole assembly gently in the vice. I cleaned the epoxy that got squeezed out, first by scraping of the excess with a piece of wood and second by washing the blade with paper towel soaked in alcohol. A piece of epoxy on the back and belly of the handle are not a problem, since those areas will be sanded anyway, but a real care must be taken in cleaning the blade and the forward facing facets of the scales thoroughly, because again, any mistake there cannot be easily corrected.

©Charly, all rights reserved. Click for full size.

The epoxy that I was using was hardening quicker than I was happy with, but our local Baumarkt has “optimized” its wares selection a few years ago and they are only selling quick-setting epoxies now and I will probably have to order some slowly setting epoxies over the internet. I got lucky and I managed to get everything important clean before the glue set, but it was a race with time. That means I could not make any pictures of that process, so what you see is status just before applying the glue.

After the epoxy has hardened – in this case about 15 minutes later – I have made final shaping and polishing of the handle. I did not go above 150 grit sandpaper though, because that would be a waste of time with this wood.

Because the used wood was extremely porous, I had to stabilize it. Marcus has already mentioned the recent fad in knifemaking that consists of infusing the wood with resin. That would be ideal here.

©Charly, all rights reserved. Click for full size.

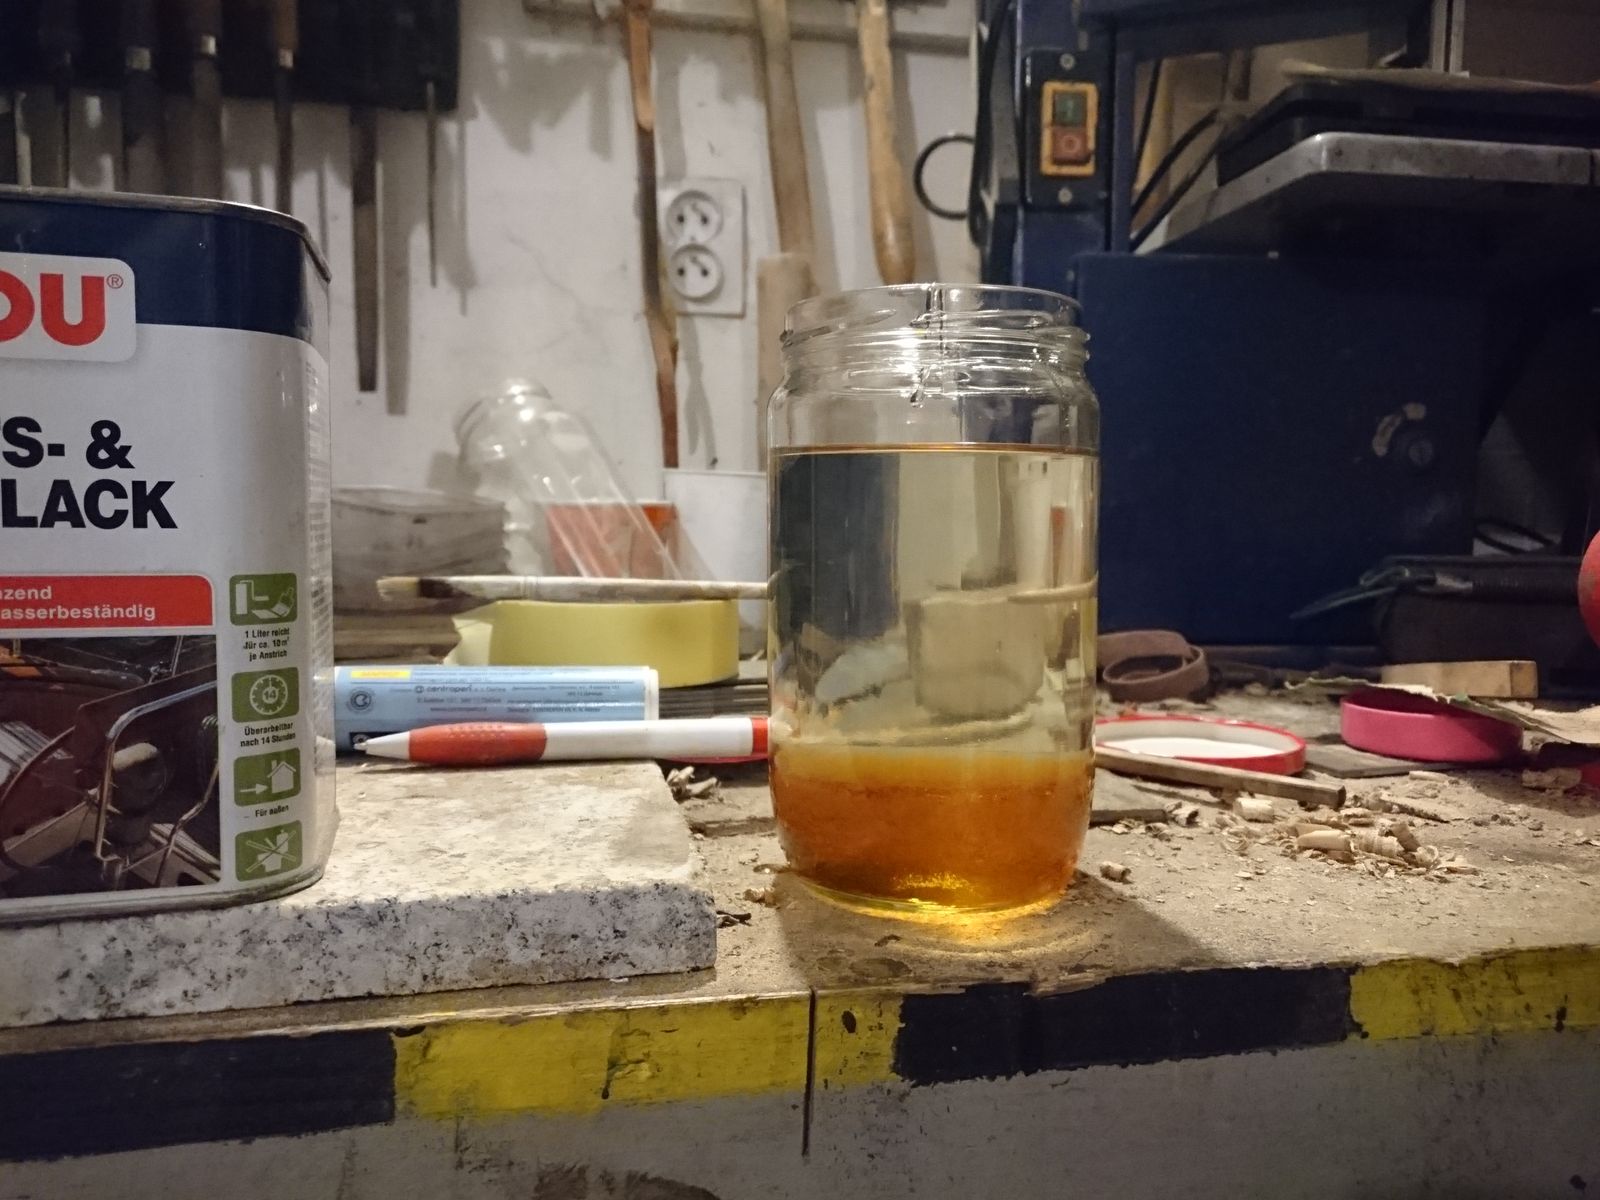
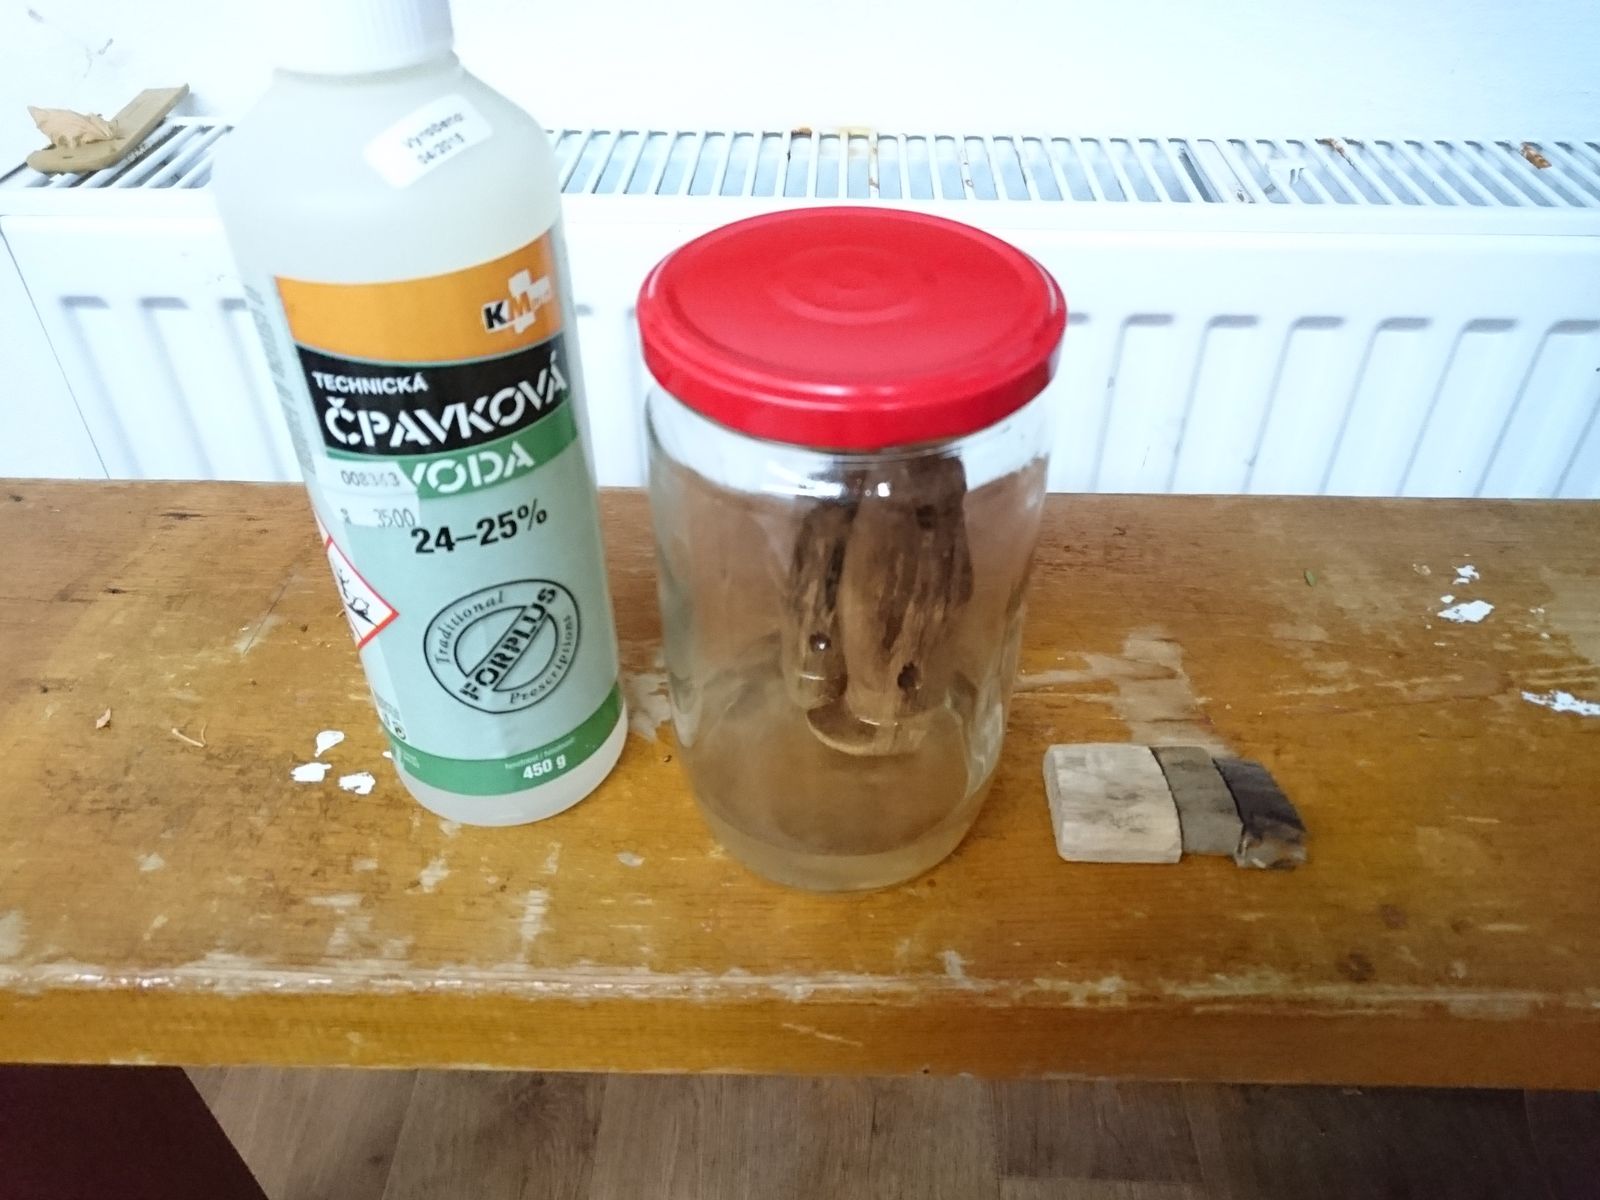
Well, I lack the equipment to do that. But I wanted at least somewhat stabilise the wood even so. And I wanted to use the same finish that I have used on my mother’s knife, because it has proven itself to be very resistant. So I took the boat varnish and diluted it with acetone at a ratio approximately 1:4. You can see on the picture that the undiluted varnish is a lot thicker than acetone and it has sunk to the bottom of the jam-jar. However after mixing it did not separate again for a few days by now.

For the first dip I have put the handle in the heavily diluted varnish and I waited approximately 20 minutes until no visible bubbles were rising. Ideally It would be better to do this in a vaccuum-chamber, but acetone is very good wetting agent and this should be enough for at least a few mm penetration. After that I took the handle out and cleaned any varnish from the blade immediately with acetone. Then I have let it dry in a dust-free and well heated room. All that is left now is this week each evening after returning from work giving the handle a slight polishing with 150 or 180 grit sandpaper, dipping, cleaning, leaving it dry again until I am satisfied with the surface. I am not going to measure this time exactly because it is scattered a few minutes each evening over a few days. Lets say it is 30 minutes overall, including final signing of the blade.

©Charly, all rights reserved. Click for full size.

That makes it 1:30 or 90 minutes for all of the work described here. That also makes the knife done for the purpose of measuring the time of my actual manufacturing process, so next time we can look at the data and look what (if) can be done there to make it more efficient.

An Invitation to Walk and Dance

Nightjar was recently responsible for taking the photographs of a play put on by a local theatre group. The pictures are a departure from Nightjar’s usual style of photography and I think they’re fabulous. They’re storytelling photos that give a real sense of the mood and setting for the play. We’ll be sharing them over the next 3 days and I know you’ll enjoy them, too. I’ll let Nightjar take it from here:

As you may know I was recently responsible for the photography of a theatre play created by the local amateur theatre group. I will not be sharing photos of the actors, but I’ve selected 12 other photos to give you all a taste of what it was like! I divided them in three parts and added some context. I hope you enjoy!


Part 1 – An Invite to Walk and to Dance

The play starts in the village’s fountain with a short scene where the public is invited to walk along streets they walk along everyday. The actress is barefoot through most of the scene and walks the shoes you see here with her hands. She introduces five guides and tells the audience which one to follow. Each group will walk down a different path, but they will all see the same scenes (just in a different order). Before leaving the public is left with a question… can this familiar place still surprise or move us?

(photo 1)  ©Nightjar, all rights reserved

[Read more…]

Making Kitchen Knives – Part 6 – Basic Shaping of the Handle

I have decided to make the handle on this knife from an old piece of wood I have cut from a palette that stood outside for quite a while. I do not know what wood it is, I suspect birch. It is extremely weathered and looks kinda crap. But there is a trick to make such old wood look very fancy.

©Charly, all rights reserved. Click for full size.

©Charly, all rights reserved. Click for full size.

I have done most of the work per hand, first splitting the piece of wood along the visible crack, then cutting it with small hand-held saw to very roughly the final shape and drilling the holes for pins. So far this work was pretty uneventful and straightforward.

As you can see on the picture on the right, I have fixed the two halves with screws to make the final shaping. This is where things stopped being uneventful. The wood was not overly hard, but it was very tough and I could not shape it on the big belt sander because that is running too fast and the wood tended to gum up the belt and burn. So I have been stuck with using handheld tools. I thought that it is not a problem because I expected to do it quickly even so.

I was wrong. It took me 1:50, or 110 minutes, to get the handle scales into a nearly finished shape. I should have used my small belt sander, it has slower running belt and is better suited for wood.

Of course it would not be nearly as long work if I have made ordinary rectangular handle and not this ergonomically shaped one. However I consider the handle shape to be an important, even defining, component of this design. Simplifying the handle shape in the name of saving time would in my opinion strip the product of its uniqueness and I see no point in hand-made completely generic knives.

I think that I could reduce this work significantly by working on multiple knives at once, cutting the outlines with band saw and rough shaping with the small belt sander. Due to confined space in my workshop I need some time for setting those two devices up so it is not always worth for a one-off action. But should I prepare say 20 handle scales in one go, It would certainly be worth it.

©Charly, all rights reserved. Click for full size.

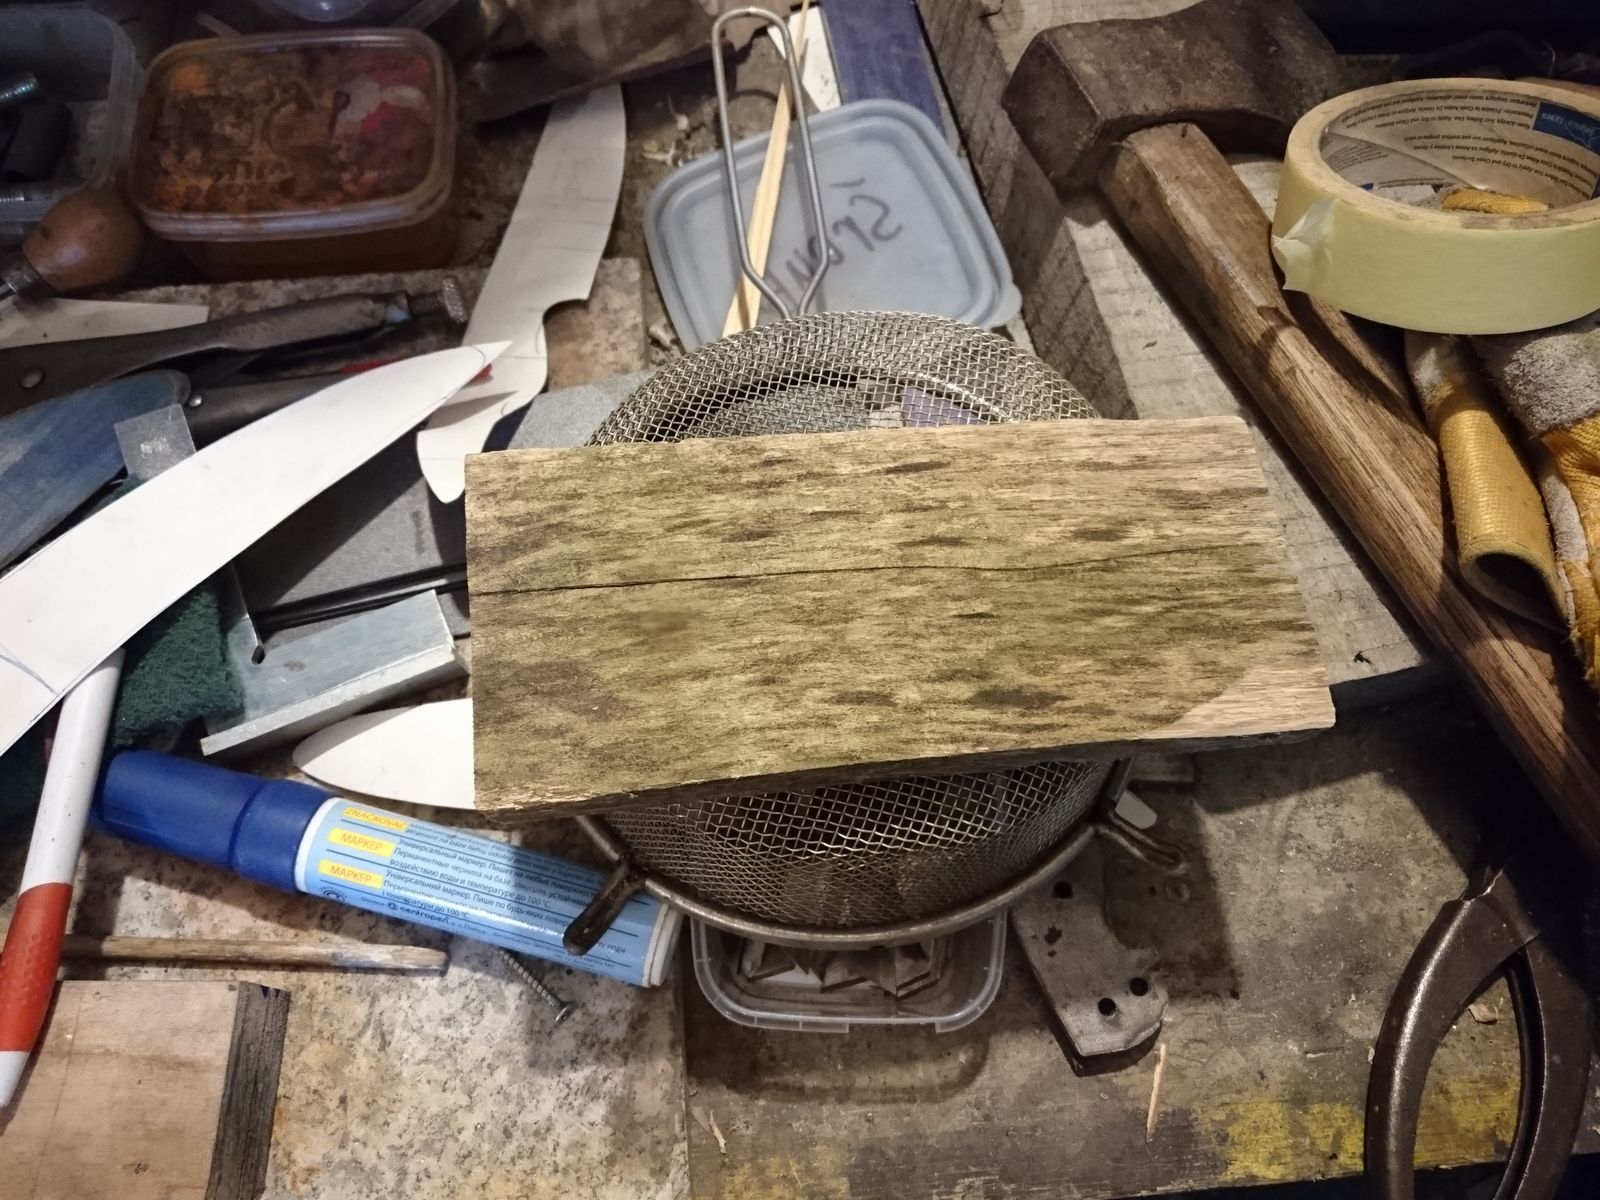
Before proceeding to finishing the handle I had to use my magic trick to improve the looks of the wood. That trick is called “ammonia fuming” and consists of putting the scales into a big jam-jar with a bit of ammonia solution and leave them in it overnight of for a few days, depending on what your goal is – the longer the wood is in the ammonia, the darker it will become.

In this specific instance I have left the wood sit directly in the ammonia solution, letting it to soak it up. It is also possible for example to only let the wood above the solution in the fumes (hence the name).

I have experimented in the past with multiple solution treatments and I have at my disposal a few such processes to alter the wood to warying degrees – from mild color change to actually making the wood compacted and a lot harder. The advantage of these methods over staining the wood with a dye is that the color change goes deep into the wood so it does not get scratched off. It also looks a lot more natural in my opinion.

However, to wrap up, this step took more time than I expected it to, but I think I can put it in “low hanging fruit” basket, because I expect working in bulk should reduce time here significantly and I already have the machinery necessary for that.

Slavic Saturday

I was actually thinking whether this would be better suited here or in the “Behind the Iron Curtain” series and I decided for putting it here.

Former Czechoslovak Socialist Republic has had a great tradition of stop-motion capture movies and one of its pinnacles was a series of short stories for children that was so succesful that it runs until today. The series started the same year I was born, and one of my favourite episodes “Tapety” (Wallpapers) is just three years younger. The series was originally named “A je to!” (It’s done!) and was aired in the evenings as a bed-time story for children.

You can enjoy this series no matter your native language since there are exactly zero words spoken. If you spend bing watching multiple episodes, feel free to blame me.

You live, you learn…

Well, my latest resin project didn’t go that well. I wanted to created little snowglobes using wooden deco elements. The idea was to pour the lower half of the moulds, wait some time until the pot time is over, push the elements into the resin, let cure, add the top half, add a wooden base, be happy.

Assorted wood deco

©Giliell, all rights reserved

As you can imagine, reality had other plans. First of all the resin was still too soft to hold up the deco elements. The right moment would probably have been 5 minutes in the middle of the night.

I tried to stabilize them with bamboo skewers, but it was less than optimal.

half poured resin

©Giliell, all rights reserved

The next day I added the top half. The hole is pretty small so I needed a syringe to put in the resin. Usually the two half separated a few times during the process and were a pain to put together again.

First of all, that introduced way too much air, second of all, I added too much glitter.

The results are sad. Very sad.

failed snowglobes

©Giliell, all rights reserved

But I’m not giving up just yet. For the next trial I’ll do the following: I’ll cut off part of the top half so I get a bigger opening. I will then glue the halves together so they won’t separate. And I already glued the deco to the wooden platforms. I’ll pour the globes in one go (with less glitter) and then push in the elements and just let the base close the mould.


But in the meantime I had fun with the kids and my friends and we made many nice things.

Selection of resin objects

©Giliell, all rights reserved

My favourite one is the under water scenery, which I promptly turned into a necklace:

resin necklace with seashell and plants

©Giliell, all rights reserved

The plants are some fern which I collected and dried last week.

Glorious Shoes

Opus has sent us another colourful treat. This time it’s shoes and they are wonderful. It’s no secret that I love shoes, but I could never hope to have shoes quite this wonderful. They’re bright, bold and such interesting designs. Opus says,

More pictures, this time from Reykjavik.  Shooting through glass is tough, but I think they worked out well.  More of the sights that one sees when traveling with fabric artists.  I might never have noticed if not for them.

Well, Opus, I think traveling with fabric artists is definitely a good thing, but your camera skills are what makes it all come alive in photos. Thanks so much for sharing.

©Opus, all rights reserved

[Read more…]

Jack’s Walk


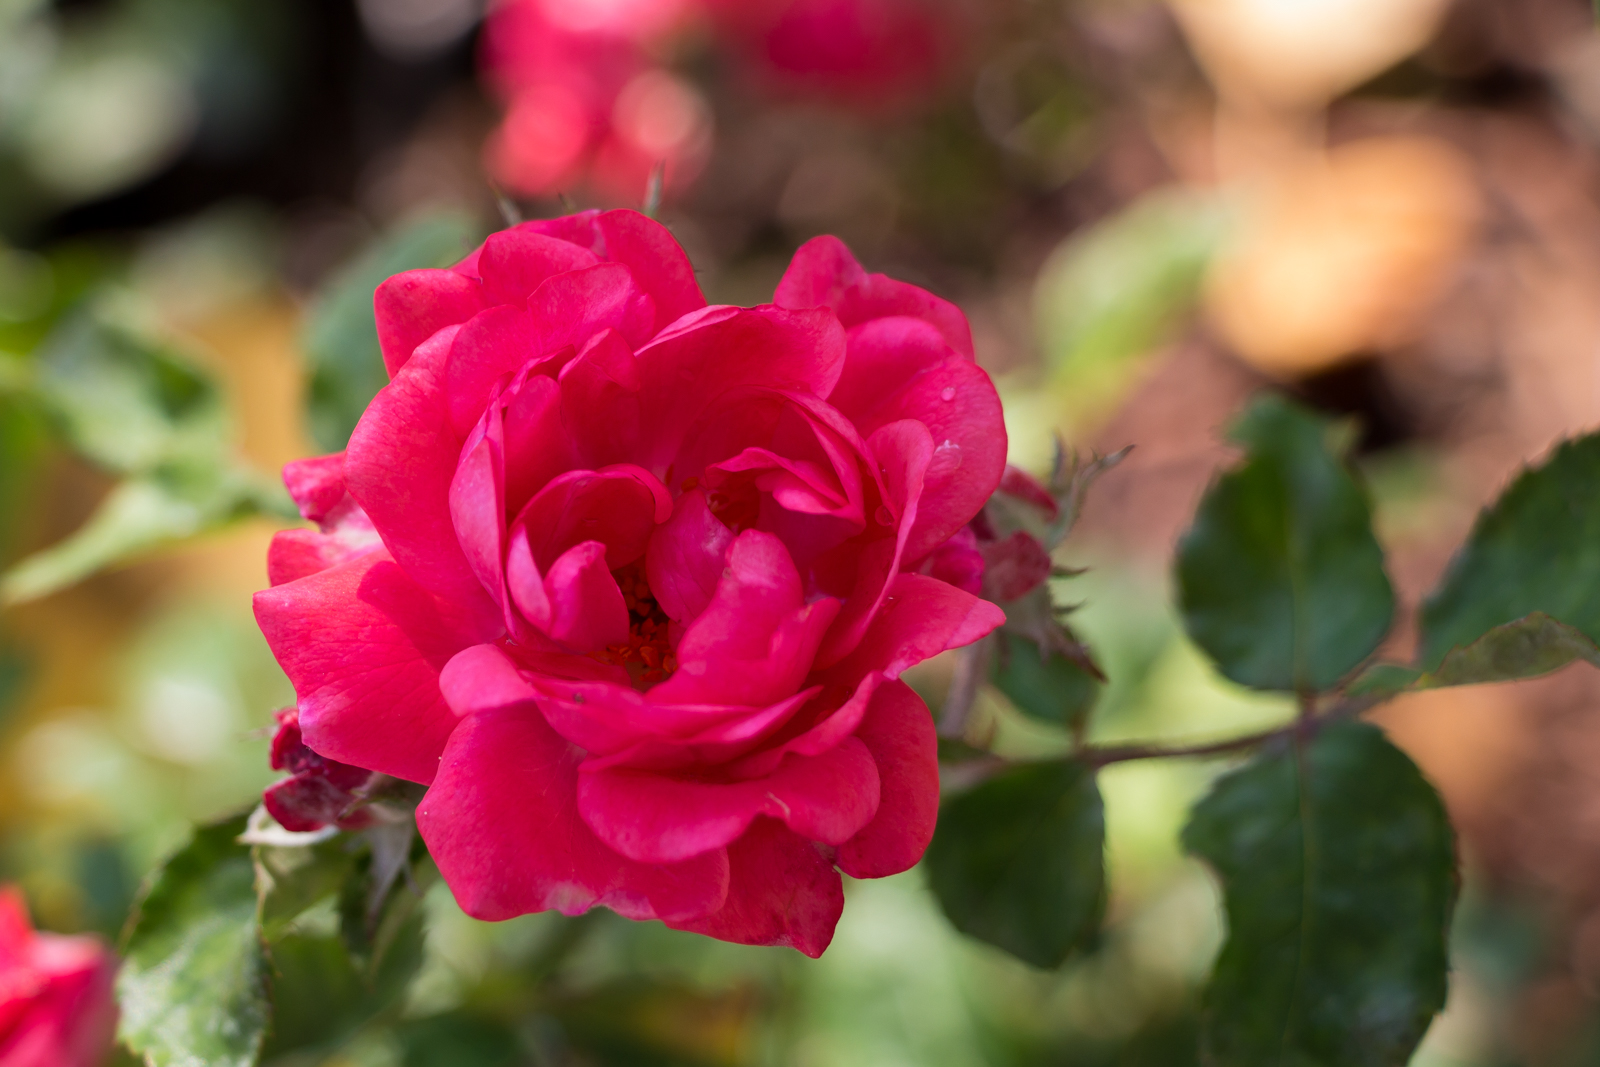
The last rose of October, ©voyager, all rights reserved

October roses are always a welcome sight, but this bright pink beauty is the last one left in my garden. There are no new buds left and the plant is getting ready to go to sleep for the winter. Sometimes I think it would be nice if I could sleep through winter. I have enough of a fat pad to survive hibernation for a few months and it might be nice to avoid the days upon days of darkness and cold. On the other hand, I would also miss Jack pouncing like a cat into snowbanks and making happy faces full of frost. Winter is Jack’s favourite season. He loves the cold and would stay outside for hours if only someone stayed with him. He has been known to crawl into the creek when it’s full of floating ice and drift downstream with a look close to ecstasy on his face. Jack’s fur is very seal-like. Only the outside hairs get wet and even when he’s been in the water for an hour the downy hairs below stay dry. He also has a bit of a fat pad and a big buoyant chest and, like all labs, his feet are webbed. The boy is built for swimming in the cold and he loves it.

Ah…that’s better. See what I did there? I just gave myself a reason to look forward to winter. I promise I’ll share pictures so you can have a reason to look forward to winter too.

Making Kitchen Knives – Part 5 – Grinding, Polishing, Buffing

I was expecting this to be the most time-consuming part and so far I was not surprised – it was. You have seen my collection of abrasive belts during my Rondel Dagger series. Because the protective coating has proved itself to be way too persistent, I had to start with the coarsest Zircon belt all over again – that is what I meant when saying that I could have spared myself the trouble I have spent with finer belts before hardening. I wanted to give this blade the best surface finish that I can achieve purely by using machinery, so I went thoroughly through all belts, not switching to a higher one unless all scratches from the previous one were removed. Although towards the end of the line with last two Trizact belts I was not too fussy about this, because those leave so fine scratches that whilst they are barely visible, but they will always be somewhat visible unless I go with hand polishing afterwards – and that I did not want to.

So when finished with the finest Trizact belt I went straight to the finest buffing compound and gave the blade a few passes on the buffing wheel.

An important note – this is a knife without secondary bevel, with so-called “convex grind”. That means that during the polishing process the blade is also sharpened to very nearly final stage. Therefore towards the end it becomes a bit dangerous to handle it, because it can actually become completely sharp in places. I do not know what process other knifemakers use for achieving this grind, I am doing it with the slackbelt/hardbelt setup on my belt grander, that way I can do it in one go during polishing. The knife will need some sharpening when finished, but not too much. I like this grind because in my experience it cuts best and also looks best – but your mileage might vary and there is no accounting for personal taste.

speaking of taste – one of my friends when I have shown him my mother’s knife thought that I have made the tip round either due to laziness or because I botched it and making a round tip is easier. If you have such thoughts, forget them. Making a round tip is not easier than making it pointy-stabby. And the round tip is entirely intentional. This time around I actually consulted with my mother what she prefers for this knife design and I discussed with her the work in progress when it still had a point, and we agreed that to us this knife looks better with a round tip. Further, there is no point in having a point on an all-purpose kitchen knife like this, since needing a sharp point is actually a rare occurrence (the only one that I remember from the top of my head is gutting fish and poultry, and even there an actual point is used only briefly).

©Charly, all rights reserved. Click for full size.

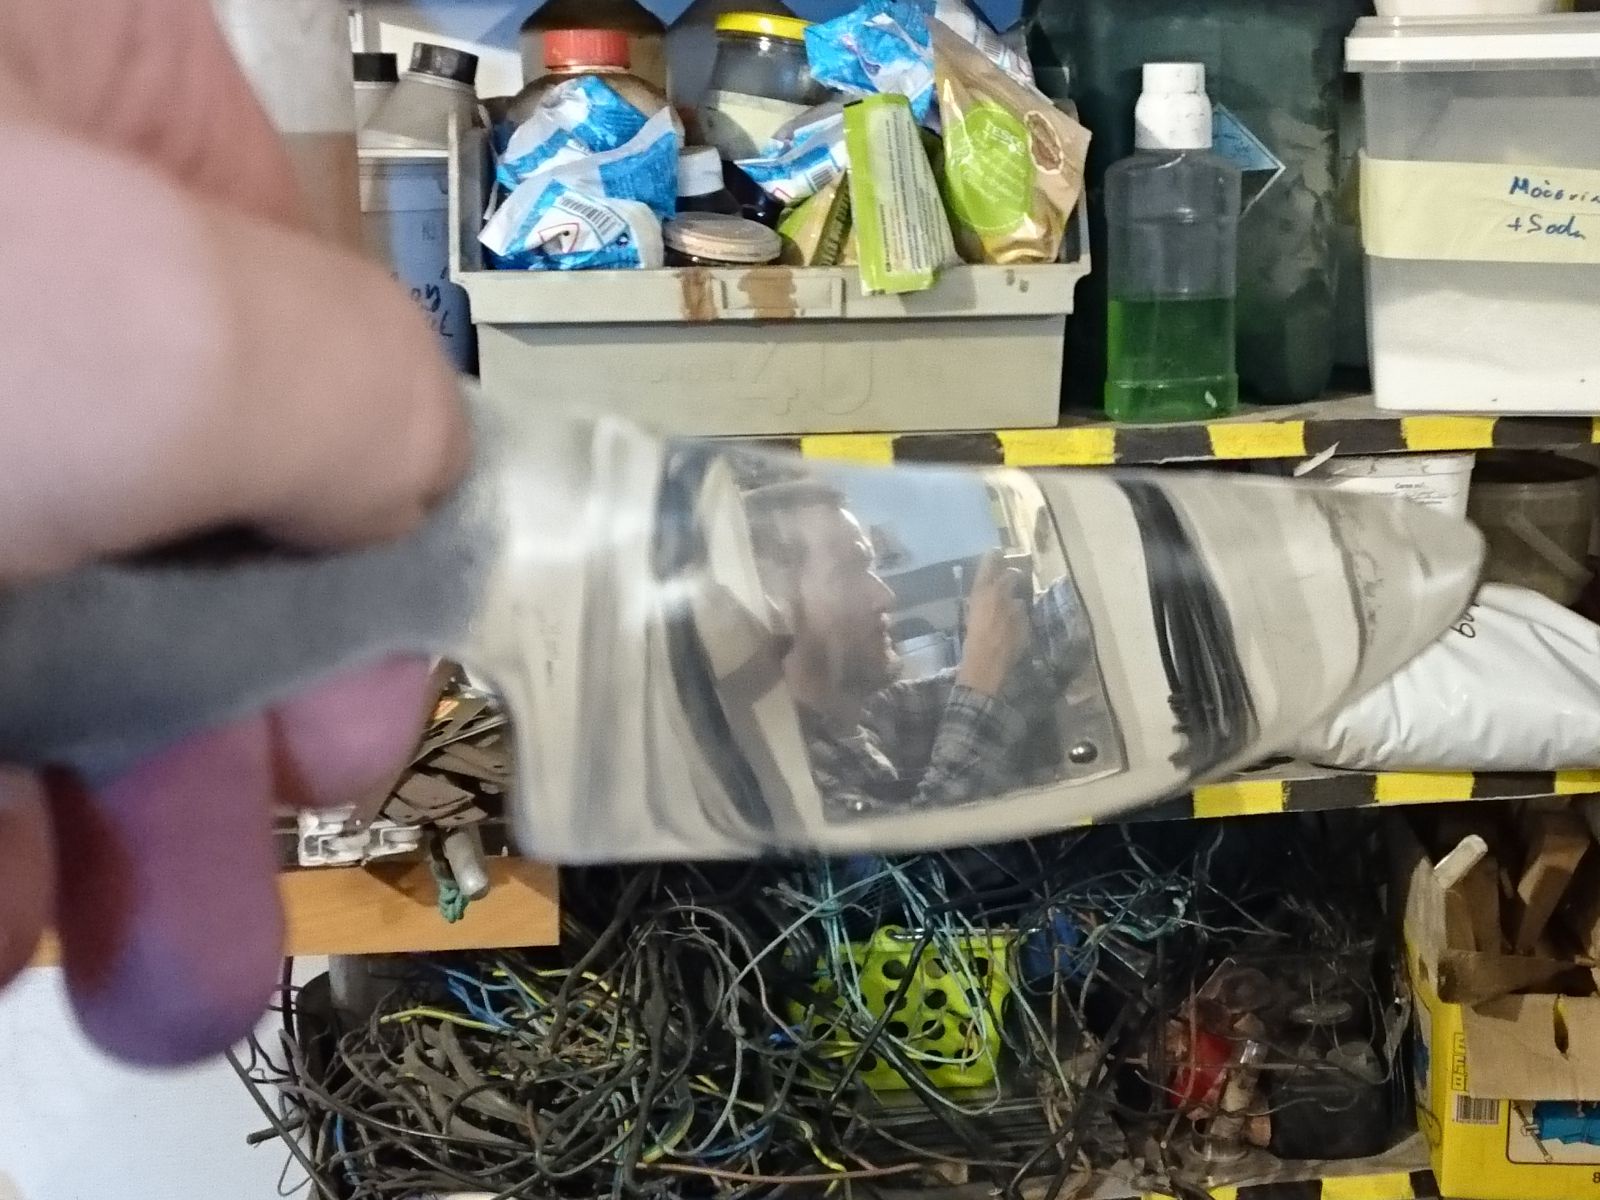
Enough rambling  Here you can see the blade before buffing to get a measure of how well the knife is polished after only Trizact belt grinding – after buffing it reflects a lot more.

That picture shows also that the grind is acceptably flat. The fact that the edges of the mirror on the wall are straight-ish and that my face is still recognizable despite being reflected back through a mirror 1,5 meter away is a good sign that the grind is flat.

However that comes at a non-trivial price. The whole grinding and polishing process took me 4:20 or 260 minutes. Buffing was mere 10 minutes from that. As I become more experienced this time will probably go down significantly, but some of that part of learning curve I have already done, so I do not think it will be too drastic. In order to shave-off a really significant amount of time here, I think I would have to either use completely different process (I have an idea there, but it will need a lot of MacGyvering), or be content with a less-than-mirror finish. So in next step I will experiment with different finishes and decide which is the best compromise between time spent versus looks. The problem with polishing is, that whilst it has zero negative impact on the function, it has 100% positive impact on the looks of the thing and negative on the price. And people are buying with their eyes but deciding with their wallets. Talk about contradictory requirements…

Tree Tuesday

A while back I recall a conversation in comments where rq mentioned that the trees dance when no-one is looking. Well, for this Tree Tuesday Lofty has found a tree that’s dancing when everyone is looking. Lofty says,

Another Eucalypt from my favourite bicycle riding area, it’s “doing the twist”!

That it is, Lofty. What a marvelous tree. Thanks for sharing.

Twistree ©Lofty, all rights reserved