I did not post on my Twitter account for a while, I had only two followers, and I got zero engagement anyway. I also could not figure out how to delete it since I logged in via Google and thus had no Twitter-specific password. Today, I invested a bit of time into how to get rid of it, and finally, I managed to do it.
I made a new account on Bluesky.
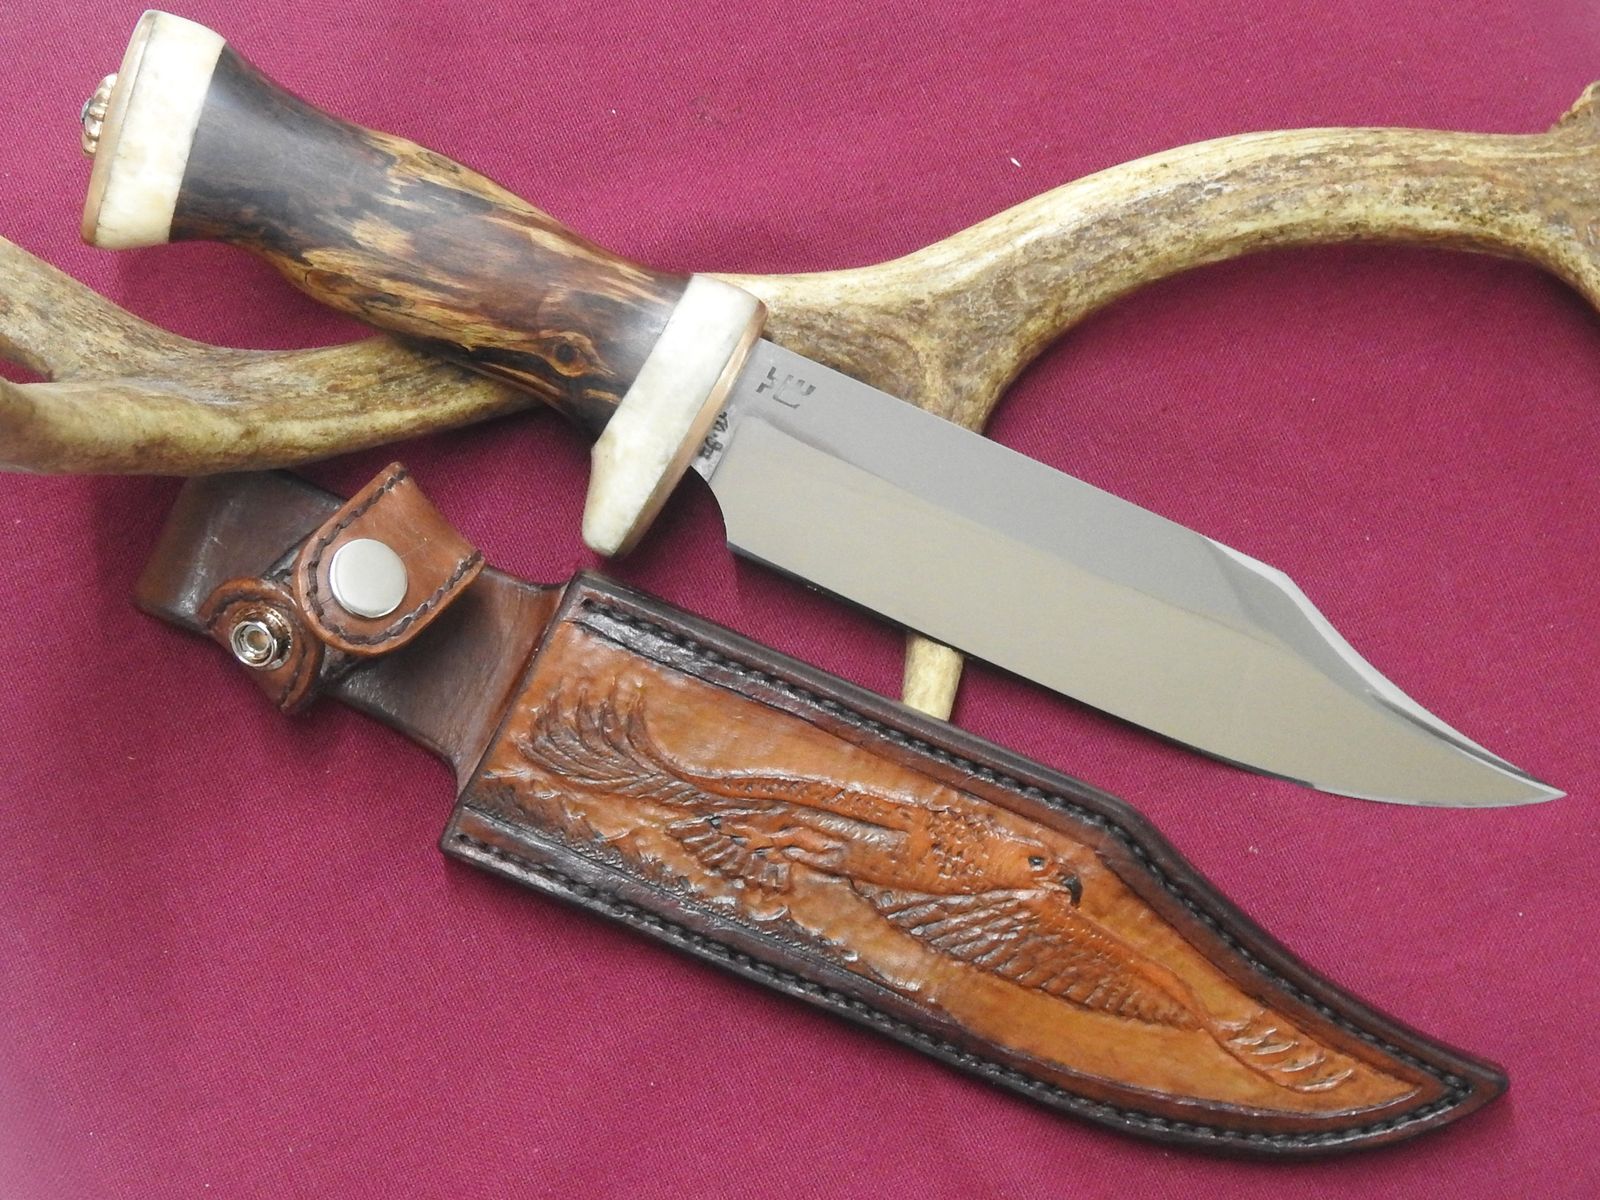
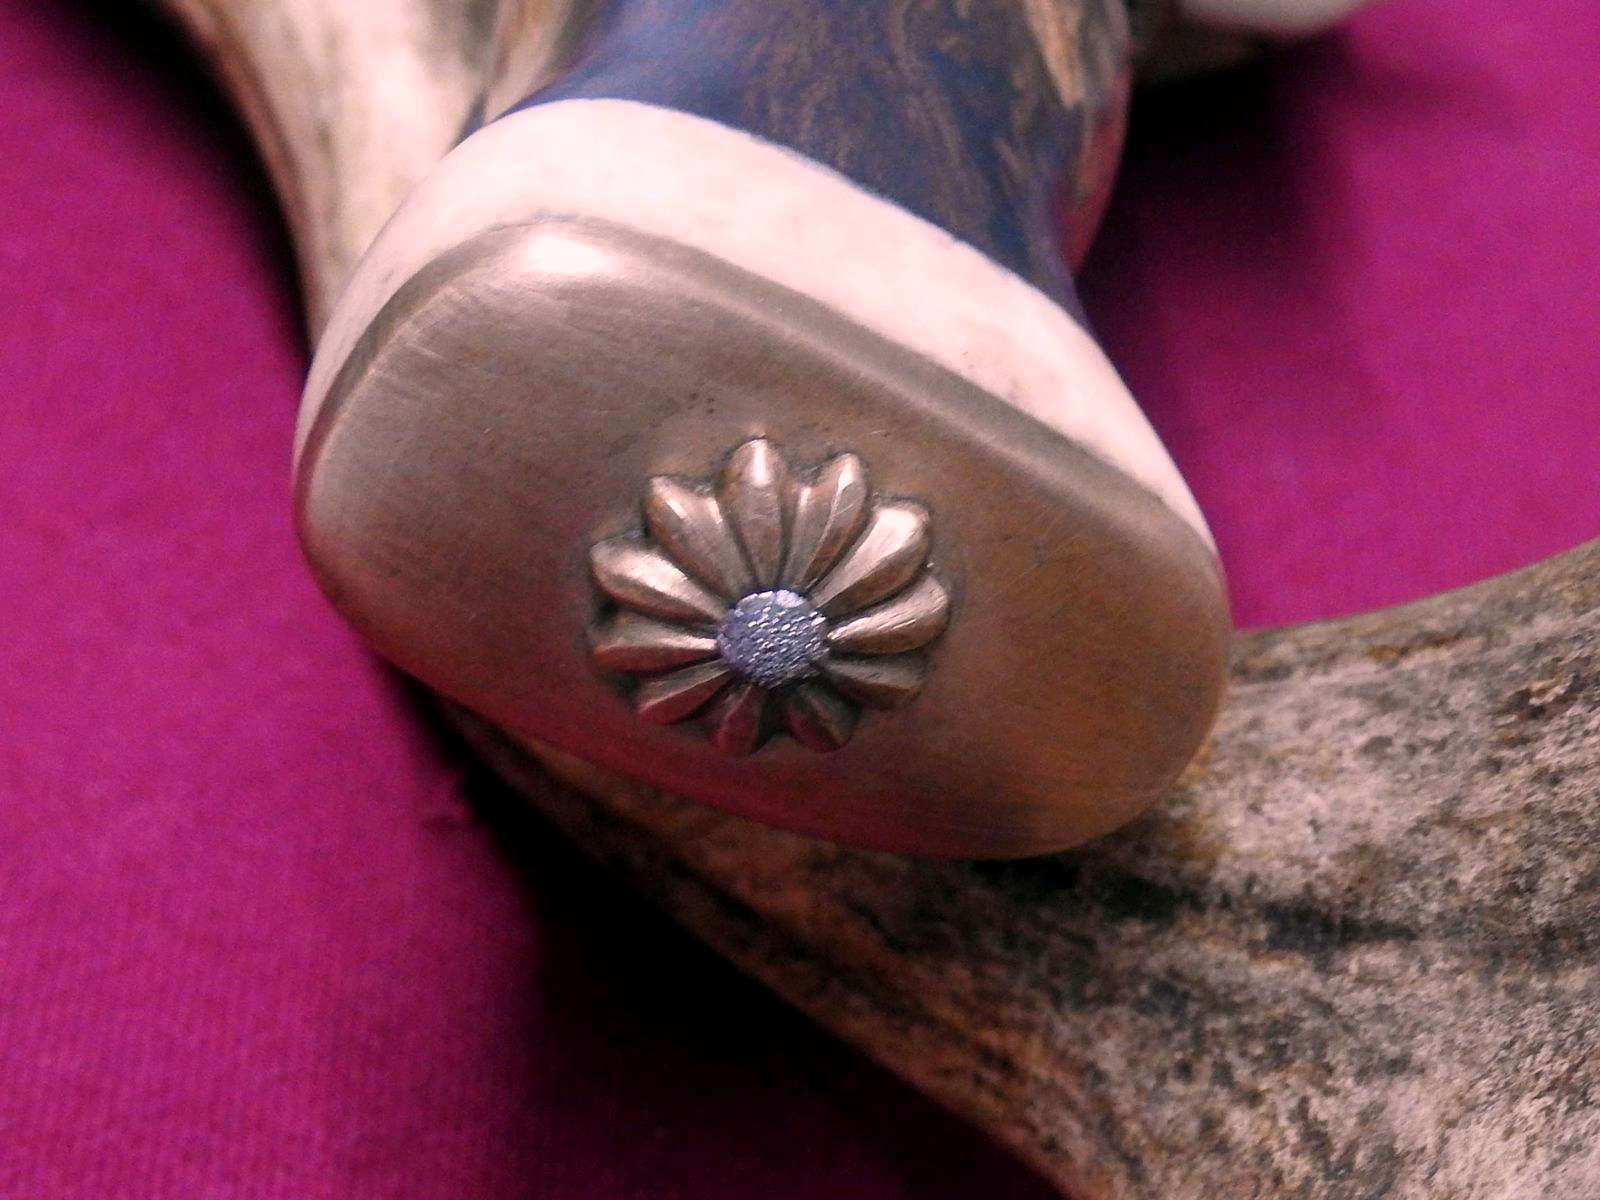
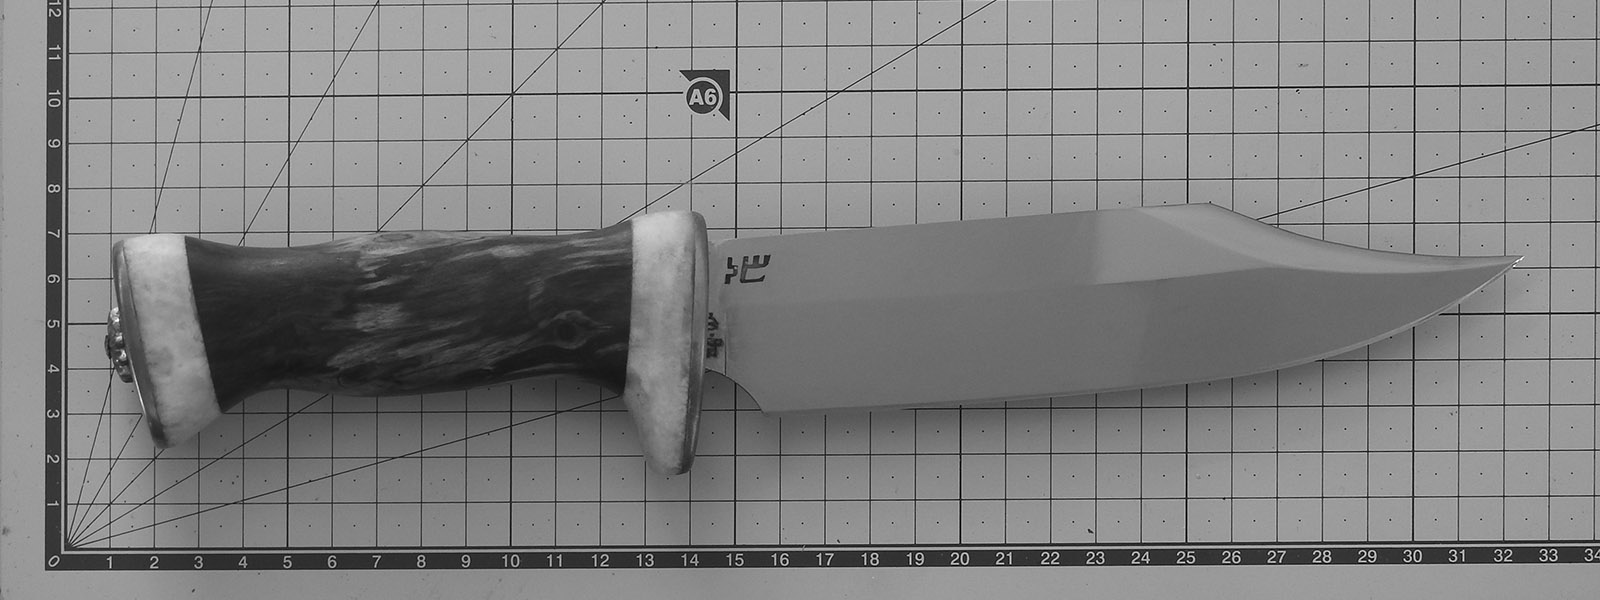
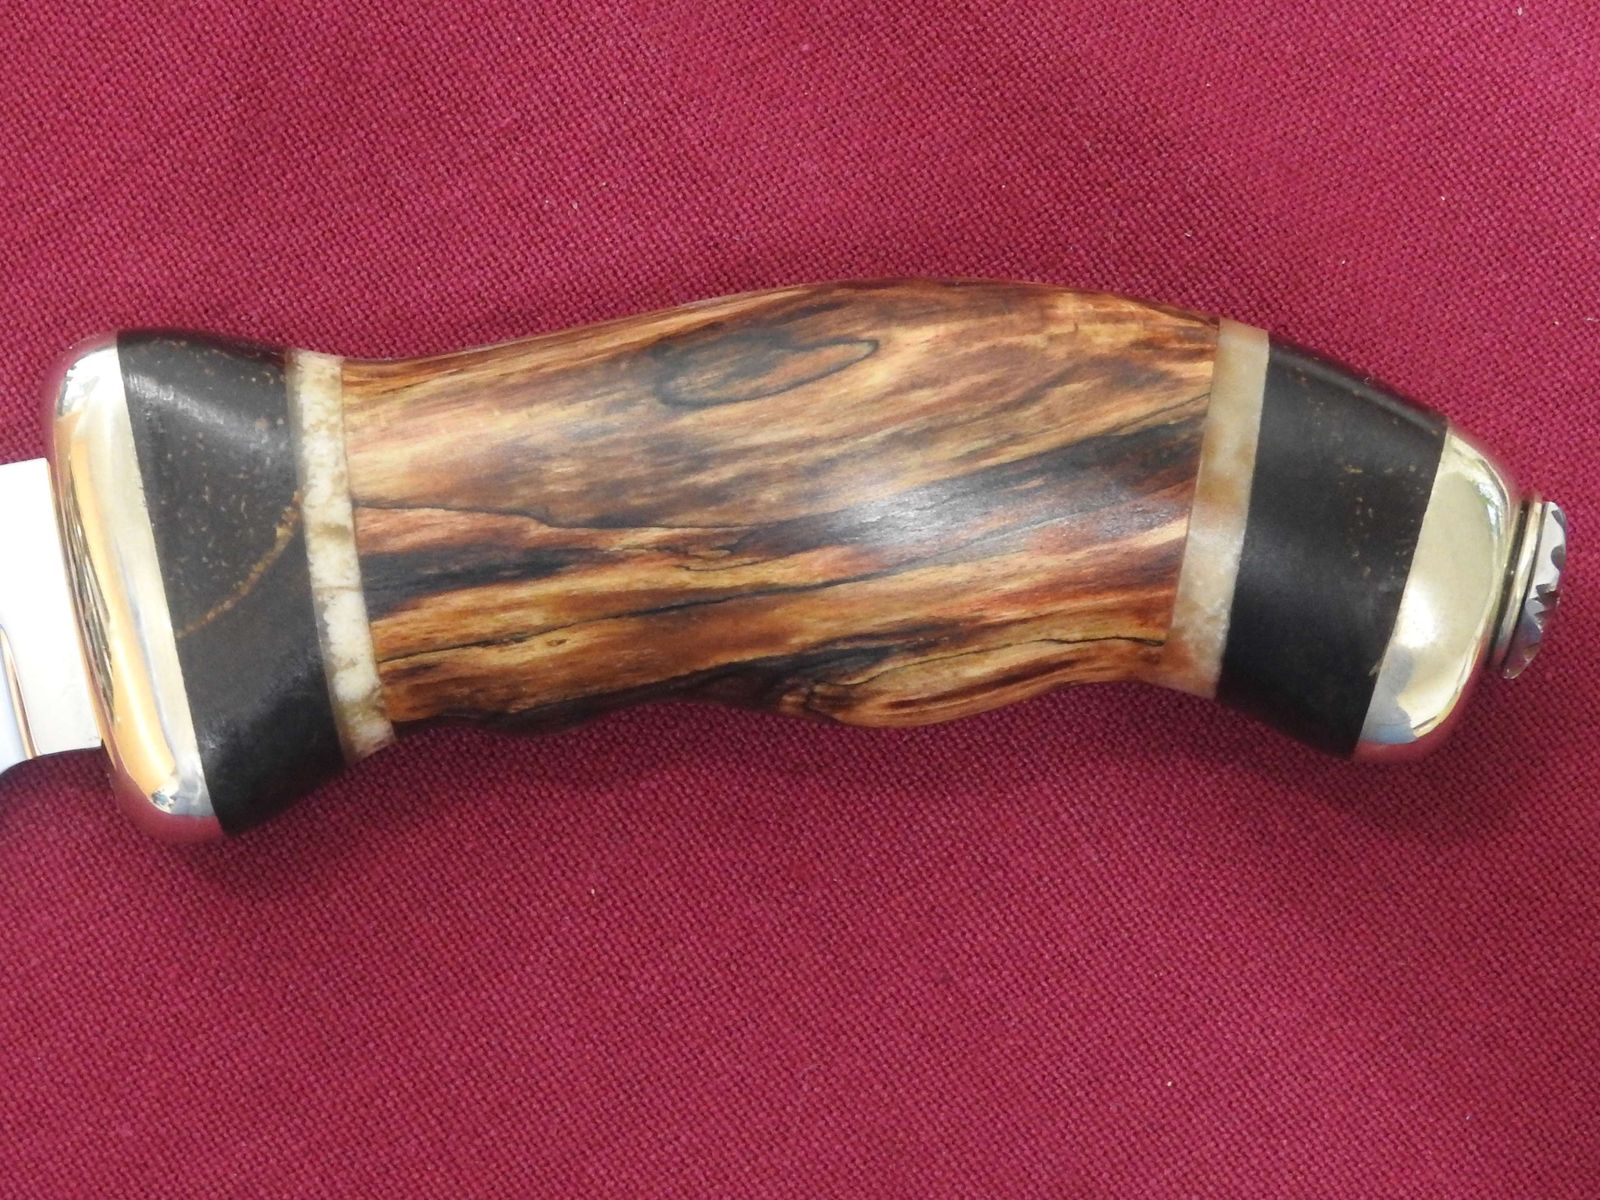
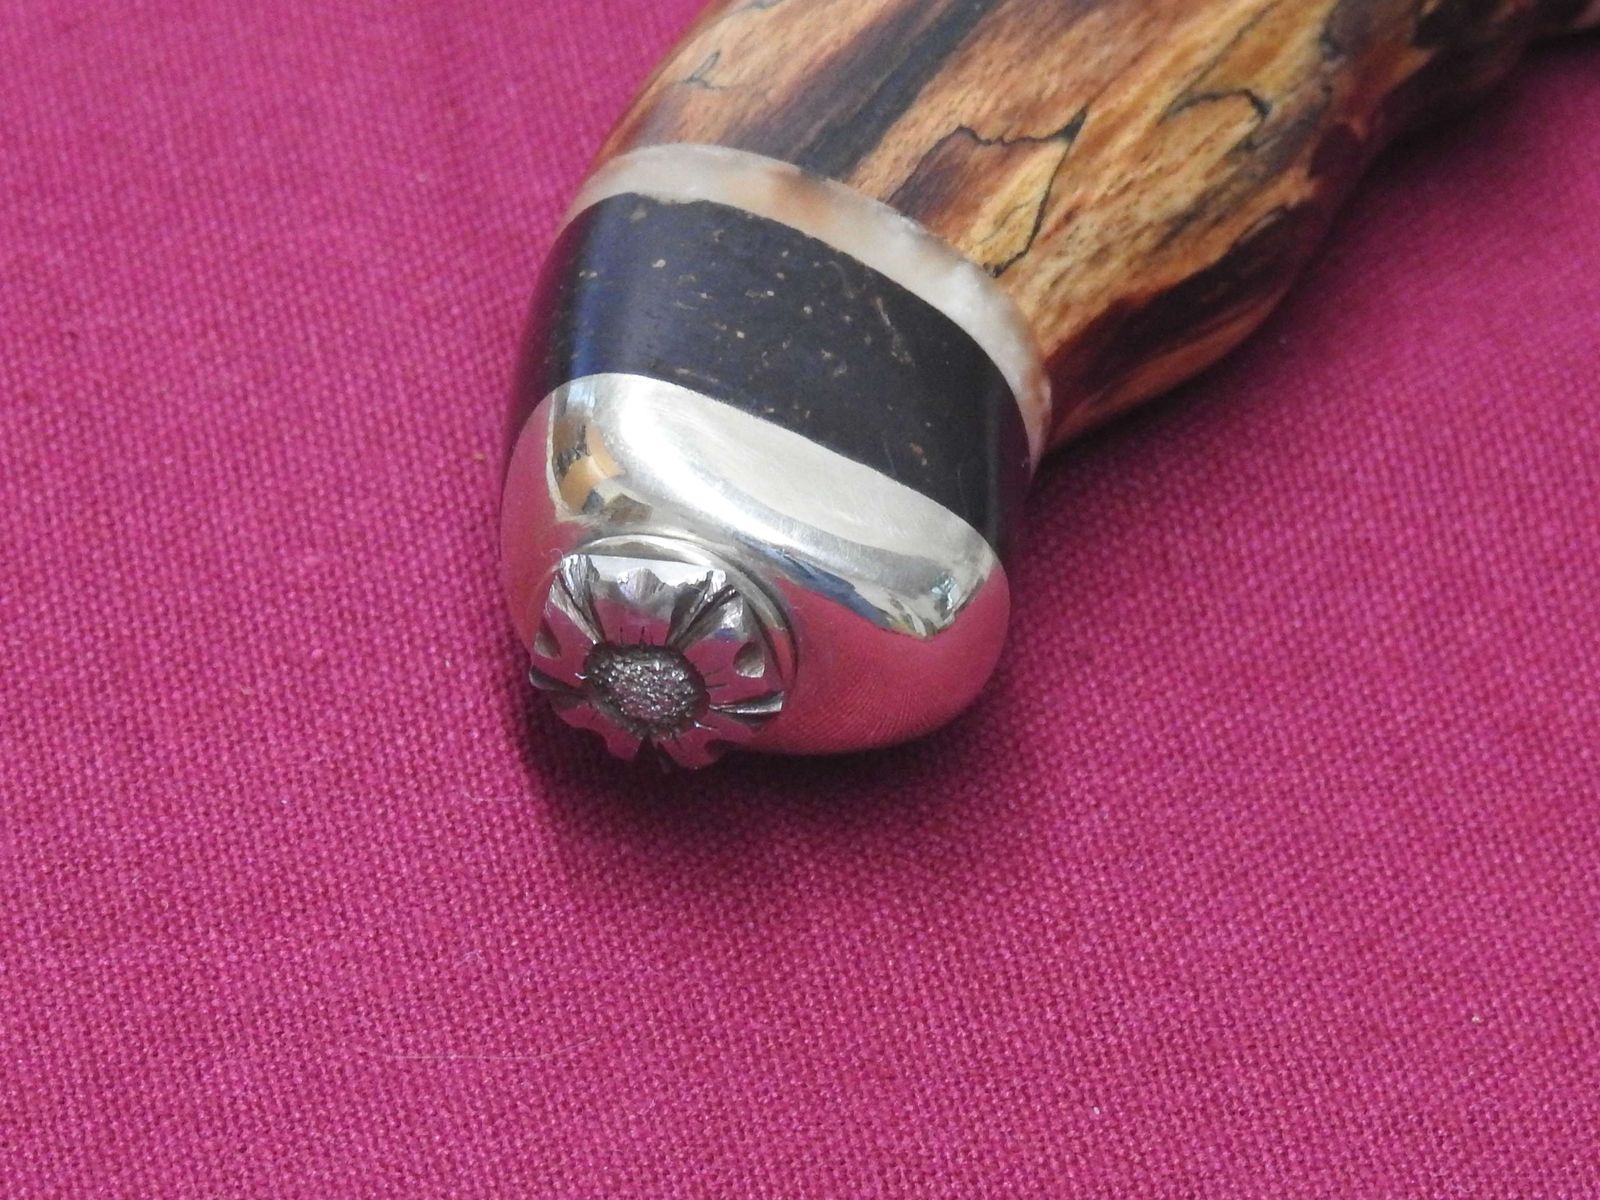
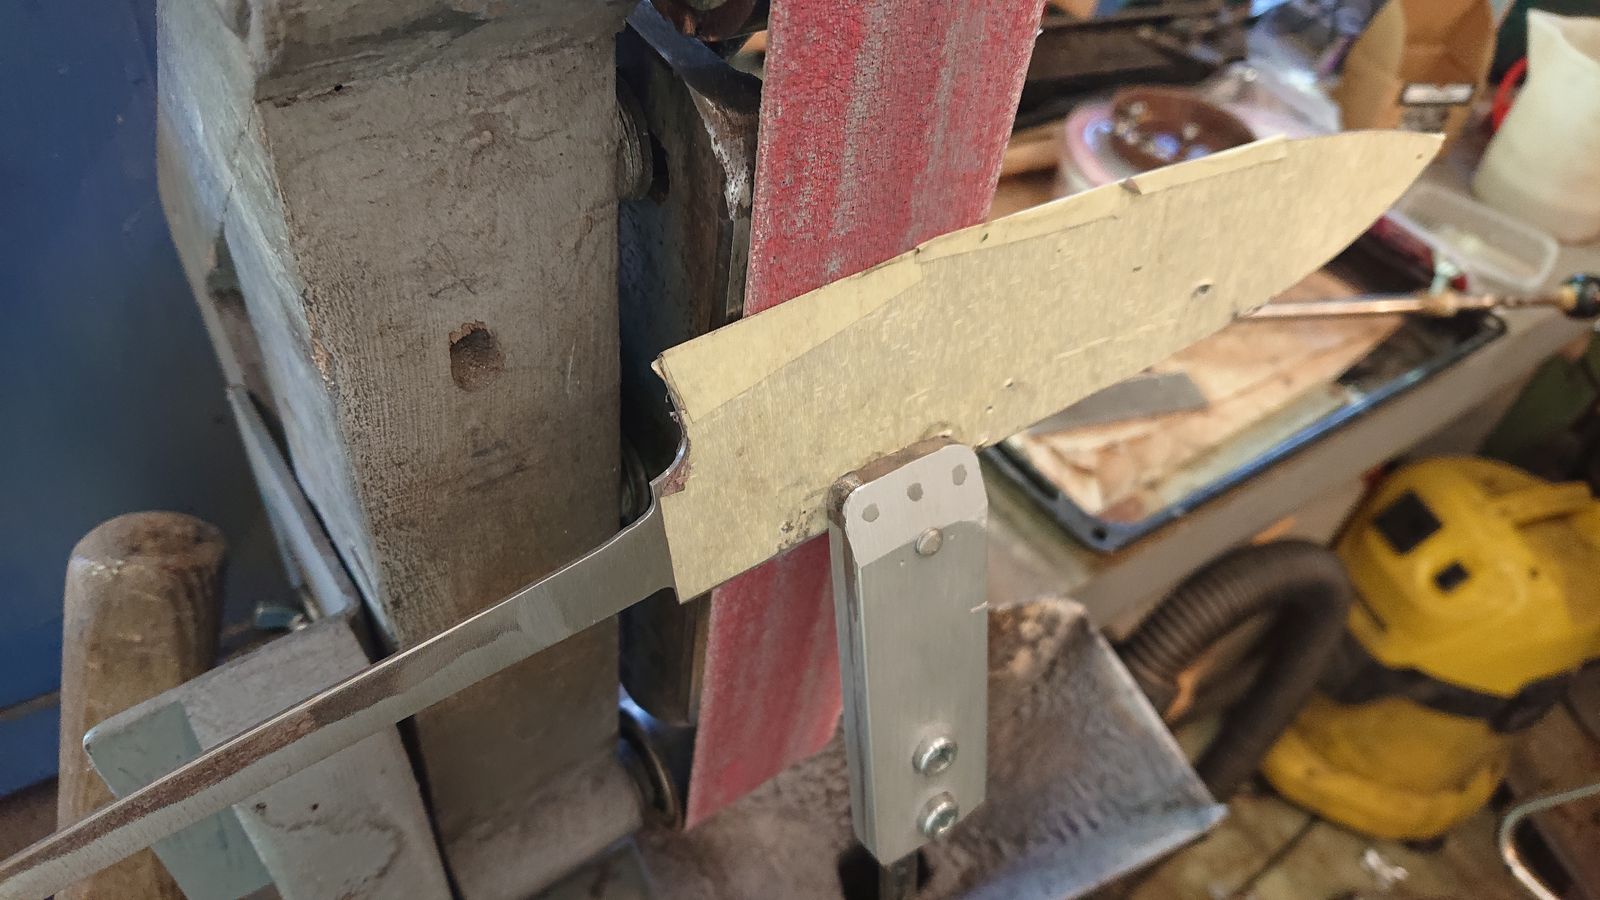
I am going to continue there what I intended to do on Twitter, before it became definitively shitter – to shout out new articles on my knife blogge. So if you are interested in that, follow me on Bluesky @kb-noze.bsky.social


