Now that we have warm weather, the garden is growing fast. There is a visible difference from one day to the next.

© Charly, all rights reserved. Click for full size.
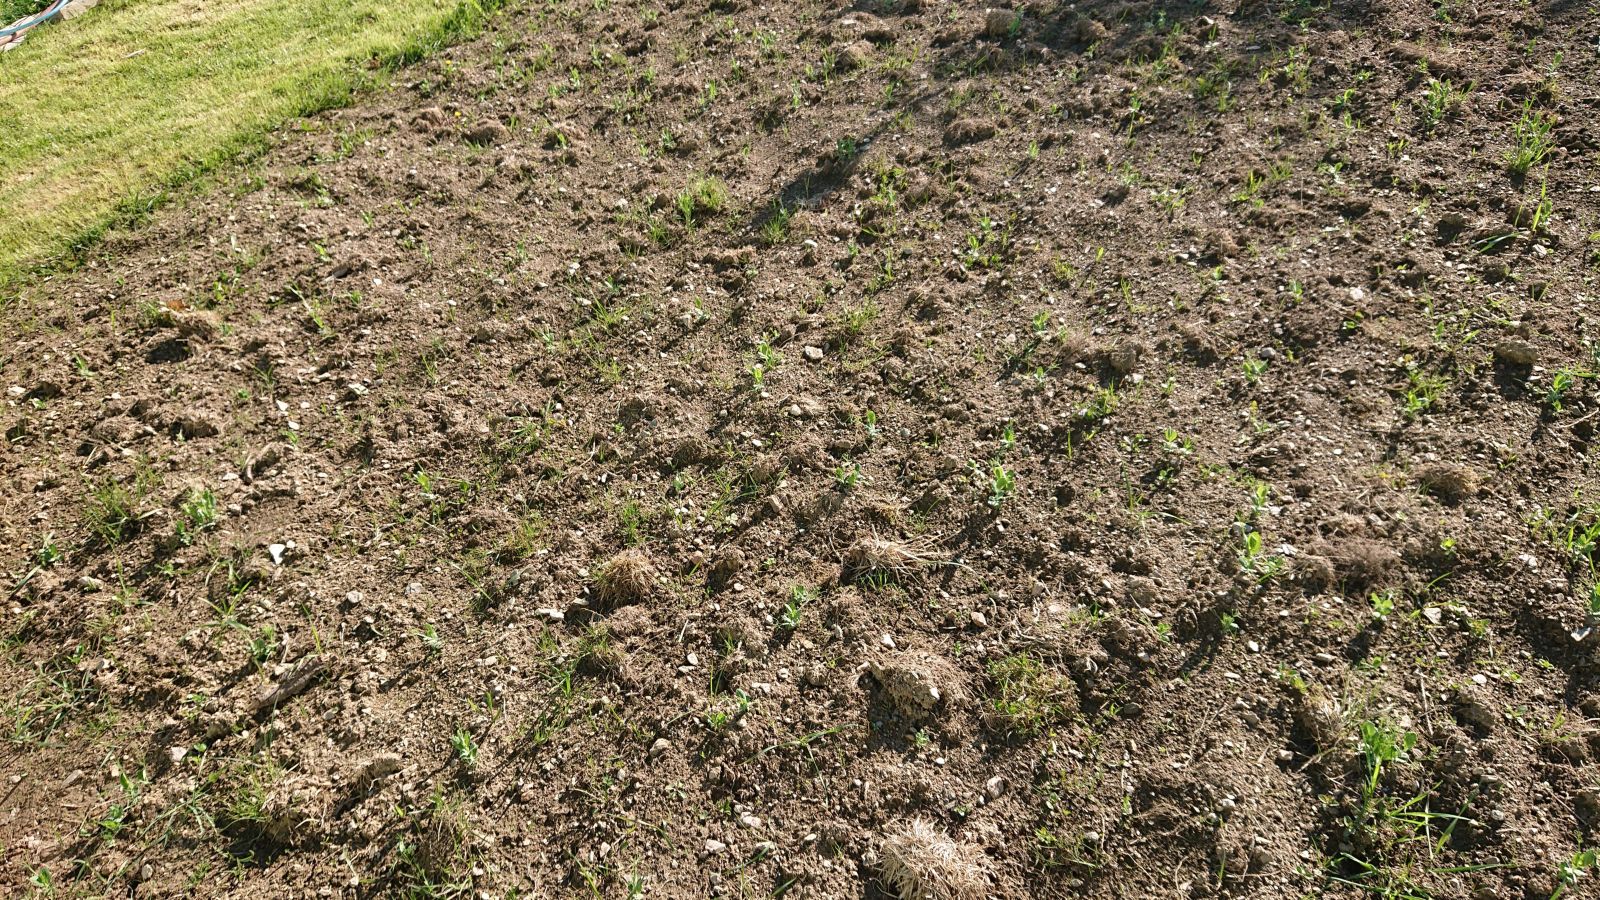
The oats are just about to bloom, and it does look promising, even though about a third of the patch has visibly lower growth due to poor soil quality.
© Charly, all rights reserved. Click for full size.
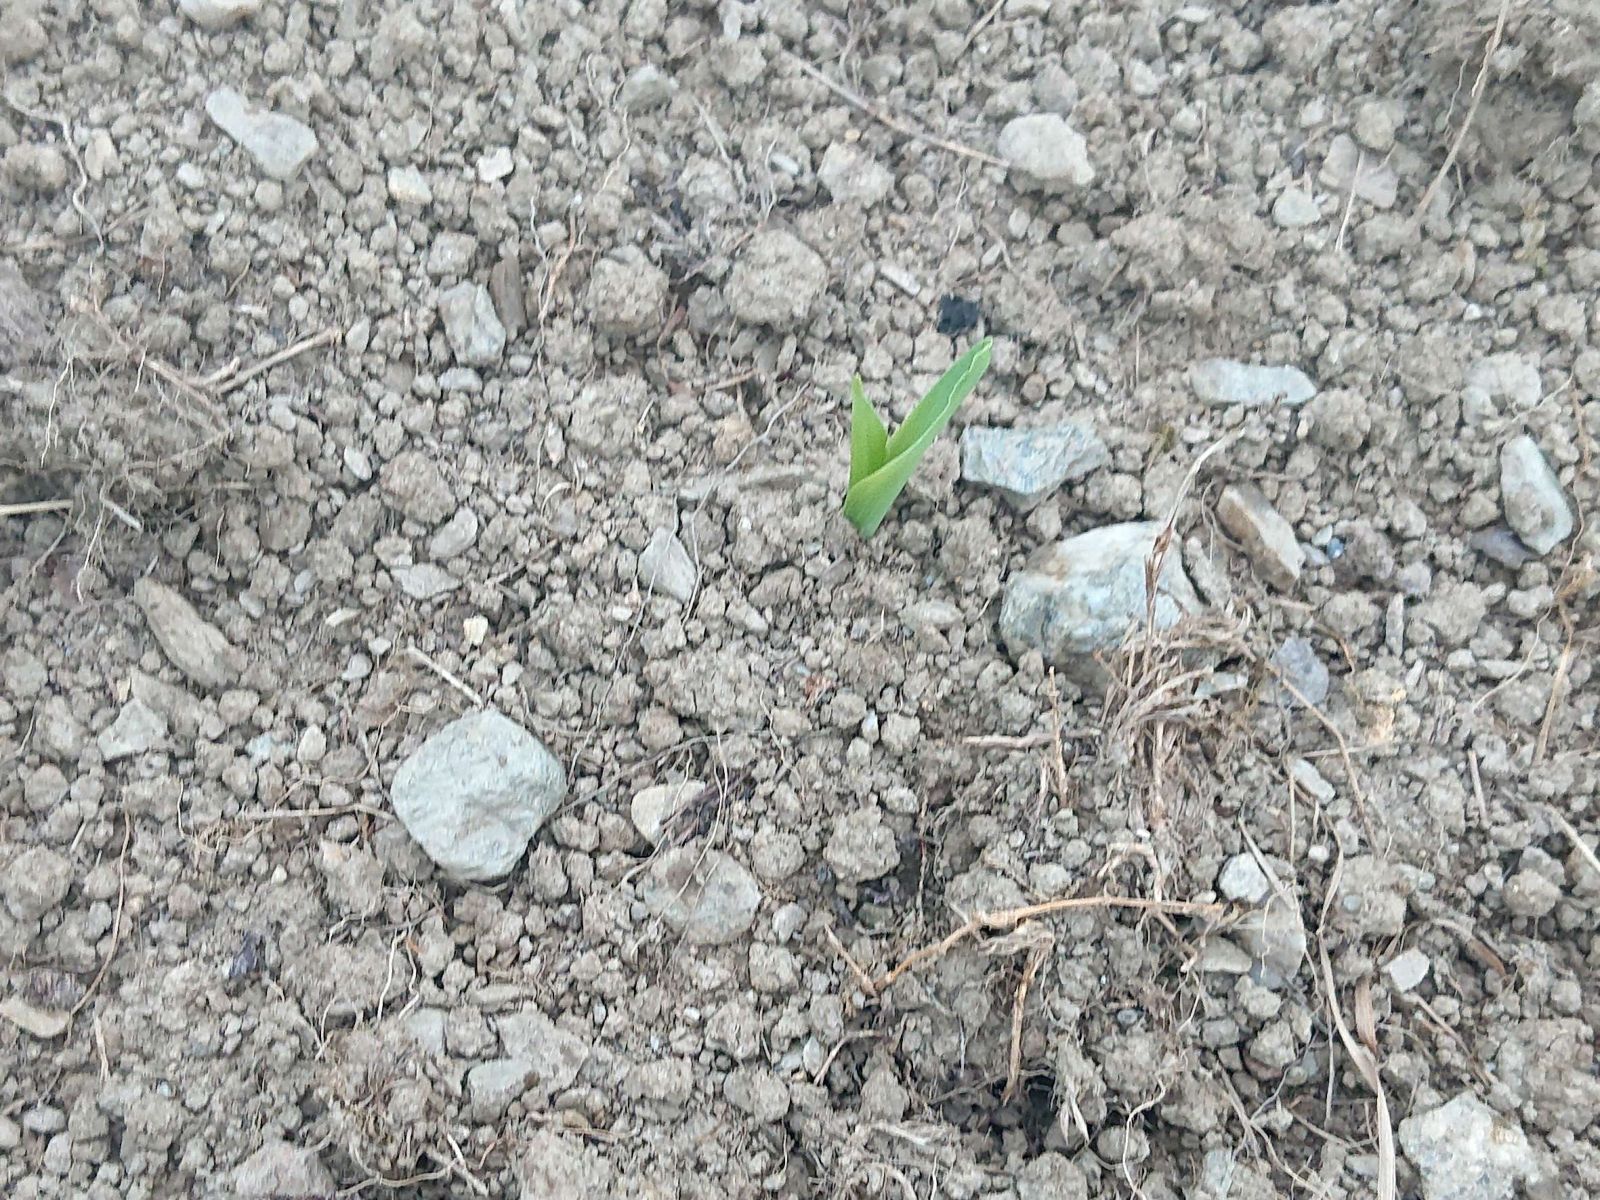
Yesterday, I was worried about whether the Painted Mountain corn would germinate, and today the first plants started to poke out of the soil. If we have a warm September and a frost-free autumn until at least the first week in October, they might even fully ripen.

© Charly, all rights reserved. Click for full size.
There are a few soybean plants here and there. I will wait about a month until they are all visible well, and then I will sow green peas in areas where they failed. If the weather stays warm long enough, I might get some of my own seed for next year, although most definitely not enough to actually eat. Next year, I will not grow soy in rows, but in clusters of 5 plants. That way I can try to start enough plants in cups early and plant them outdoors once the frost risk is over, as I do with other beans. It won’t allow for large-scale growing like direct sowing in rows does, but it should still allow me to cover a reasonably large patch.

© Charly, all rights reserved. Click for full size.
The green peas that I intend to let fully ripen to get my own seeds for next year are very lush and vigorous. I hope this continues and I get a few kg of viable seeds, because this variety grows very fast and is thus suitable not only for food, but also for improving, protecting, and fertilizing the soil as a cover crop.
The green peas intended for actual harvest for food look nowhere near as lush, but I should still get my work’s worth out of the patch.

© Charly, all rights reserved. Click for full size.
The yellow peas look vigorous and healthy too, albeit the growth has bald spots due to a poor germination rate (only about 50%). These were actually sold as a green fertilizer, but they grow slower than the green peas, and they apparently need higher temperatures to start growing. However, I would like to get my own seeds for the future, because these peas are more suitable for producing dry seed for long-term storage.

© Charly, all rights reserved. Click for full size.
Alfalfa is growing, but it is not what is in the picture. This is bush vetch Vicia sepum.

© Charly, all rights reserved. Click for full size.
The seeds are very small, but the pods are big enough for manual harvest and shelling. So this year, I decided to mow my lawn around these and to collect as many seeds as possible. If I succed to get reasonable amount, then next year I will till a patch dedicated to these to get even more seed. The plant is not edible, but it is an excellent nitrogen fixer. And unlike alfalfa or peas, it is a local plant – it is guaranteed to thrive here. I only need to help it spread more than it is capable of doing on its own.