Making a Rondel Dagger – Part 4 – Hardening

Today, after finishing with my bonsai trees for now, I got an hour or so to use and get a shot at hardening the blade.

I was so stressed from working almost non-stop the whole weekend and trying to manage to replant all my outdoor bonsai trees that I forgot to take pictures of the process and only could take pictures afterwards. So here is a picture of my setup. I was hardening two blades.
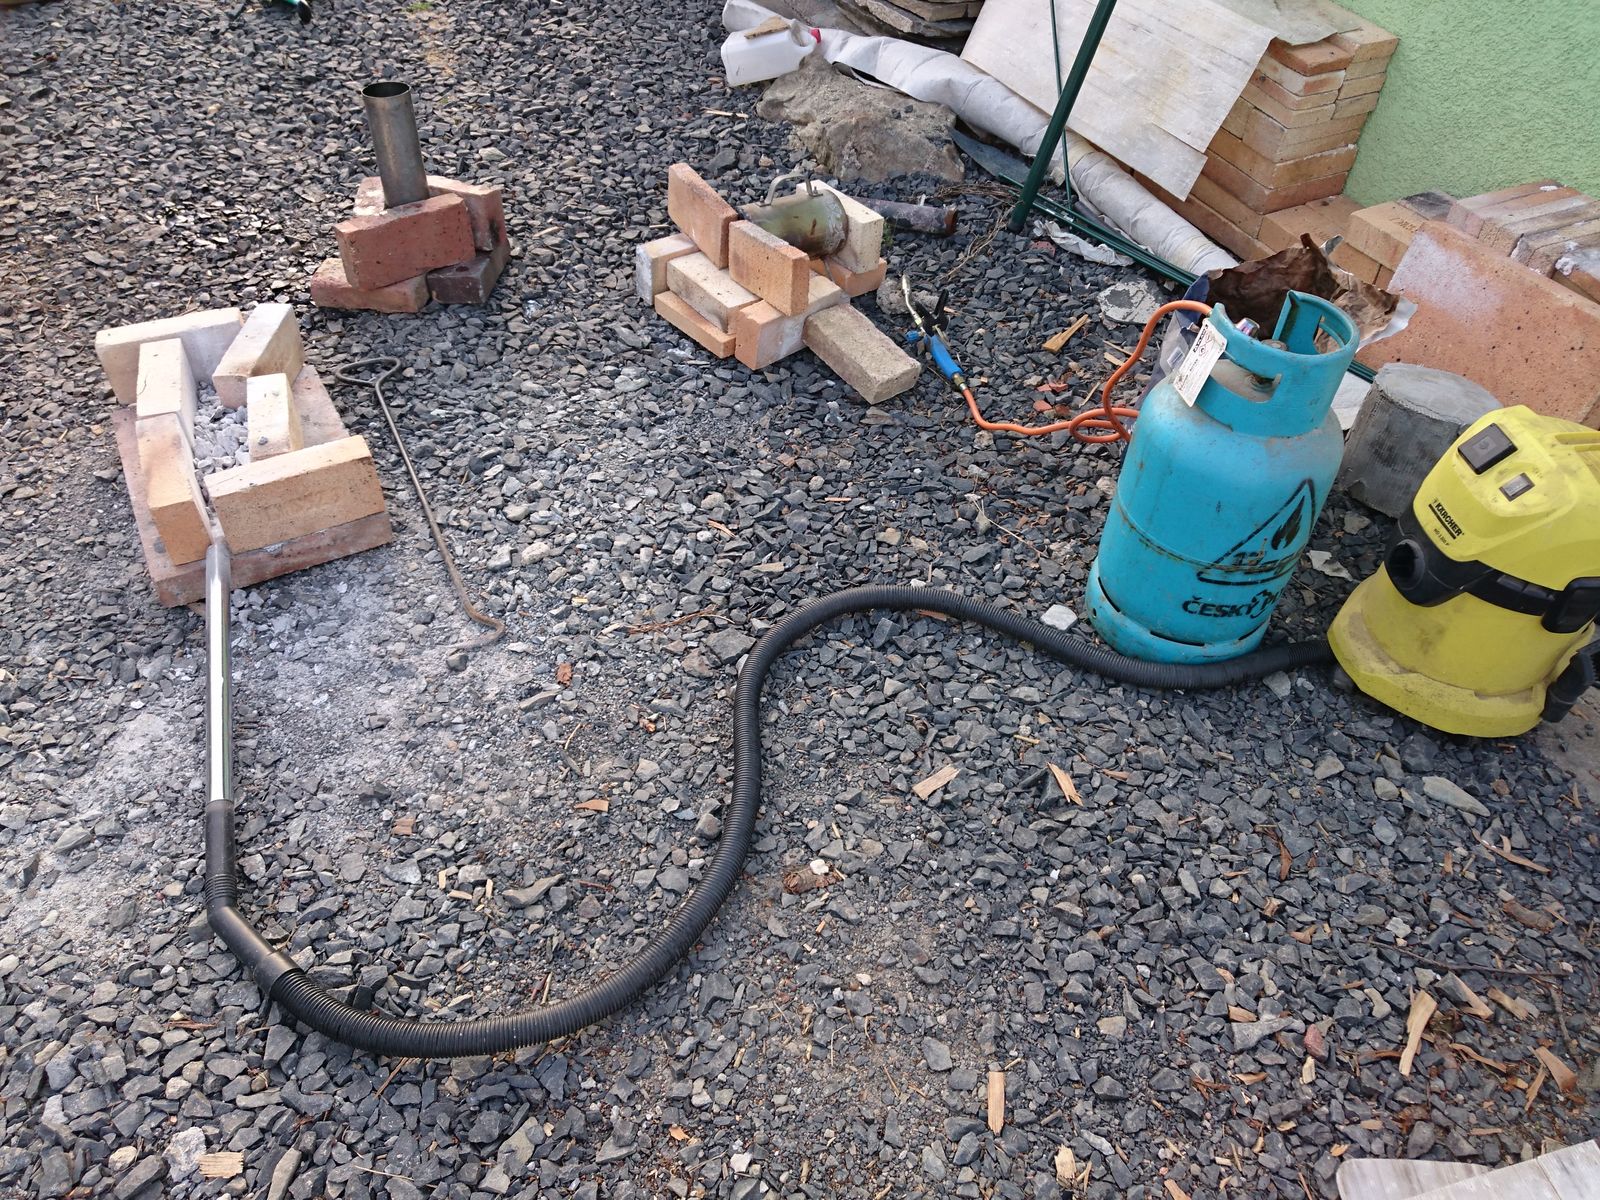
Blade hardening setup

Blade hardening setup.

Slight  contrast with Marcus’s fully equipped workshop I guess :-). On the right is gas mini-forge where a future kitchen knife was heated up most of the time, on the left is a charcoal fire between fireclay bricks for the dagger and in the middle is quenching oil. This is the main reason why I cannot harden blades in bad weather – I have to go outside to do it.

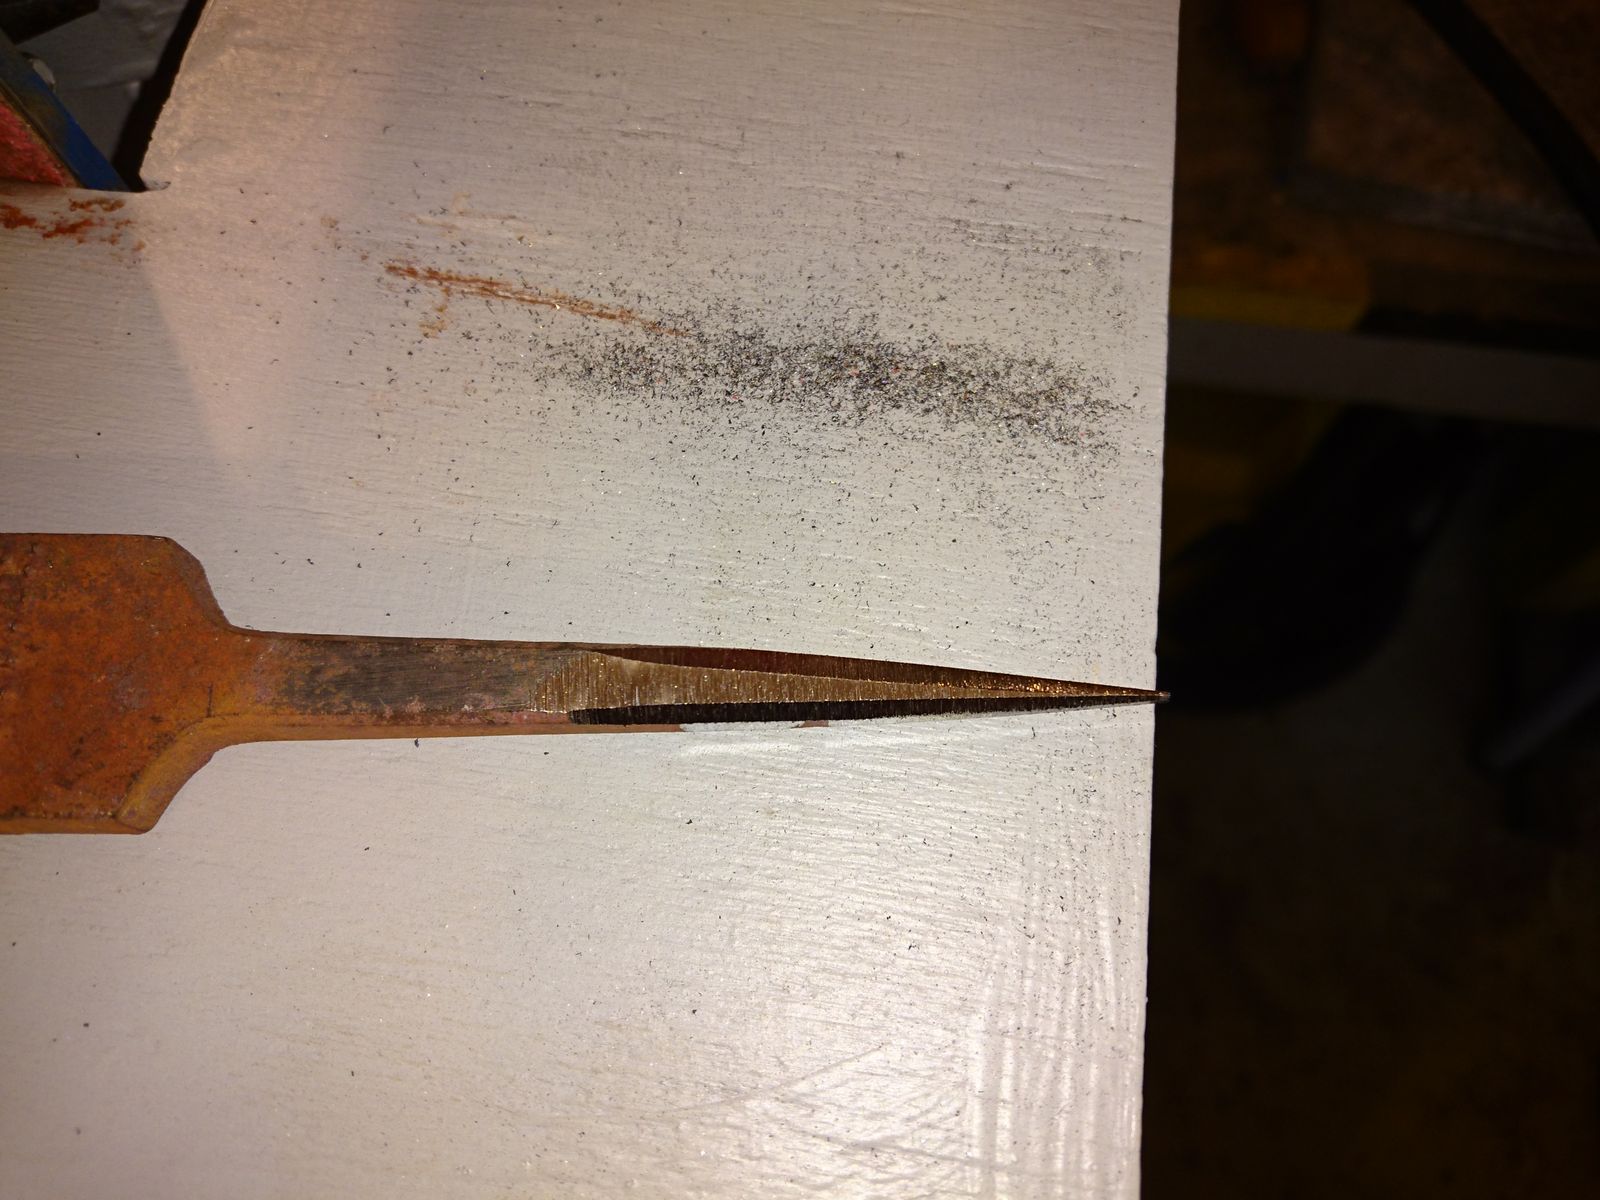
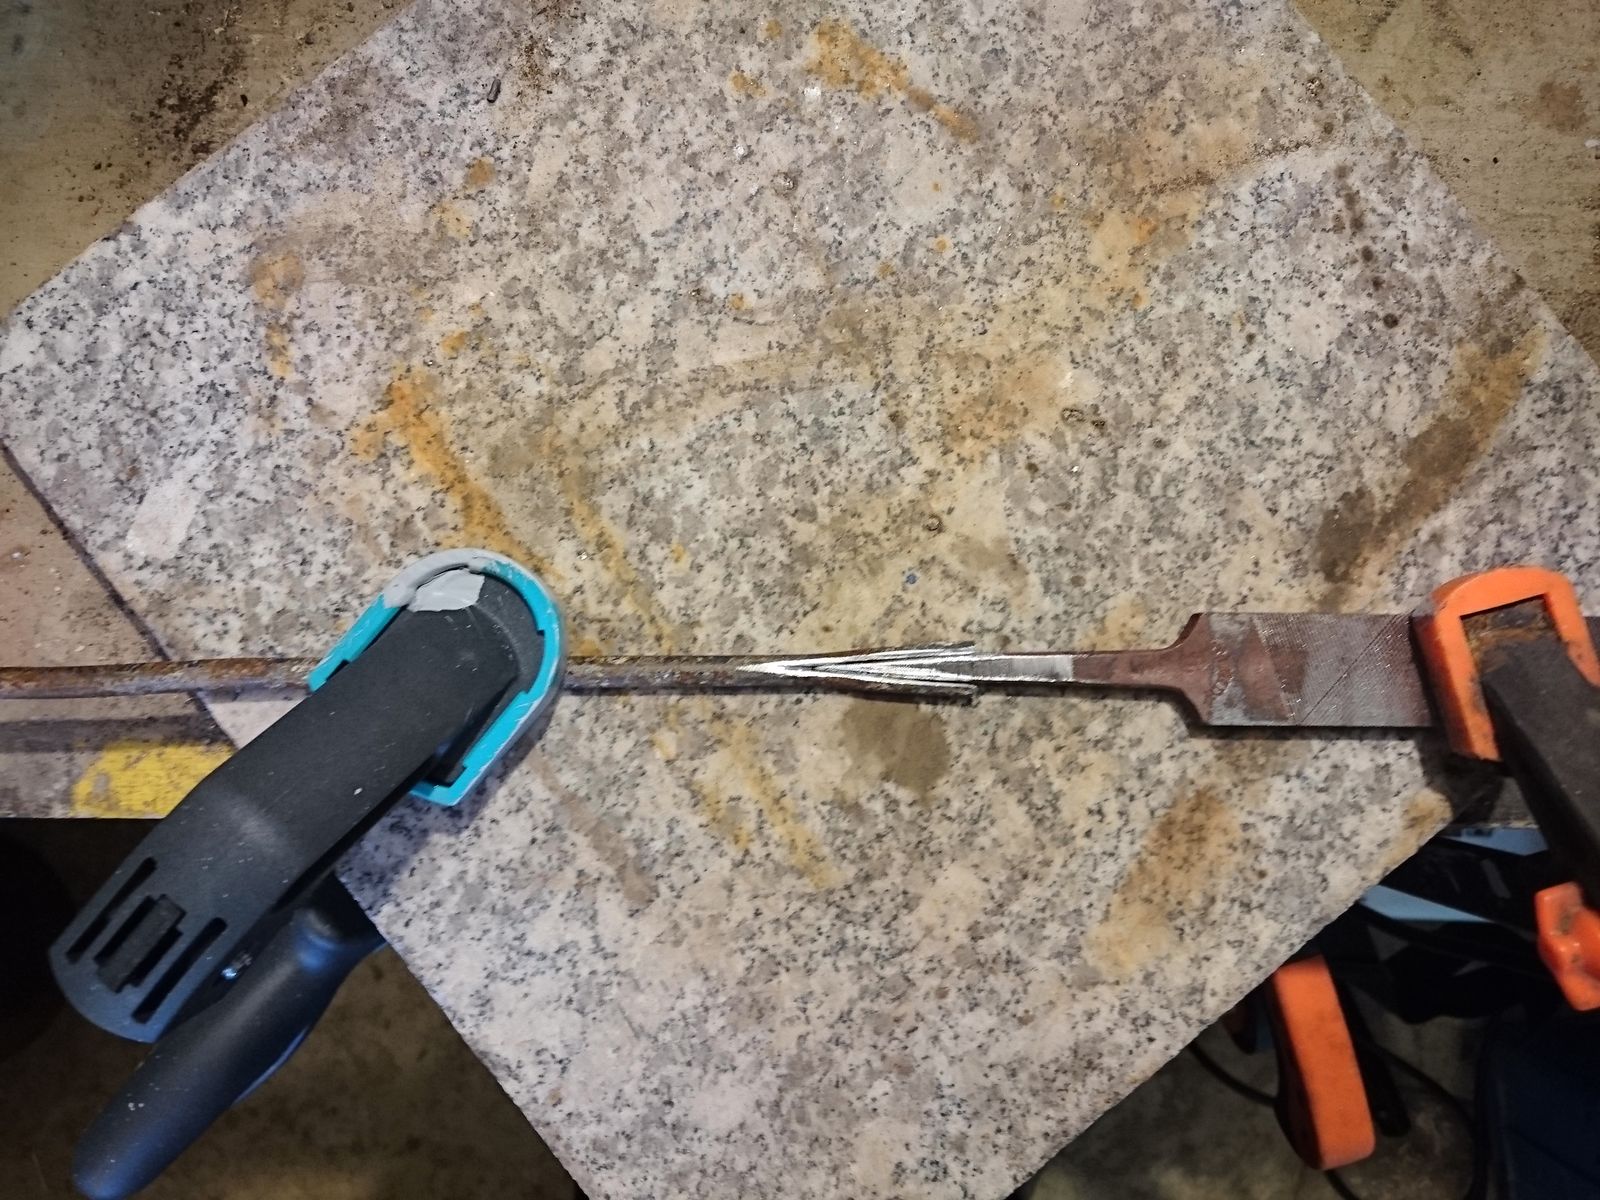
And here are the blades after hardening and before tempering, covered in burned oil and, in the case of the dagger, slag and scale.

Blades after quench.

Blades after quench.

I am not all together sure It was a complete success. I am sure it was a 50% success. I definitively successfully hardened the kitchen knife. Which is slightly strange, because the kitchen knife is made from N690 steel that is allegedly difficult to harden in impromptu settings, whereas the dagger is simple carbon steel that should have been easy-peasy. The kitchen knife is completely without deformation, the dagger got a very slight bend that I was able to correct after tempering the blades in kitchen oven at 150°C for an hour. In fact, it was maybe too easy to correct. File skids on the kitchen blade like on glass, but it is possible to make a shallow bite with it into the dagger.

The problem might be that I tried to coat the dagger with an experimental anti-scaling solution that unfortunately did not work as intended. Back to the drawing board there I guess. So it might be that the blade is hardened, but a few tenths of a mm on the surface have slightly lowered  carbon content due to decarburization. The N690 steel blade was not covered in the solution, but was covered with stainless steel foil that burned through towards the end.

I have no way to measure the hardness of the steel, and I am probably not going and try to re-harden the blade. I will proceed and we will see what comes out of it.


The Beautiful Town Idstein – Part 1 – Town Square.

I avoid business travel like the plague, but it is unavoidable sometimes. This week thursday I have spent in the beautiful town Idstein. Most of the day was of course spent with traveling to the location and then spending a few hours with the actual business, but we managed to finish at about 4 p.m. so we had still plenty of time to have a look around the town.

I knew I have to expect some splendid medieval architecture, but I did not take my camera with me because… reasons. So I had to do with my phone which luckily is up to the task of making passable pictures in good light. And the light was splendid. The spring did not come this year, winter morphed directly into summer. Only shadows were a little long because of the time of day, but I think you will all enjoy the architecture nevertheless.

For starters here is the town square near the hotel at which we resided.

Idstein Town Square

©Charly, all rights reserved. Click for full size.

Making a Rondel Dagger – Part 3

All of my garden has woken up, but none of the figs or pomegranates have shown even a budding leaf. I got so disheartened at this that I had to go and do something fun. So I went to work on the dagger to lift my spirits at least slightly.

I have decided to grind the bevel higher up to the spine, but not the same way along the whole blade – I ground less towards the tip so it remains strong. This has meant that the blade has a bit complex geometry which meant I could use hard belt most of the way, but I had to switch to slack belt for the tip. Luckily I have kept the option of half hard/half slack belt setup on my improved grinder.

I also ground the spine at approximately 45° angle to take off some weight. But again not all the way to the tip, so the tip is reinforced.

After I ground this basic shape It took me about an hour to get through four ceramics belts (60, 80, 100, 120) and the final was a zircon 120 grit where I stopped. This is actually a fairly difficult and delicate process and it is still possible (nay – easy) to mess up the lines and irreparably ruin the blade geometry, so easy does it. Because I am not too experienced with the belt grinder yet I had a few heart-stopping moments, but I managed to correct all the blunders in the end. From my previous works I know I have to be extremely careful up to approx 600 grit. After that messing up the lines in hand is not possible. But on my previous dagger I found out that on belt grinder that level moves up to 1000 grit, possibly 1200.

A lot of eyeballing was involved. After certain point I could no longer use the masking blue color and scribing tool, so to check whether my grind is symmetrical I used a folded piece of paper that I cut with shears to two aligning points. When I folded it around the blade  I could see whether the lines are in the same position by putting the point on one side of the blade  on the line and checking the point at the other side. After the final grind I scrubbed the blade lengthwise a bit with coarse abrasive pad to remove the quickly building rust and to scratch through the grind marks.

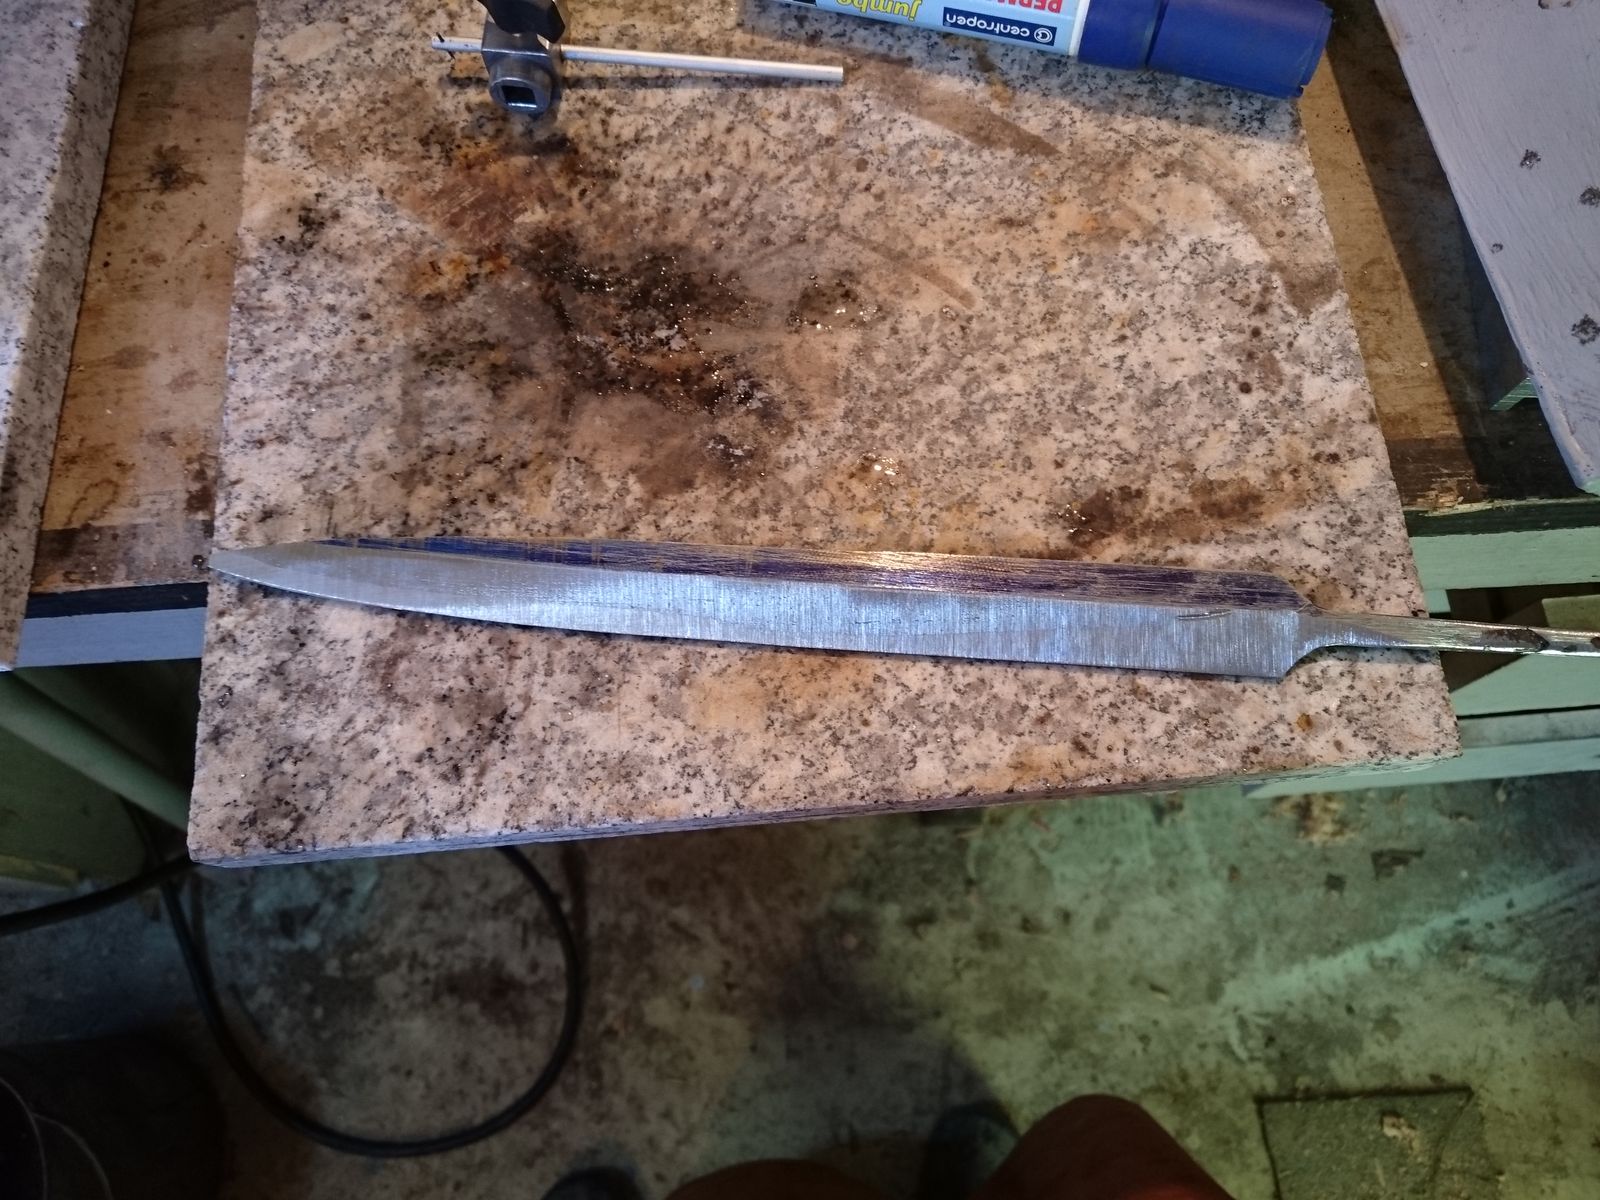
Ground blade shape.

©Charly, all rights reserved.

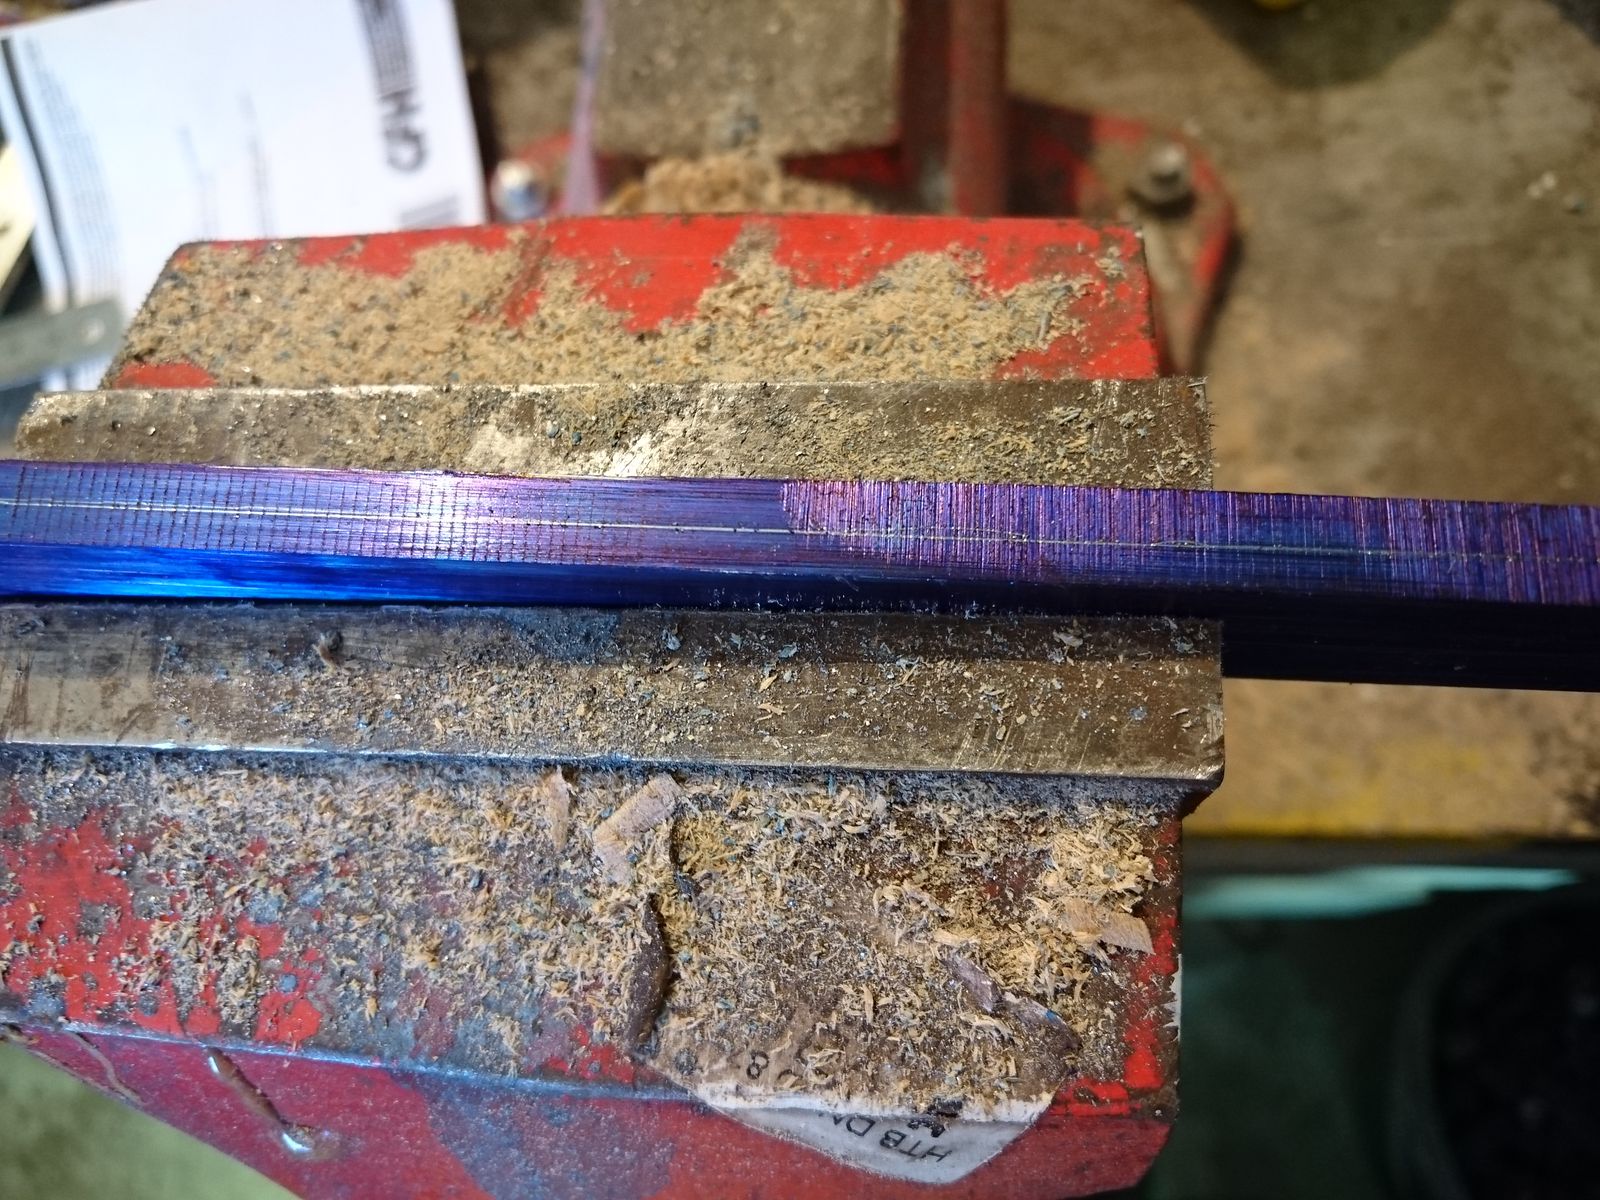
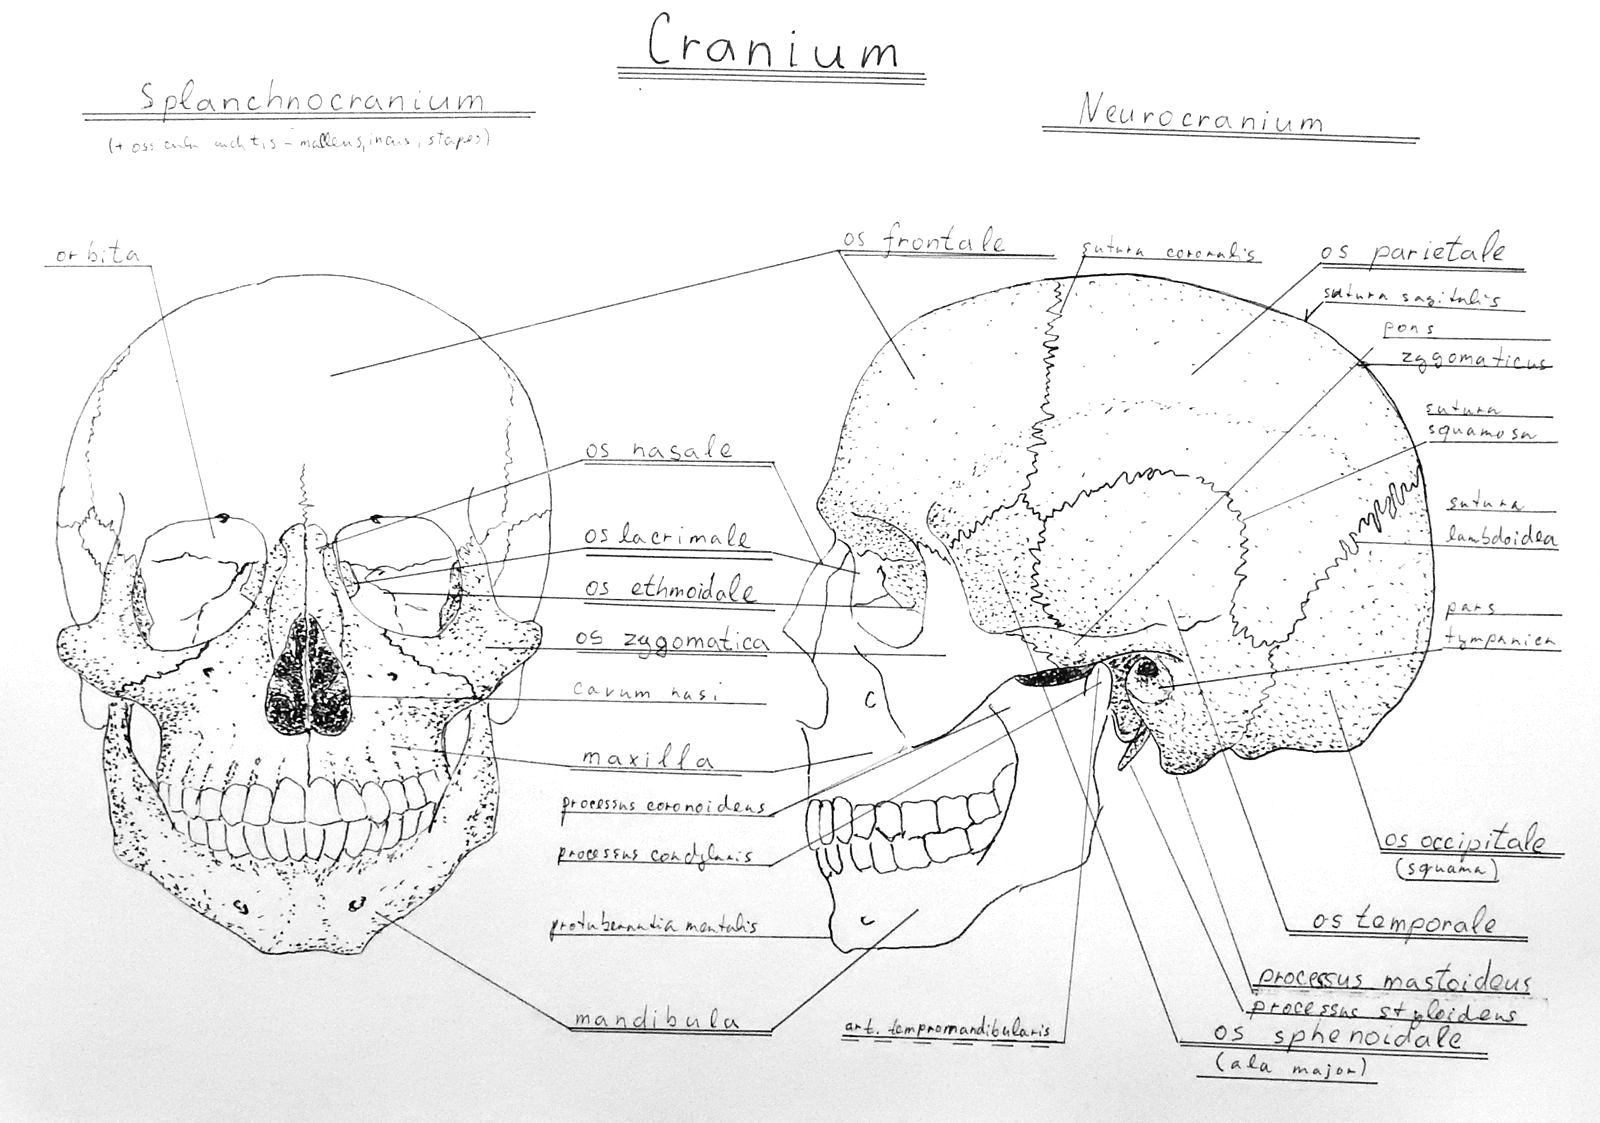
The future cutting edge is now approx 1 mm thick. Next step will be hardening the steel. For this I had to check whether this file was carbon steel throughout or case hardened. That I have done before polishing the whole shape by dabbing the spine and one side of the blade approx 5 cm from the tip with  ferric chloride because in this area is preserved steel that was near the surface of the original  file as well as steel that was deep inside. If the file was case hardened, the steel that was originally near surface should turn grey, while the steel that was deeper should be shinier. If the file is carbon steel throughout, it should all turn grey.

It has all turned monotone grey, so it is carbon steel throughout. That is good since it makes the hardening process easier. It is possible to make a cutting blade from case hardened file, but it requires to perform again case hardening, which takes more time and resources.

The Sleep Paralysis Of Nicolas Bruno.

© Nicolas Bruno, all rights reserved.

© Nicolas Bruno, all rights reserved.

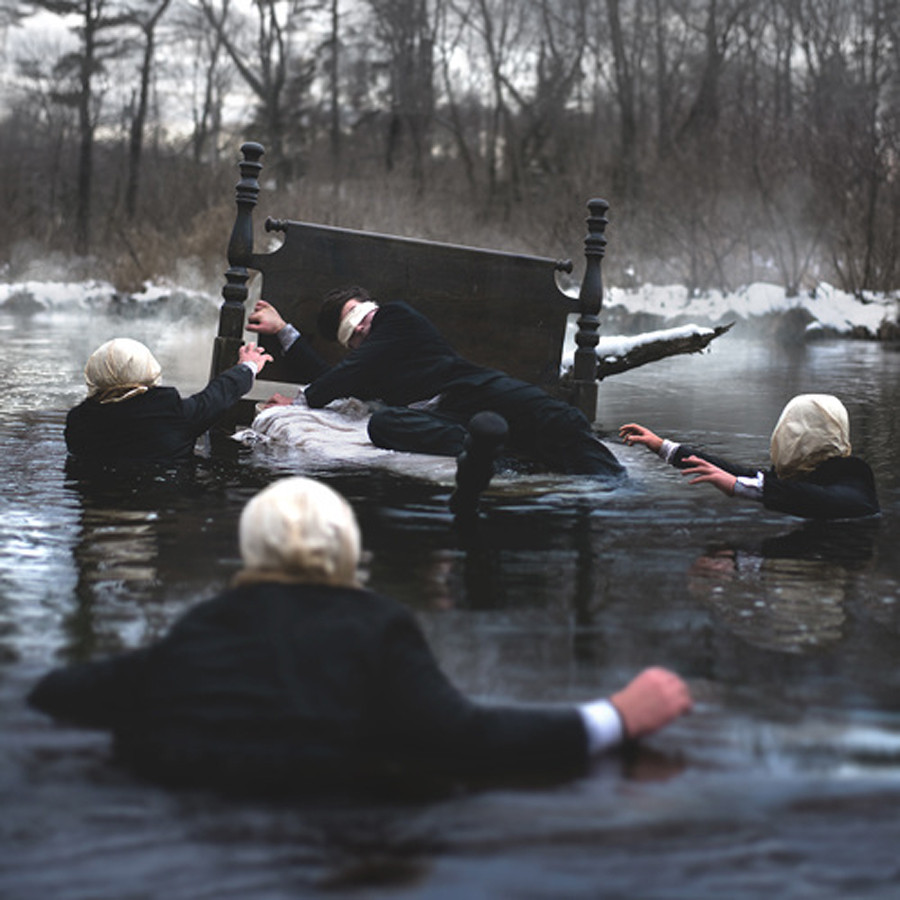
The matters of our psyche and our dreams, in particular, permeate the work of Nicolas Bruno not only as a phenomenon but moreover as the articulation of personal experience. The allusive, surreal and haunting works he creates are embodiments of the state in between waking and sleeping. They are an effect of the artist’s torment; the situation in which he is constrained to embrace the subconscious and its perils while being paralyzed in bed. Although the works of Nicolas Bruno are quite personal and might seem hush, bizarre and even violent, they are explicitly suggestive and are calling the observer to participate in the sense of enrolling their own associations or perhaps dealing with their own anxieties and fears.


© Nicolas Bruno, all rights reserved.

© Nicolas Bruno, all rights reserved.

Photography As Therapy.

Nicolas Bruno was born in 1993 in Northport, New York, a small harbor community located on Long Island. He studied at Purchase College and received his BFA in Photography in 2015. His studio is located in Northport, so practically all of the preparations for the shoots are taking place there, as well as postproduction. Since all of his practice is very much devoted to the symbolic of dreams, the artist keeps the dream journal and starts each new series by analyzing previous experiences. As a matter of fact, his creative process begins with in-depth planning, but the very shoot is far more spontaneous and open to experimentation.


© Nicolas Bruno, all rights reserved.

© Nicolas Bruno, all rights reserved.

The Sleep Paralysis of Nicolas Bruno.

The foundation of his photographic experimentation lays in Bruno’s struggle with the sleep paralysis, from which he has been suffering for almost ten years. It is a common phenomenon occurring in between wakefulness and sleep, in which the body becomes immobile and it often causes severe hallucinations. This state of inescapability forced Nicolas Bruno of finding some sort of solution and with the advice of a therapist he found it through creative expression. Therefore, he started working on surreal self-portraiture as a therapeutic translation of night tremors in order to cope with these fears and simultaneously share these familiar emotions of anxiety, suspense, uncertainty, and danger.

© Nicolas Bruno, all rights reserved.

© Nicolas Bruno, all rights reserved.

Nicolas Bruno’s works are haunting, evocative, and terribly poignant. They not only express the explicit fears brought to Mr. Bruno in his paralyzing sleep, they also express implicit fears and anxiety of people in general. Each photograph is a masterpiece of unspoken fear, and when viewing, you simply cannot help but to feel, in a very small way, what the night and sleep is like for Mr. Bruno. Sleep Paralysis is not common, and unfortunately, not well understood either. Many people do have an isolated incident of sleep paralysis. I had a period in my teens into my early twenties of sleep paralysis, and it’s terrifying, to say the very least. Nicolas Bruno has come up with a unique way of dealing with it, and I think he deserves a much wider audience for this amazing work.

You can read and see more of Mr. Bruno’s bio here, and his portfolio here. There’s also this all too brief video:

Indian Country Today Is Back!

Who Will Be Our First Founding Member? The new Indian Country Today is launching a membership drive and an auction. Top bid will be forever known as Indian Country Today’s: “First Founding Member.”

Who Will Be Our First Founding Member? The new Indian Country Today is launching a membership drive and an auction. Top bid will be forever known as Indian Country Today’s: “First Founding Member.”

Indian Country Today is back! The NCAI has taken over, and this is grand news.

From September through February I have heard about the importance of saving Indian Country Today. So many people across Indian Country had the same idea:

What if … What if we all contribute?

What if I step up to make certain Indian Country has solid, accurate, fair reporting?

Is it worth it to save this voice? A national media platform for Indian concerns?  And how much will it take?

Yes. Yes. And the answer is a lot  — or perhaps a few tax-deductible dollars if we all contribute together.

We are building a new Indian Country Today on a public media model. We will have some advertising, but most of our resources will come from members, tribes, enterprises, and non-profits.

We need you.

We are launching a membership drive and an auction.

The membership drive will solicit help from our “members” as $100 Founding Members, $500 Sustaining Members, and $1,000 for Premier Members.

Unlike public media we don’t have nifty gifts as a thank you. No t-shirts. No coffee mugs. Just a better news report. We want to use the money to build our news operation, a multimedia reporting platform about what’s going on across Indian Country. We’ll stretch your dollars by partnering with other organizations, and amplify our reporting by letting others repurpose our editorial content.

We will serve.

This is great news, but to work, ICT needs help from people. If you can drop a few dollars into the fund, please do, and if you can’t do that, please, please, spread the word, get it out everywhere! You can read more by Mark Trahant at Indian Country today, or go straight to the membership drive. This is so very important, it’s vital for Indigenous peoples to have a voice.  Also, be sure to check out the new edition, there’s all manner of interesting reading!

ETA: I should point out that it’s possible to donate $5.00 to the membership drive, which is all I can manage right now, but I’ll be dropping more fives each week.

Making a Rondel Dagger – Part 2

Today I planted new cherry tree but there was not much that I could otherwise meaningfully do, so I have spent about 40 minutes testing my belt grinder. It has worked reasonably well, but the supporting table needs improvement.

I chose this particular file for this project because it is thick at the base – almost 6 mm – and it already had a distal taper. That means I do not need to grind of as much material, but it is actually more challenging to work with, and therefore better exercise.

Centerline for he edge.

Centerline for the edge.

First problem was scribing the center line for where the edge shall be. Due to the taper I could not use my scribing tool because it scribes line at a constant distance from an edge. Luckily the curvature is very mild, so I could do with a steel ruler for most of the way and steady(ish) hand for the rest. I am not fond of measuring, I prefer to eyball the work, but for blade symmetry is important. The more asymmetrical the roughed out blade, the more it warps in quench. Very slight warp can be ground off, but big warp not. And of course grinding off a warp on hardened blade is tougher on the abrasive belts, and those do not grow on trees.


Scribed bevel lines.

Scribed bevel lines.

After scribing the center line, I also scribed two lines for where the bevels shall go. This dagger will have only one cutting edge, and in order to make it more useful as an ordinary knife, the bevel should go almost all the way to the spine at first grind, and wander de-facto all the way to it during polishing. On the other hand shallower bevel is easier to make and makes for stiffer blade. At this point I have not decided on the way I will do it. I scribed two bevel lines and decided to grind to the first one and reconsider.

With these preparations done, which took only about five minutes, I have spanned a 60 grit belt on my grinder and started. First time I was grinding with the use of supporting table and it was a great help at first and slight hindrance later on. For me it might be good to use the table for first facing and then go back to free-hand. I am slowly finding my personal way of doing these things. After slightly over half an hour I ground both sides to the first bevel line and had to call it quits for the day. Now I am considering my next step. Grind or not to grind, that is the question.

Ground bevels

©Charly, all rights reserved.

Wake: The Hidden History of Women-Led Slave Revolts.

Page from Wake by Rebecca Hall and Hugo Martinez (all images courtesy Hugo Martinez).

Page from Wake by Rebecca Hall and Hugo Martinez (all images courtesy Hugo Martinez).

In 1712, New York City witnessed a dramatic uprising when over 20 black slaves, fighting against their unjust conditions, set fire to several houses of white slaveowners and fatally shot nine. Known today as the New York Slave Revolt of 1712, the insurgence resulted in the conviction and public execution of 21 slaves, as well as more severe slave codes. While sources often state that these rebels were all men, the historian Dr. Rebecca Hall has identified four women who were captured during the clashing and were tried. Their names were Amba, Lilly, Sarah, and Abigail.

Erased from history books, their stories will now be told in vivid form by Hall, who has devoted much of her career to unearthing the roles of women in slave revolts. Hall is currently working on her first graphic novel, which will highlight female rebels in various 18th-century uprisings, from three in New York to those that broke out on slave ships. Titled Wake: The Hidden History of Women-Led Slave Revolts, the 150-page work emerges out of Hall’s 2004 dissertation on the same topic. She is now collaborating with independent comic artist Hugo Martinez to produce the storyboards and, through Friday, May 4, is raising $5,900 on Kickstarter to realize it for submission to publishers.

“The way the history of slave resistance has been written, this very gendered narrative developed about how manly and masculine enslaved men actually were, which served to elide the role that women played,” Hall told Hyperallergic. “I was going against everything being taught in women’s roles in slave resistance by insisting that, if I looked, I bet I would find these women.” She recalled how her dissertation advisor had told her that she wouldn’t find any sources to realize her chosen topic; how one archive claimed that it had no related material.

This is a fascinating, and I think, a necessary work. You can read and see much more at Hyperallergic, as well as on the kickstarter page, where there’s also a video. They are close to their goal, but could use a bit more help, so if you can’t donate, you can help to spread the word!

Anatomy Atlas Part 4 – Skull

This is no Jolly Roger, but it looks grim nevertheless. I do not think any other part of human skeleton is more evocative than skulls. And I wonder sometimes whether this is a purely a cultural thing, or whether there is something innate in us that associates skulls with death, danger and general unpleasantness. There might be, because our brains are clearly predisposed to recognizing facial features.

Content warning for description of a very unpleasant medical procedure.

Skull Drawing

©Charly, all rights reserved. Click for full size.

The four dots at the jaw bones – bellow the eye sockets in each maxilla and two on the chin on mandibula –  and two dots above the eye sockets are points where the nervus trigeminus exits the protective shell of the skull to innervate facial muscles. That is why these points are more sensitive to pressure than other parts of the face. Professor Kos told us that an inflammation of this nerve is allegedly the most painful illness there is. The whole face hurts and a feather caressing the cheek may feel like being burned with hot poker. One way to reduce the pain in very severe inflammation cases (I do not remember whether this was an old procedure or one or still in use) was to inject a powerful neurotoxin directly into these points. Extremely painful procedure, but one that provided the needed long relief. He told us the patients would scream and sometimes pass out. And the neurotoxin used? Alcohol.

Nervus trigeminus is near surface once more just behind mandibula, right bellow the ear lobe. This knowledge has helped me twice in self-defence, once when I was held in chokehold but I managed to slide my hand to my attackers head and drill my forefinger into this point and second time when another person was having their arm twisted by a wannabe teenage ninja. The pain is so intense, that anyone will let go of anything they hold and try to get their head dout of the way. If you feel brave you can experiment on yourself. I did. I do not recommend it.

Making a Rondel Dagger – Part 1

When the weather is not suitable for work outside, I will make use of my belt grinder, now  Mark 2. So today I took another old file and I decided to make a dagger out of it. The inspiration is dagger used by Vesemir and Ciri in the game Witcher 3, but there will be some design changes even for the blade (less daggery, more knifey). I will post my progress, but beware that I am no expert, just a self-taught hobbyist goofing around. Risk of concussions from facepalming for any expert. You have been warned.

I started with an old file that I threw in the stove fire last year to soften the steel. I cleaned some of the rust on the belt grinder when I was testing the new design. But before proceeding I needed to make the tang slightly longer. So today I just made the tang more pointy and chamfered the edges. Then I took an old piece of round stock of structural steel, cut it lengthwise for a few cm and fitted it onto the file tang.


Old rusty file

Old rusty file

Chamfered file tang

Chamfered file tang

Fitted tang extension

Fitted tang extension

After that there came the trial by fire, or more precisely, electric arc. My first real welding. I admit I should have tried to simply weld scraps together a few more times before I try for something real. I should have. But learning skill on something that is subsequently thrown away simply is not me. I always try to learn on the real thing. Not smart, I know, but that is just me. I have already forced my self to try it once on scraps.

I must admit, I could not have done a better job. That is to say, the job is crap, but I lack the skill to do better. But it holds together even after grinding off the slag and rust from the whole thing. There are some visible slag inclusions in the weld, but it is definitively welded together and since it will all be hidden in the handle, I will not lose sleep over it. Hopefully no rampaging rhino will stamp on it and ruin it all.

Welded tang extension

Welded tang extension with slag.

File cleaned.

Cleaned and the tang ground to rough shape.

With that done I finally could do some work on the belt grinder. Since I do not have machinist’s blue, I used 1 cm thick blue marker to cover one side of the file. Then I have drawn the center line  and quarter marks using a steel ruler and a self-made steel marking needle. After that I ground the file into a symmetrical leaf shape. With that I was done for the evening and I will resume the work at some other random date.

ground basic blade outline

©Charly, all rights reserved.