When the weather is not suitable for work outside, I will make use of my belt grinder, now Mark 2. So today I took another old file and I decided to make a dagger out of it. The inspiration is dagger used by Vesemir and Ciri in the game Witcher 3, but there will be some design changes even for the blade (less daggery, more knifey). I will post my progress, but beware that I am no expert, just a self-taught hobbyist goofing around. Risk of concussions from facepalming for any expert. You have been warned.
I started with an old file that I threw in the stove fire last year to soften the steel. I cleaned some of the rust on the belt grinder when I was testing the new design. But before proceeding I needed to make the tang slightly longer. So today I just made the tang more pointy and chamfered the edges. Then I took an old piece of round stock of structural steel, cut it lengthwise for a few cm and fitted it onto the file tang.

Old rusty file
Chamfered file tang

Fitted tang extension
After that there came the trial by fire, or more precisely, electric arc. My first real welding. I admit I should have tried to simply weld scraps together a few more times before I try for something real. I should have. But learning skill on something that is subsequently thrown away simply is not me. I always try to learn on the real thing. Not smart, I know, but that is just me. I have already forced my self to try it once on scraps.
I must admit, I could not have done a better job. That is to say, the job is crap, but I lack the skill to do better. But it holds together even after grinding off the slag and rust from the whole thing. There are some visible slag inclusions in the weld, but it is definitively welded together and since it will all be hidden in the handle, I will not lose sleep over it. Hopefully no rampaging rhino will stamp on it and ruin it all.

Welded tang extension with slag.

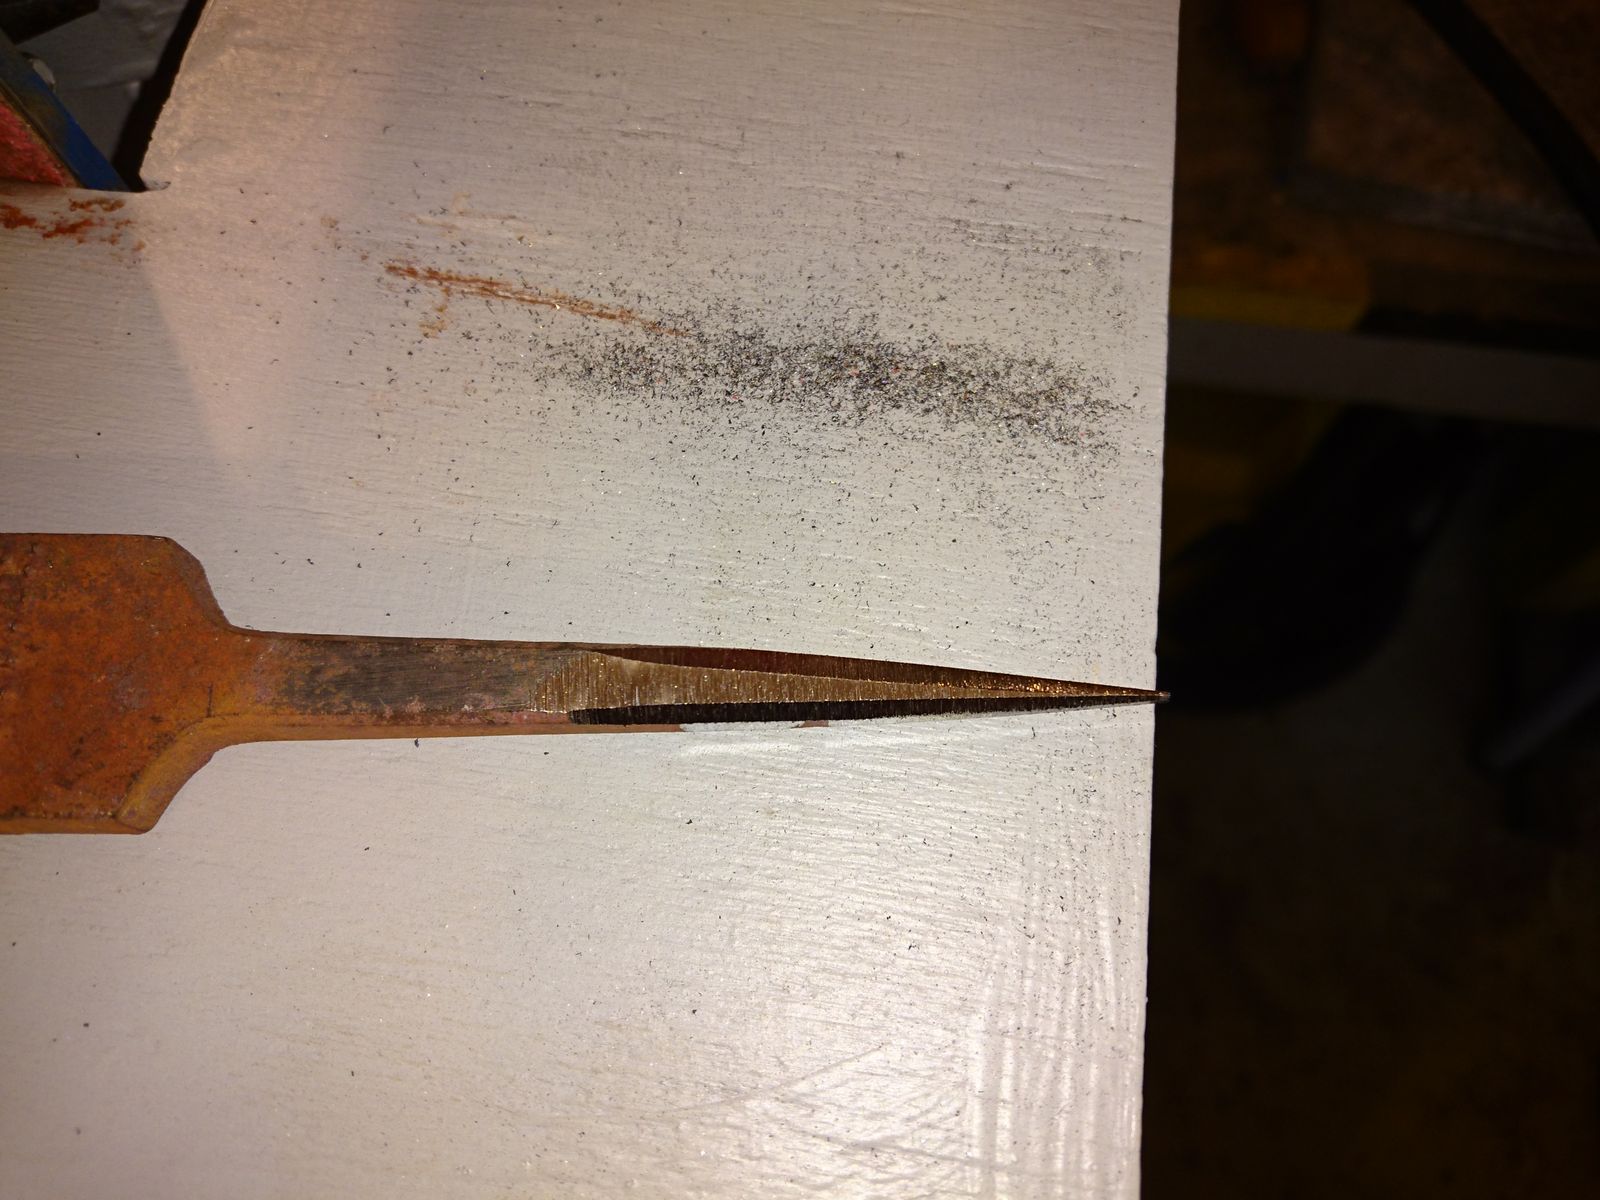
Cleaned and the tang ground to rough shape.
With that done I finally could do some work on the belt grinder. Since I do not have machinist’s blue, I used 1 cm thick blue marker to cover one side of the file. Then I have drawn the center line and quarter marks using a steel ruler and a self-made steel marking needle. After that I ground the file into a symmetrical leaf shape. With that I was done for the evening and I will resume the work at some other random date.

©Charly, all rights reserved.
That’s a really lovely blade profile!
If you don’t want to get machinists’ blue, you can also spray the bar with grey primer and write on it with a sharpie.
It’s always nice to see things being made.
Pretty! Thank you for sharing this process. Completely outside of my sphere of knowledge or abilities, but lovely to observe.