Today I planted new cherry tree but there was not much that I could otherwise meaningfully do, so I have spent about 40 minutes testing my belt grinder. It has worked reasonably well, but the supporting table needs improvement.
I chose this particular file for this project because it is thick at the base – almost 6 mm – and it already had a distal taper. That means I do not need to grind of as much material, but it is actually more challenging to work with, and therefore better exercise.
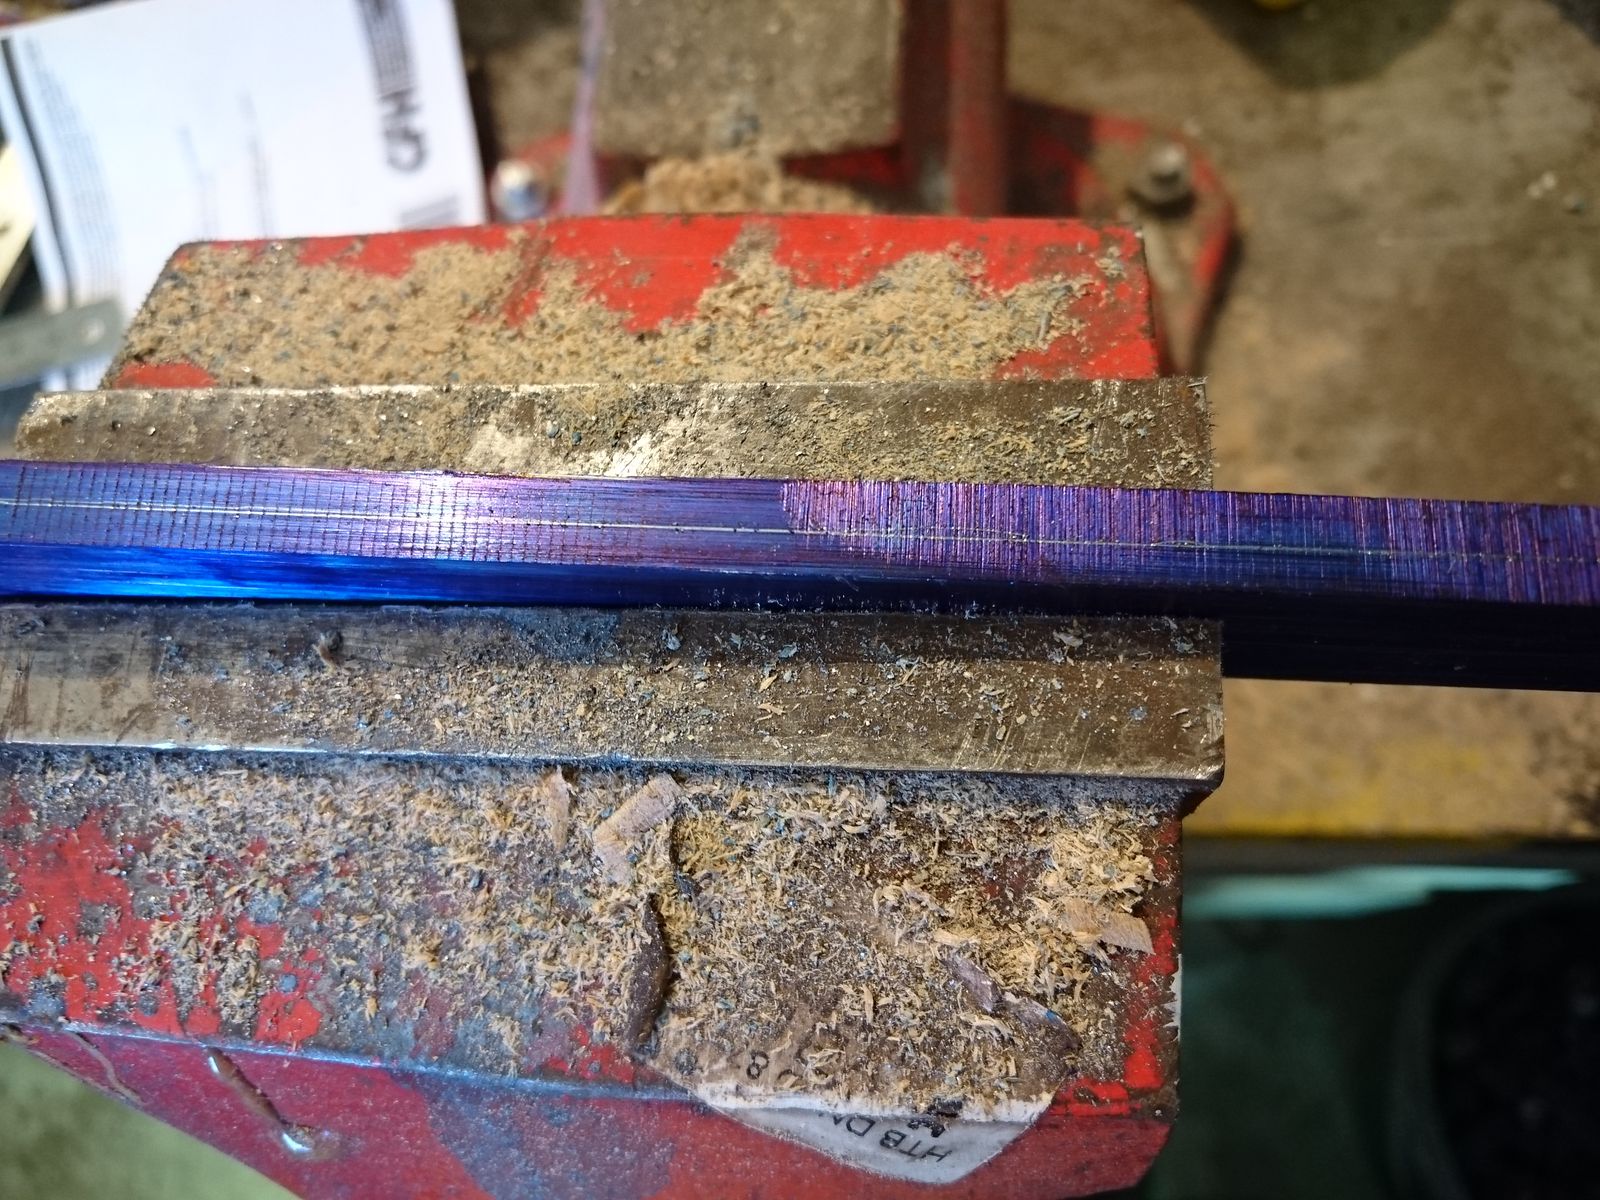
Centerline for the edge.
First problem was scribing the center line for where the edge shall be. Due to the taper I could not use my scribing tool because it scribes line at a constant distance from an edge. Luckily the curvature is very mild, so I could do with a steel ruler for most of the way and steady(ish) hand for the rest. I am not fond of measuring, I prefer to eyball the work, but for blade symmetry is important. The more asymmetrical the roughed out blade, the more it warps in quench. Very slight warp can be ground off, but big warp not. And of course grinding off a warp on hardened blade is tougher on the abrasive belts, and those do not grow on trees.

Scribed bevel lines.
After scribing the center line, I also scribed two lines for where the bevels shall go. This dagger will have only one cutting edge, and in order to make it more useful as an ordinary knife, the bevel should go almost all the way to the spine at first grind, and wander de-facto all the way to it during polishing. On the other hand shallower bevel is easier to make and makes for stiffer blade. At this point I have not decided on the way I will do it. I scribed two bevel lines and decided to grind to the first one and reconsider.
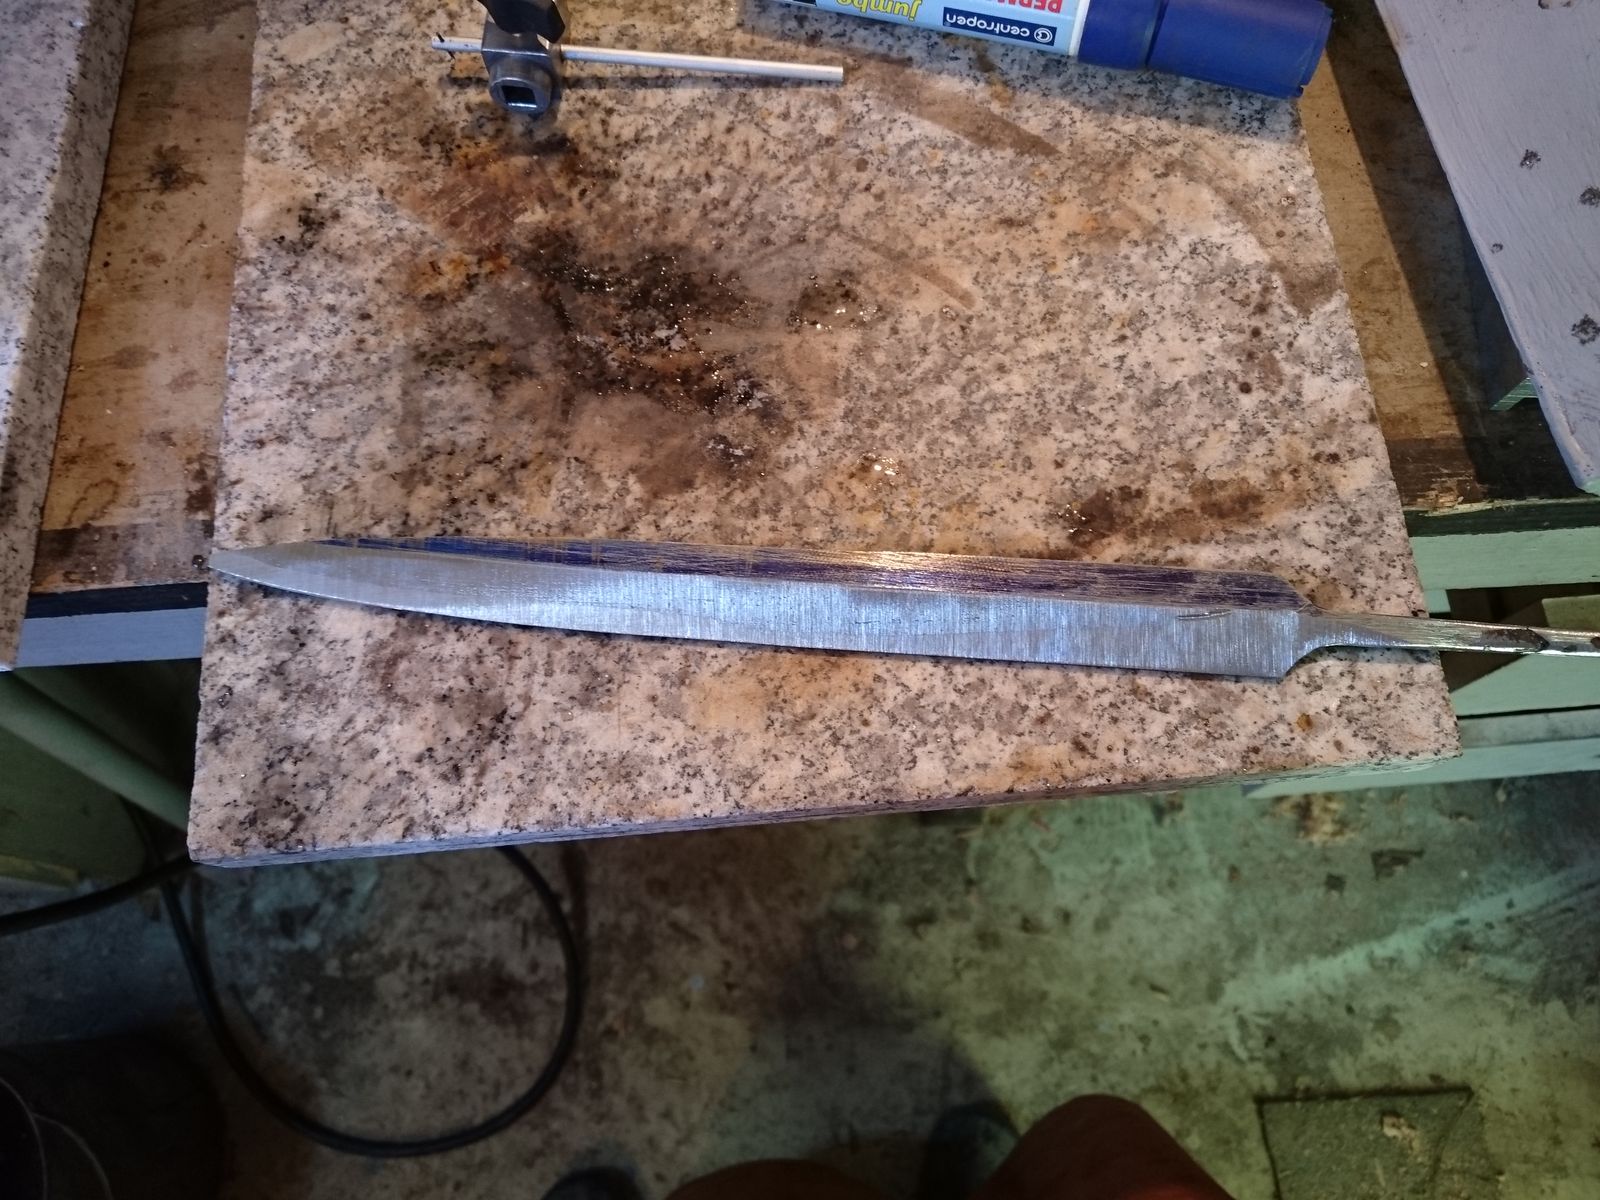
With these preparations done, which took only about five minutes, I have spanned a 60 grit belt on my grinder and started. First time I was grinding with the use of supporting table and it was a great help at first and slight hindrance later on. For me it might be good to use the table for first facing and then go back to free-hand. I am slowly finding my personal way of doing these things. After slightly over half an hour I ground both sides to the first bevel line and had to call it quits for the day. Now I am considering my next step. Grind or not to grind, that is the question.
©Charly, all rights reserved.
Gosh, look at that! It looks great already! I’m excited to see you go through the rest of the process, it’s really interesting. But wow, from file to knife so quickly -- so cool!
Progress!