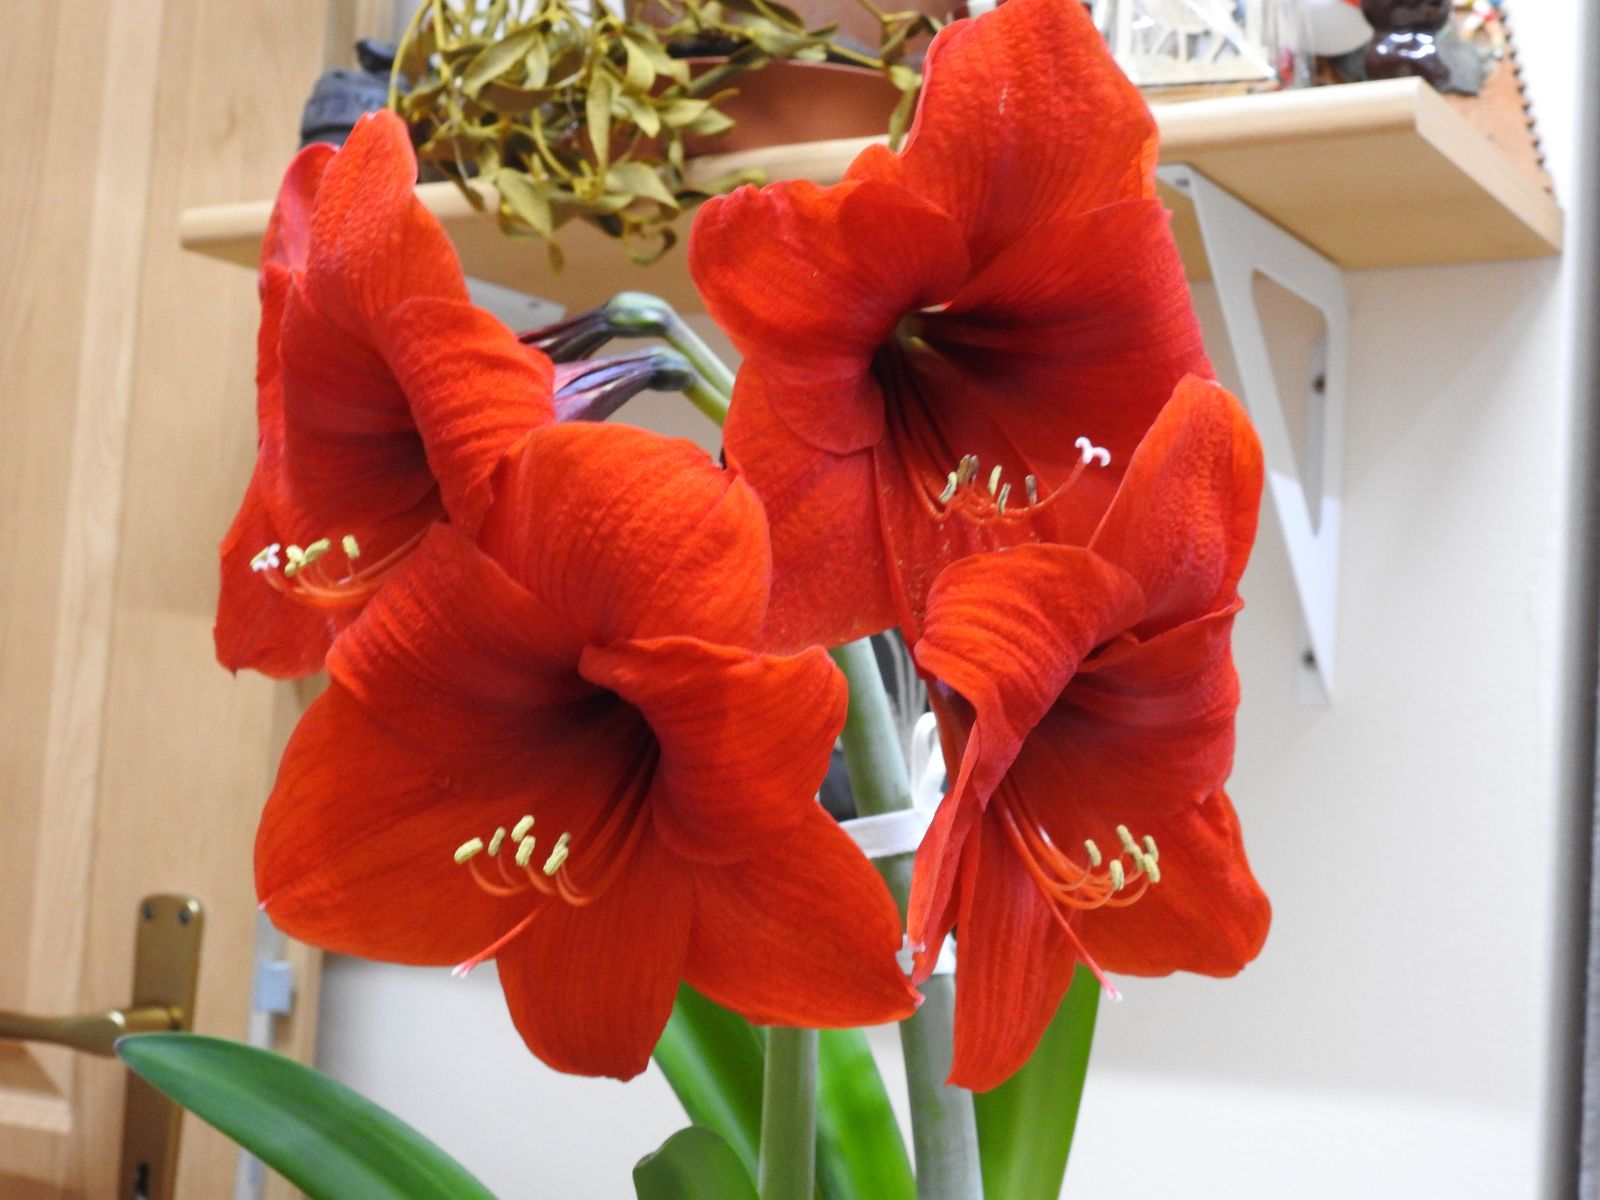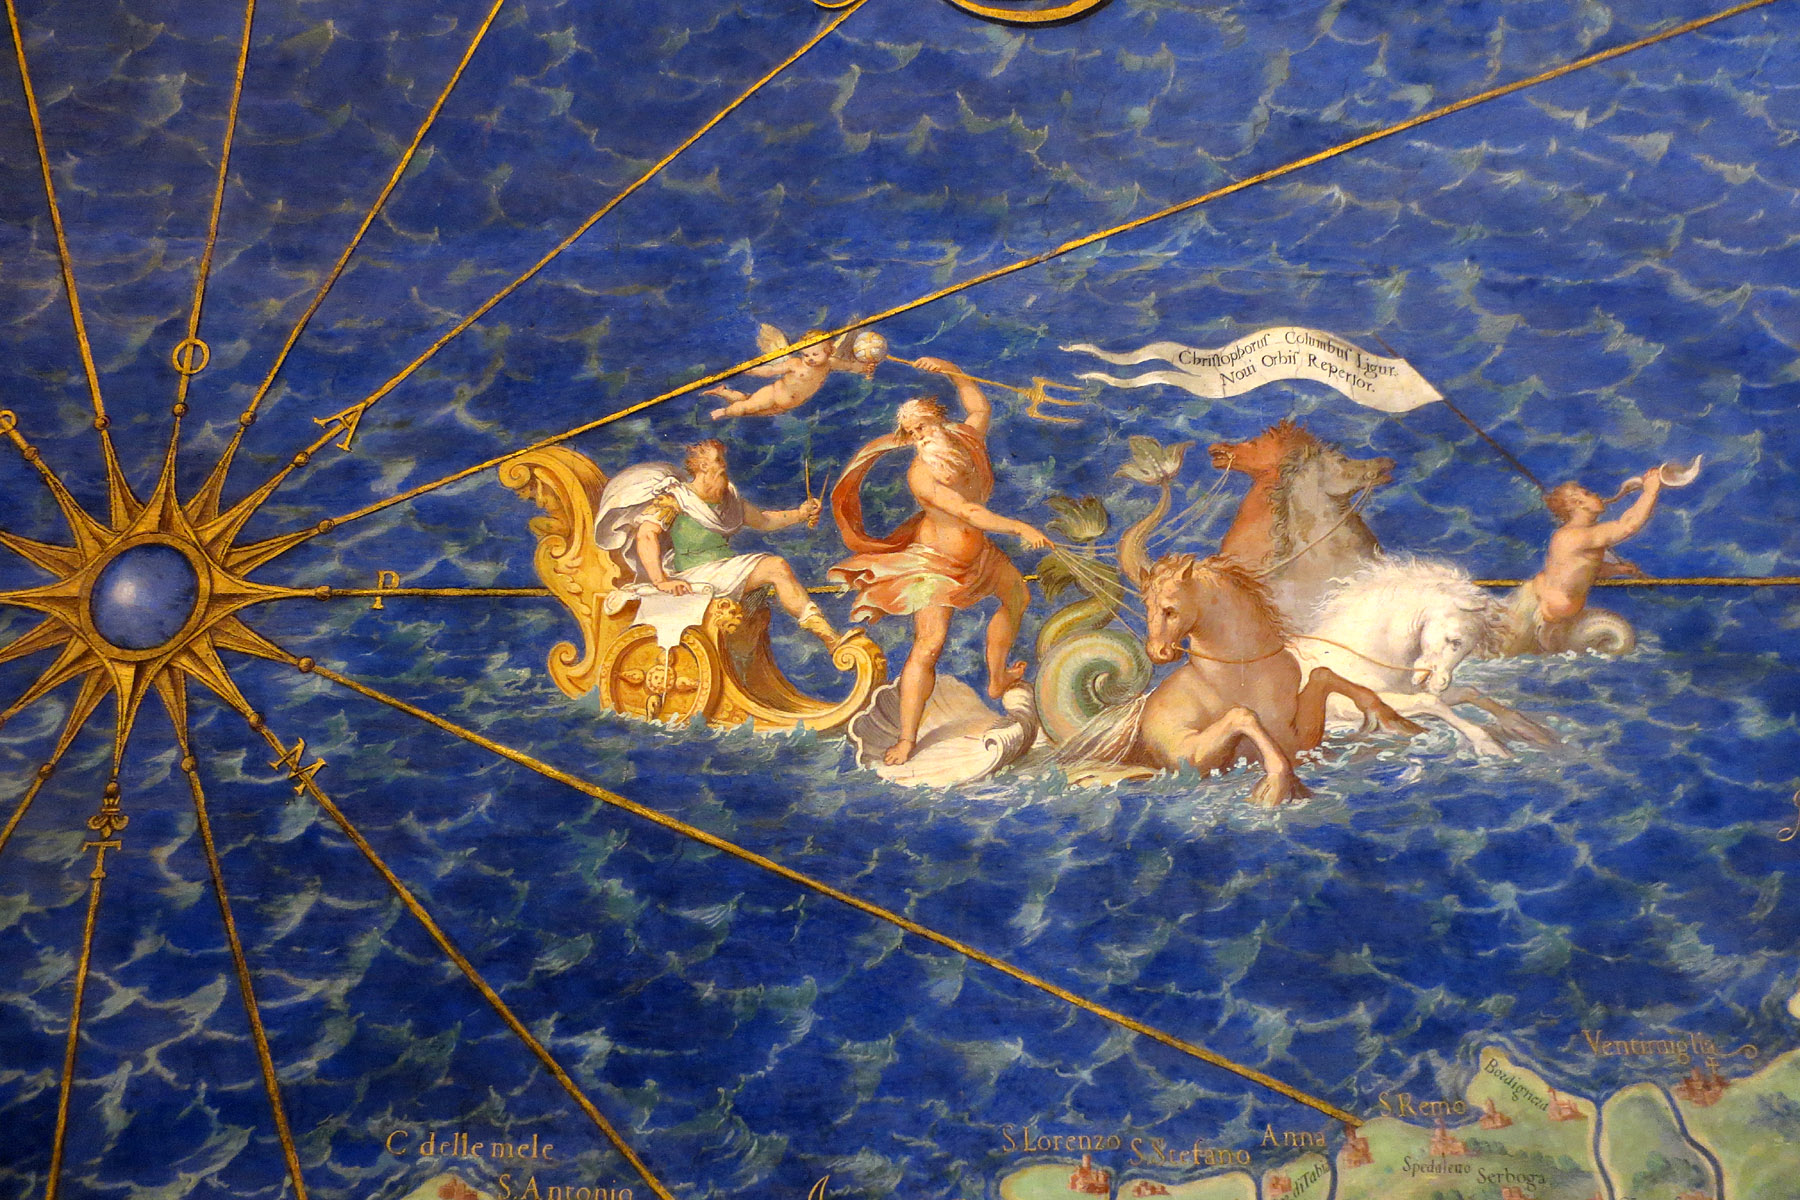
The Book of Exposition: The Secrets of Oriental Sexuology.

15th Century erotica! Oh my. This looks to be very interesting, and I do plan on reading it. Unfortunately I can’t do that right away, the day before chemo is always a busy one.

A decade or so after the famed Orientalist Richard Burton translated Muhammad ibn Muhammad al-Nafzawi’s The Perfumed Garden of Sensual Delight (1886), an anonymous translator became the first to critically assess and introduce for Anglophone audiences another of the Middle East’s more controversial and enigmatic texts — Kitab al-Izah Fi’ilm al-Nikah b-it-Tamam w-al-Kamal, or The Book of Exposition — a collection of fifteenth-century erotica. Despite there being much dispute over the authorship of the work, from both Western and Middle Eastern scholars over the centuries, The Book of Exposition is nowadays credited to a fifteenth-century Egyptian polymath called Jalal ad’Din al-Suyuti (1445-1505). Although perhaps best known for his co-authorship of Tafsir al-Jalalayn (Tafsir of the Two Jalals), a classical Sunni exegesis of the Quran, al-Suyuti was also a prolific erotologist, writing at least twenty-three treatises on various aspects of the sexual arts.

The two dozen stories he presents in The Book of Exposition are an exploration of promiscuity and sexual taboos under the societal constraints of the Arab-Islamic world. In “The Strange Transformation that Befell a Certain Believer’s Prickle” a man is granted a “Night of Power” in which he is given three wishes to be fulfilled by Allah.

[…]

In his opening essay and commentary, An English Bohemian sets out to dispel Victorian attitudes to sexuality through the idolisation of the Oriental — setting up “Oriental Sexuology” as a mystical alternative for aspiring libertines/hedonists. He doesn’t just limit himself to the Orient in his examination of sexuality. He offers an insight into the sexual customs of other lands he claims to have travelled and researched extensively as a former practitioner of medicine: from Loango to the Aztecs, Paraguay to Samoa, Europe to Arabia. Despite his intentions, we perhaps end up learning more about Western attitudes to sex than the those of the non-European cultures he examines. His assertions, in their elevation of Orient over the Occident, appear to be motivated more by a desire to rebel against the prevailing establishment of his own culture than offering a nuanced picture of a foreign culture’s attitudes to sex.

You can read more at The Public Domain Review (the book is also available there), or go straight to the book here.

Making a Rondel Dagger – Part 5 – Bounce

I lied to myself when I said that I will continue even though the blade might not be hardened properly. I just could not do it. Even though the knife will in the end be just ornamental thing, a wall hanger that will never be used, I could not bring myself to making a knife with improperly hardened blade. So I had another go at it. Fail again, the steel was still soft and it was not only surface – I tried to break of the tip and it bent and straightened as if it were copper. So I had another go at it, using water as quenchant – a big risk because in high carbon steel this can lead to the blade cracking or even exploding into bits. Fail again, it remained soft.

At this point I had to reconsider. I was convinced that I did everything correctly, testing with magnet for the austenite transformation etc. and I am already relatively good at assessing the temperature by the glow color, so I did not think the failed quench was due to wrong temperature. The quenchant also could not be the problem, since I hardened three blades in it without problems and one at the same time as this one failed.

So I surmised the problem lies in the steel. Perhaps it was surface hardened file and when I did the test with ferric chloride I had all the hardened steel ground off already, so it could not show in color. Or perhaps I burned off the carbon due to the not-so-well functioning protective coating. I consider the first option to be more likely. Anyway, I could throw this blade away and start anew, or I could do what I mentioned before – surface harden it.

Theoretically this makes for a very good dagger, because under the hard and brittle surface remains soft and tough steel, which means the dagger would not break easily when hitting something hard – like an armor. But it is a long process that burns through a lot of charcoal with results unsure. And the layer might be too thin and get ground off during polishing.

I succumbed, knowingly, to the sunk cost fallacy and decided to go for it in an attempt to save the blade. This is what I have done:

Cleaned dagger blade

©Charly, all rights reserved. Click for full size.

First I have cleaned the whole blade thoroughly with angle grinder and a twisted knot wire brush wheel. After that I also scrubbed the whole blade with abrasive pad (similar to Scotch-Brite, only different manufacturer). Whilst doing this I noticed that the blade got slightly blotchy and pitted, so there was definitively more material burned off than I am happy with. Inevitable after three failed quenches. Theoretically quench could be attempted infinite amount of times – but practically the blade would burn away pretty soon.


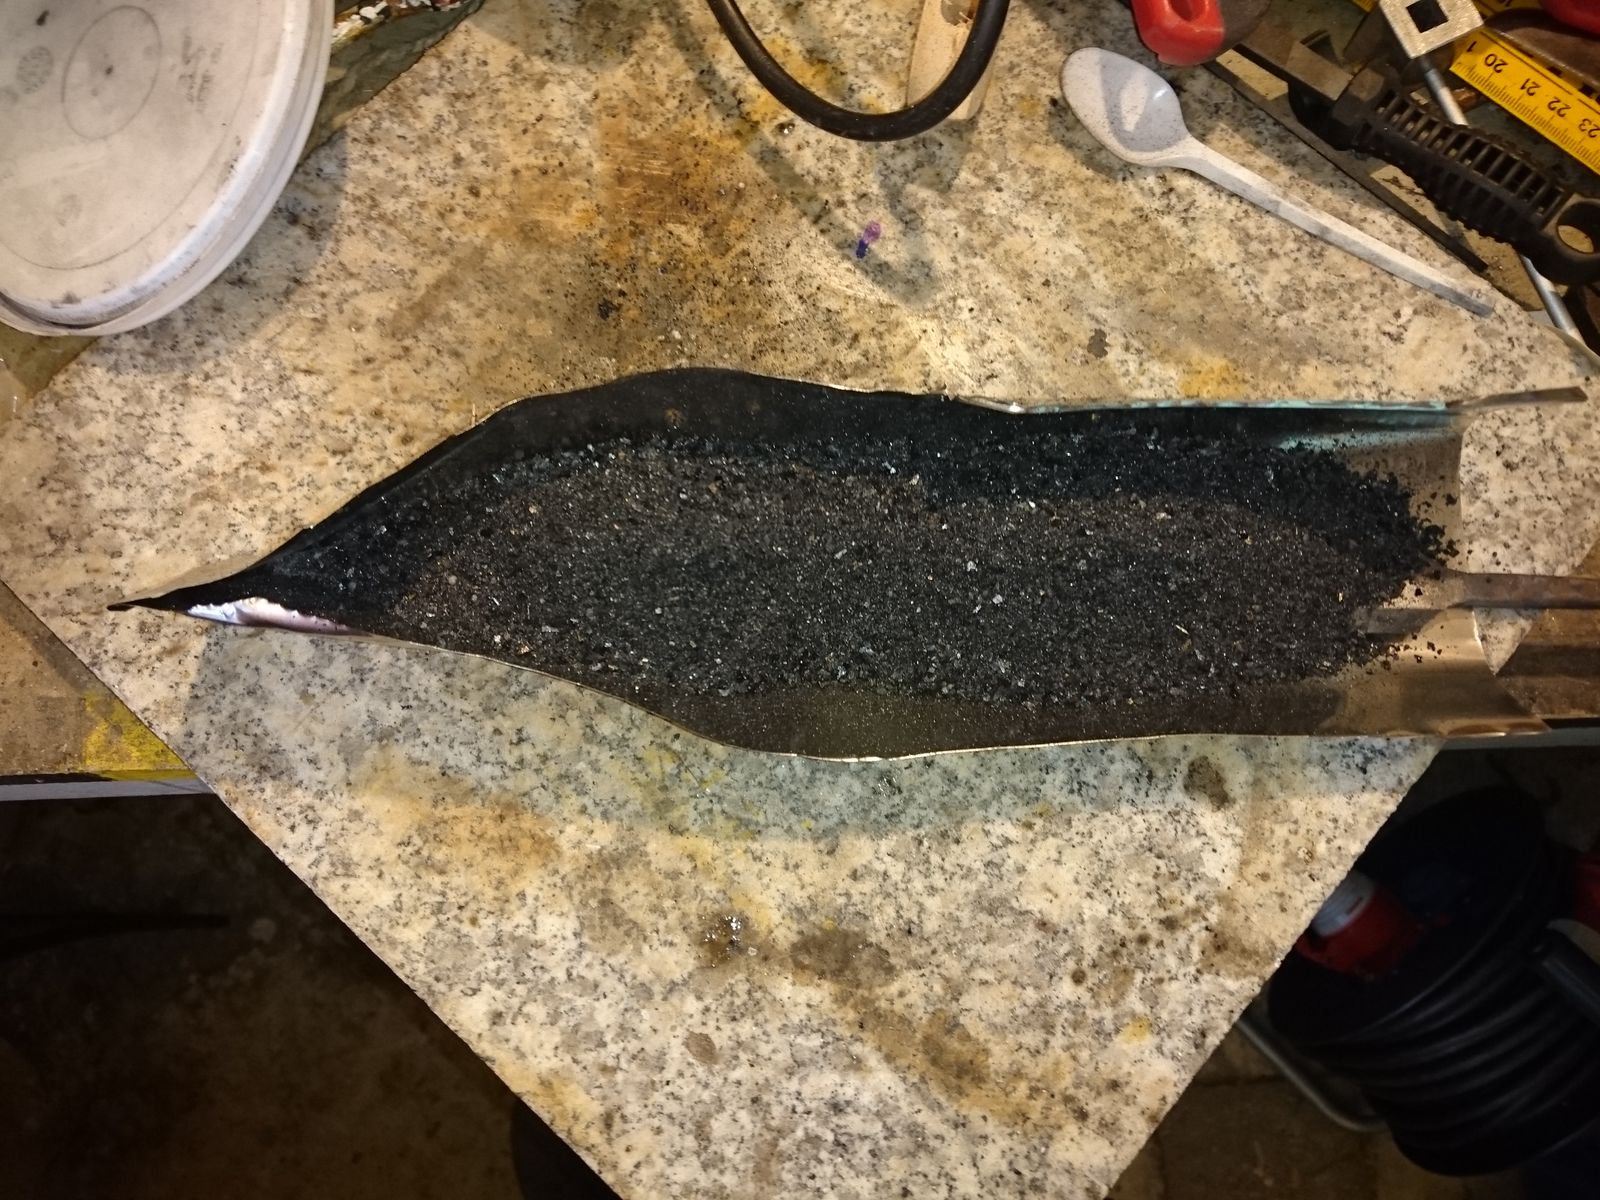
Blade packed in charcoal

©Charly, all rights reserved. Click for full size.

Secondly I took my limited supply of stainless steel foil and wrapped it around the blade forming a little trough. Not wanting to perform more than one experiment in one project I did not experiment with the hardening material and I used powdered charcoal. Any organic material would do, really (sugar works extremely well I might add, and in the future I intend to experiment with bone dust and various mixtures from easy to get chemicals), but they give blotchy, coloured surfaces, and with charcoal I had a best shot to get evenly hardened and evenly coloured surface.


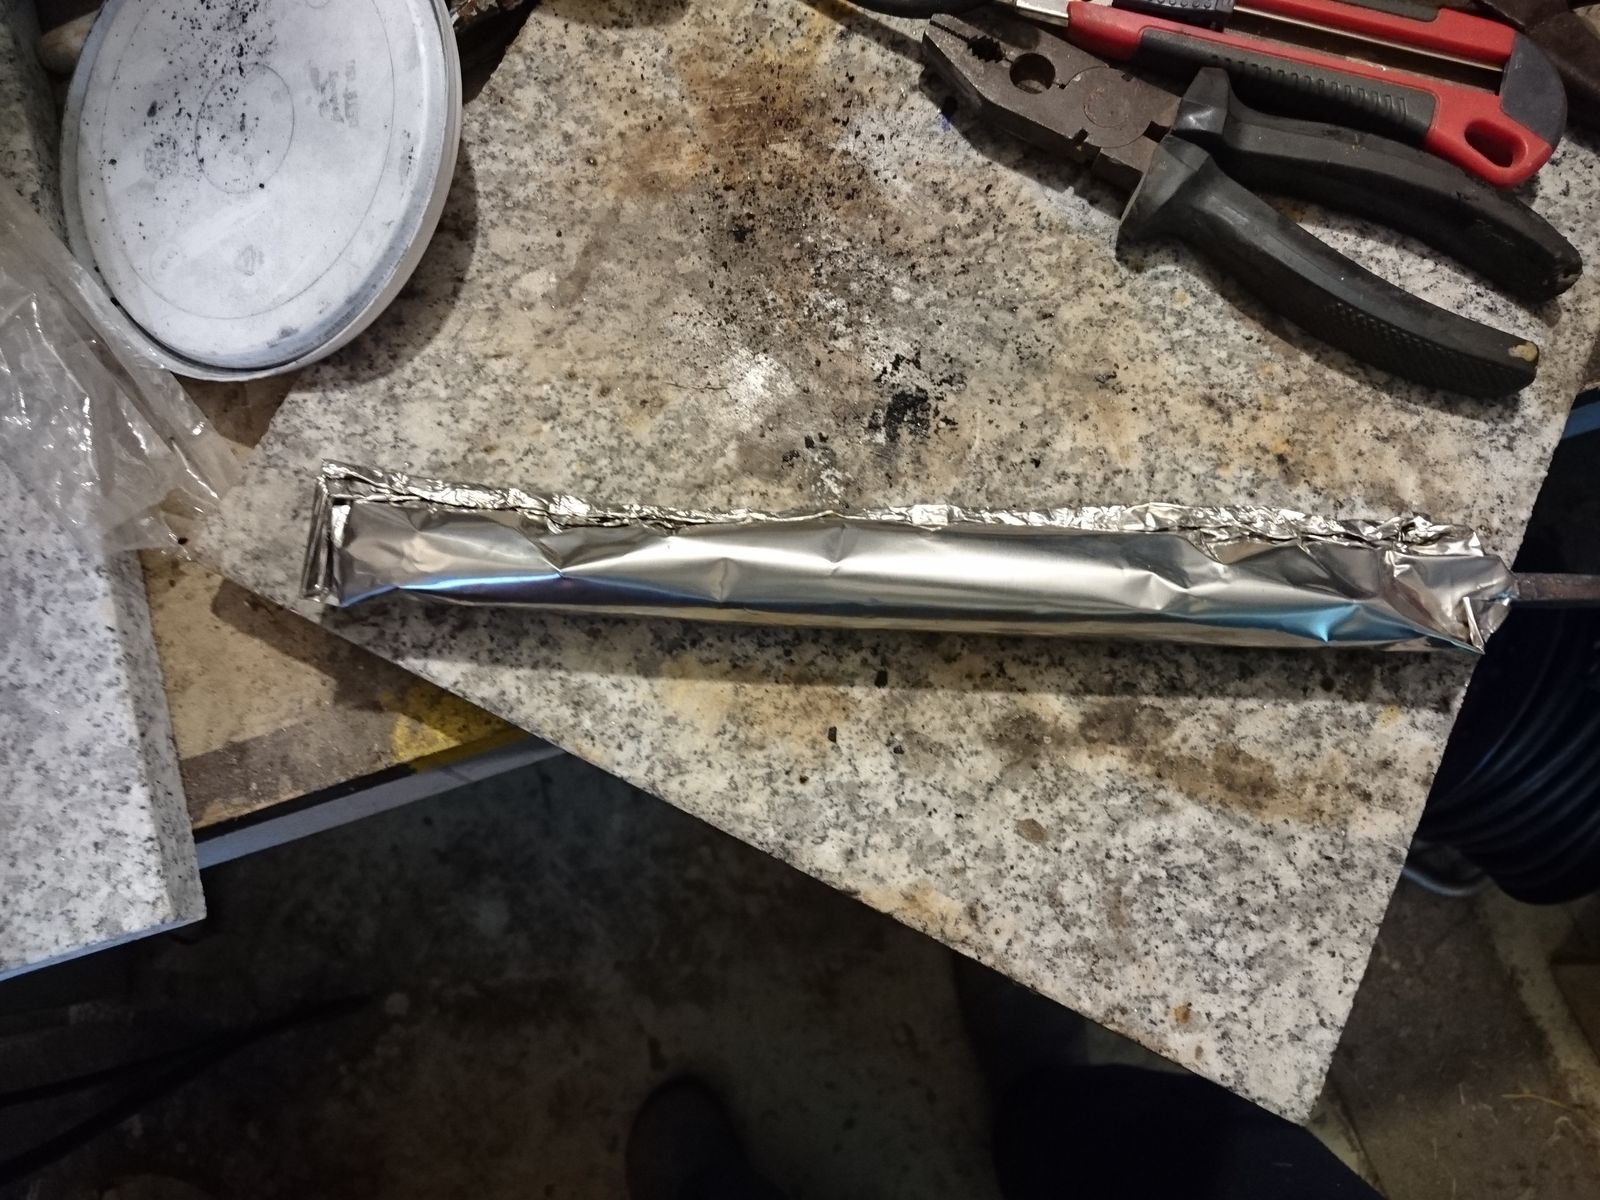
Package enclosed

©Charly, all rights reserved. Click for full size.

After filling the trough about halfway with the powder I crimped very tightly the edges, folding them twice and pressing the folds together in a vice. It is important to get the package as air tight as possible. But the tang was not packed in, because that was supposed to remain soft. Thus prepared package was now ready for heating. For this I have used my improvised setup build from fireclay bricks, but without forced air supply (a fancy way of saying I left the vacuum cleaner in the workshop). I filled the fireplace with charcoal, buried the package in it, lit it and left it to its own devices over night. Under an impromptu cover because it was raining.


The next day the package was burned through near the tip, a bad sign. But the charcoal dust was still all in there and it did cling to the blade very nicely – I had to scrape it off. A good sign. But I decided to repeat the process once more just to be sure.

Today, after I returned from work, the weather was again good so I could have another shot at quenching this cursed thing.

And it is a success. The blade is hard as glass on the surface and there are no cracks that I see after cleaning it with wire brush. I hope no hair thin cracks shows later on.

Tomorrow the blade goes into the baking oven for heat treatment 150°C half an hour. Maybe two courses.

The Smithsonian Presents Interactive Androids.

Pepper saying hello to staff at the Smithsonian Castle. (all photos courtesy Smithsonian).

Pepper saying hello to staff at the Smithsonian Castle. (all photos courtesy Smithsonian).

The next time you visit a Smithsonian museum, the first greeting you get may come from a gleaming, four-foot-tall android extending their hand. This would be Pepper, one of 25 humanoid robots that were introduced two days ago to six Smithsonian spaces, from the Hirshhorn Museum to the National Museum of African American History and Culture. Donated by their engineers at Softbank Robotics, the platoon of Peppers is intended to enhance the visitor experience and ensure that daily operations run smoothly.

Pepper, which was designed to interact with humans, is the first bot capable of recognizing our emotions. These models already work in an array of industries around the world, serving as receptionists in Belgian hospitals and even as priests in Japan that lead funerary rituals. While the robot has been on display in museums, the Smithsonian now represents the first museum complex to actually use these wide-eyed automata for their services.

“We see them as a new tool for the docents to use, especially since they are always paired with a person,” a spokesperson for Smithsonian told Hyperallergic, noting that the Peppers are “absolutely not replacing docents.”

Softbank Robotics donated the Peppers for an experimental, pilot program intended to help the Smithsonian solve problems, from boosting visitorship to “under-attended galleries” and encouraging greater engagement with artworks. While the robots can provide helpful information by answering commonly asked questions, they can also indulge in more lighthearted activities for which human docents do not always have the time (or patience); visitors can ask Pepper to dance, play games, and even pose for a selfie. While the robots currently do not have captioned speech, the Smithsonian said that it is working to caption images that appear on their screens and “will continue with our software partners to make Pepper as accessible as possible.”

Very cool! I’d like to meet Pepper. You can read and see much more at Hyperallergic.

Youtube Videos: Capwell & Easton: A medieval knightly effigy in Dennington, Suffolk

This is a very interesting and informative series of three videos about a knightly effigies, what they are, why they were made and how they can help us understand the history of medieval armor from times where very few real exemplars are left. The series takes overall about an hour. Info on Tobias Capwell can be found here -click-


The Beautiful Town Idstein – Part 3 – Hexenturm

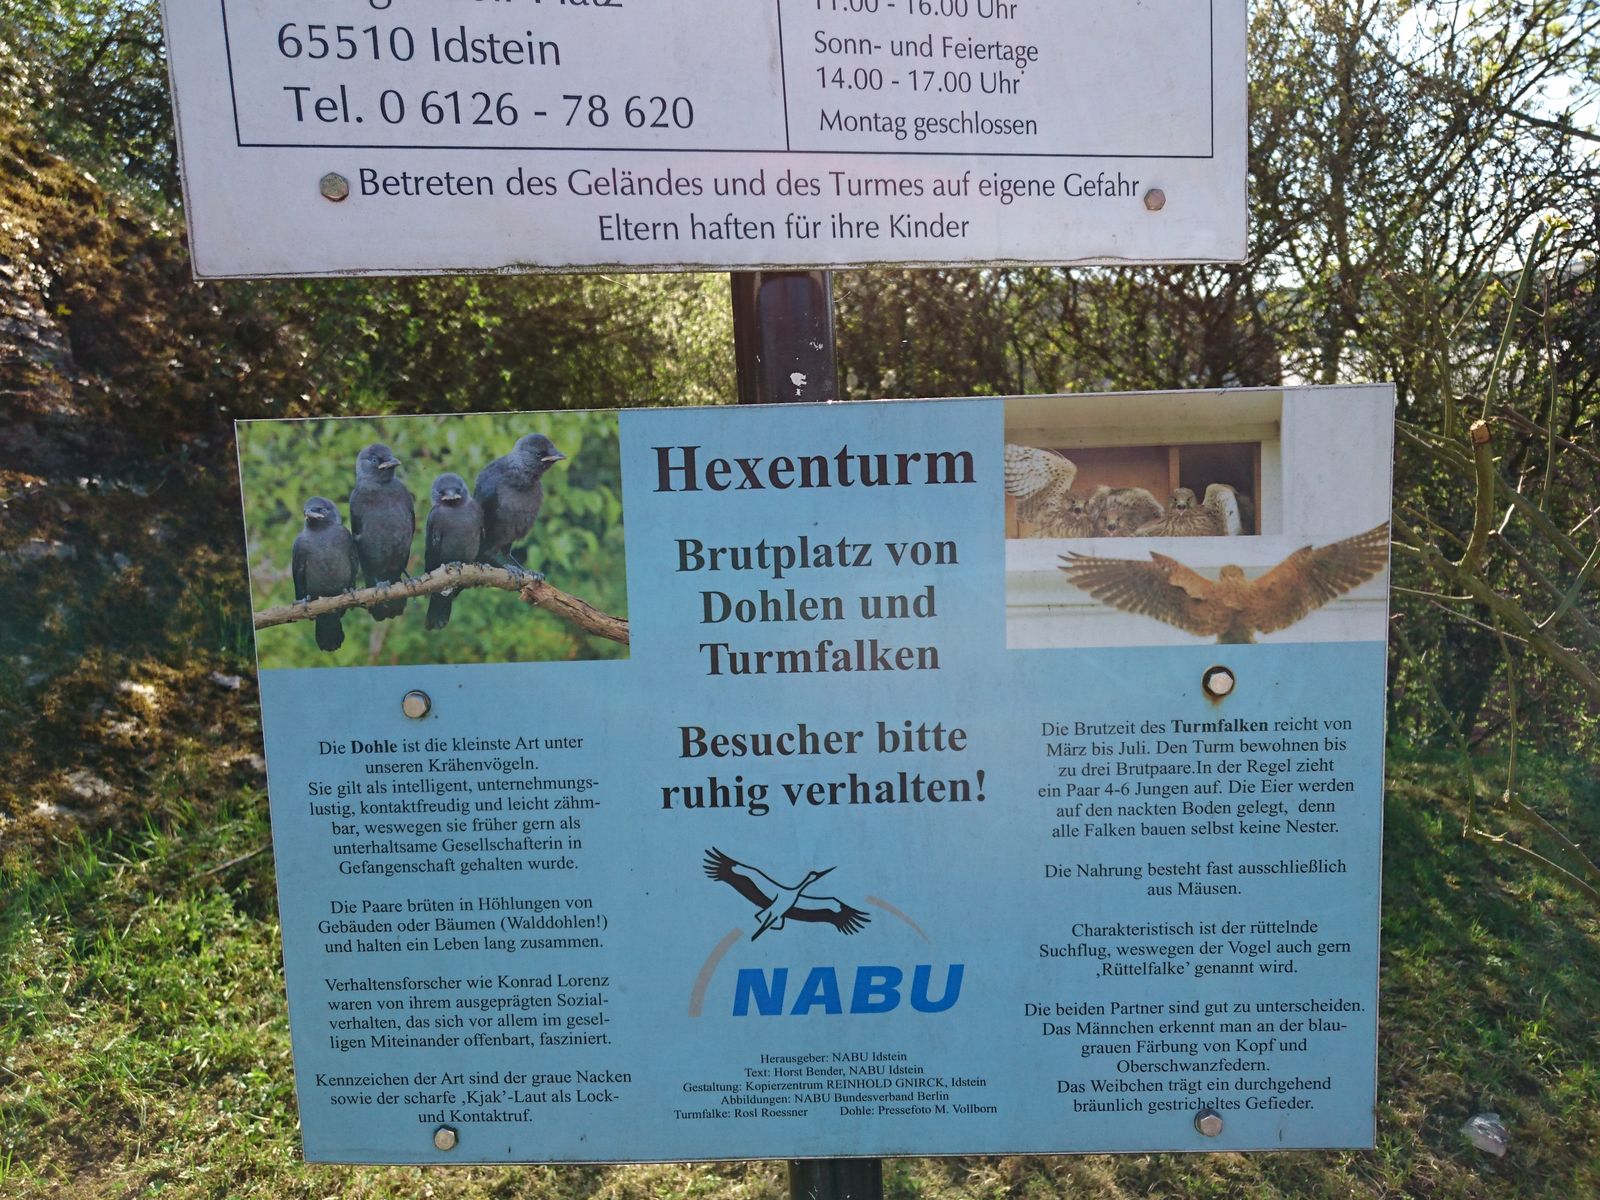
Hexenturm means “Witch tower” and according to this plaque it is the oldest building in Idstein.

Plaque Hexenturm

©Charly, all rights reserved. Click for full size

The only way to approach the tower is through the gate. This is the view of the tower as one approaches it.

Hexenturm

©Charly, all rights reserved. Click for full size

Hexenturm

©Charly, all rights reserved. Click for full size

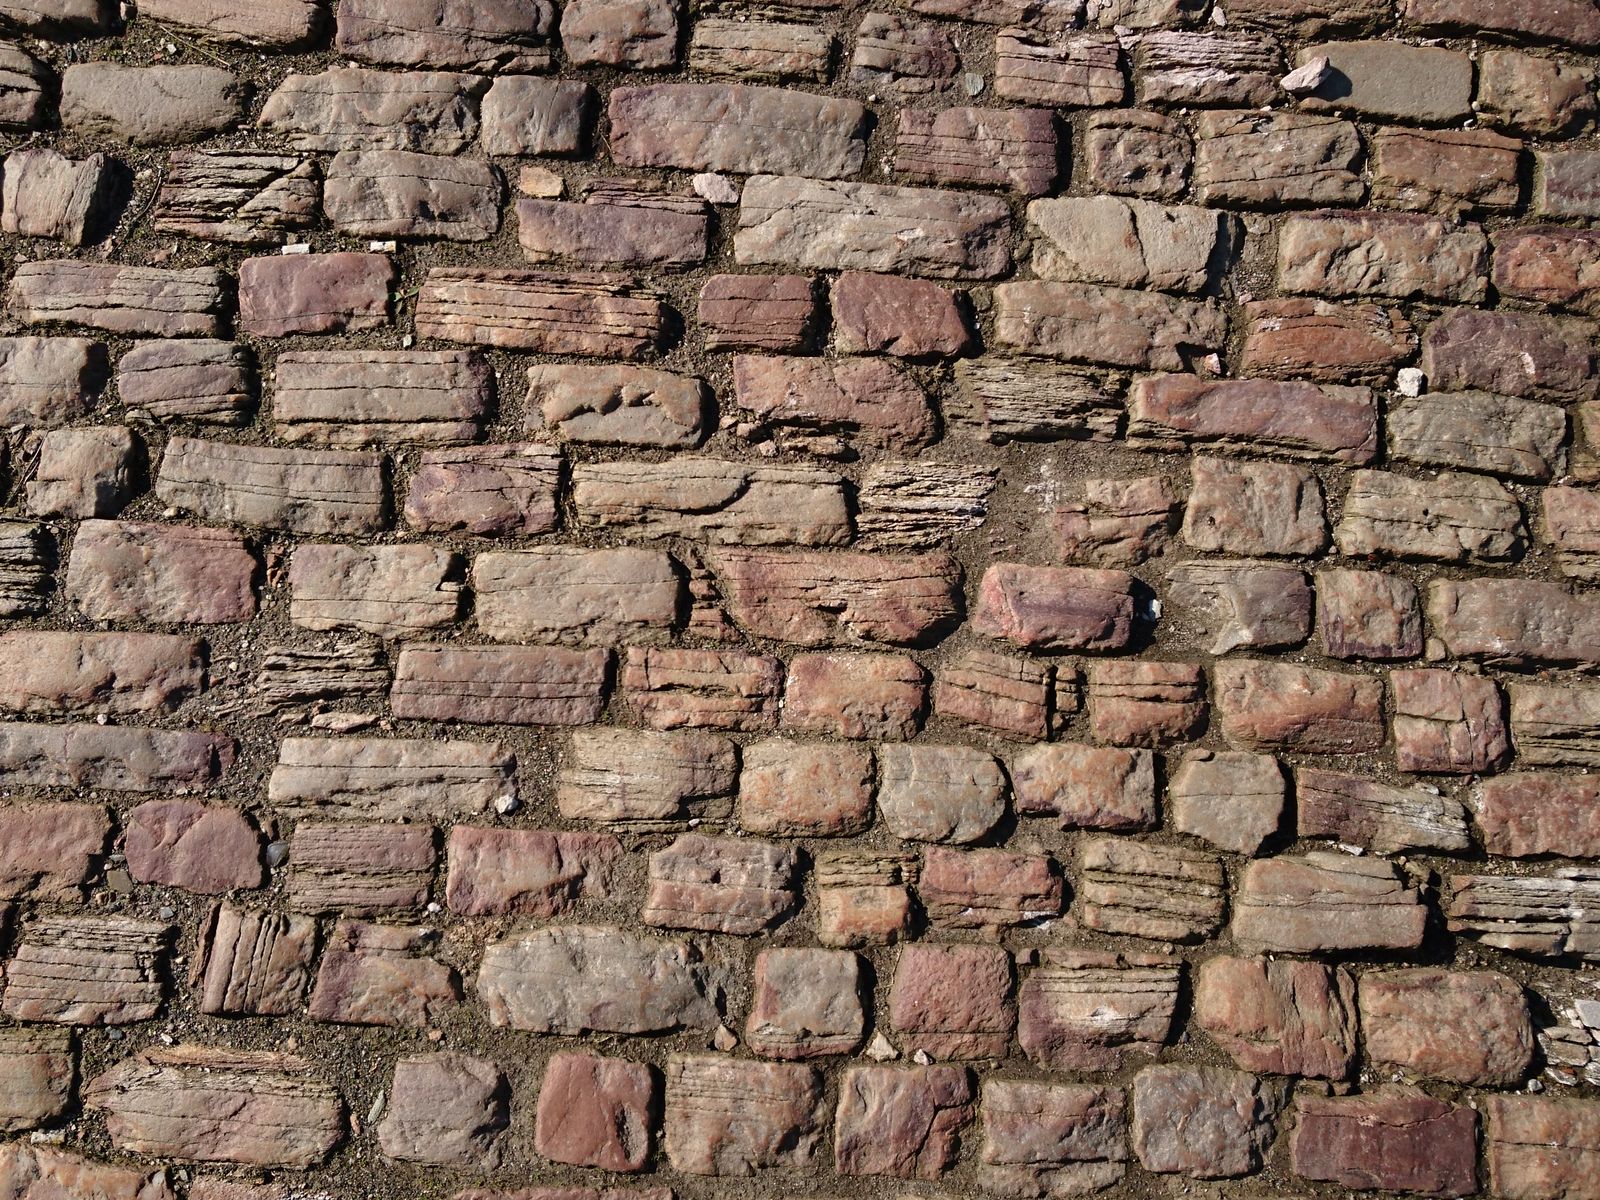
And another angle, from the entrance to the castle. And the view of the pavement leading from the gate to the castle and the tower, which looked rather interesting in the evening light.

Hexenturm

©Charly, all rights reserved. Click for full size

Tiles

©Charly, all rights reserved. Click for full size

The name was given to the tower allegedly because there were incarcerated women accused of witchcraft, but according to German Wikipedia there is no evidence for his although the absence of evidence is not evidence of absence. Whatever the truth, nowadays the tower has a much better purpose – it is  a nesting site for kestrels Falco tinnunculus and jackdaws Corvus monedula. We have heard the birds but we did not see them and of course, even had we seen them I could not make pictures.

Hexenturm

©Charly, all rights reserved. Click for full size

Poor Man’s Belt Grinder – Mark 2

As I was saying last time, I have given my belt grinder a complete overhaul.

Since now I knew that I can do it and it will work, I was not so stingy about spending money so I bought for about 50€ a few beech wood profiles 50×50 and 50×30 mm, some new ball bearings and a few other thing.

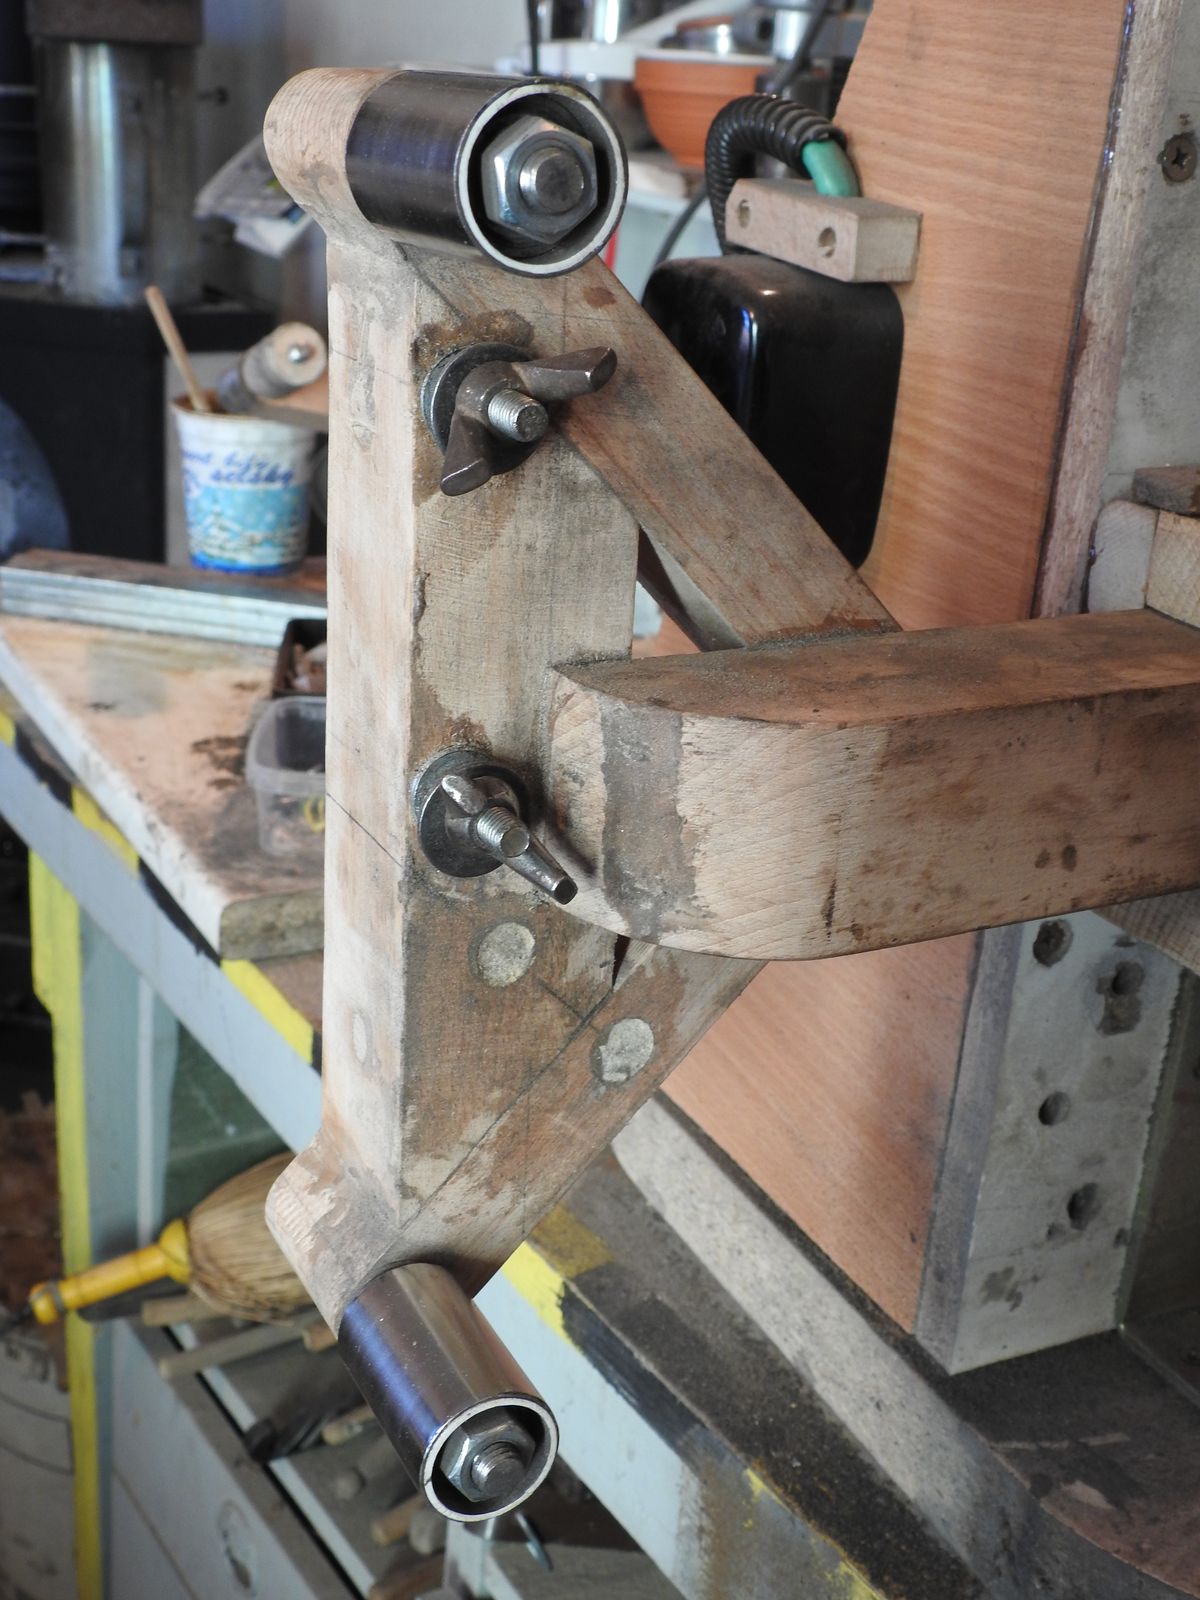
First thing I have done after that was to remove the belt support and compeltely dismantle the idler wheels. I have rebuild them. Instead of using threaded rods throughout I used about 100 mm length of a 10 mm rod on which I cut thread on the ends – on one side just about 1 cm each side . This has provided better fit with the inner opening of the ball bearings. I also shortened the inner spacer between the  ball bearings so that I can sink in the nuts inside so it and the rod are flush with the wheel edge.

This has allowed me to to fix the wheels on the future idler on only one side, so I fixed them perpendicular to 50×30 profile and after that I got distracted.

Latch

©Charly, all rights reserved. Click for full size.

The distraction was the spanning wheel, which I did not intend to rebuild. But changing belts was a bit awkward – I had to pull on the lever with left hand and change the belt with the right hand. And I got an idea on how to improve that. So I have built out of plywood a gravity latch that falls into position when the lever is pulled beyond certain point. That frees both hands to put on the belt comfortably and without hassle. When the belt is on I lift the latch, the spring spans the arm and after I let go the latch end lays on the top of the spanning arm without restraining it.

Idler

©Charly, all rights reserved. Click for full size.

With that done I returned to the idler. Whilst I did spend some money on good materials, I did not spend too much time with planning except in my head. So I was still working by mostly piling stuff on other stuff making it up as I go along. I did not bother with precision too much and relied heavily on epoxy to fill any gaps and I added dovels and sometimes screws for strength

The only thing that I actually have spent some time to make precise was the parallelity of the wheels.

On the idler I prepared two screws with wing nuts for fixing the platen, and on the other side are two screws for fixing the support table (not seen here, but the positions are the pale circles in the lower half).

With that done I have cut two platens out of an old U profile that was rusting in my garden for years. Here is the final setup with all threee options visible. Left is setting for 20 cm hardbelt, middle 12 cm hardbelt, 10 cm slackbelt and right is 24 cm slackbelt.

Belt support options

©Charly, all rights reserved. Click for full size.

After this was done and tested – which I have done by truing the platens by alternating them as support/workpiece against each other on the grinder – I gave the whole thing a new coat of paint. The machine blue and the detacheable idler arm pale grey.

Belt grinder

©Charly, all rights reserved. Click for full size.

Belt grinder

©Charly, all rights reserved. Click for full size.

It is Amazing how a simple paint can improve the looks of things, isn’t it? I am glad to say that it all works as intended.

Next step is to make second detacheable arm with changeable wheels of different diameters, for hollow grind an fullers.

The Beautiful Town Idstein – Part 2 – Rathaus

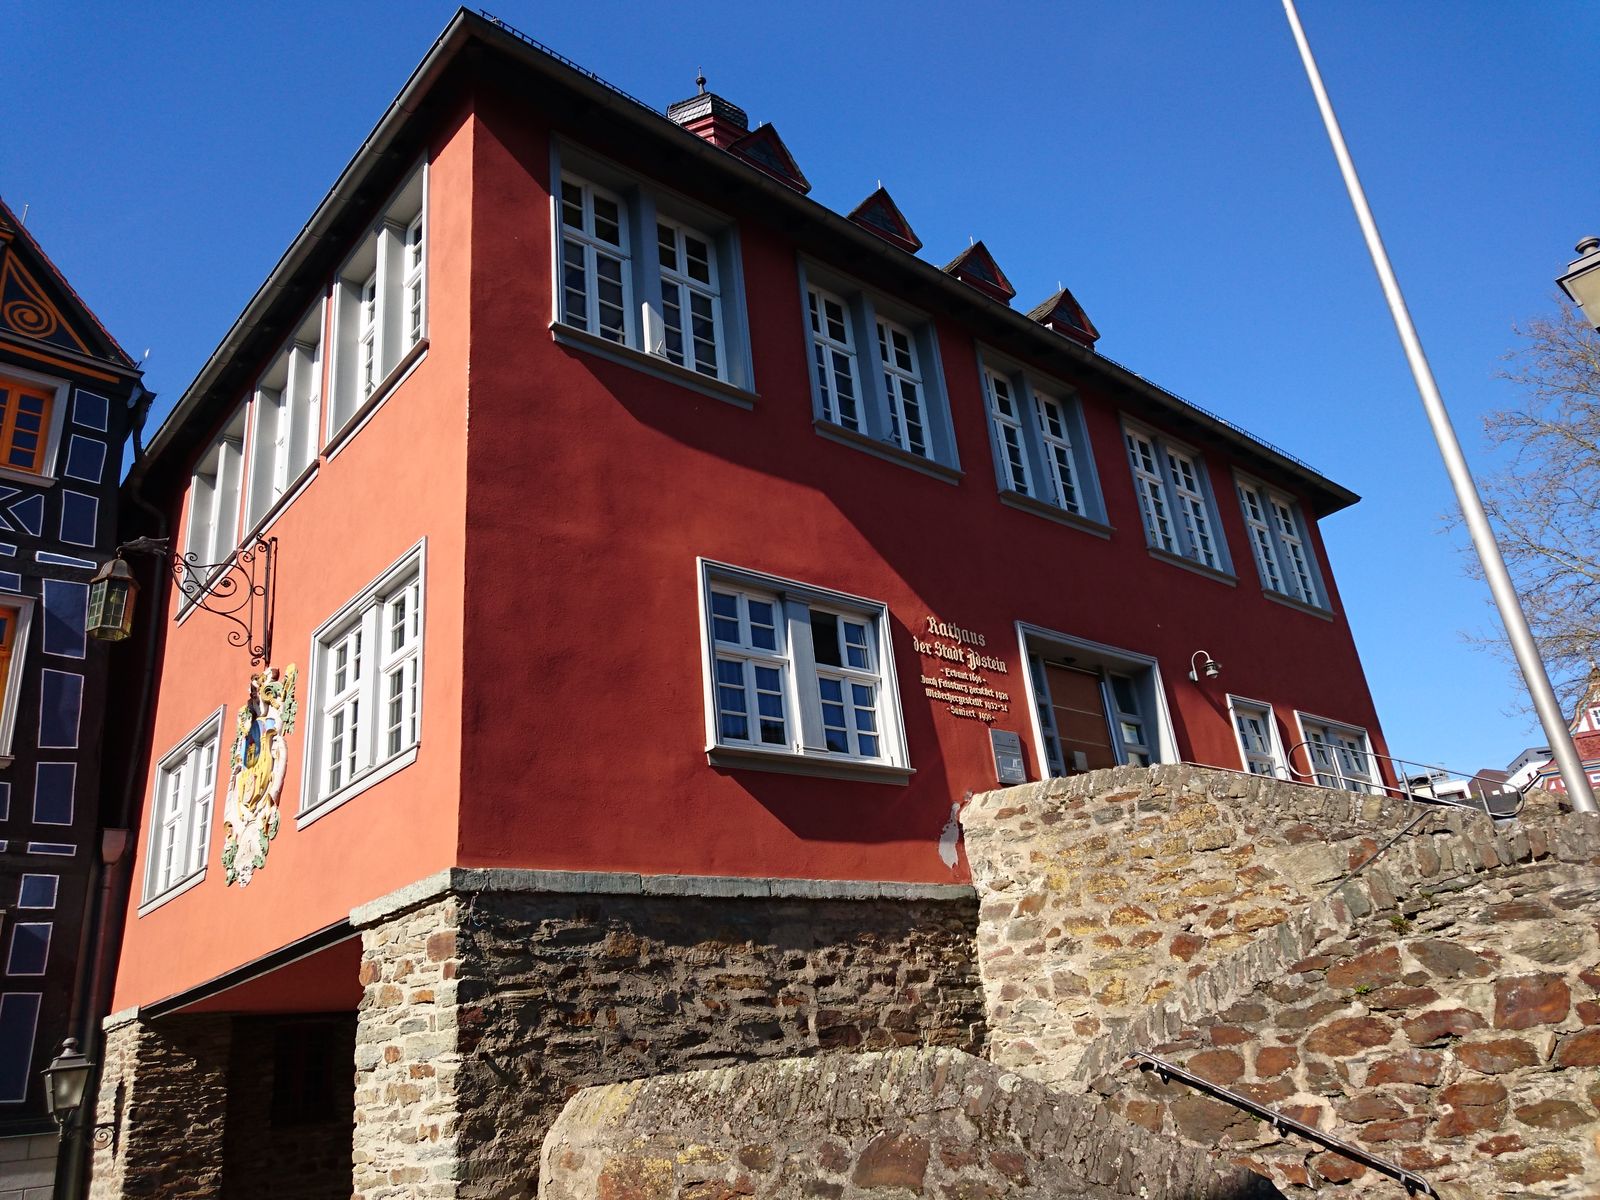
Rathaus has of course nothing to do with rats, unless you mean politicians. Which would be insulting to rats, I guess. Rathaus is from german words for a counsel (Rat) and  a house (Haus) and means town hall.

The building is nothing extraordinary in the context of the town, but to the right side of it is a beautiful gate to the castle. Unfortunately you can only imagine the gate, because it was being  repaired at the time of our visit so I could not take good pictures of it . And I did not have time to spend with the various plaques around the staircase either.

Idstein Town Hall

Idstein Town Hall

Idstein Town Hall

©Charly, all rights reserved. Click for full size.