Bonsai for Beginners – Part 2 – Necessary Tools

I hope I will finally be able to do this series justice since I am starting to re-pot my trees this year. Part one was here.

You do not actually need some very sophimasticated or expensive tools to start growing bonsai trees, but even if you only aspire to have one, these are the essentials that you will need. If you have a garden or potted plants, you probably already have some or even most of them.

First – not depicted – flower pot(s). Bonsai are typically grown and shown in beautiful elaborate glazed bowls, proportioned to the tree. But ordinary flowerpot will do in a pinch – important is the plant, not the pot. Some trees can also be grown on a flat stone or a hollowed-out piece of wood etc. Anything that holds the substrate together will work, but if you intend to display the tree anywhere, the pot should be chosen accordingly. An ugly pot detracts from a beautiful plant. If you get your first bonsai tree in the form of one of the mass-produced little ones, you will probably get a passable pot with it. If you start your bonsai from a cutting or a seed, it will take several years before you need something more ornate than an ordinary flower pot. However, from the start you should keep one thing always in mind – for most bonsai styles the roots need enough space to grow to the sides, so wider and shallower pots are better than narrow deep ones.

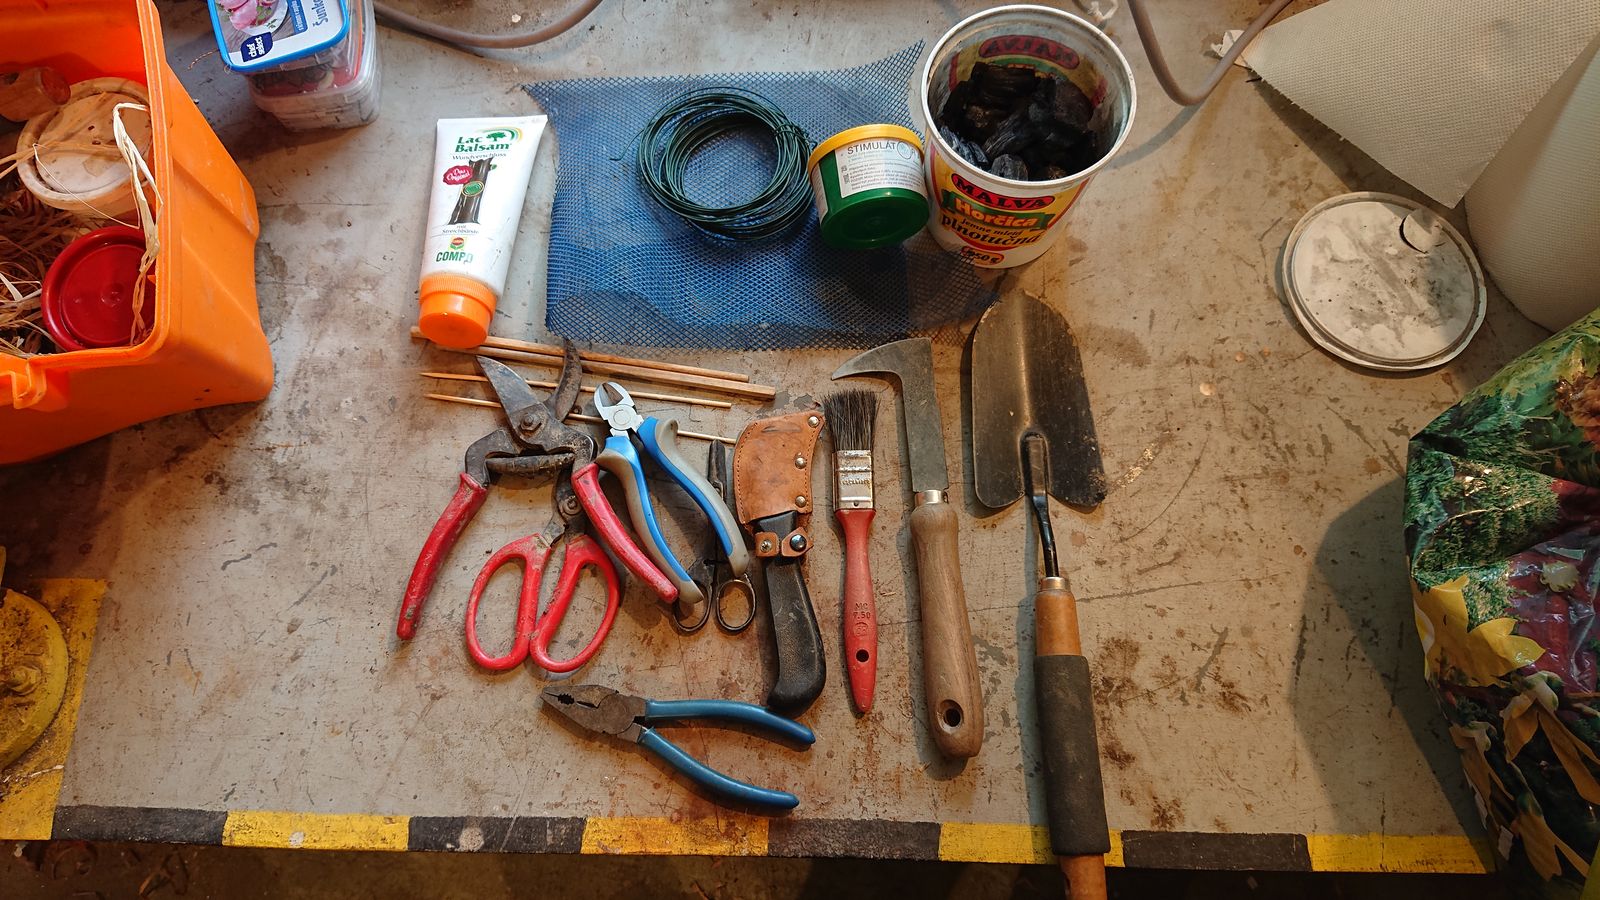
And now for the tools on the picture, from left to right, top to bottom.

A container for storing all your tools. Whether you have one tree or many, you will usually need more than one tool at one time, so it is good to have them packed in such a way that you can take them all with you when needed, and neatly put them away when not, since they will not have any other use.

A tree balm. Either acrylic or wax/resin-based. You need something to dress cutting wounds. Acrylic-based balms are the best and some sort of ordinary acrylic paint will do too if nothing better is available. Wax/resin-based balms are perfectly OK for most conifers and for big trees, but some deciduous bonsai trees do not respond to them well, it seeps deep into the wood and can kill buds, even branches.

A mesh (plastic, glass) or pottery shards to cover the holes in the pot.

A wire. For holding the mesh over the hole and for forming the tree. Depicted here is thin steel binding wire, PVC coated. Alluminium or copper wires are better but more expensive and harder to get. A string will do in many cases, but it is more difficult to work with.

Root growth stimulator. You will need to cut roots, and in some instances, you will need to encourage the plant to grow new ones.

Charcoal. Best is low-quality charcoal from soft or rotten wood, even better one that was already lit and water-quenched several times. The reason for this is that such charcoal is very brittle and porous and can be easily crushed in fingers to a fine powder and applied to the cutting wounds. It is important for dressing bigger root wounds of all trees – it prevents fungal spores and microbes from entering them. For trees that excrete latex from wounds, it can also be applied to dry the latex quickly and seal the wound on branches and twigs too.

Bamboo BBQ skewers and chopsticks. To tease apart fine roots and comb out old substrate from the root ball when re-potting the plant.

Two pairs of pruning shears. They should be visually different, since one pair you will use for roots only, and one pair will be exclusively for branches. That is not only to prevent dragging spores from the dirt into the branches but mainly because the shears for roots will blunt faster and would tear the branches instead of cutting them neatly.

Pliers. The combination pliers will suffice since they can cut the wire too. But I have dedicated wire cutters as well.

Ordinary shears. You may need to cut leaves or very thin and fine twigs. Pruning shears are too coarse for that kind of job. Some very old shears are fine, and if you are able, grind the bevels to a steep knife-like angle.

A knife. Not only for grafting, that is improbable for a beginner, but it gets used also for cutting f.e. a piece of wood into a temporary spatula to apply tree balm.

A flat brush. To carefully clean the surface of the tree trunk without damaging the bark, to sweep away needles/leaves from exposed roots, and to tidy the surface of the substrate.

A flat hook. Or a very blunt knife or a spike or something similar to soften old hardened soil in the pot, to cut it away from the sides where it often gets stuck and to pry away more difficult root-tangles.

A trowel. Enuff said.

A substrate. Ideal substrate depends on the plant(s) you intend to grow – more on that when I will write about individual species – but most plants will survive in a substrate consisting of equal parts of coarse sand, high-quality topsoil (f.e. collected from molehills) and peat/compost. Bought substrates are OK, but I would recommend to mix them with soil and sand anyway, they contain a tad too much organic material. It is also recommended to heat any substrate, whether bought or self-made, to at least 70°C prior to planting to kill any germs it might contain. For that, you might need a tin pan and a baking oven, or a plastic bowl and a microwave.

If you start growing more trees, your toolbox will expand and no doubt you will buy some of the more beautiful and specialized ones. But all these will fit into a little bag and they are all you need to start. All the tools in the picture are ones that I am consistently using for over a decade by now, some even for several decades. None of them are expensive or difficult to get. Why buy a fancy tool, when an old one does the job just as well?

The garden

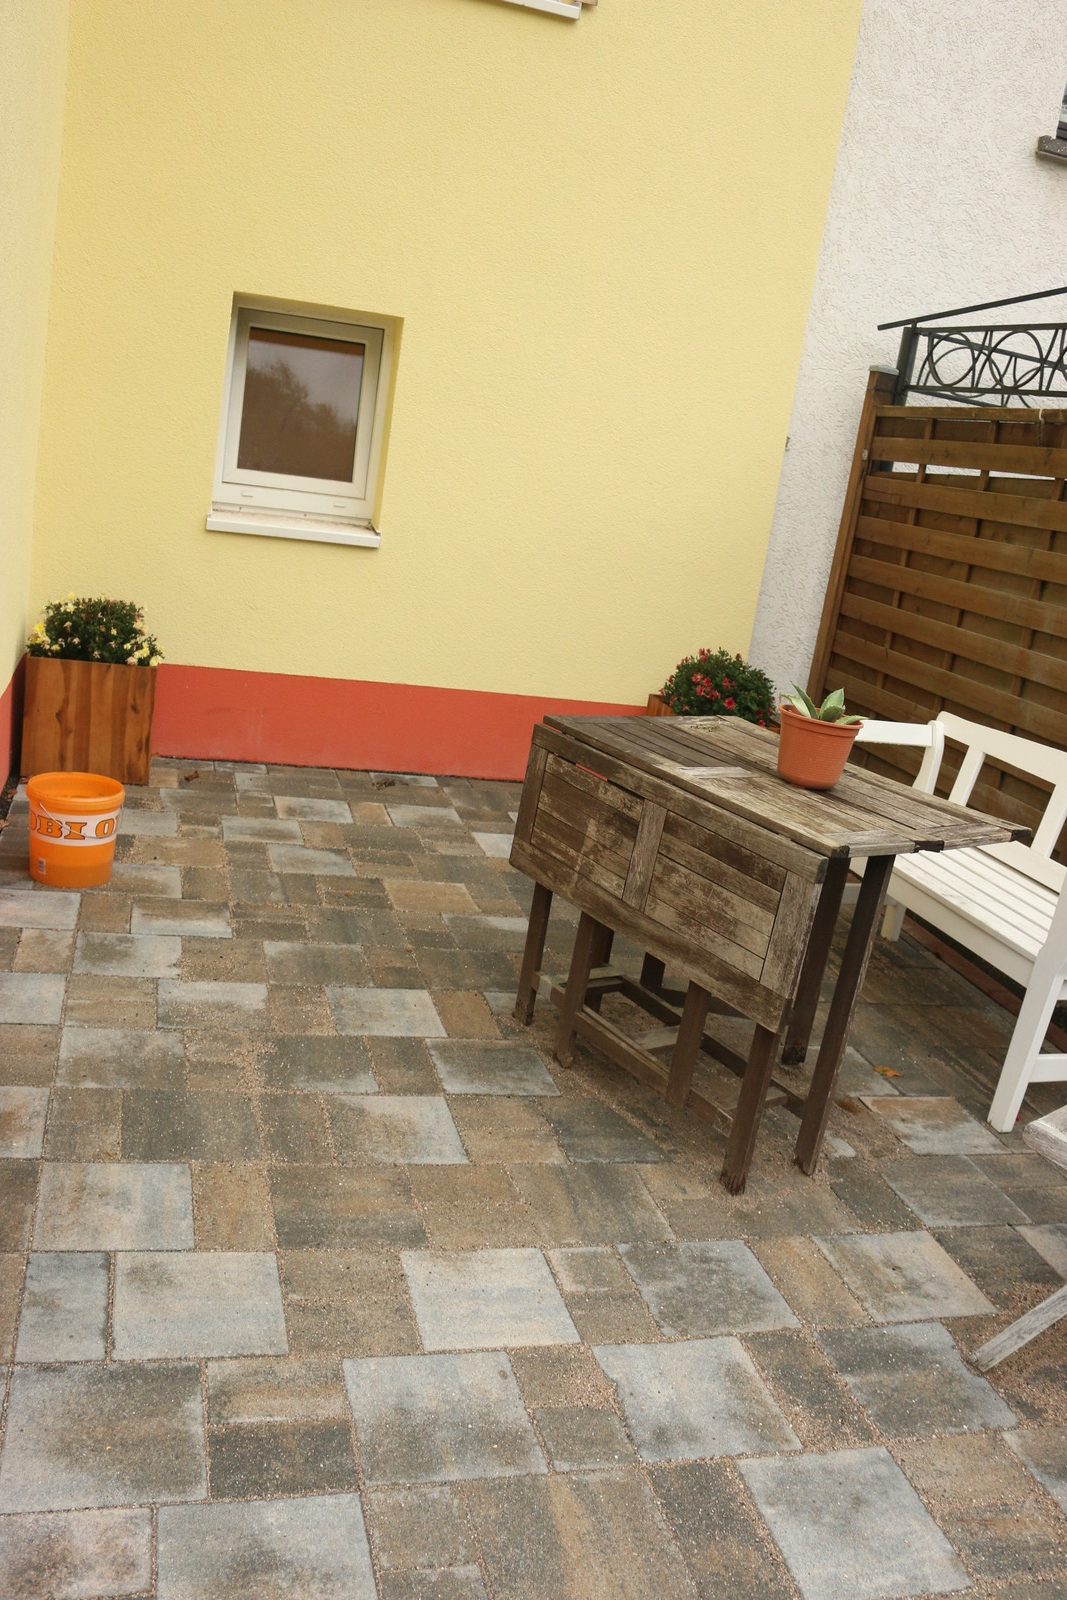
I promised some pics of the “finished” garden, so here they are.

©Giliell, all rights reserved

The stairs. You can see there’s still a lot of work ahead. We need to terrace the left side and refill part of the right side. The left side will be the veggie garden, the right side left again to wild flowers and insects. We also need to put some slates on top of the wall. The wall at the top is open. It will be filled with ground and planted with herbs and flowers.

©Giliell, all rights reserved

Upper terrace. This is our place for spring and autumn. It gets sun all afternoon, the stones heat up and store the warmth, while it’s sheltered from the wind.

©Giliell, all rights reserved

Lower terrace. The place for barbecues and garden parties. It’s always cooler down there than anywhere else (though there are also always more mosquitoes). We wanted to replace the fence in case 30-50 feral hogs coming into the garden (more like 3-5 wild boars, but they can do a lot of damage), but I was in hospital. The area behind the missing fence is “ours” rented from the city at a pittance), but we haven’t done there much yet. I want to build a greenhouse using the old windows you can see in the pic. One day…

Local Reminders of Global Warming

Last year the broken weather nearly killed my fig trees. There were signs of hope afterward, I wrote about it here.

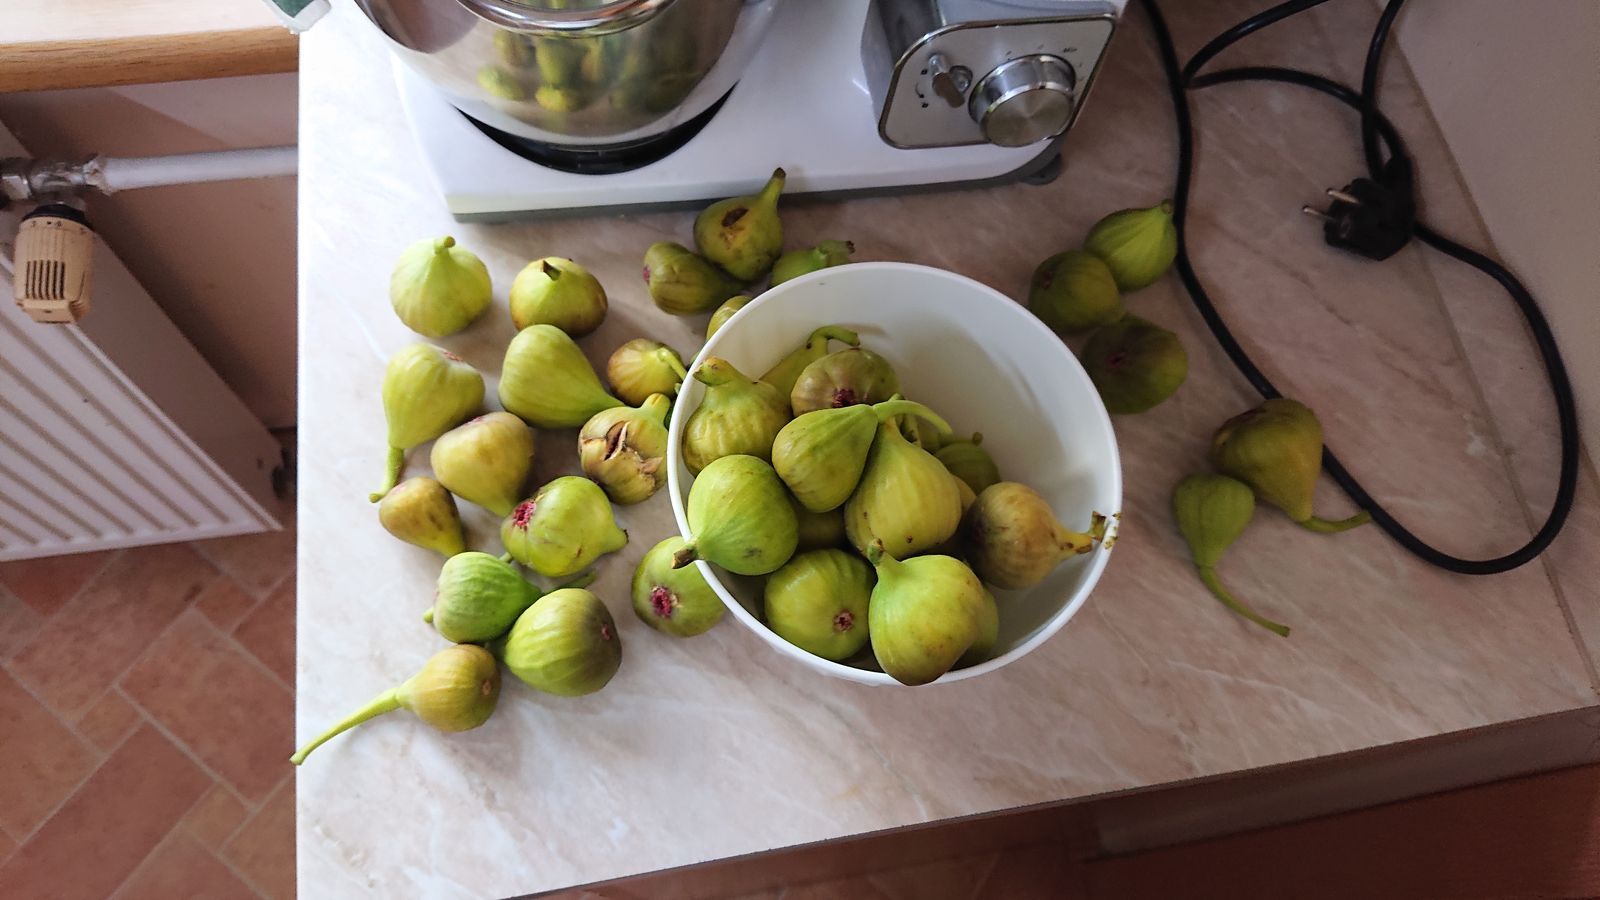
This year, the broken weather has lead to me harvesting over 1 kg of fresh figs today, in late October, when it should be freezing already. I mean, I am glad the trees recovered and are doing well, but this is not normal. Sometimes a small good thing is a result of a big bad one I guess.

Mah Pollard, Mah Coppice

I am sorry for not posting yesterday. I have plenty of various pictures, but I still have a huge backlog of work around the garden as well due to the six weeks that I have spent lounging in my bed drinking tea and whatnot. And I think it will take a few more weeks to get back on track.

These last few days I had to clean up some rubble from house renovations. I used it to repair the gravel-covered area behind my house, waste disposal trucks made some grooves there that needed filling. And as for yesterday, the weather was splendid and these are the fruits of my labor.

Firewood © Charly, all rights reserved. Click for full size.

Also, I am totally knackered today, but it is hard to take a picture of that.

I was shredding and cutting wood from coppiced and pollarded trees in my garden. I have planted these trees years ago specifically for this purpose. The pollarded trees are willows, some local variety of Salix fragilis that unfortunately does not grow as fast as I would wish to. But I also got a few willows of another species from lowlands in Pilsen, which looks a lot more promising.

Pollarded willow © Charly.

Pollarded willow © Charly, all rights reserved. Click for full size.

For the coppice, I bought poplar hybrid Populus nigra x Populus maximowiczii Max 4. It grows well, but it would be better if I had the resources to plow the area first. As it is, it takes for the trees two-three years to really take root and unfortunately, during that time a lot of them die to water voles. Water voles are a huge problem, despite the fact that I do not live anywhere near water. One year they got into my bonsai trees and totally massacred them, destroying even some very valuable ones. And they make setting up of the coppice a real pain in the nether regions.

Coppice © Charly, all rights reserved. Click for full size.

That is why as of now I only have only one row of really established trees and one row of two-year-old trees that should hopefully take off this year. The rest of the coppice was planted last year, but this spring we had to renew about 30% of it and unfortunately due to my illness it was not done on time and properly, so it is questionable whether it will work or not.

The wood of this particular poplar tree is not as good firewood as hardwood would be, it is very light, almost like balsa. But what it lacks in density, it really more than makes up in volume. Even so, I am also planting oaks, hazels, and maples in the coppice, they sprout all around the garden anyway and this way I get some use out of them in the future. And this year I bought 200 hornbeam seedlings and planted them around the area near the hedge. That is the south edge, thus the slower-growing hornbeam won’t be overshadowed by the super-fast-growing poplars and willows. Unfortunately, it too is a very tasty water vole snack – one of the bonsai trees that fell victim to their raid was hornbeam and nothing was left of the tree back then except a tiny pencil-like stub and a few splinters. But I already planted hornbeam for hedge a few years ago and it thrives well in this area so I hope the trees in the coppice will grow faster than the voles manage to eat them.

I have several hundred square meters of my garden for the coppice, which means that in a few years I could grow a significant portion of my firewood (I estimate it at about 30%, or 100% every 3 years) on my property. That is one little project that I could do on my own to go from burning fossil fuels to renewables.

Bonsaist’s Nightmare

My trees, or more precisely what is left of them after the disastrous spring of 2018, have started to grow rather merrily this year a few weeks ago. This picture was taken on April 28. and normally this sight would be a source of delight for me after a drab and colourless winter. This year it was a nightmare to behold.

As you can see, the trees are piled up under the benches and not on them – that is because this is how they were stacked for the winter, out of the wind, huddled up and askew, so water does not freeze in the pots in such a way that would break them apart. I had trouble to replant my trees for a few years by now, because I just could not get vacation time off at work, but that would not have been a problem this year. This year I was sick for six weeks non stop, and nature does not kindly wait until one heals. That meant that works did not continue at snail’s pace and on weekends only, as it was in the last years – they stopped completely.

However replanting bonsai trees, finished or even half-finished like most of these is a must. The roots fill up the whole container during vegetation season and eat up all the nutrients. The substrate gets compacted and does not take water particularly well anymore. There are species that can do without replanting for a year or two, but not more, and there are also species that simply must be replanted every year, no exceptions. The roots must be cut back and for some trees the time window at which this can be done can be very narrow and if the roots overgrow for too much and too long, they cannot be cut at all without significant risk to the tree’s health and life. When the tree starts to grow, it generally means that safe time to cut the roots is rapidly nearing its end – and in the picture above, all trees have started to grow.

Luckily the weather cooled down a bit again when I finally got time and was fit enough to work, so the trees slowed down their frantic spring growth again. Nevertheless I had to hurry up, a lot.

First thing that I have done to save time was to buy pre-made substrate this year and plant all trees in it. It is more expensive, and the pre-made substrate has some downsides (but to be fair some upsides too), but I just could not manage to mix my own substrate this year and still replant all the trees.

Second thing that I have done was to completely reorganize the glass house where my pomegranates grow – see the picture to the right. Those had to be replanted too. They are not in pots yet, but the roots must be cut as well, otherwise they would grow too long, thick and deep and the plant could not be put safely into the pot when the time comes. But pomegranates were grown very significantly already, and the only way to increase their chances to survive was to cut about 3/4 of their crowns (coincidentally, in the background you can see one of my three fig trees – it has sprouted nice sticks and I had to cut it back for place reasons – you might remember last year I feared it died due to late frost).

When the glass house was reorganized, I could take the trees that are in pots now in there and work on re-potting and neither rain nor snow could stop me. But, I hate to say it, I had to cut corners and I have done a rather sloppy job with many trees. Just like with the pomegranates, I had to cut crowns a bit more than I would normally do, so aesthetics went out of the window for the moment, important was to secure survival.

The same treatments have got all the trees that are not in pots but freely in a flowerbed, which is done either to rejuvenate damaged trees, or to allow for quicker and stronger growth in general for trees that are at the beginning of their journey to becoming a bonsai, like having their roots slowly reduced etc.

When I finally finished, I got a bit of luck this year – the weather got cold, but not freezing cold, for the next two weeks. We had even a bit of late snow.

That is not something that would make me happy, normally, but it did this time. It meant the trees grew slower, they needed less water and the constant drizzle and rain meant that unlike last year, they were not in danger of getting over-dried and overheated at just the wrong moment. So far, so good, by last inspection yesterday evening there were no signs of impeding disaster. I hope that when the weather gets warmer again (according to forecast this weekend), that they all resume their growth  without problems. Lets hope.

Would some of you be interested in short series “Bonsai for Beginners”? I have been thinking about writing up something for people who might want to have a few bonsai trees or perhaps just one without making it a big-scale hobby – like what species to choose from and how to care for them, some generic advice etc. Let me know in the comments.

The Most Annoying Weed Ever

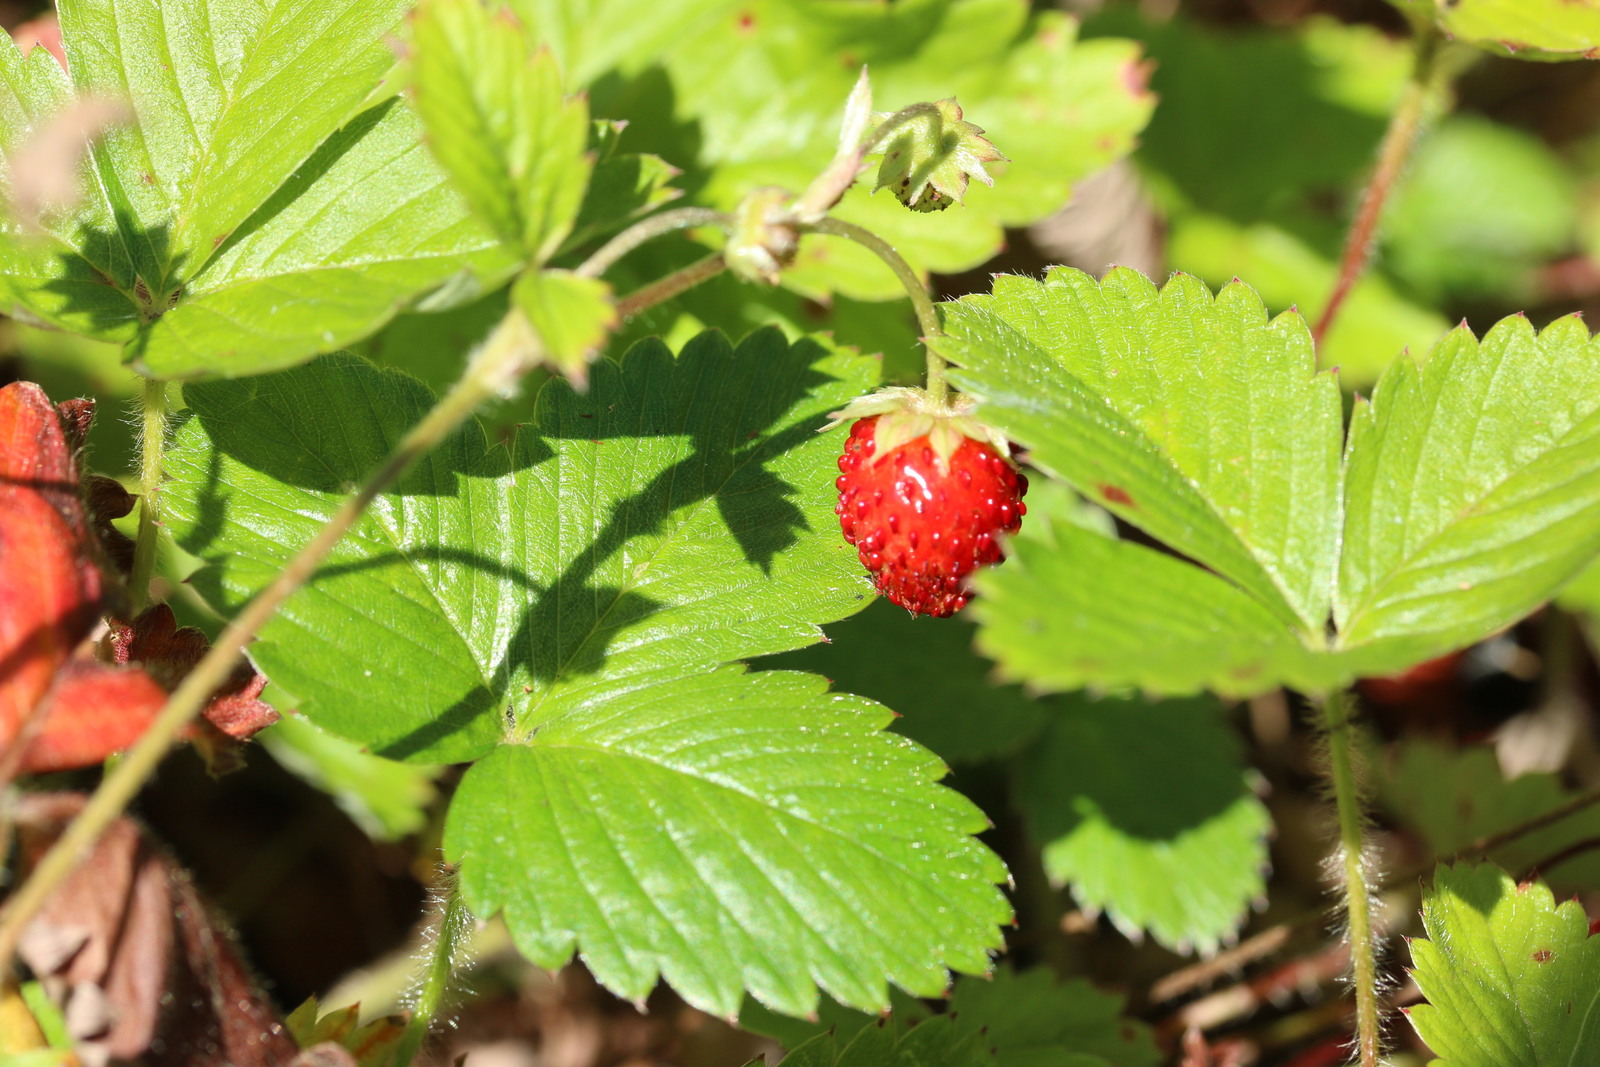
My strawberry patch looks awful. What little I planted this year has mostly dried due to way too warm and dry May. However I still have enough big strawberries – those damn plants infested the side of the vegetable patch and grow among grass and potatoes like mad. Annoying, truly, on oh so many levels.

©Charly, all rights reserved. Click for full size.

Wacky Winter and a New Hope

I mentioned already that all three of my fig trees and most of my pomegranates seem to be dead. Today I glimpsed a hint of green at the base of all three fig trees and although most of the pomegranates are indeed dead, a few of them sprouted fresh leaves from their trunks too.


Dead fig treeSprouting leavessprouting leaves
sprouting leaves

There is still substantial and irreparable damage that nearly makes me cry, but if the roots are alive and strong, these buds can grow into a meter and half long and on the fig two centimeters thick sticks, so I might have figs again next year. Provided the winter will not be totally wacky again and will not finish what this one has started.

I think this is one of the personally visible consequences of global warming. Frost bellow -20°C would not be a problem for neither of these trees – all of them have survived multiple winters like that. But this year the frost came suddenly in February, after it was abnormally warm from November through to January. So it came when the trees were already preparing to wake up. I will have to think of something to shelter them from such abnormal weather in the future.

I was relieved to see that the grapevines survived without damage and are growing like mad. And a little surprised too – I expected the figs survive without problems and vines suffer damage..

Oh. So. Cool.

I want one!

large_1-7AGT6DuedmCPZX4jvRLO3A

Made for Ikea’s Space10, this is the Growroom, specifically made for cities, it can grow a communities worth of food and herbs. I’m not urban, but I still want one. The best news? Space10 and architects Sine Lindholm and Mads-Ulrik Husum have open sourced this, so anyone can make one.

You can see the specs at two places: one, two.