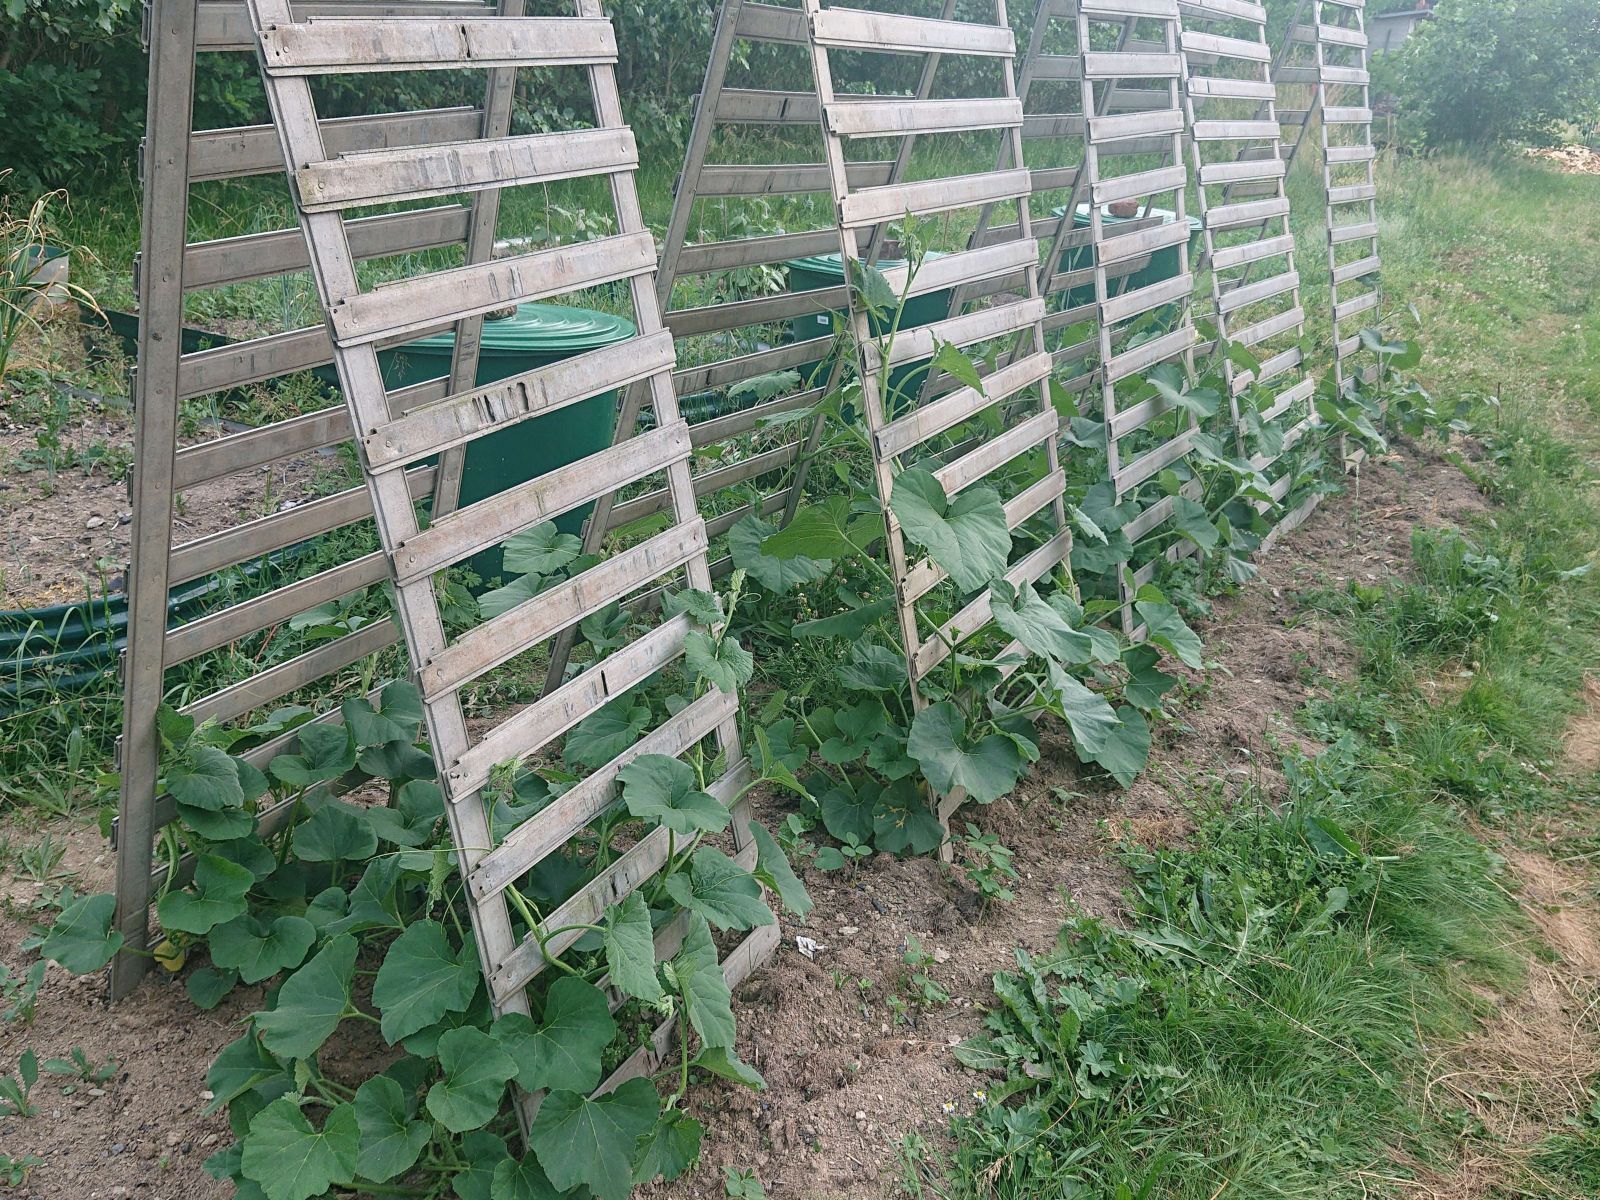
All the assorted pumpkins are growing and flowering, but only the butternut and partypants look promising.
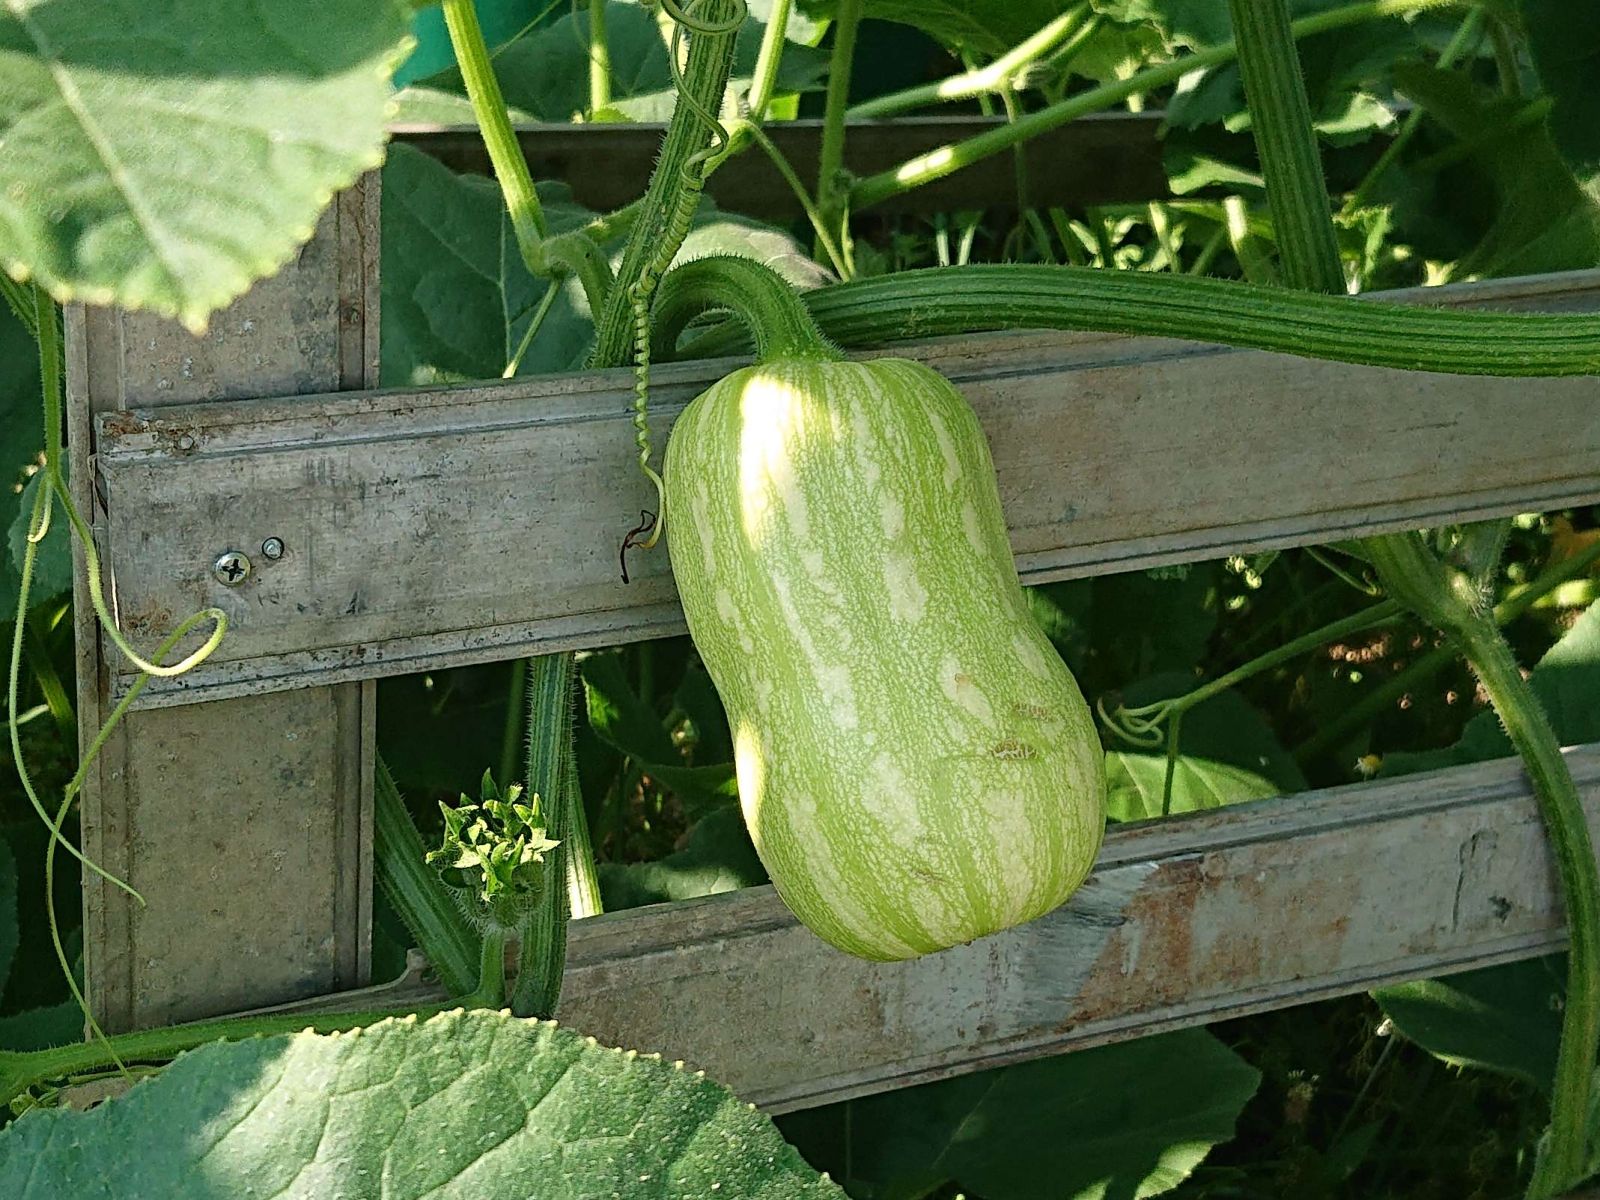
© Charly, all rights reserved. Click for full size.
I have five butternuts that are now about 1 kg and still growing.

© Charly, all rights reserved. Click for full size.
Almost daily, I get new butternut flowers, and I do my best to pollinate them manually. In two cases, those attempts failed already, because there were no really fresh male flowers open at the same time. But mostly, the plants still progress, and the number of fruits should still go up for at least a few weeks.
© Charly, all rights reserved. Click for full size.
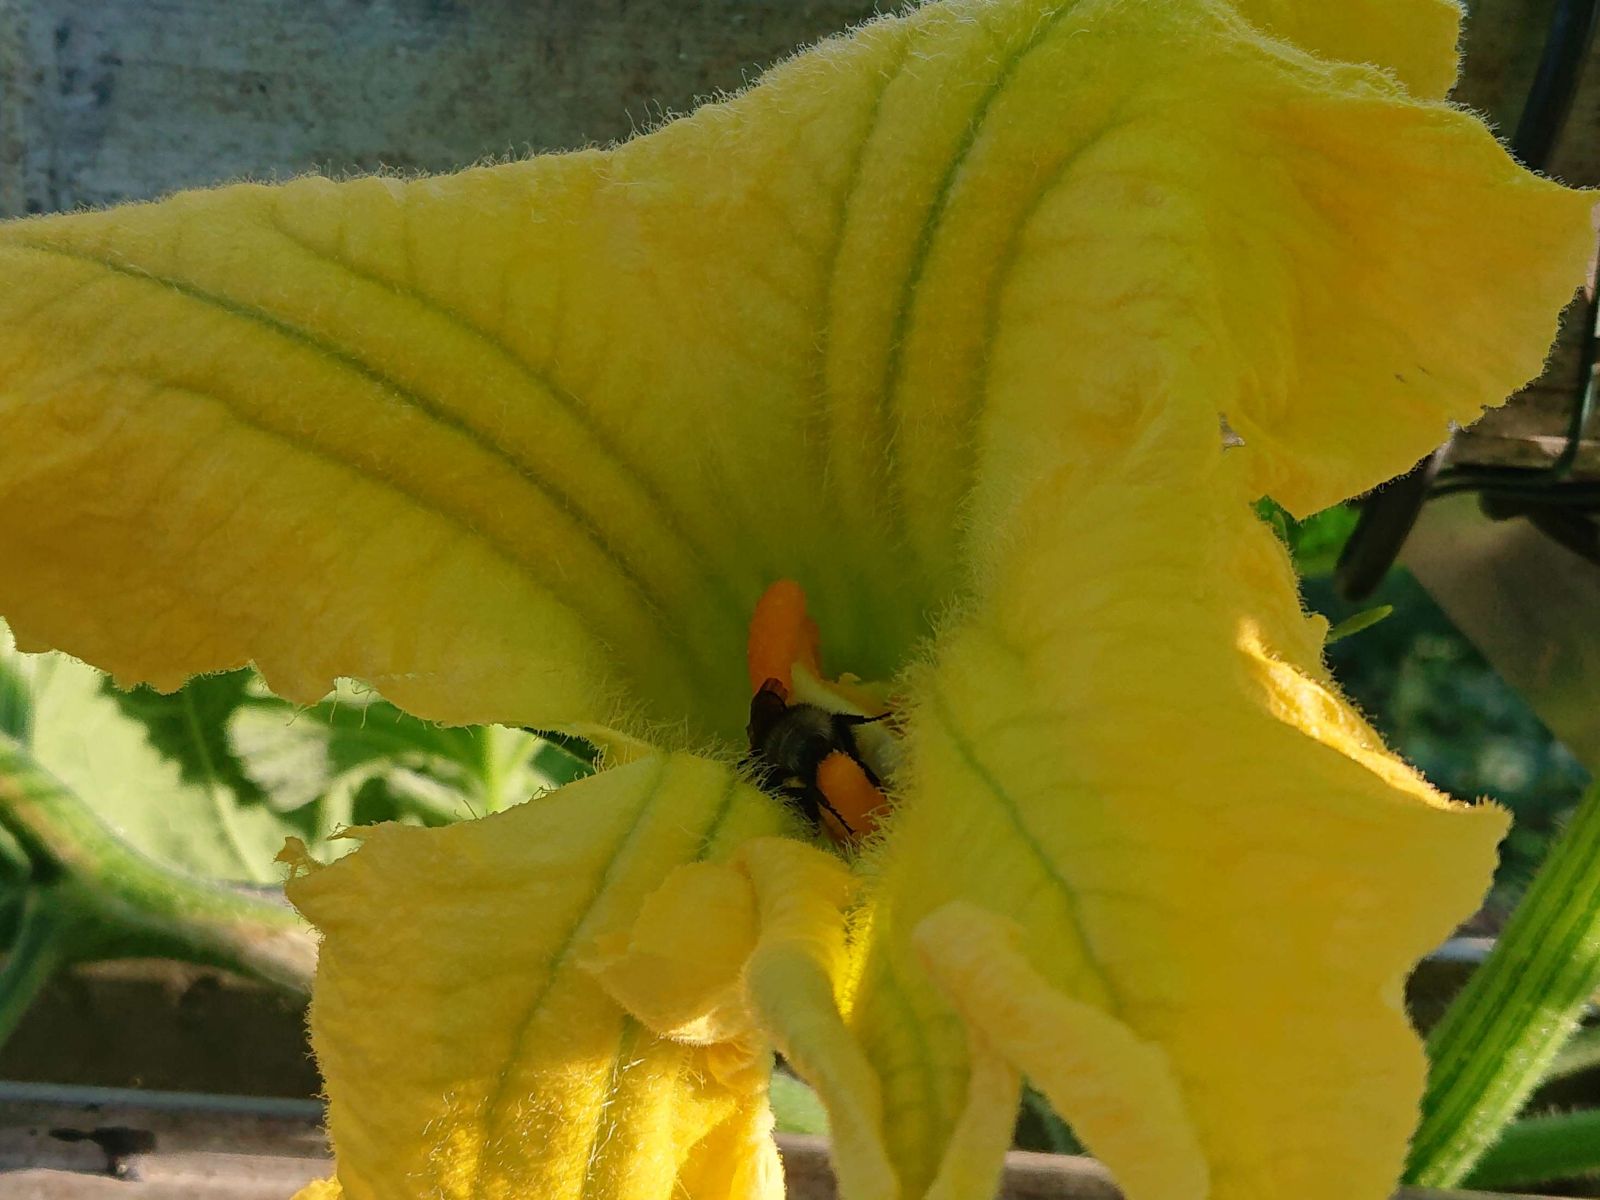
Real bees do like the flowers too, as does an assortment of beetles. And occasionally slugs. Luckily, the slugs prefer wilted flowers over fresh ones, so once old flowers start to drop off, the slugs leave the freshly open ones alone.
© Charly, all rights reserved. Click for full size.
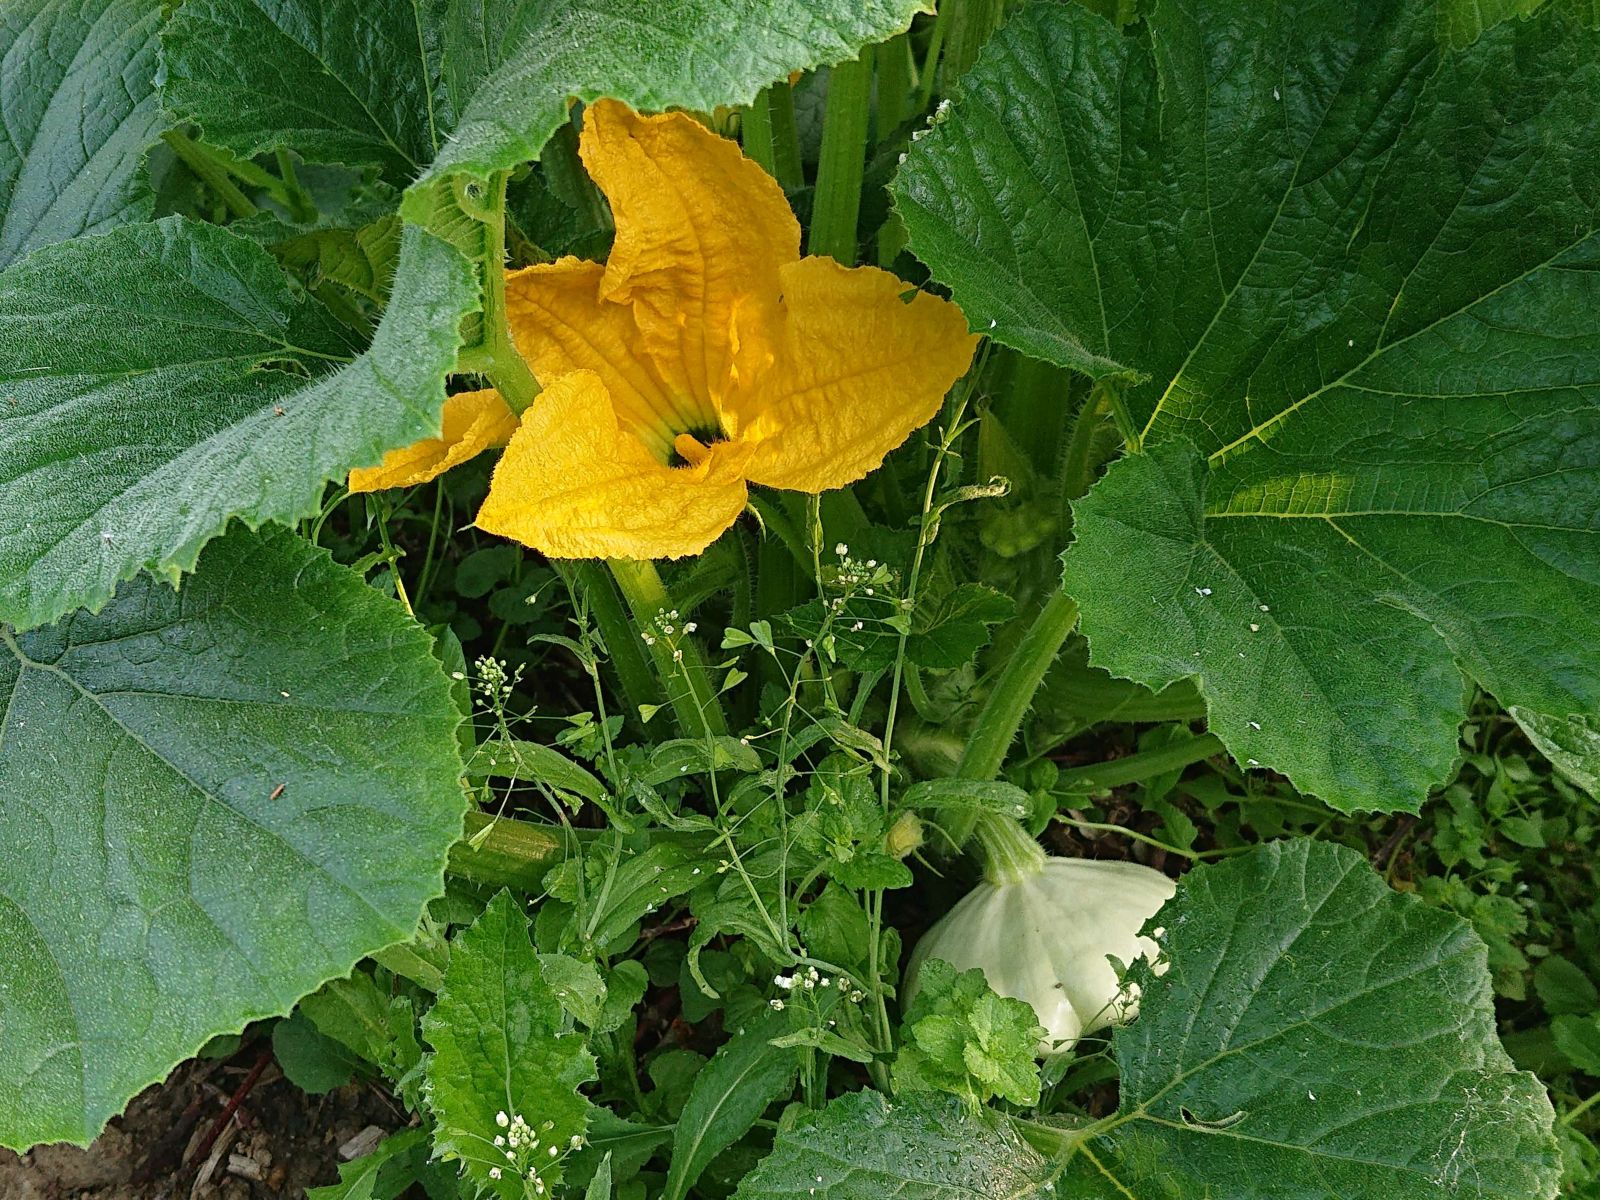
I mostly do not bother manually pollinating the other pumpkins, because I do not have very many healthy flowers for it to be worth the bother. Luckily, insects bother even so, so I should get at least my work’s and the seed packet’s worth out of most of them. Although the bulk of the assorted failures will be compensated by the butternut plants.

© Charly, all rights reserved. Click for full size.
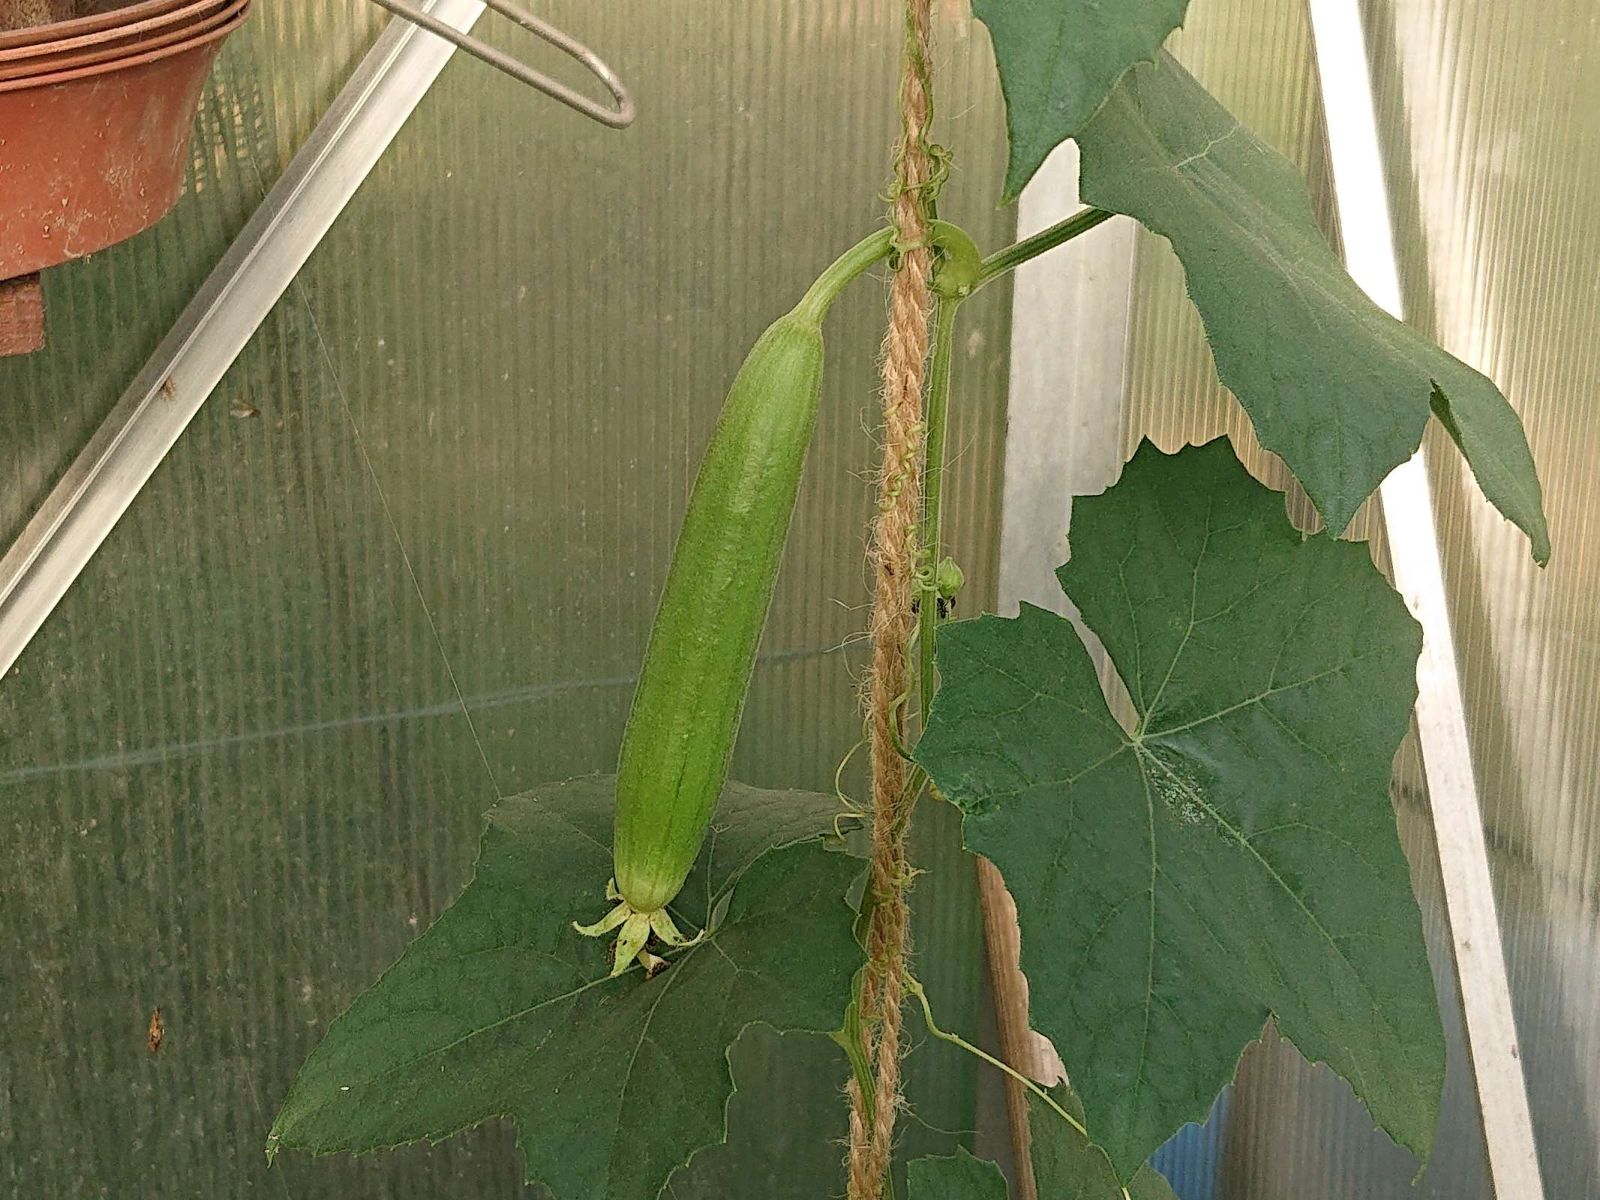
The loofahs are flowering, but still only male flowers. Several of the female flower buds stopped developing and eventually wilted away. I have no clue what the cause of this is. Maybe the weather is too cold – after the heatwave that started the summer, we have now had several weeks of the same weather that we had at the end of May. Nighttime outdoor temps have even dropped below 10°C for three days in a row now. This also means that outdoor tomatoes are not doing particularly swell.

© Charly, all rights reserved. Click for full size.
The bell peppers are really puny so far, and the plants grow at a snail’s pace. I probably won’t bother overwintering these the next winter, and I will try to grow new pepper plants of a different variety. I also won’t grow them directly in the soil in the greenhouse the next year, but in large containers. That way, I can move them to a sunnier place when the weather is really warm – my greenhouse is in partial shade. Tomatoes do not mind, but peppers apparently do.

© Charly, all rights reserved. Click for full size.
The potatoes Agrie are indeed an indeterminate variety, since they keep flowering even on plants that already did so. In the meantime, the Bellarosa variety began to wilt (as it should), and it might be ready for harvest sometime next week or so.

© Charly, all rights reserved. Click for full size.
I harvested more oregano than I can use in a year, so I left the rest of the plants to flower as much as they want. They attract a lot of pollinators – bees, bumblebees, and butterflies. None of which I managed to take a picture of.

© Charly, all rights reserved. Click for full size.
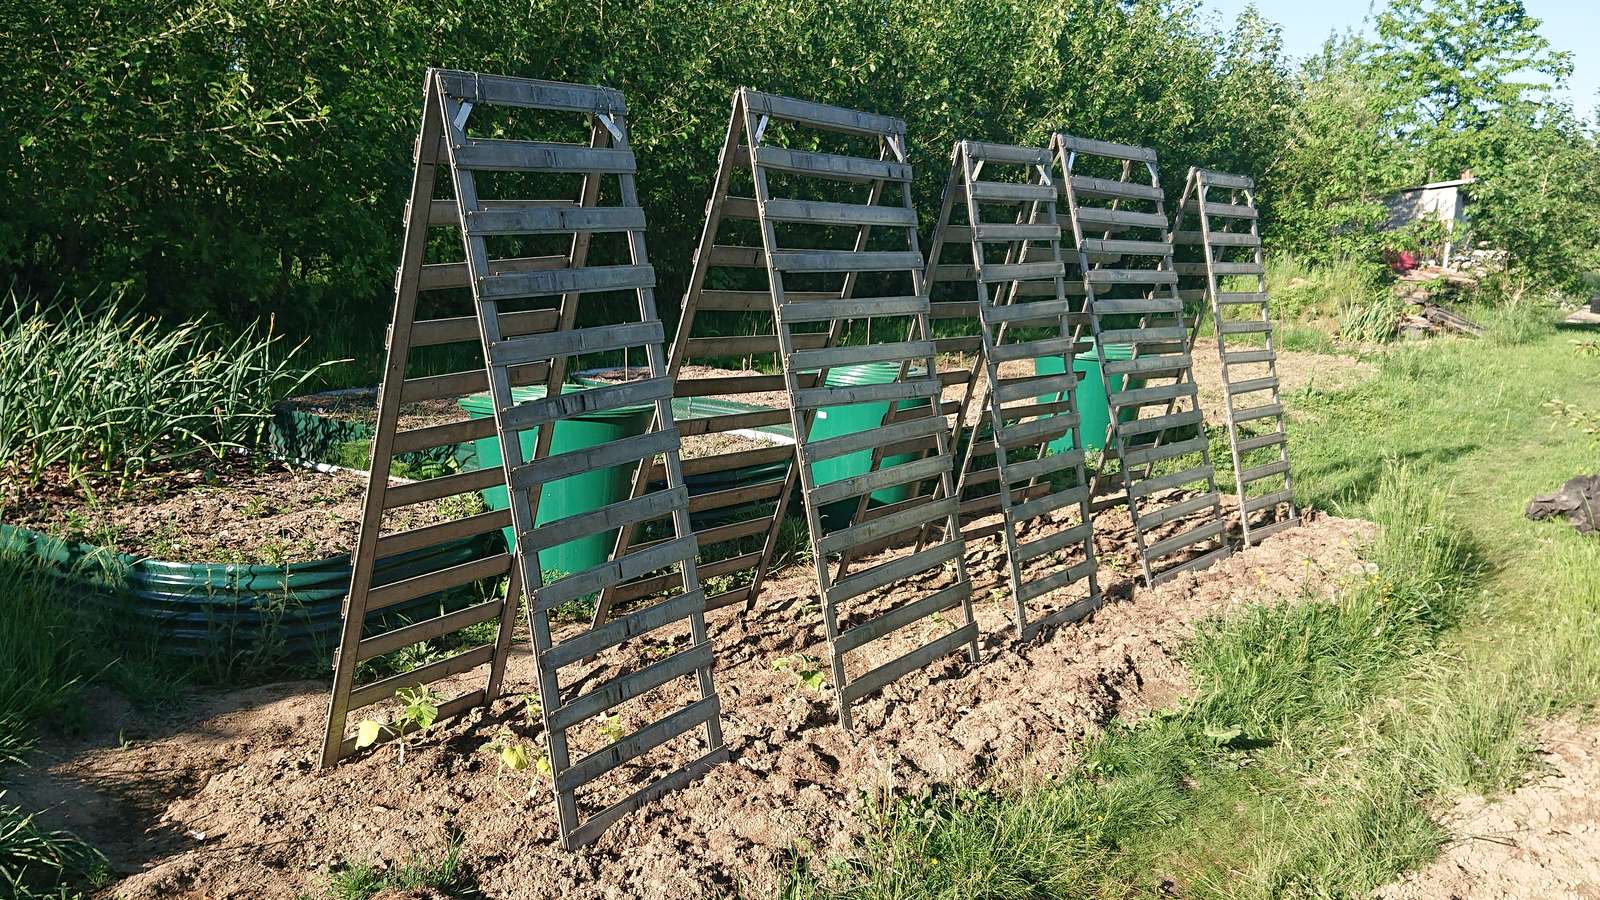
Pollinating a few pumpkin flowers every day is not much work, but I have been extremely busy even so – I have ordered circa 7 metric tonnes of wood scraps for winter fuel, and I need to bag, weigh, and store it all for winter. That is a lot of work, and I have to insert rest days into it every few days; otherwise my hands would probably fall off at the shoulders. Each of these bags weighs 20 kg. I would prefer smaller, 10 kg bags. They are much easier to handle, but they are not sold in a UV-hardened variant, so I am stuck with these behemoths. And filling these only 50% is not a financially wise option, since they are quite expensive. The smaller bags are cheaper, but since they are not hardened, they tend to disintegrate after a year or two. And it is not fun when a bag decides to fall apart at the exact moment one carries it down wet stairs in freezing winter.

© Charly, all rights reserved. Click for full size.
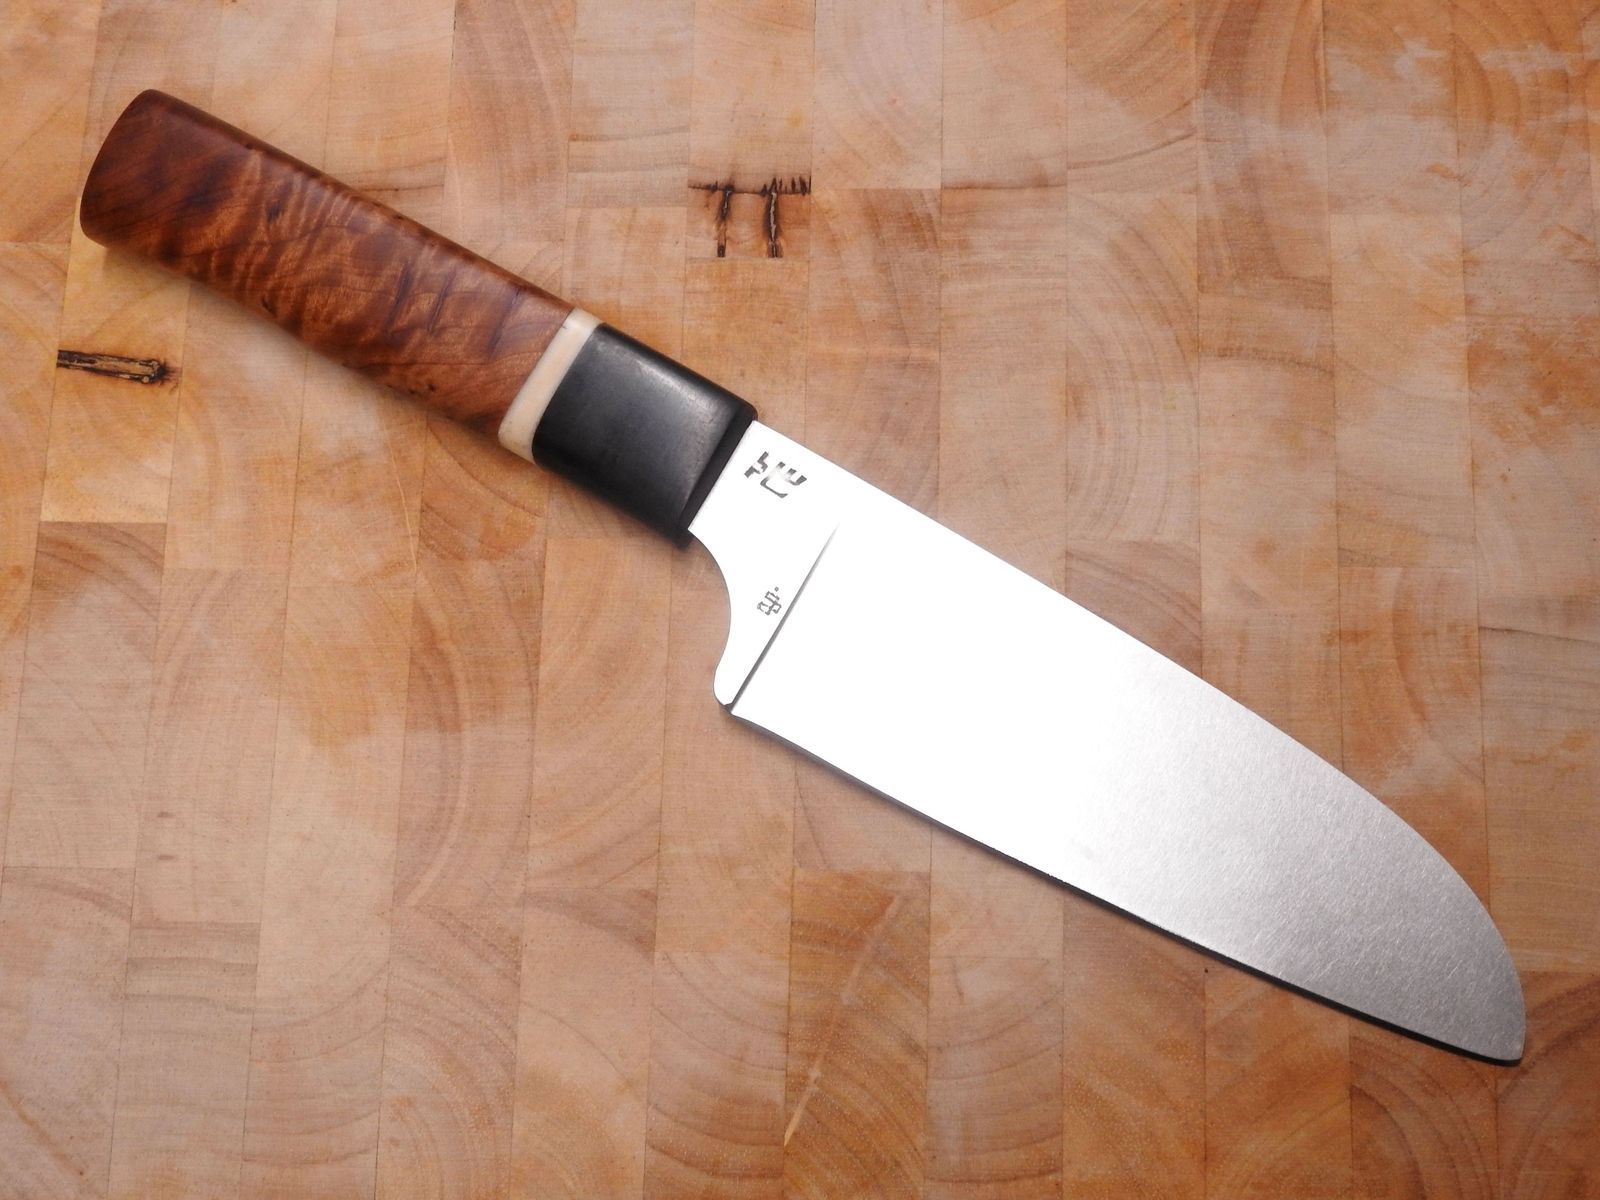
And lastly, there will be a series of knife-related posts again on my knife blogge. I got a small commission for a santoku akin to the one with an olive wood handle that I made a few years ago. And there will also be a series of knife-related posts on Affinity, because I will recycle the blade in the picture above. I found it in the pile of wood scraps. It was probably used by the sawmill workers to cut packing straps and other heavy-duty work. It was badly mishandled (evidently) and really badly sharpened. It was also a bad design even when it was brand new – this type of integrated bolster not only adds a lot of completely unnecessary weight to the blade (which might be considered just an opinion), but it also objectively makes it more difficult to maintain a sharp edge and to sharpen it properly when blunted. I will write a bit more about that knife-design trivia too.
Once repurposed, I will decide what to do with the blade. I will probably just give it away to someone.


