There is a lot of talk about sustainability and growing your own food etcetera. So I wish to share this year’s results of our efforts in this regard, specifically potatoes.
In the spring we bought 20 kg of potatoes for about 40 € including shipping. We planted them to a patch approximately 40-50 square meters and now my father has great fun harvesting them.
Typical potatoes, ones that go into the cellar for storage look like this.

© Charly, all rights reserved. Click for full size.
Then there is also a lot of “beads” which are very small potatoes, and a lot of potatoes that are damaged by weeds, slugs, bugs etc. Those need to be consumed first. But this year it looks like we do get reasonable amount of big potatoes in good condition. And whilst the saying in Czech goes “Čím hloupější sedlák, tím větší brambory” (“The dafter the peasant, the bigger his potatoes”), I think that saying just reflects the enviousness in human nature. Because getting reasonably big potatoes, regularly, is not easy.
The main problem with potatoes is that they need light, humous soil, and the soil in our garden is more like heavy clay. In the vegetable patch, it is a lot better, because that soil is a result of careful cultivation over several decades of tilling the clay with compost, manure, wood ash, and fertilizer. Still, it is far from ideal and way too sticky. So this year I have tried to improve the soil further by adding a lot of organic material directly around the potatoes during planting, specifically crushed reed stalks from my sewage water treatment facility. It seems to have helped – a few plants were planted without the reed stalks and their potatoes were visibly smaller. Also, the soil with the crushed reed is easier to tilt and falls easier apart. So it seems I have a use for the reed stalks, which until now were a waste-product.
But even without those, each year when we grow potatoes, there are outliers like this ca. 500 g (>1 pound) specimen.
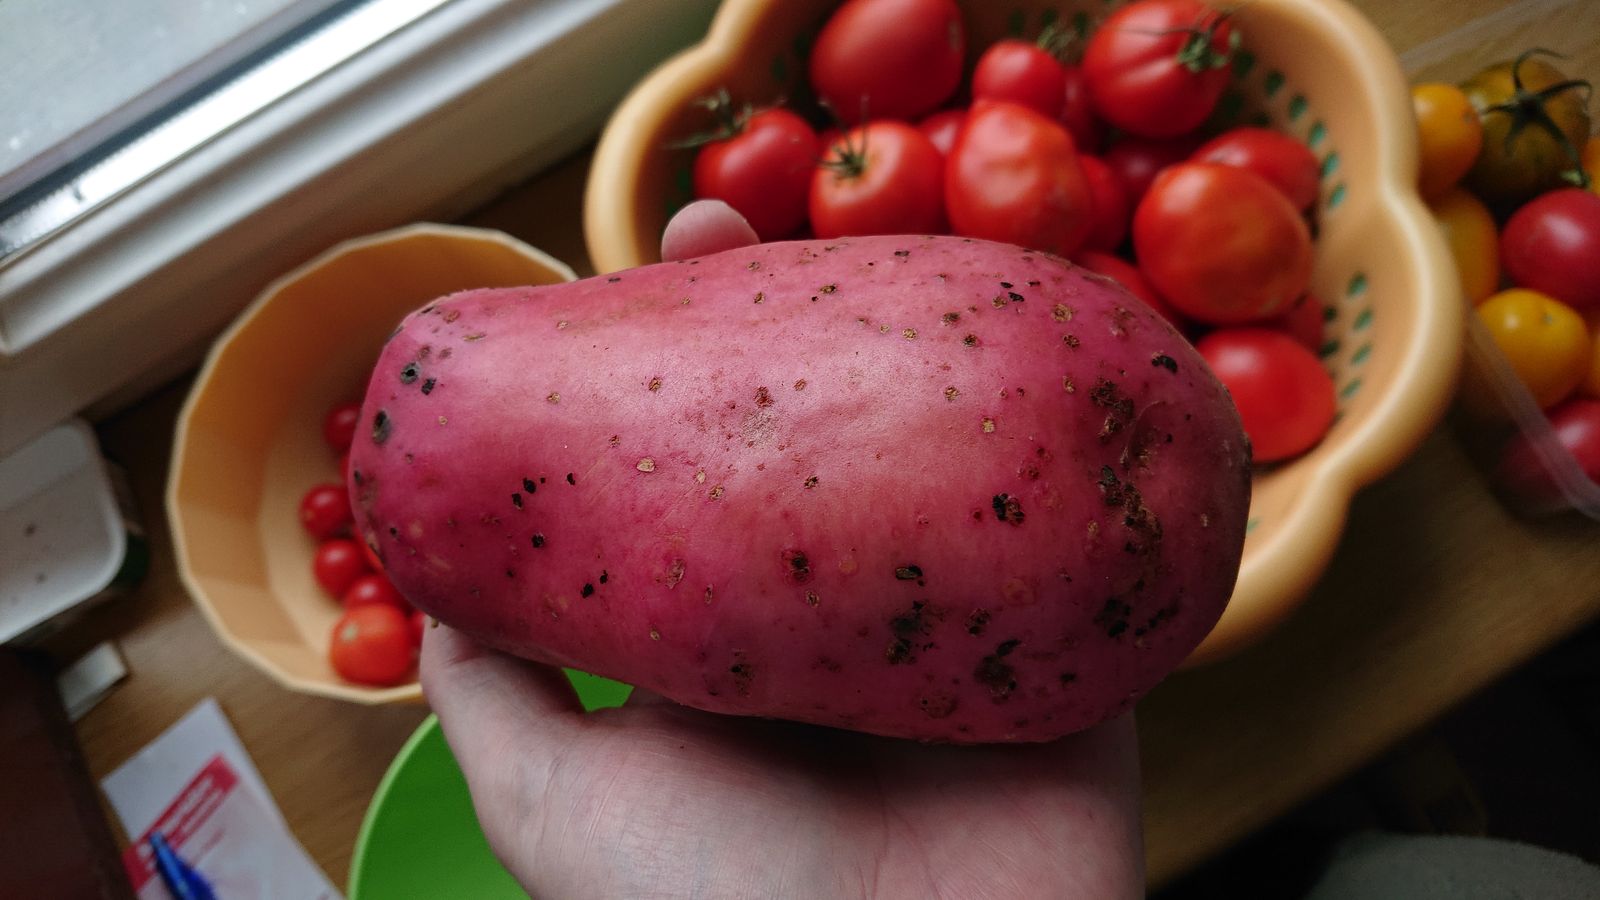
© Charly, all rights reserved. Click for full size.
Pieces like these bring great joy to my father, who currently really has fun with garden fork tilling the patch and getting the potatoes out. We have a small tractor, but my mother has urged me not to use it and leave my father to do the work manually – he needs the exercise and enjoys doing it. And although he impales some potatoes on the fork, the damage is smaller than the plow would do. For example, this 950 g specimen got impaled and needs to be eaten asap, but a plow would probably just cut it in half.

© Charly, all rights reserved. Click for full size.
Well, that one is really an outlier. It can feed the whole family for a day. It would be great if they were all like that, but that is alas unattainable.
Ok, enough bragging and back to the sustainability issue and soil care a bit.
We have planted circa 200 plants. We get at least 120 kg of potatoes from it, so on average 600 g from each plant. That means we could, theoretically, set aside 20 kg for next year and still have 100 kg to eat. So how does that help us re: self-sustainability? It is just about 600 g of potatoes per week per person in our household, so two-three servings. That is a lot, being a significant money saver. But it still does not bring us anywhere near to being self-reliant.
The first obstacle to that is of course the sheer amount of land needed for true self-reliance. I almost have the land, but the soil quality on most of it is very poor and it would take years of back-breaking work to bring it up to scratch with the vegetable patch.*
The second obstacle are nutrients. Potatoes have about the highest yield per area of all crops that I can grow here, but they also deplete the soil of nutrients really, really fast, and can destroy it. I do not need to go too far to see a real-life example of this – my neighbor does not make compost, does not take care of her vegetable patch the way we do, and she did grow potatoes always in the same spot for many years. The soil got sour, and the potatoes were getting so small it was not worth the effort anymore.
The third obstacle is pests and diseases. We solve this problem by twofold approach – we spray the potatoes against mold and beetles, and we only grow them every second year. It seems to work out well, but should we try to be self-reliant, it would double the needed land again. We alternate them with onions, pumpkins, and legumes, which also produce reasonable harvests, but nowhere near to be significant on the same amount of land. Alternating the crops also reduces the amount of pesticides we use, since onions and legumes do not need to be treated.
The fourth obstacle is the sheer amount of work needed. My father does most of it, with me only doing the most difficult parts like plowing, and it takes a lot of time and effort throughout the year. To feed all three of us that effort would be tenfold.
This makes me highly skeptical about growing your food on the windowsill or front porch. But even so, I think it is a great idea to plant some vegetables in pots on your windowsill or front porch if you can, just do not expect any wonders regarding the amount you will get.
What you can expect though, is great taste. Supermarket bought vegetables cannot hold a candle to anything you grow by yourself.
- The poor soil quality around here is one of the main reasons why many fields were converted to pastures and meadows after the Iron Curtain has fallen.