Walter Sorrells has recently made a video about a sharpening tool for his belt grinder, which gave me an inspiration for finally making my own. I have been planning to do this for a long time, but watching that video helped me to solve the final piece of the puzzle.
Walter Sorrells is of course not only a much more experienced knifemaker than I am, but he is also much better equipped. So my project has all the hallmarks of my handmade tools – it is crude and made from scraps.

© Charly, all rights reserved. Click for full size.
I have started with a very rough sketch of the jaws and I have also spent some time calculating trying to establish various proportions whilst finding a compromise between stability (shorter arm is better) and consistent angle across the blade (longer arm is better).

© Charly, all rights reserved. Click for full size
Here you can see it in full when finished. Jaws for holding the blade are mounted on a ca 40 cm long 10 mm stick with a ball on the lower end. The ball goes into a socket at the end of an arm that can slide forward and back with regard to the belt, thus adjusting the angle at which the edge leans on it.

© Charly, all rights reserved. Click for full size
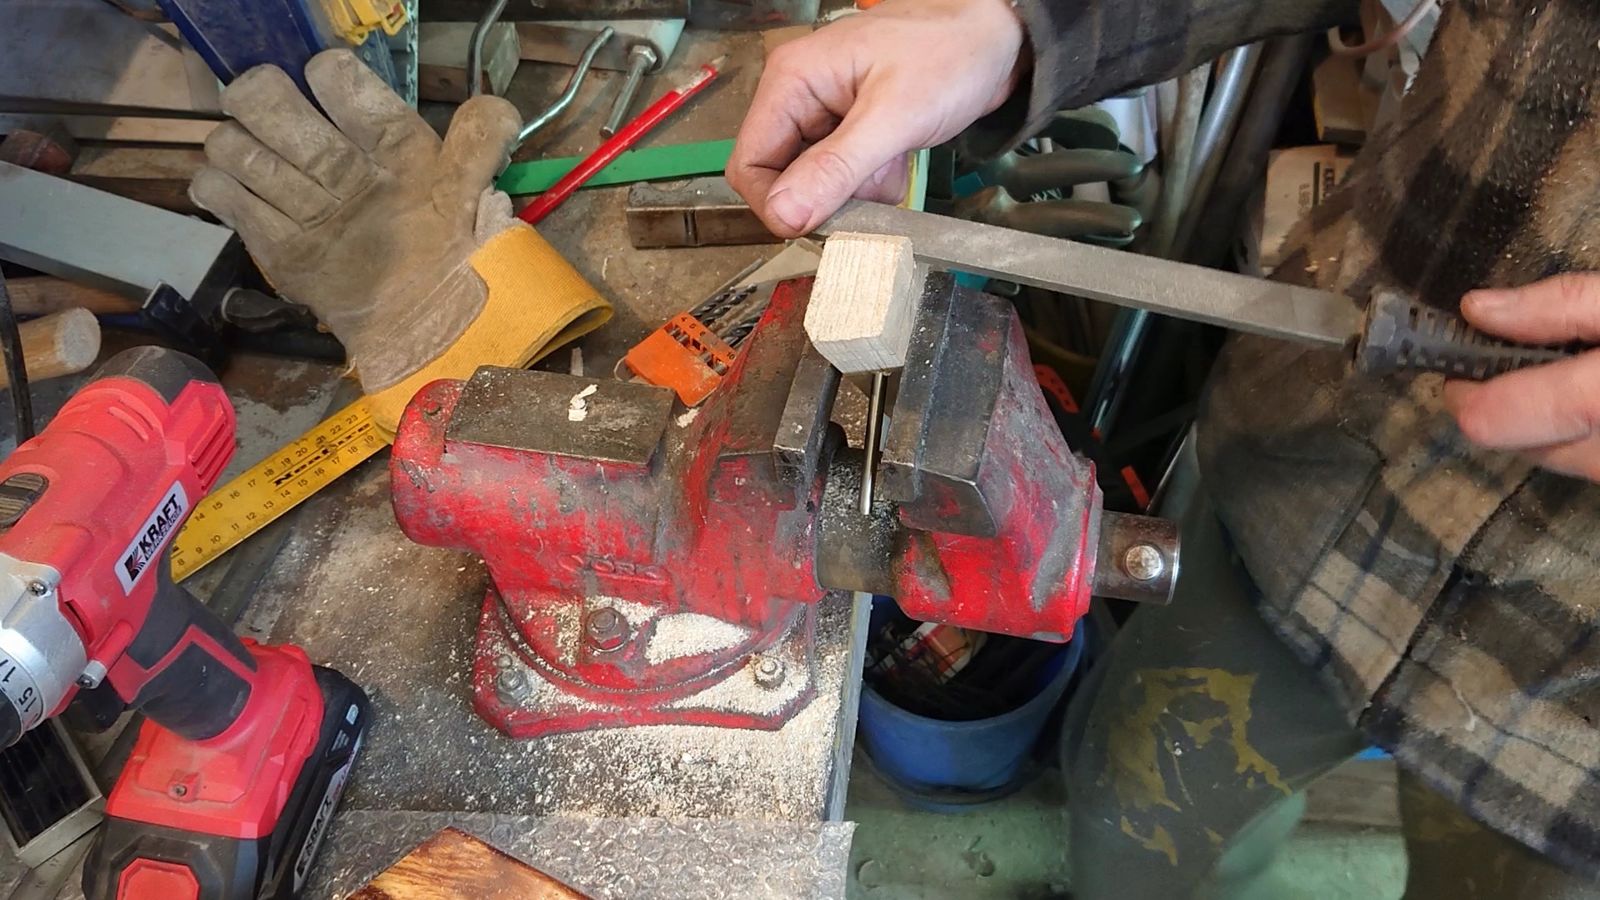
The 10 mm steel rod is recycled from our old heating oven. The plastic ball at the end is an old furniture handle. All the wood is recycled from an old bed.

© Charly, all rights reserved. Click for full size.
The jaws are made from 4mm mild steel and lined with 0.25 mm bronze held in place by means of double-sided adhesive tape. Near the tip of the jaws are two 5 mm pins that are screwed into the smaller jaw and slide into holes in the bigger jaw. They provide an end-stop to rest the blade against in order to fix it easier into the jaws and they also prevent them from wobbling. The upper screw tightens the jaws and the lower one sets the distance between them, so I can vary it according to the blade that is being sharpened.

© Charly, all rights reserved. Click for full size.
Originally, I have planned to make the socket from wood and I expected it to take a lot of time. But I got a brilliant idea during the work to use a lid from a fabric softener bottle. It cracked during work, but I still could attach it to the arm with a screw and a large washer. After that, I have covered the screw head with a piece of PVC flooring and after some consideration, I have also added two hard gaskets to keep the ball centered and to provide ever so slight resistance to movement.
The sliding arm can be fixed in position with a fastening screw salvaged from some defunct kitchen appliance from a long time ago and a galaxy far, far away, from times when things were made to last.
When the weather allows it, I will give the thing a coating of grey paint so it looks slightly less amateurish and also to protect the wood from moisture. And I will mark a scale on the sliding arm so I do not need to bother with measuring the angle.
I do not expect this to save a lot of time. I already sharpen knives on the belt grinder and it does not take me more than about five-ten minutes per blade. But it will make the job a bit easier and the angle should definitively be more consistent, which is a plus. I am not one who is overly concerned with sharpening angle, I think that anything between 15° and 25° works just fine for most knives, but consistency does have an influence on the durability of the edge. For example, the N690 steel that I am using for most of my knives allegedly should not be sharpened at a too steep angle (below 15°) because then it tends to chip and break. With this tool, I can at least be definitively sure that I won’t go any lower than that.
We shall see how it works. I do have a lot of knives that need sharpening.