As I was saying last time, I have given my belt grinder a complete overhaul.
Since now I knew that I can do it and it will work, I was not so stingy about spending money so I bought for about 50€ a few beech wood profiles 50×50 and 50×30 mm, some new ball bearings and a few other thing.
First thing I have done after that was to remove the belt support and compeltely dismantle the idler wheels. I have rebuild them. Instead of using threaded rods throughout I used about 100 mm length of a 10 mm rod on which I cut thread on the ends – on one side just about 1 cm each side . This has provided better fit with the inner opening of the ball bearings. I also shortened the inner spacer between the ball bearings so that I can sink in the nuts inside so it and the rod are flush with the wheel edge.
This has allowed me to to fix the wheels on the future idler on only one side, so I fixed them perpendicular to 50×30 profile and after that I got distracted.

©Charly, all rights reserved. Click for full size.
The distraction was the spanning wheel, which I did not intend to rebuild. But changing belts was a bit awkward – I had to pull on the lever with left hand and change the belt with the right hand. And I got an idea on how to improve that. So I have built out of plywood a gravity latch that falls into position when the lever is pulled beyond certain point. That frees both hands to put on the belt comfortably and without hassle. When the belt is on I lift the latch, the spring spans the arm and after I let go the latch end lays on the top of the spanning arm without restraining it.
©Charly, all rights reserved. Click for full size.
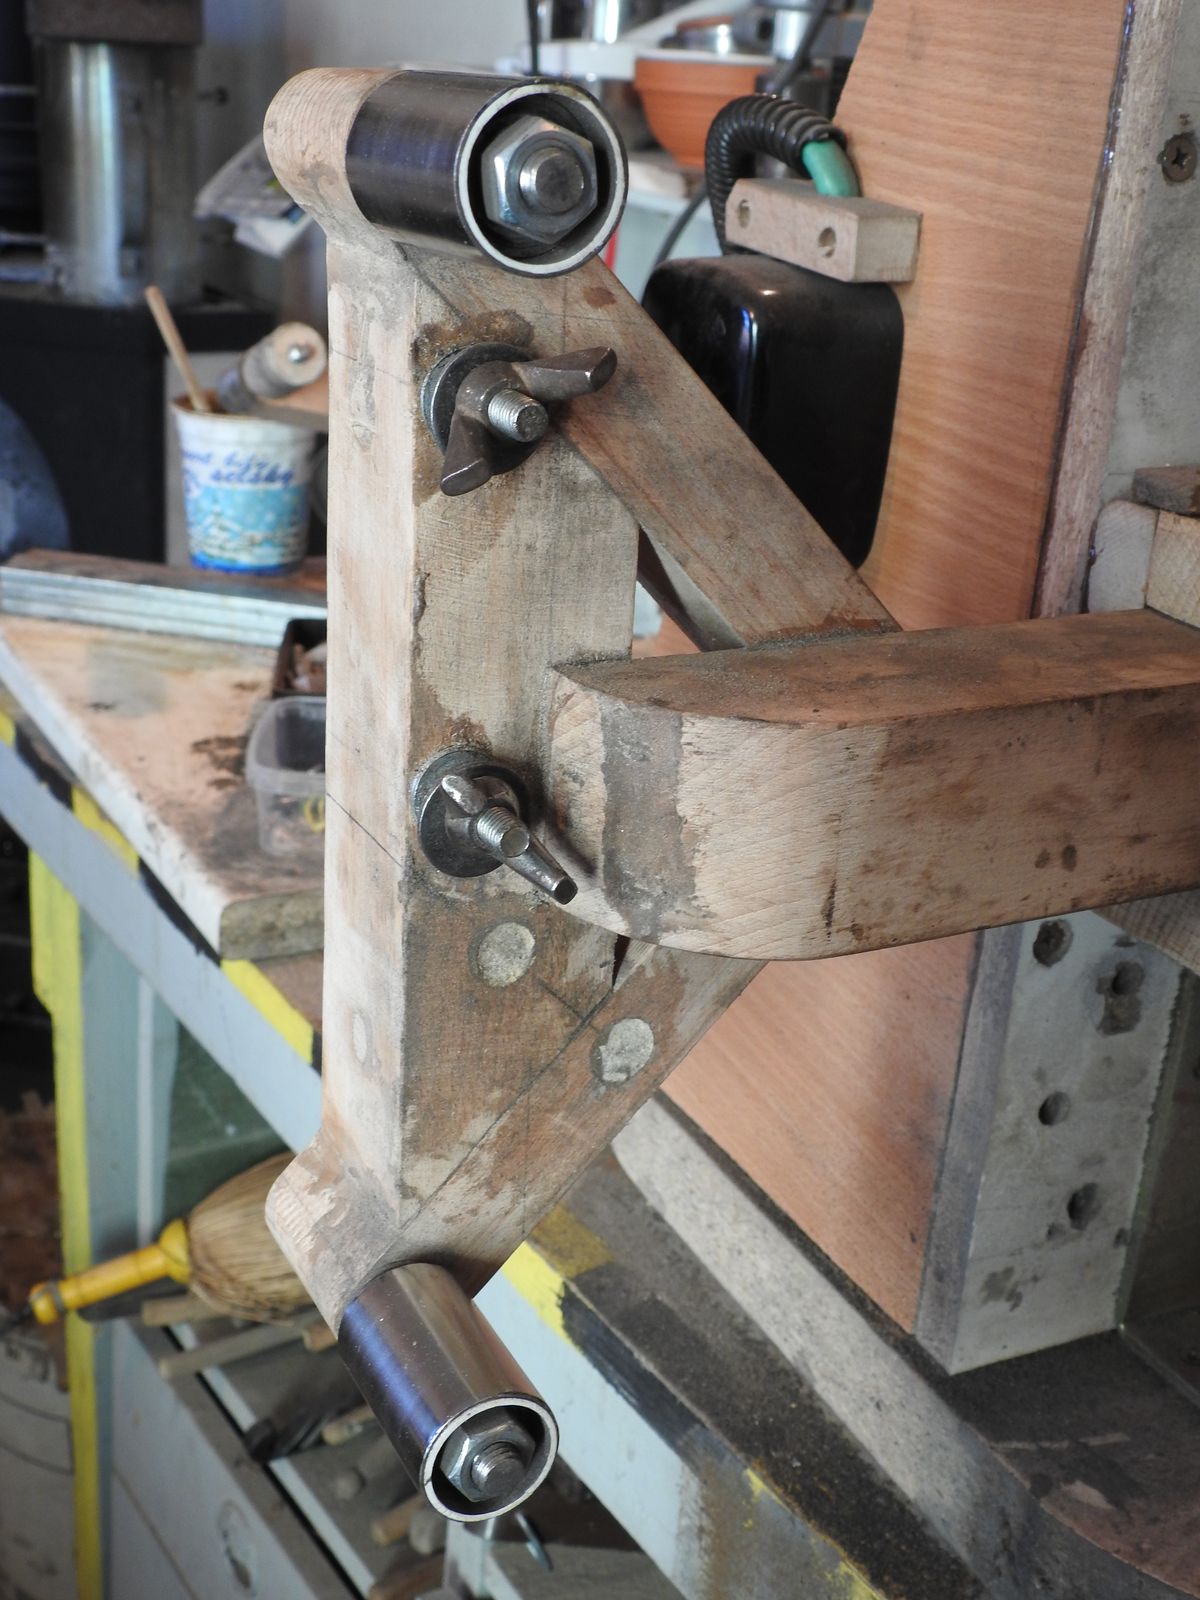
With that done I returned to the idler. Whilst I did spend some money on good materials, I did not spend too much time with planning except in my head. So I was still working by mostly piling stuff on other stuff making it up as I go along. I did not bother with precision too much and relied heavily on epoxy to fill any gaps and I added dovels and sometimes screws for strength
The only thing that I actually have spent some time to make precise was the parallelity of the wheels.
On the idler I prepared two screws with wing nuts for fixing the platen, and on the other side are two screws for fixing the support table (not seen here, but the positions are the pale circles in the lower half).
With that done I have cut two platens out of an old U profile that was rusting in my garden for years. Here is the final setup with all threee options visible. Left is setting for 20 cm hardbelt, middle 12 cm hardbelt, 10 cm slackbelt and right is 24 cm slackbelt.

©Charly, all rights reserved. Click for full size.
After this was done and tested – which I have done by truing the platens by alternating them as support/workpiece against each other on the grinder – I gave the whole thing a new coat of paint. The machine blue and the detacheable idler arm pale grey.

©Charly, all rights reserved. Click for full size.

©Charly, all rights reserved. Click for full size.
It is Amazing how a simple paint can improve the looks of things, isn’t it? I am glad to say that it all works as intended.
Next step is to make second detacheable arm with changeable wheels of different diameters, for hollow grind an fullers.
I love what you did with it. That you made it out of wood seems extra-amazing. It’s not that much harder to make something like that out of tubular steel and bolt it together. There’s an implicit point here, that we assume that metal is the way to go because, I don’t know, metal for metal? Wood is perfectly fine and it can be strong and beautiful, too.
Yes, it is a beautiful and useful thing. I really like it!