If you have ever wondered why are carpenter’s pencils flat, then here it is explained in detail.
Affinity
Art, Fun, & Nonsense.

If you have ever wondered why are carpenter’s pencils flat, then here it is explained in detail.
From Avalus,

©Avalus, all rights reserved
This step was a real bugger this time. Forming the handle before it is assembled onto the tang has its downsides, but it also has its upsides. And they seem to prevail, in comparison to the approach I took this time. It took me a lot of time to get all the handles into shape. Part of the problem was also that I have used woods of different properties and thus I had to adjust my approach several times – something that entirely defeated the purpose of saving time by working in bulk. But I got eventually to the stage when I could impregnate the handles with boat lacquer.

© Charly, all rights reserved. Click for full size.
For some of the woods on display here infusing them with drying oil or buffing with beeswax would be entirely sufficient. For some, it would be much, much better to stabilize them with resin beforehand. But the boat lacquer is the most durable and universally applicable finish I have right now, so I have used that. And to make the work more convenient, I have built myself a little stand to put the blades in to dry.

© Charly, all rights reserved. Click for full size.
Unfortunately, I am not done yet so I do not know how much time I have lost in this step. I only have enough data right now to know for sure that I have lost a lot, maybe even an hour per blade. The reasons for this are several.
First, this step was evaluated as “high hanging fruit” because I knew upfront that saving time here will be difficult. Lacquering is the most labor-intensive wood finish imaginable in this context.
Second, some of the savings in my previous step were not really time savings, it was merely that I have changed the order of operations this time and that moved some of the work time from that step into this one.
Third, I messed up, bigly, several times. I repeated steps tat needed not repeating and in the end, I had to redo the coating for four blades. This is why I do not have full data yet – right now, only 8 knives out of 12 are truly finished. But the purpose of learning was achieved, and I have definitively saved some overall time.
I never was into sports of any kind, neither watching nor doing. But about two months ago I stumbled across this YouTube channel and I did watch quite a few videos of theirs. They are strangely captivating in their resemblance to real sports events, despite being decided solely by chance.
And yesterday I was reminded about its existence when watching John Oliver. He mentioned that if you are starved for sports events right now, then this might be something to satiate that hankering somewhat.
Open thread, talk whatever you want, just don’t be an asshole.
We all know that trees dance, but have you ever thought about dancing with a tree? A ballerina from Vancouver thought about it, and went on to create Aeriosa, a vertical dance troupe that performs with trees.
Aeriosa is the only company in Canada specializing in vertical dance, in which performers spin and dance on cables from trees, buildings and mountains.
Julia Taffe is Aeriosa’s founder, artistic director and choreographer. Since 1998, she has choreographed more than 25 works for her company. She says dancing among the clouds is no big deal, adding that “fear is healthy.”
The key, Taffe adds, is to put safety first. Aeriosa works with a team of professional riggers. Before the Saxe Point show, the site will also be inspected by a “mountain safety specialist,” who will closely monitor the weather, rain or shine.
Taff has an interesting perspective and regards the trees as active partners whose needs must also be considered.
… she refers to it as an “interspecies” collaboration. Because trees are a living thing, Aeriosa takes care not to damage them — making sure not to snap branches or leave metal spikes.
“If we can’t do our work without damaging the environment, then we shouldn’t do it,” Taffe said. “Each tree is unique and you have to be able to respond to that with your choreography and your artistic vision.
I’ll pass on dangling from the top of a tree, but next time I’m in the forest I just might ask an appropriately sized tree for a waltz.
Story from The Times Colonist
I really wanted to see this performed, so I asked the YouTube and found this. It’s a beautiful form of dance.

Dugmore, A. Radclyffe. Two Boys in Beaver-land. Garden City, New York, Doubleday, Page & Company, 1920.
Making all those masks required that I somewhat clean up my sewing area and it reminded me of how much I love sewing and embroidery,and also Lidl had plain clothing on sale. So here’s a few nice things that I now own.

©Giliell, all rights reserved
More masks. I wanted some that match my clothing. I also changes the pattern a bit. The original pattern was made by an Asian woman and while differences on average are small, nobody ever accused my nose of being average. It’s more like something you’d find on a Greek statue if such prominent features didn’t have the tendency to break off. It’s also bigger, which makes it a lot more comfortable to wear, as there’s more room in front of nose and mouth.
Cute T-shirts:

©Giliell, all rights reserved
As you can see, my dear Marie Antoinette goes back to a time when there was a lot less fabric needed to cover my ass. Bright flowers on dark fabrics are just my thing.

©Giliell, all rights reserved
As are unicorns. The pattern sits a bit low, but not quite as low as on Marie Antoinette, as my tits fill up some space.
And a dress. With pockets!

©Giliell, all rights reserved
Please excuse the chaos in the background. I did not clean all of it… The next pic will show the difference between a dress sitting on a mannequin and a dress sitting on a fat lady. I tried to take a selfie, which is not that easy if you want to show your dress. You can also see one of my masks. It says “Wash your hands, no seriously”.

©Giliell, all rights reserved
Oh, and I made another pest doctor mask:

©Giliell, all rights reserved
This time a bit more sinister. I think it’s something I could wear to a ren fair, should we ever get one again.
And just for the fun of it: TARDIS keyrings

©Giliell, all rights reserved

Mrs. C.C. Scott. Magnolias Abloom, and Other Stories. Little Rock, Ark., Press of Gazette publishing company, 1894.

Ethel Mary Brodie. The Rose Colored World, and Other Fantasies. New York, The Metropolitan press, 1910.
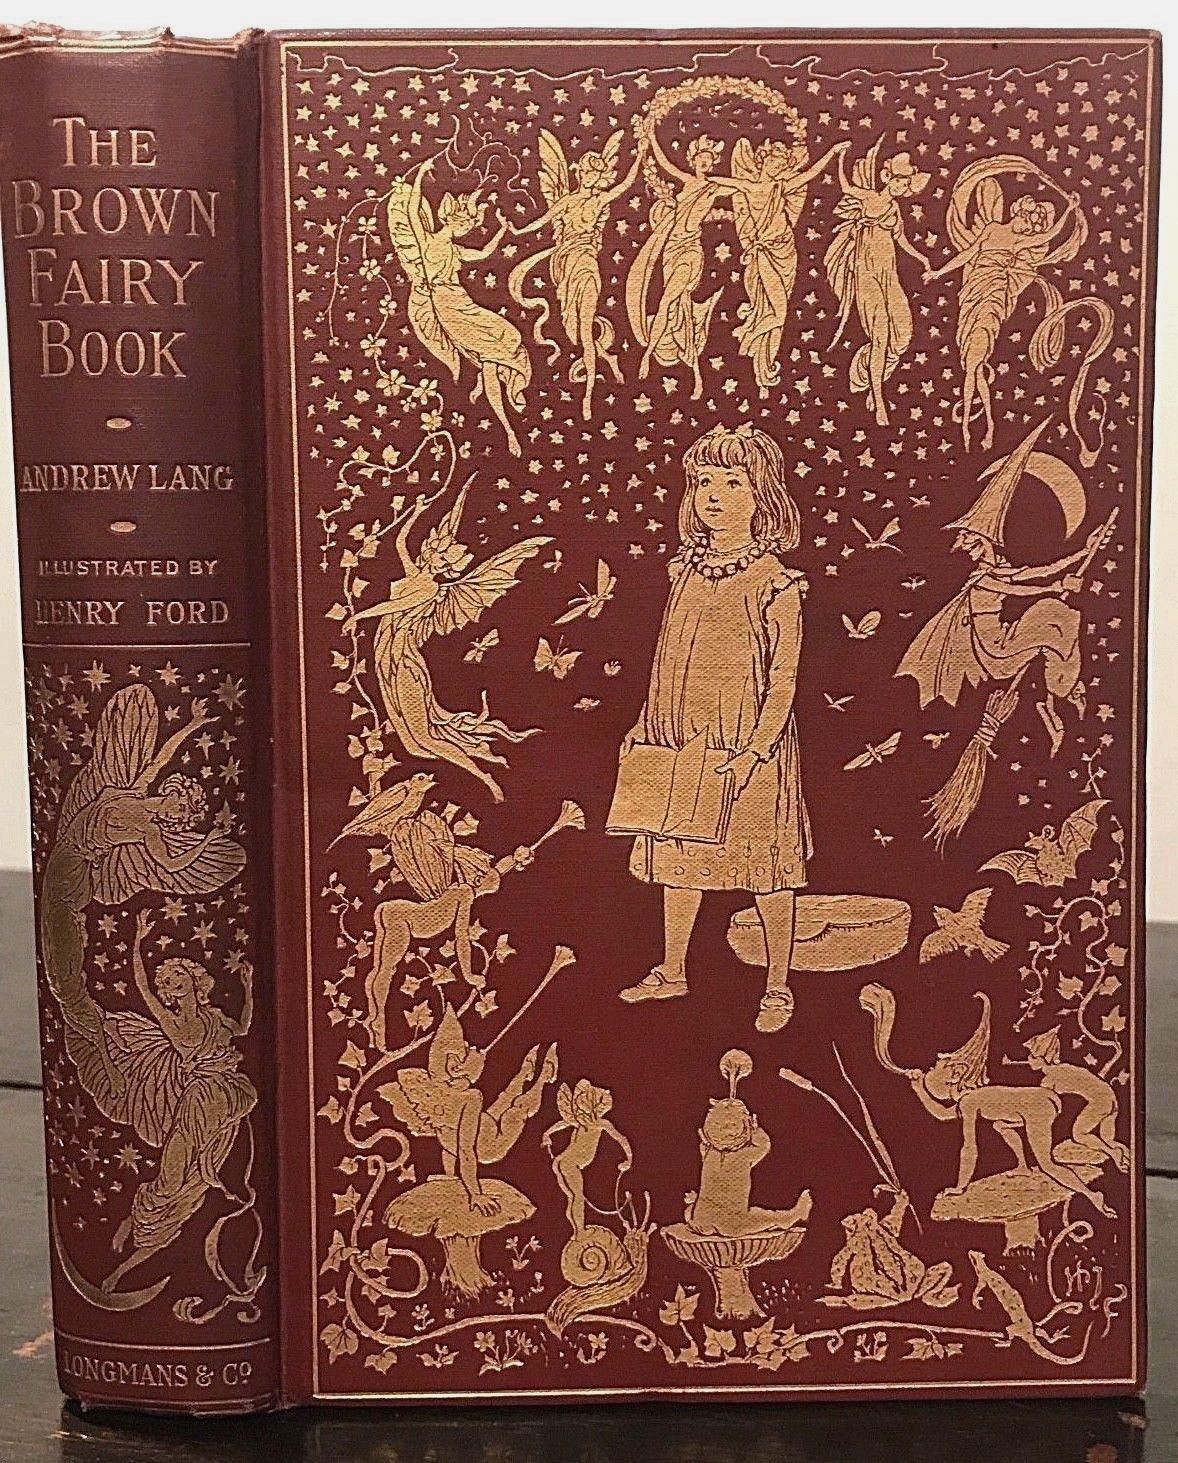
Andrew Lang. The Brown Fairy Book, Illustrations by H.J. Ford. New York (etc.), Longmans, Green, and Co., 1910.
This week’s fairy book is brown and it’s filled with the wonderful illustrations of H. J. Ford. This book, along with the remainder of the series (which I’ll be posting), all have a few coloured full-page illustrations. There are a few things I’d like to note. One is the presence of nipples on a bare-chested woman in the drawing on page 111. In fact, I find most of the drawings more suggestive. The princess’s dresses are sheerer and nipples can be seen through them. These drawings are reflective of the societal changes that happened during the Edwardian Period. The drawings also include the usual lions, bears, mermaids and ogres, along with a wonderful cock.
I’d also like to note that thanks to a comment by Crip Dyke, I’ve linked the Andrew Lang Fairy Books. The links are at the bottom of the page near the links to the books online source.
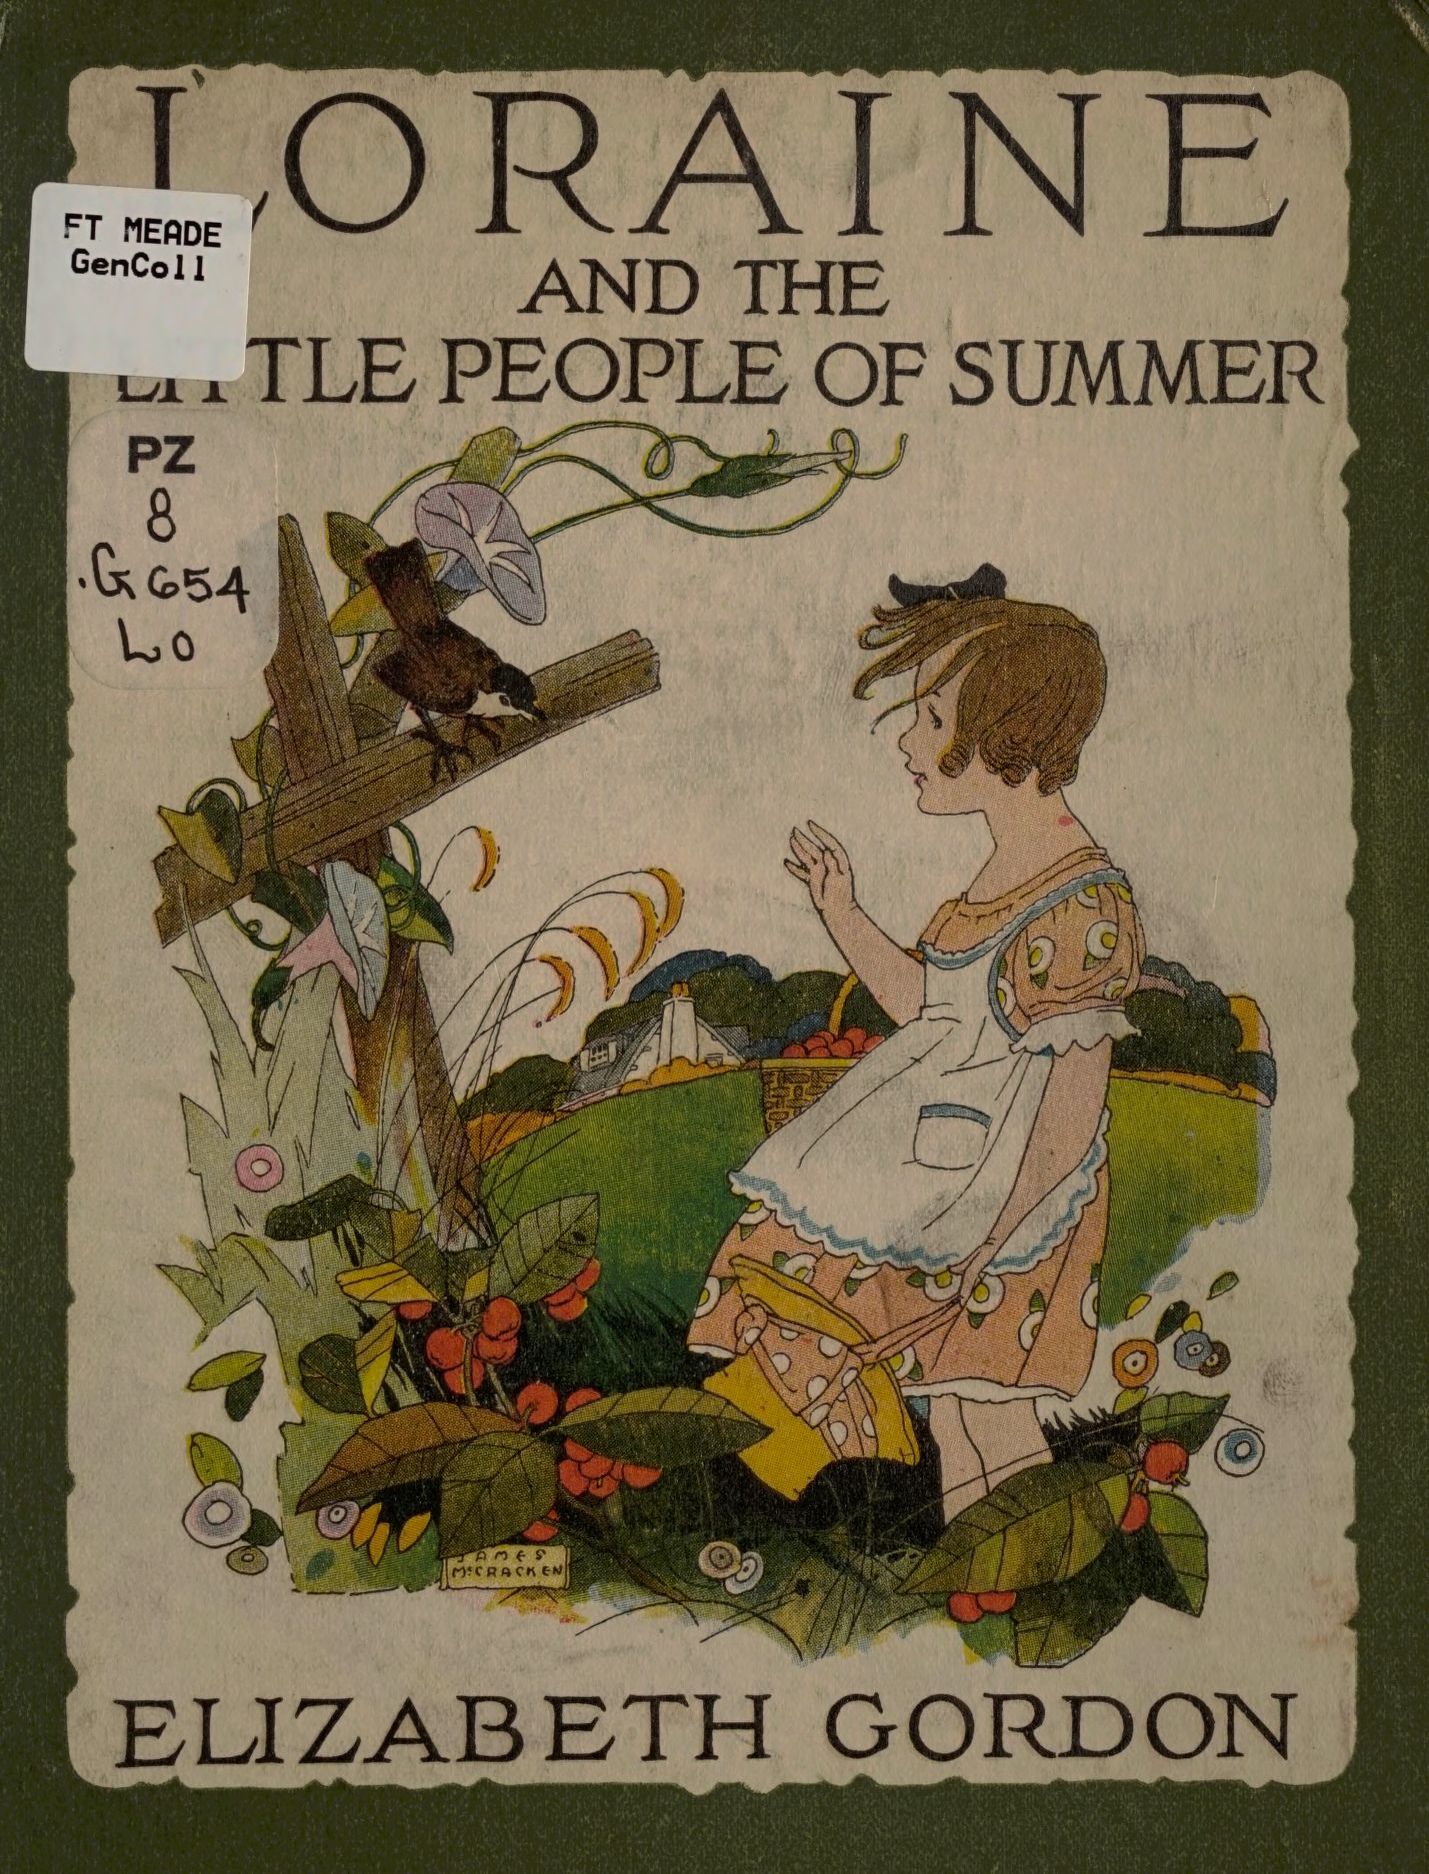
Elizabeth Gordon. Loraine and the Little People of Summer. Chicago, Rand McNally, 1920.
The Covid-19 pandemic has prevented me from giving my brother the knife I made for his birthday, so I have used the time and I also made a simple stand for it. I have used black locust (Robinia pseudoacacia) wood from my firewood treasure trove. The wood is poisonous to ingest, but it won’t rub off on the stainless blade enough to be a problem.
It took me a bit longer time than it would had I been working with good planks because the cuttings were not perfectly square or flat and I had to do some fitting and gluing up in order to get big enough chunk for the base.

© Charly, all rights reserved. Click for full size.
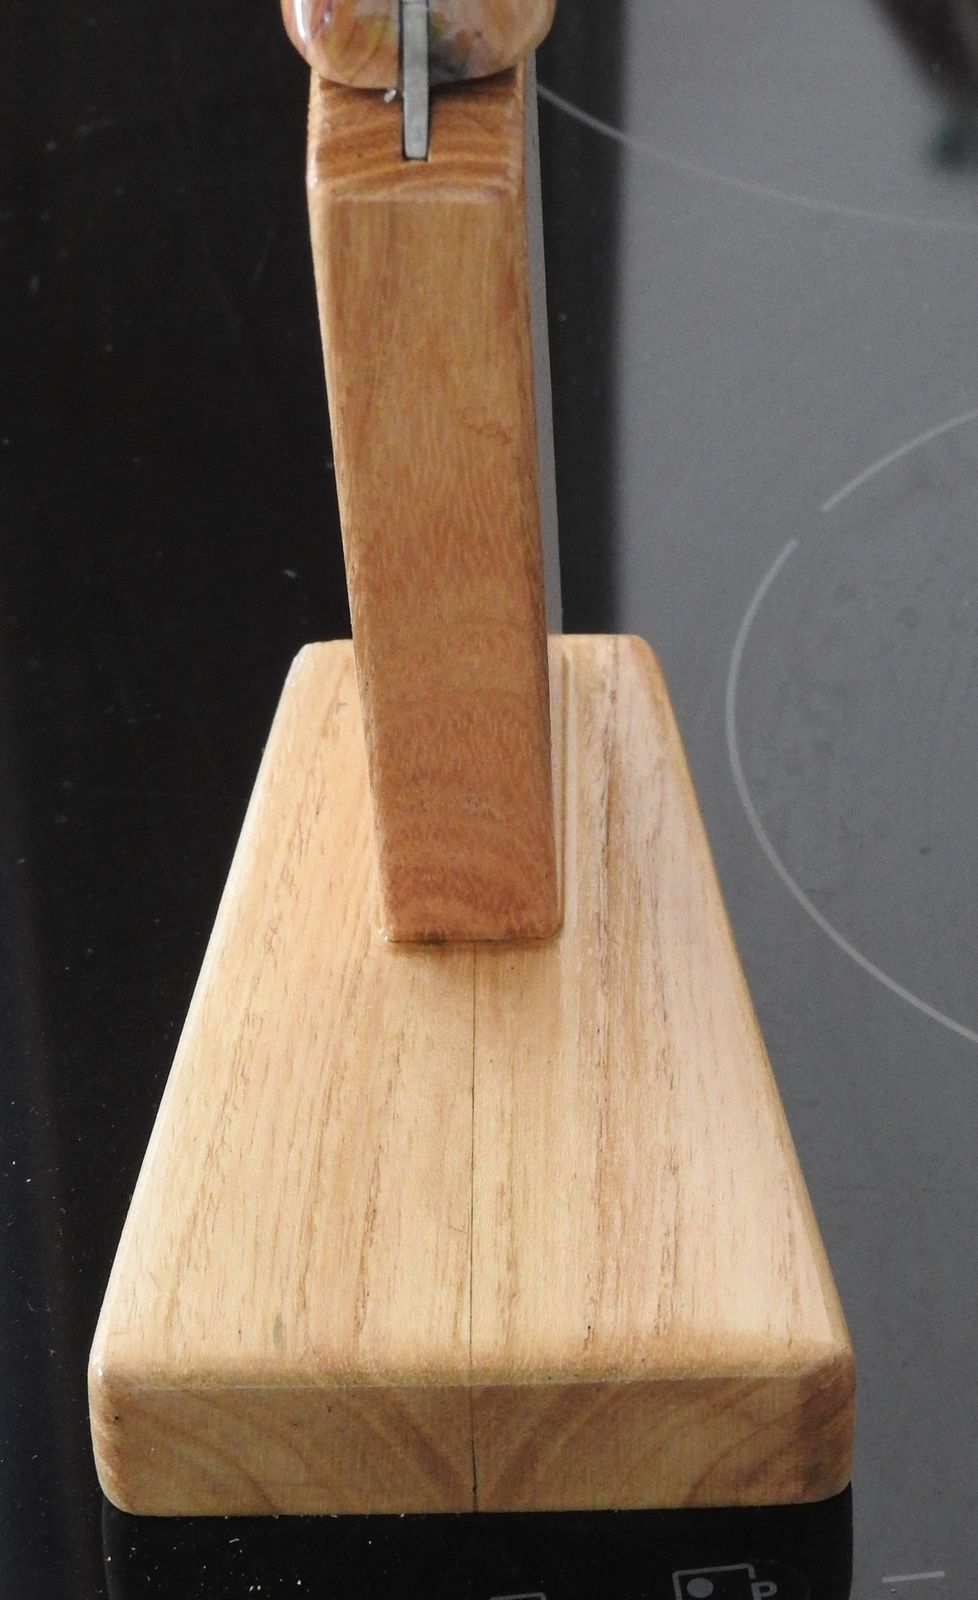
After the glue-up when I started to square and polish the base I have realized that, quite coincidentally, I have glued it from two pieces that came from the same original plank, and that I have aligned the grain so that it makes a nice V-shape at the face.
© Charly, all rights reserved. Click for full size.
I have also found out that I will have to use another glue next time, since the one I am currently using turns black when gluing woods with high tannin-content, a problem that I noticed also when gluing leather with it. Which is a bummer, because it is very good, strong, and water-resistant glue that is really easy to work with. But the thin black line looks much worse on the picture than in reality.
The stand is covered with the same boat lacquer as the knife handle, but it is deliberately not polished and it has fewer layers since it should not get exposed to nearly as much water as the handle.
I will probably make some more knife stands/racks in the future

Ethel Maude Colson (Brazelton). The Story of a Dream. Chicago, C. H. Kerr & company, 1896.
