Busy, busy, busy. I am tired and there’s still more work to be done than I can manage. Currently, the theme of the day is preparing the garden for winter.
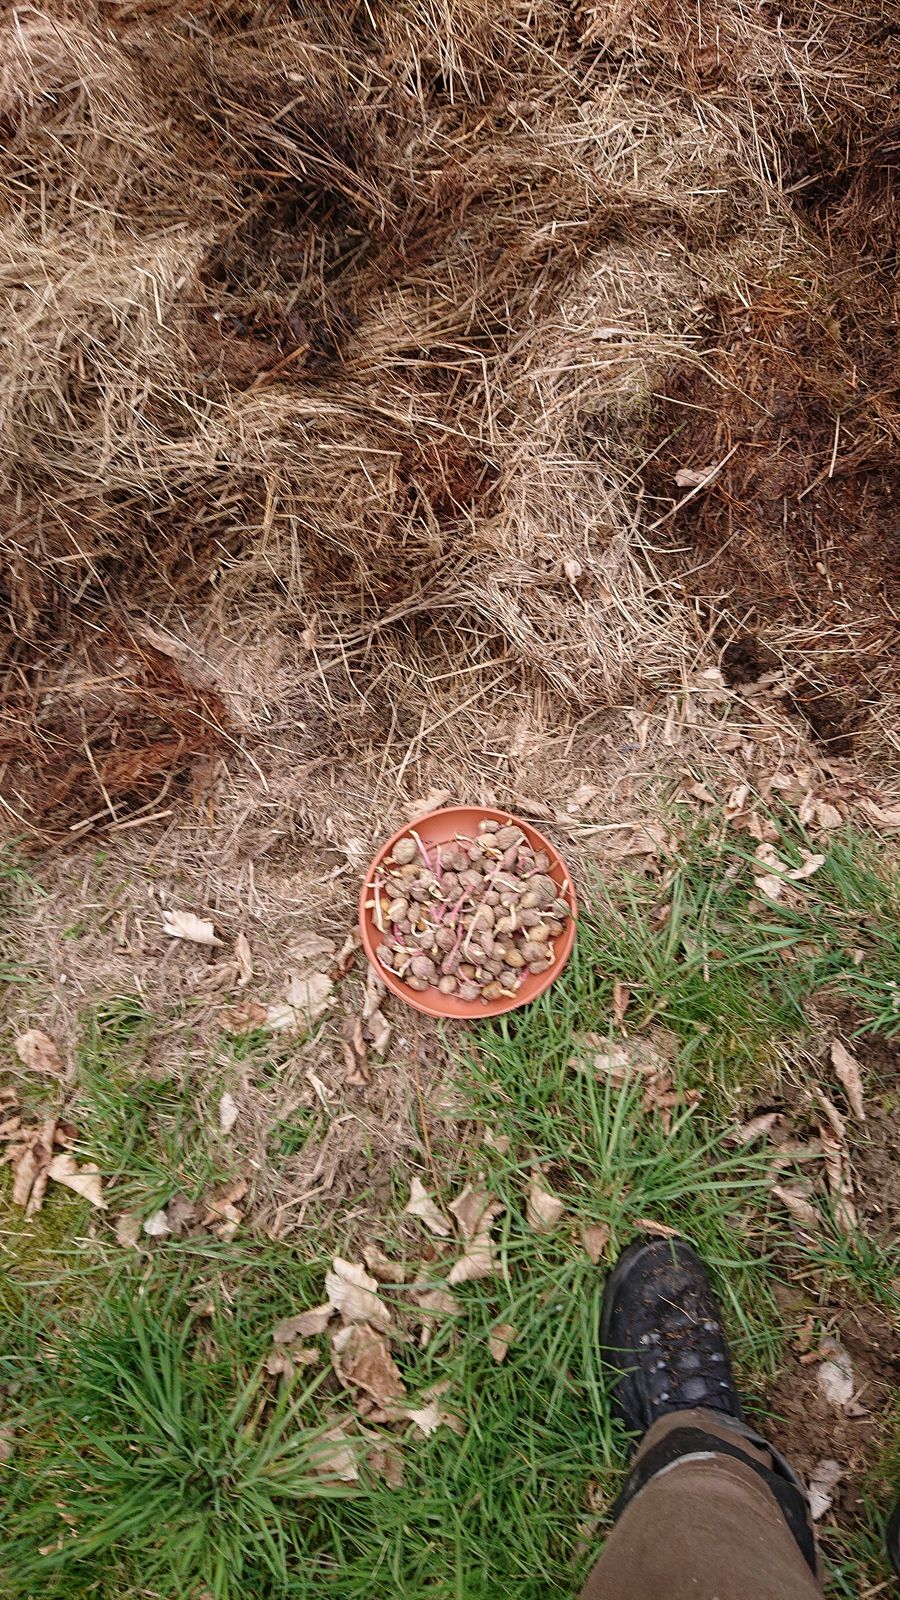
You may remember that this year I have been experimenting with growing potatoes under grass clippings, without tilling the ground or preparing it in any other way. And given that I have planted only about 1 kg of pea-sized potatoes, it was a huge success, I harvested about 40 kg of reasonably large potatoes, although the blasted voles did again do some damage. Here is a picture of a small sample.

© Charly, all rights reserved. Click for full size.
Because of this, I have decided to repeat the experiment on a larger scale, on our proper vegetable bed, about 40 square meters. It was several working day’s worth of work to gather all the old and recent grass clippings from piles around the garden and spread them all over.

© Charly, all rights reserved. Click for full size.
It would be better to dry the clippings first, but alas that was no longer possible for the last mowing of the grass since the weather is now cold and wet and the days are too short for the sun to do much even when it shines. So about half is covered in dry clippings and half in fresh ones. I do hope it won’t cause problems, it should have enough time over the winter to settle. I hope. In the spring I will probably add a few bags of woodchips and shredded reeds from the sewage cleaning facility.
All in all this year was a mixed bag, gardening-wise. We had very few tomatoes and patypans. The weather at the beginning of the summer was way too hot and the plants, although they are warmth-loving, had stunted growth despite being watered enough. And when the weather subsequently cooled in July, it was again way too cold for these. In short – most of the summer the temperatures were either above or below the tomatoes’ metabolic optimum.
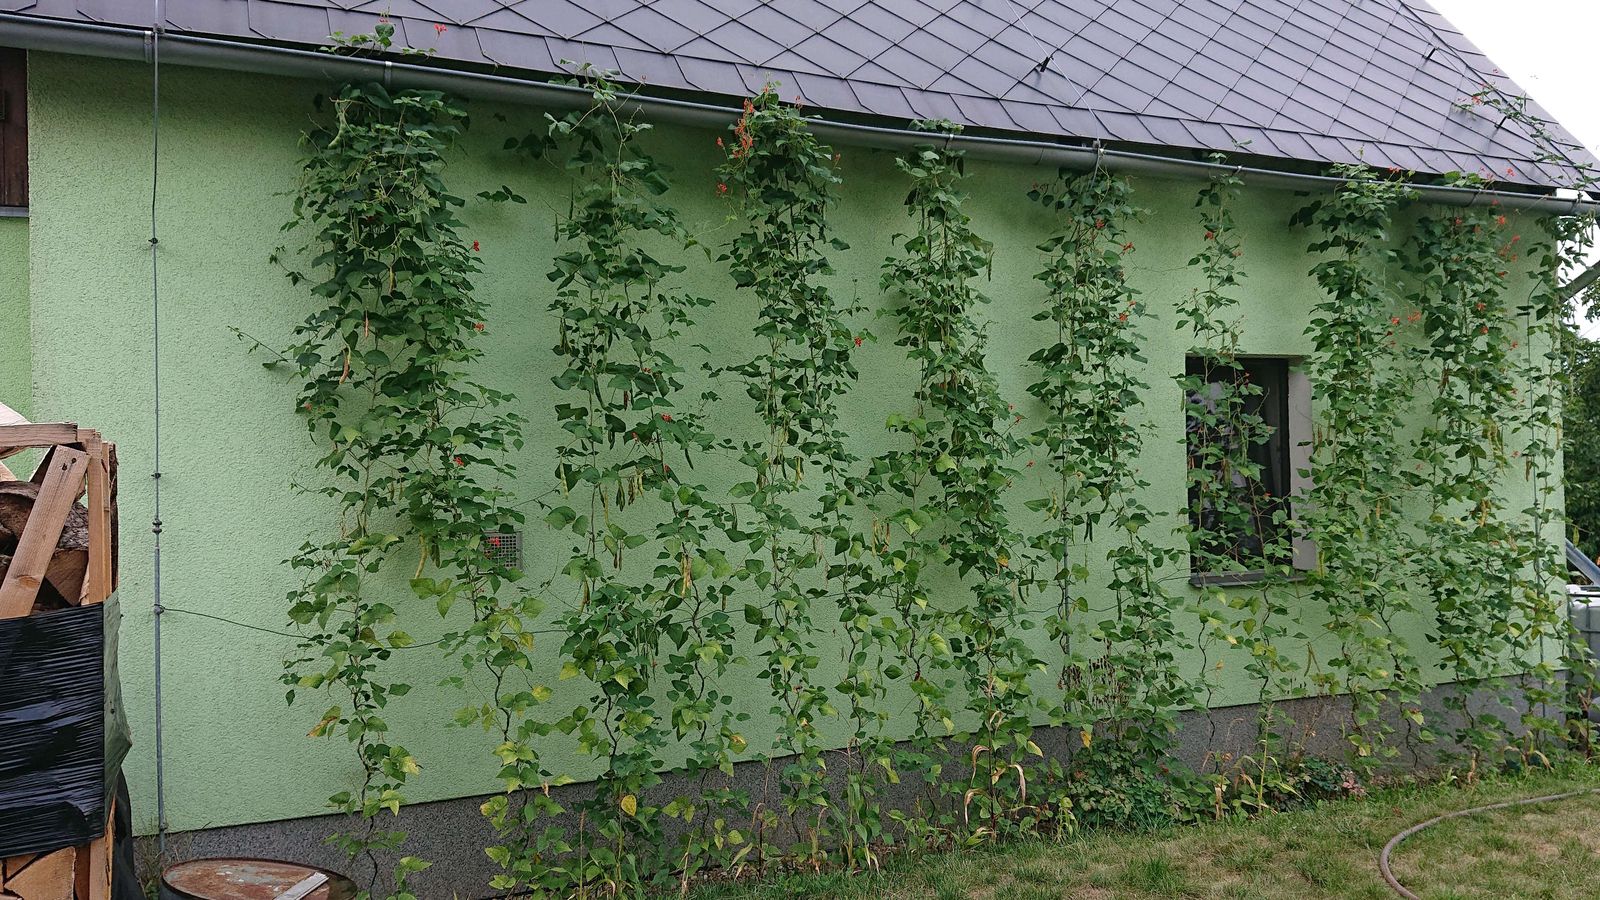
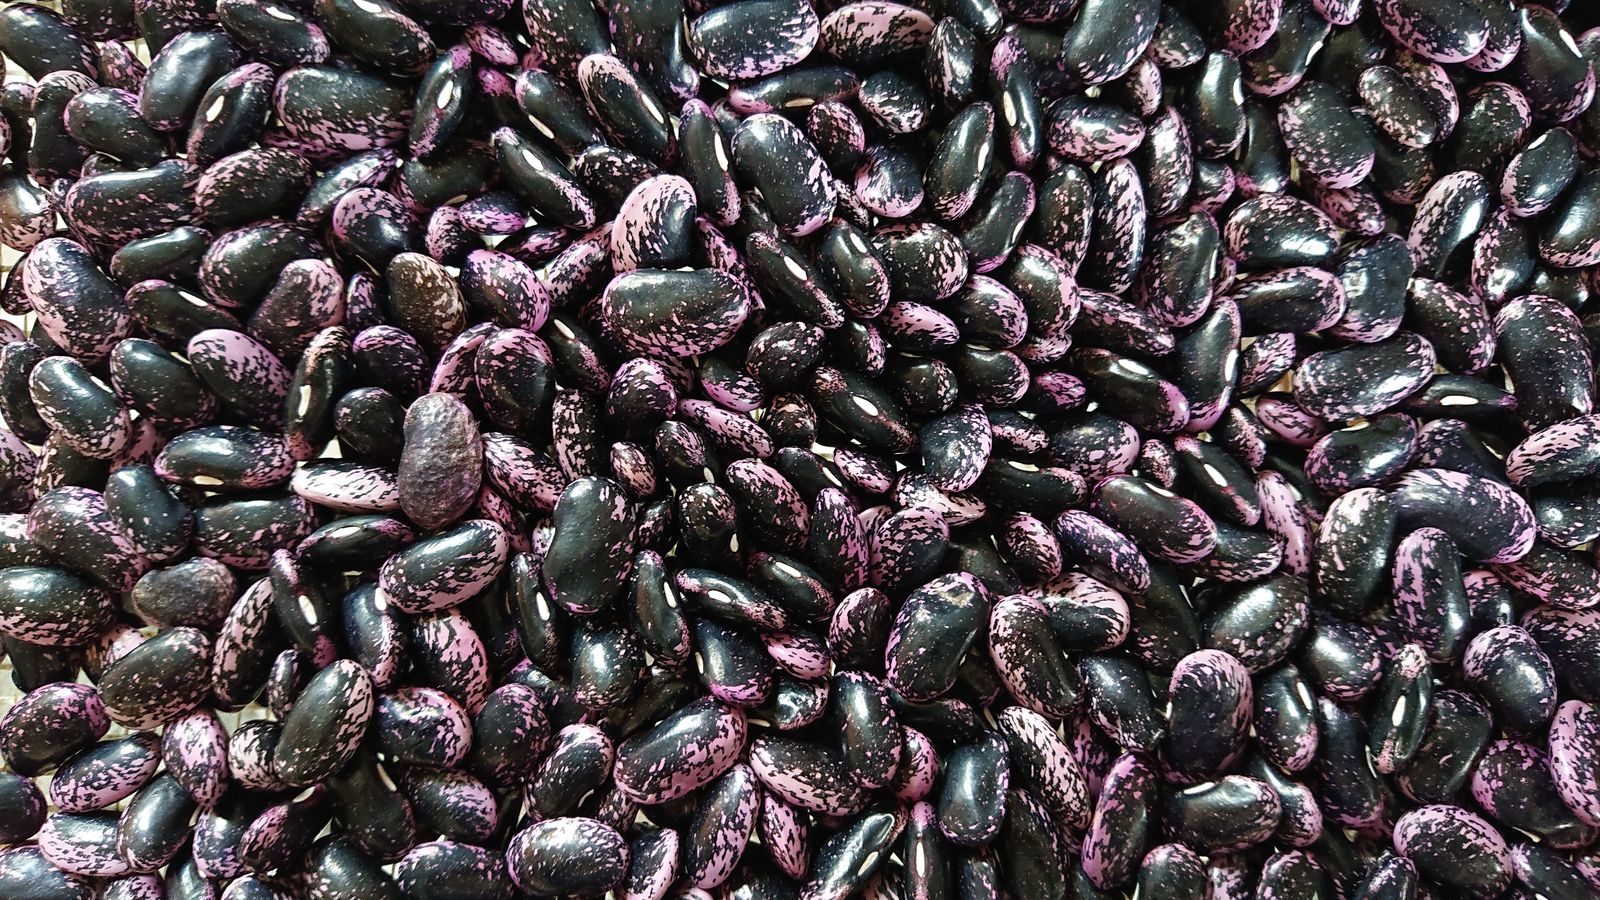
The beans that grew this year on the big vegetable bed as well as behind the house were a moderate success. The voles destroyed some plants early on but the rest grew vigorously and I harvested nearly 6 kg of beans and about twice as much of green bean pods that my mother canned in vinegar for later use. It is less than we could have under better conditions, but enough for our needs.
My only apple tree fell victim to water voles and continues to slowly die. I expect that it won’t wake up next spring. But I got over 30 kg of strawberries, over 10 kg of pears, and several kg of raspberries. Most of those were dried for winter too, some were made into marmalade. The plums and figs harvest was small, only a few kg, but it was enough for me to sit one whole day and make all-natural, sugar-free plum butter and to dry a few jars of figs. Plum butter is the best filler for pies, IMO, and it too should be enough for a few years. And lastly, we got again enough walnuts to give them away. The cellar reserved for preserved food and vegetables is full.
And I also had to replace the bird feeder, since it was starting to slowly fall apart. I have made a completely new one, from a few wood offcuts sorted out of my firewood. I hope it will last at least as long as the previous one. To help it last longer, I have charred all surfaces with a propane torch and I soaked it with old boiled linseed oil. That should make it somewhat resistant to humidity and fungi.

© Charly, all rights reserved. Click for full size.
Basically, it is the same design as the previous one, only the central column is not round and made from plastic tubing but square and made from wood. And the roof is a bit higher so the birds have slightly more space to sit and still have a good view of their surroundings. I did not include any perches so far, maybe I will do that later.
I have also made an additional feeder, a kind of gibbet for hanging walnuts, suet dumplings, and various other things.

© Charly, all rights reserved. Click for full size.
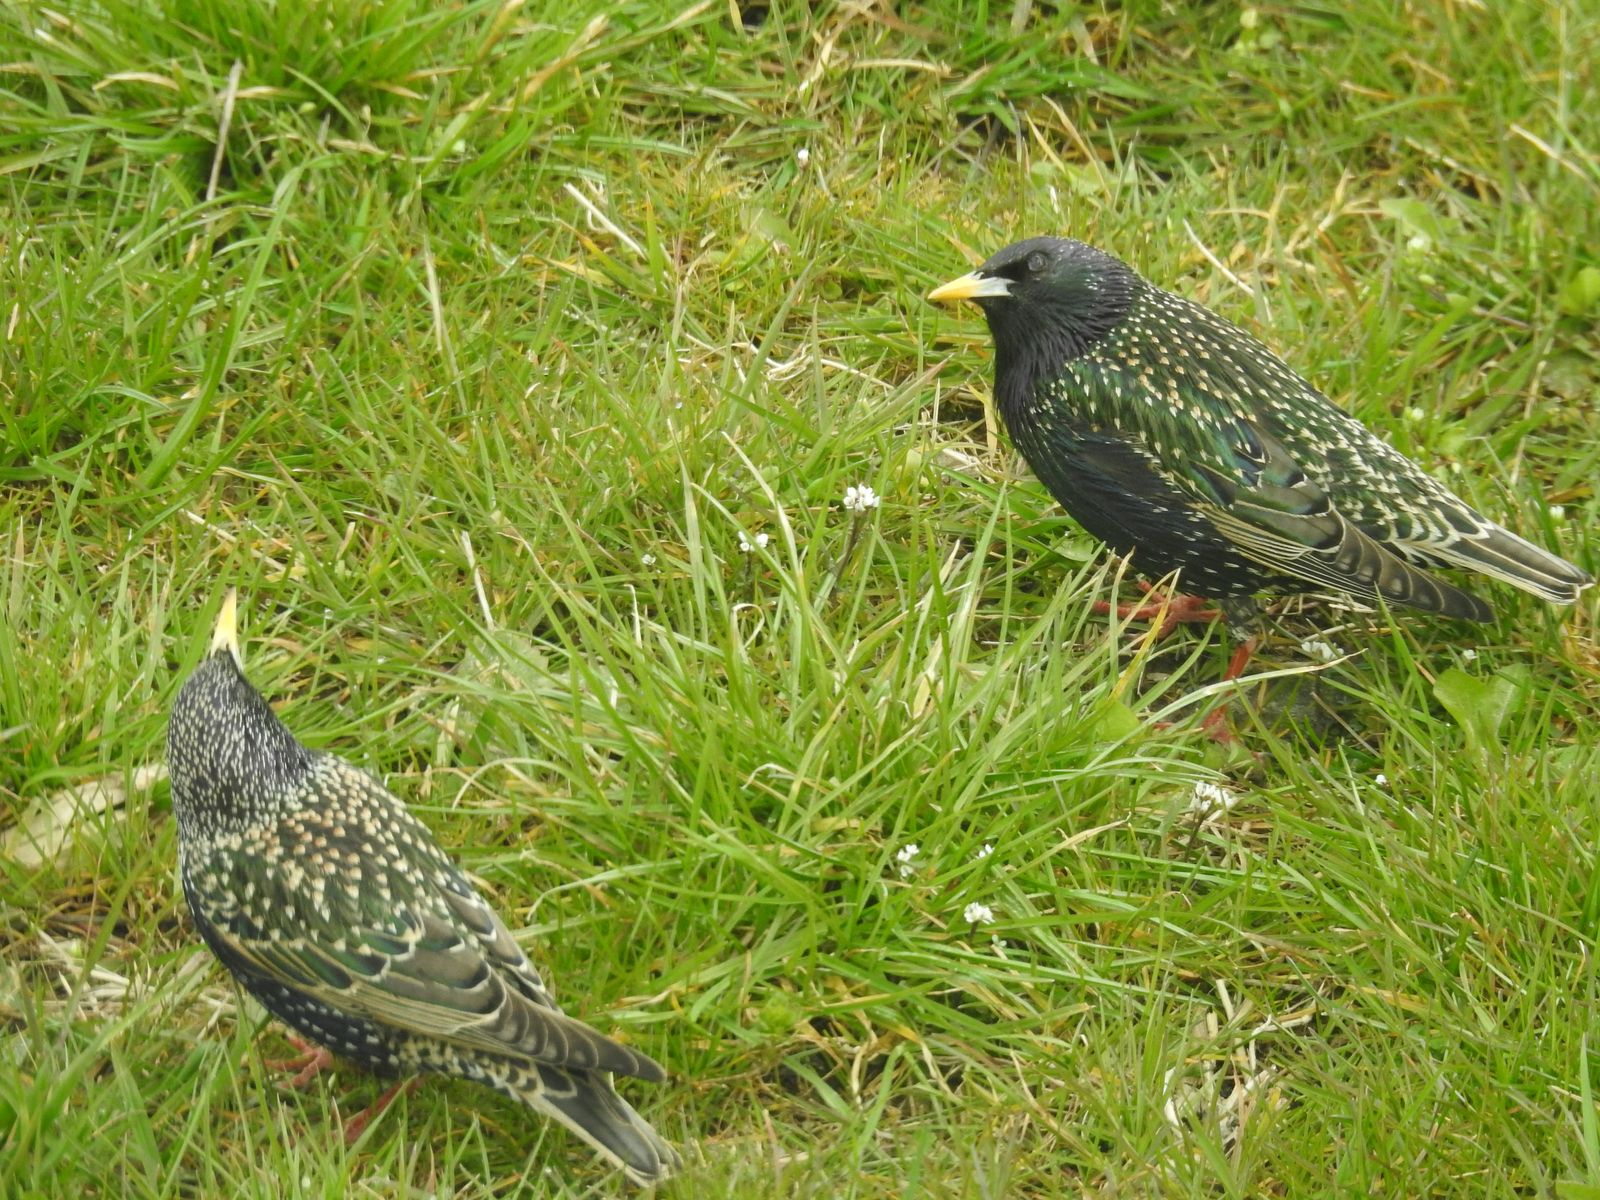
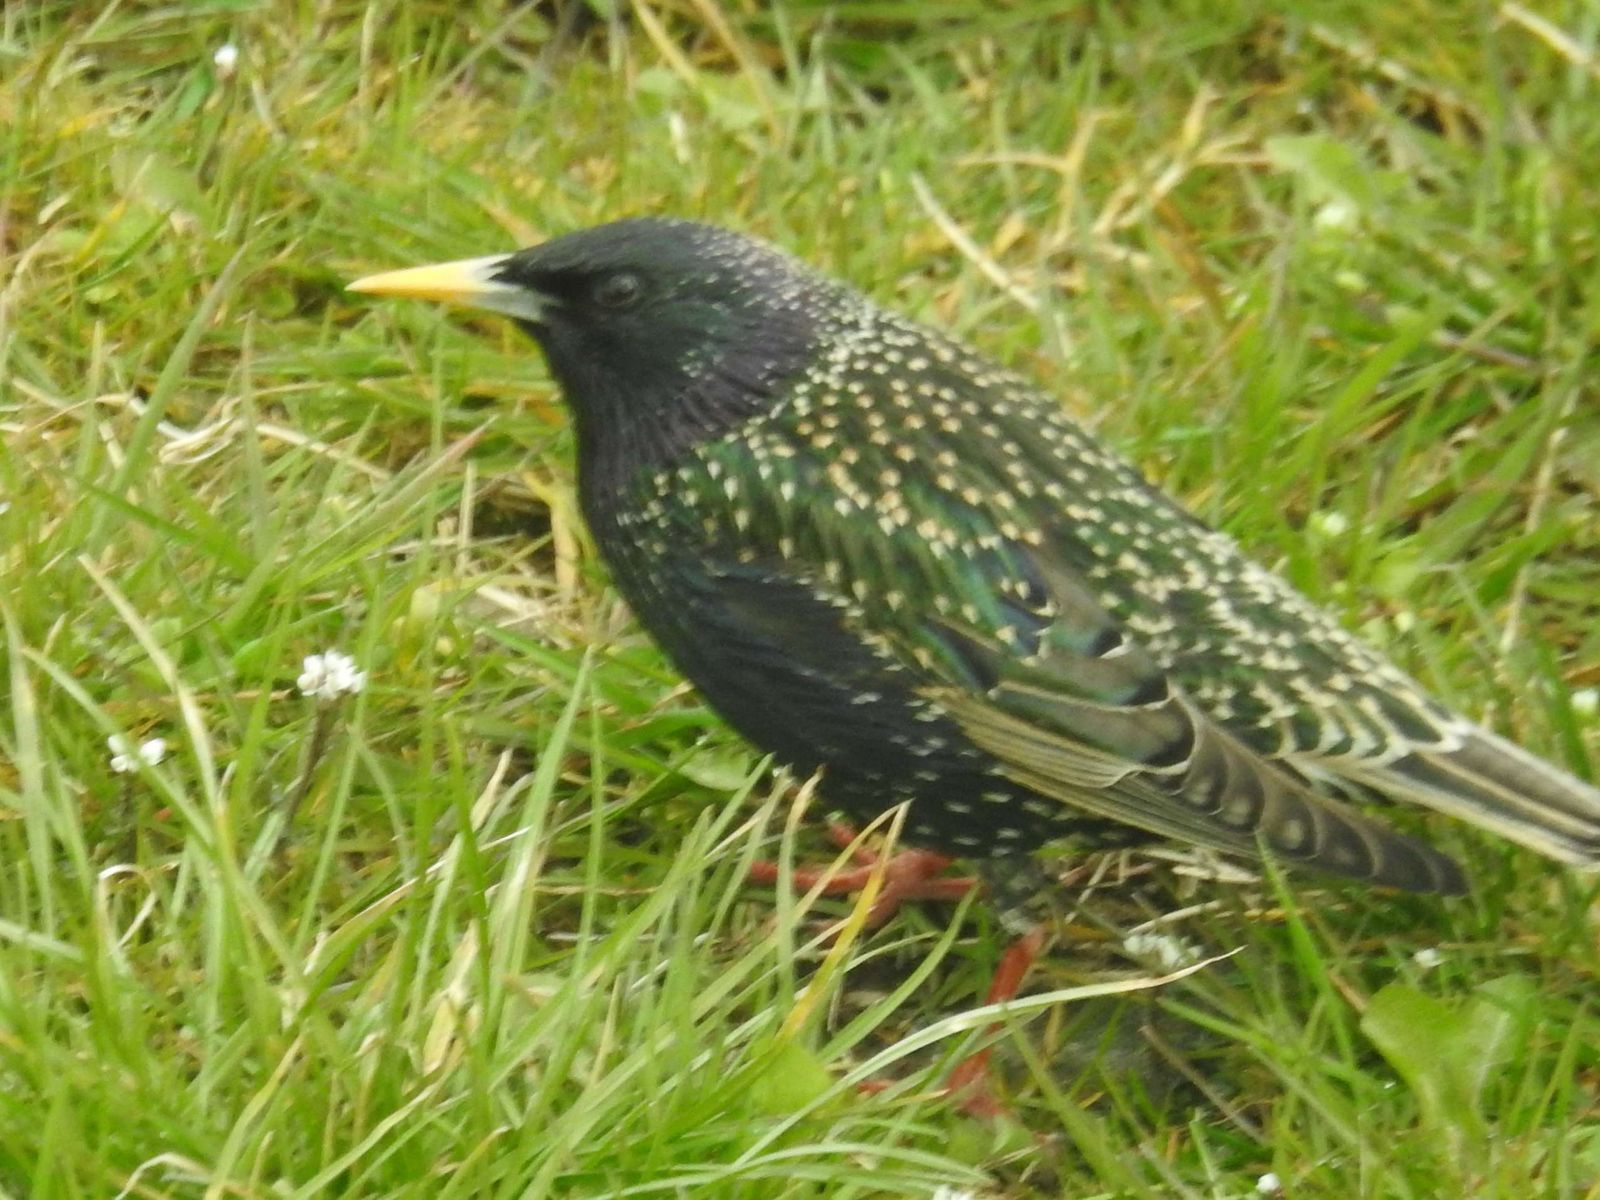
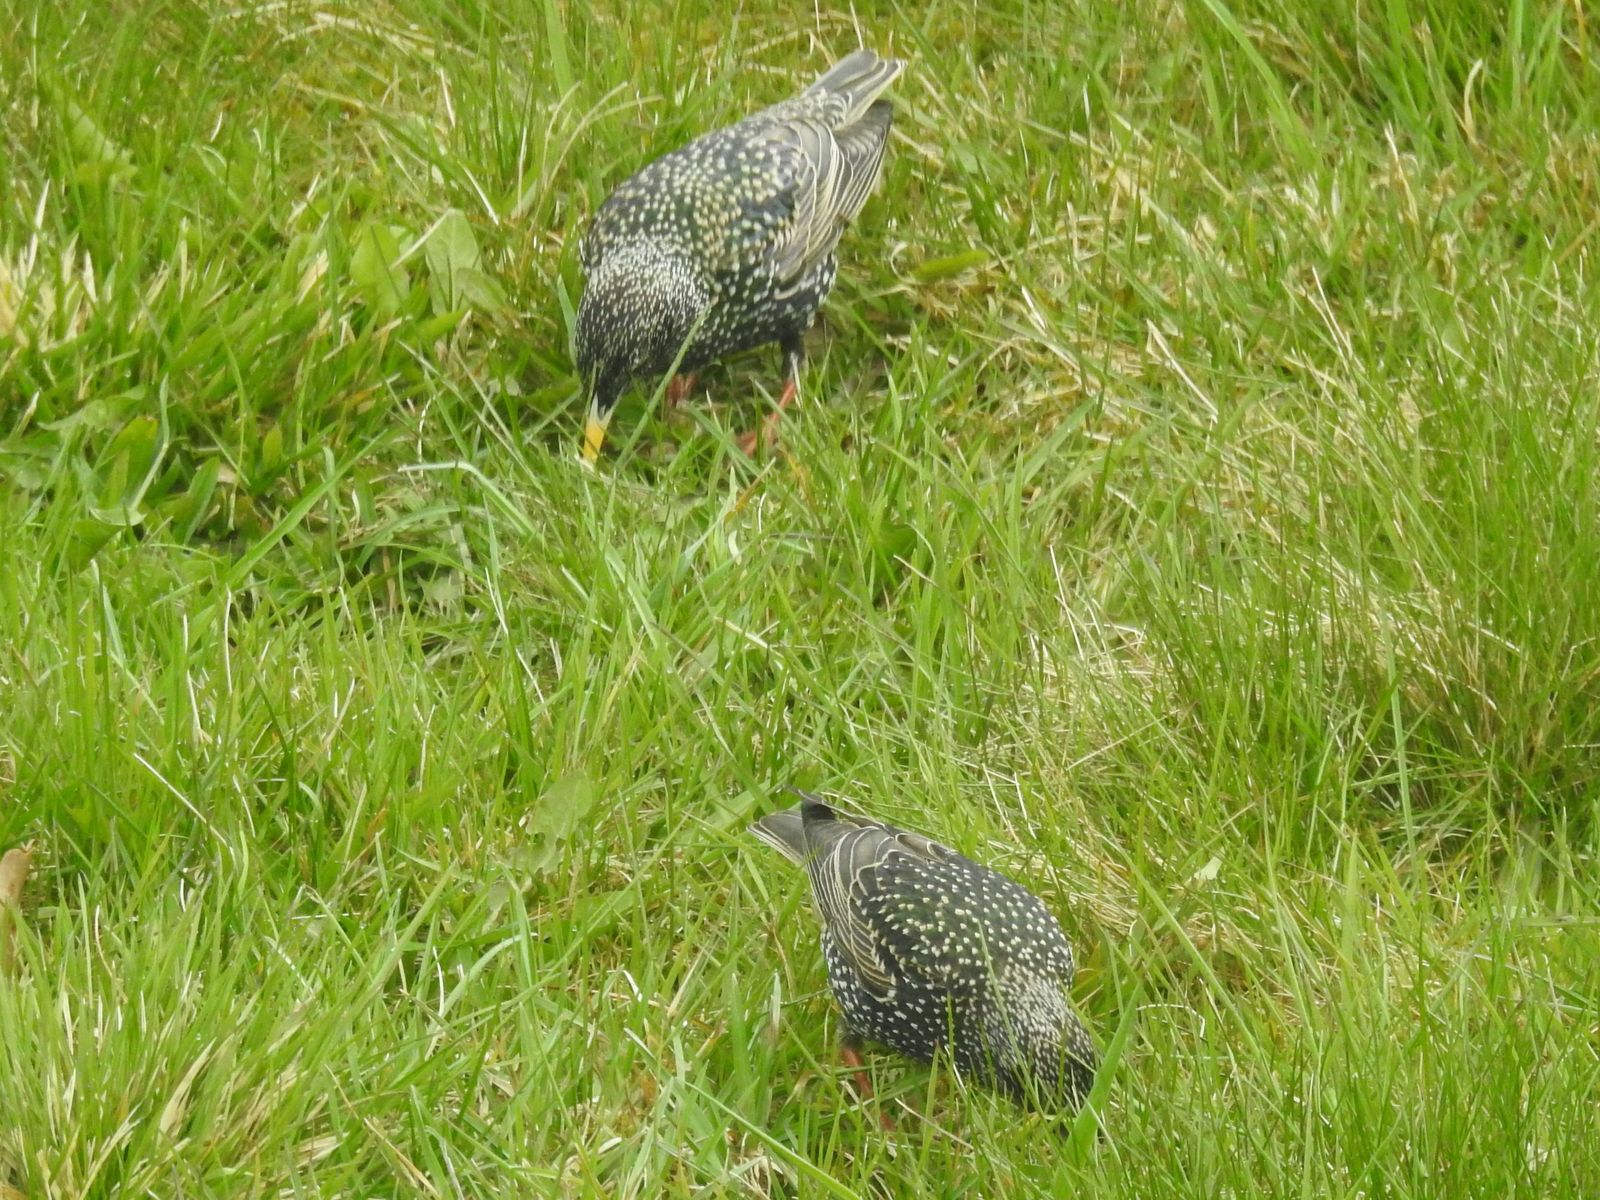
The weather is still warm and I did not see very many birds on the feeder yet. But the food keeps disappearing so they are definitively coming. I hope to get some pretty bird pictures again this winter. I did not use my camera for way too long this year.
The last step in winter preparations is to move indoors all plants and flowers that cannot stay in the greenhouses and put the bonsai below the benches to protect them against frosty winds. And to re-plant in the pollard all walnuts, hazels, and oaks that sprout all around the garden from nuts hidden by jays. And several other things. Busy, busy, busy…