This is the last in this Itsy Bitsy Spider week, that has gone on for almost two weeks. That does not mean however that spider contributions are not welcome anymore. Should you come across some pretty specimen, definitively take a picture to share.
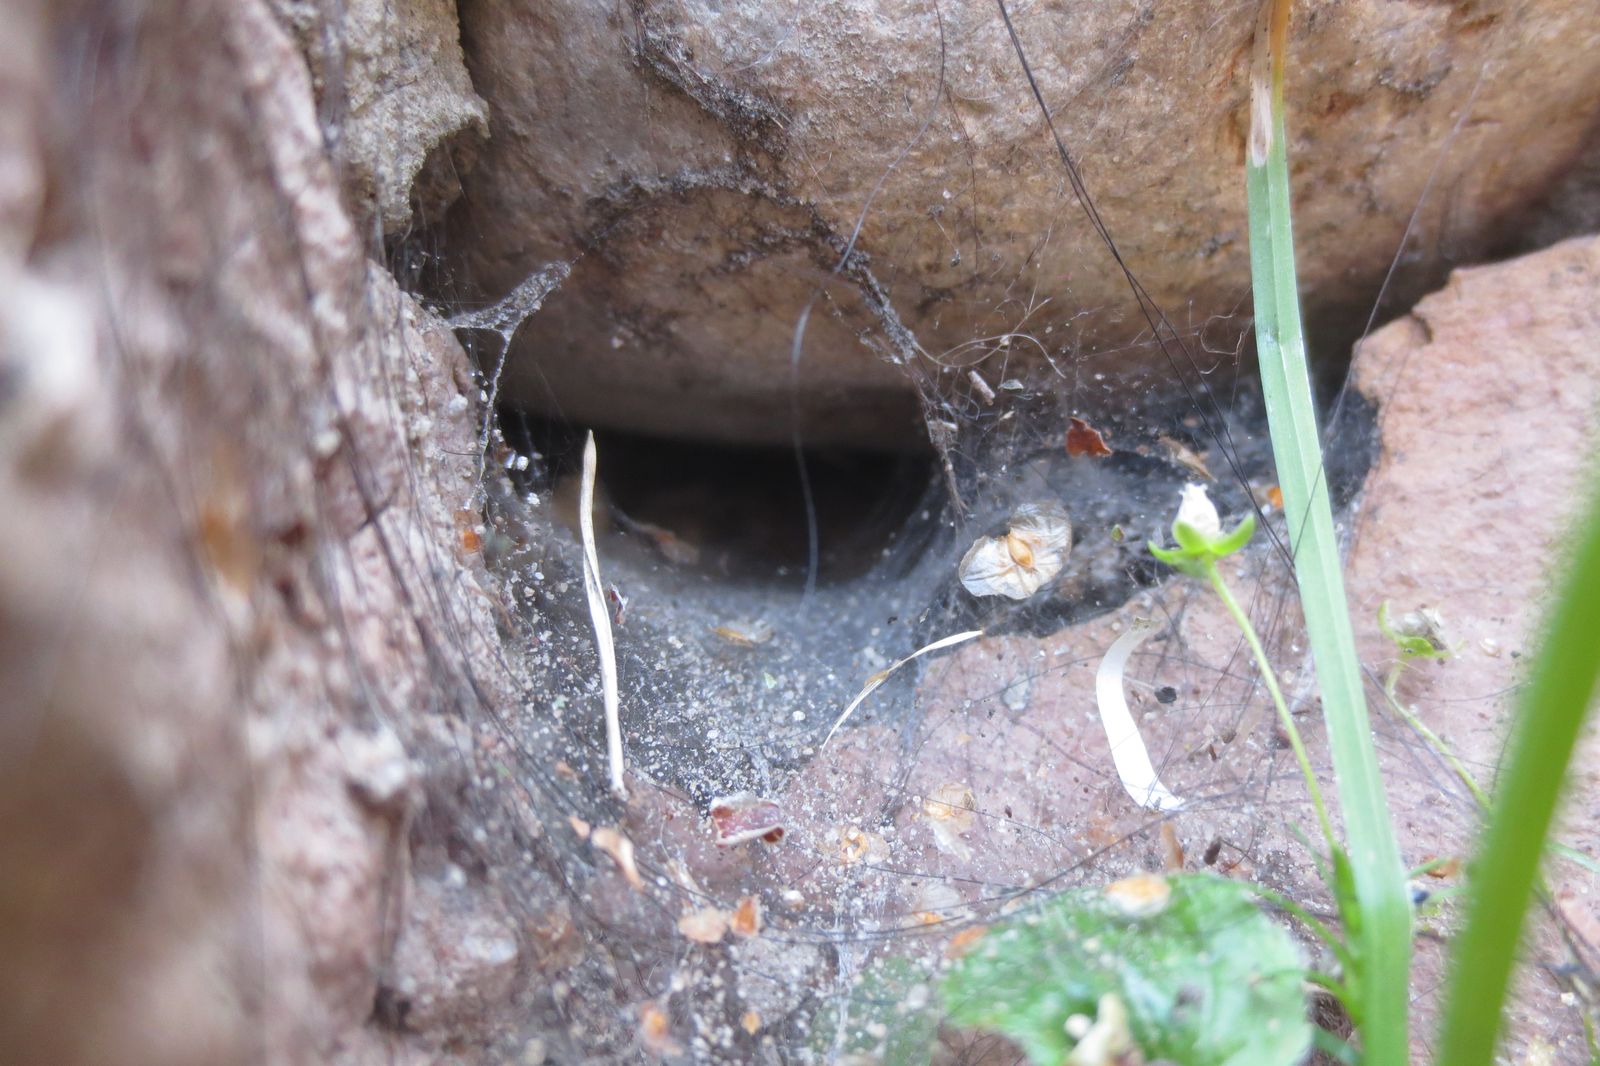
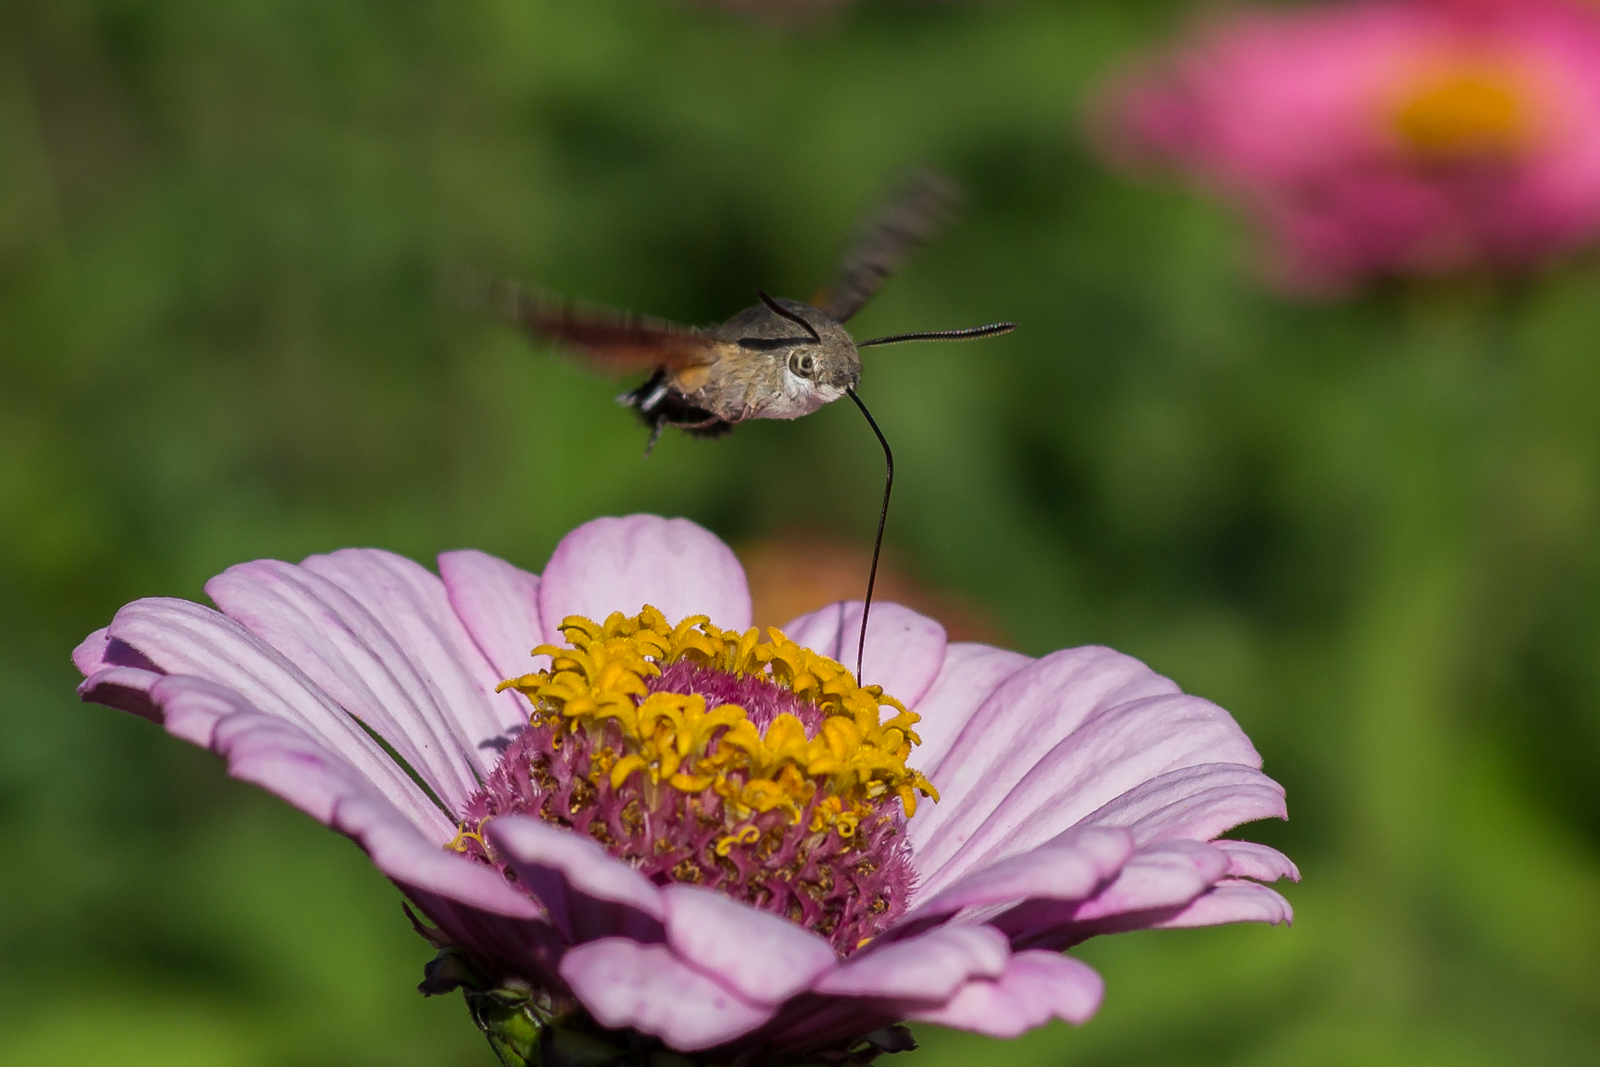
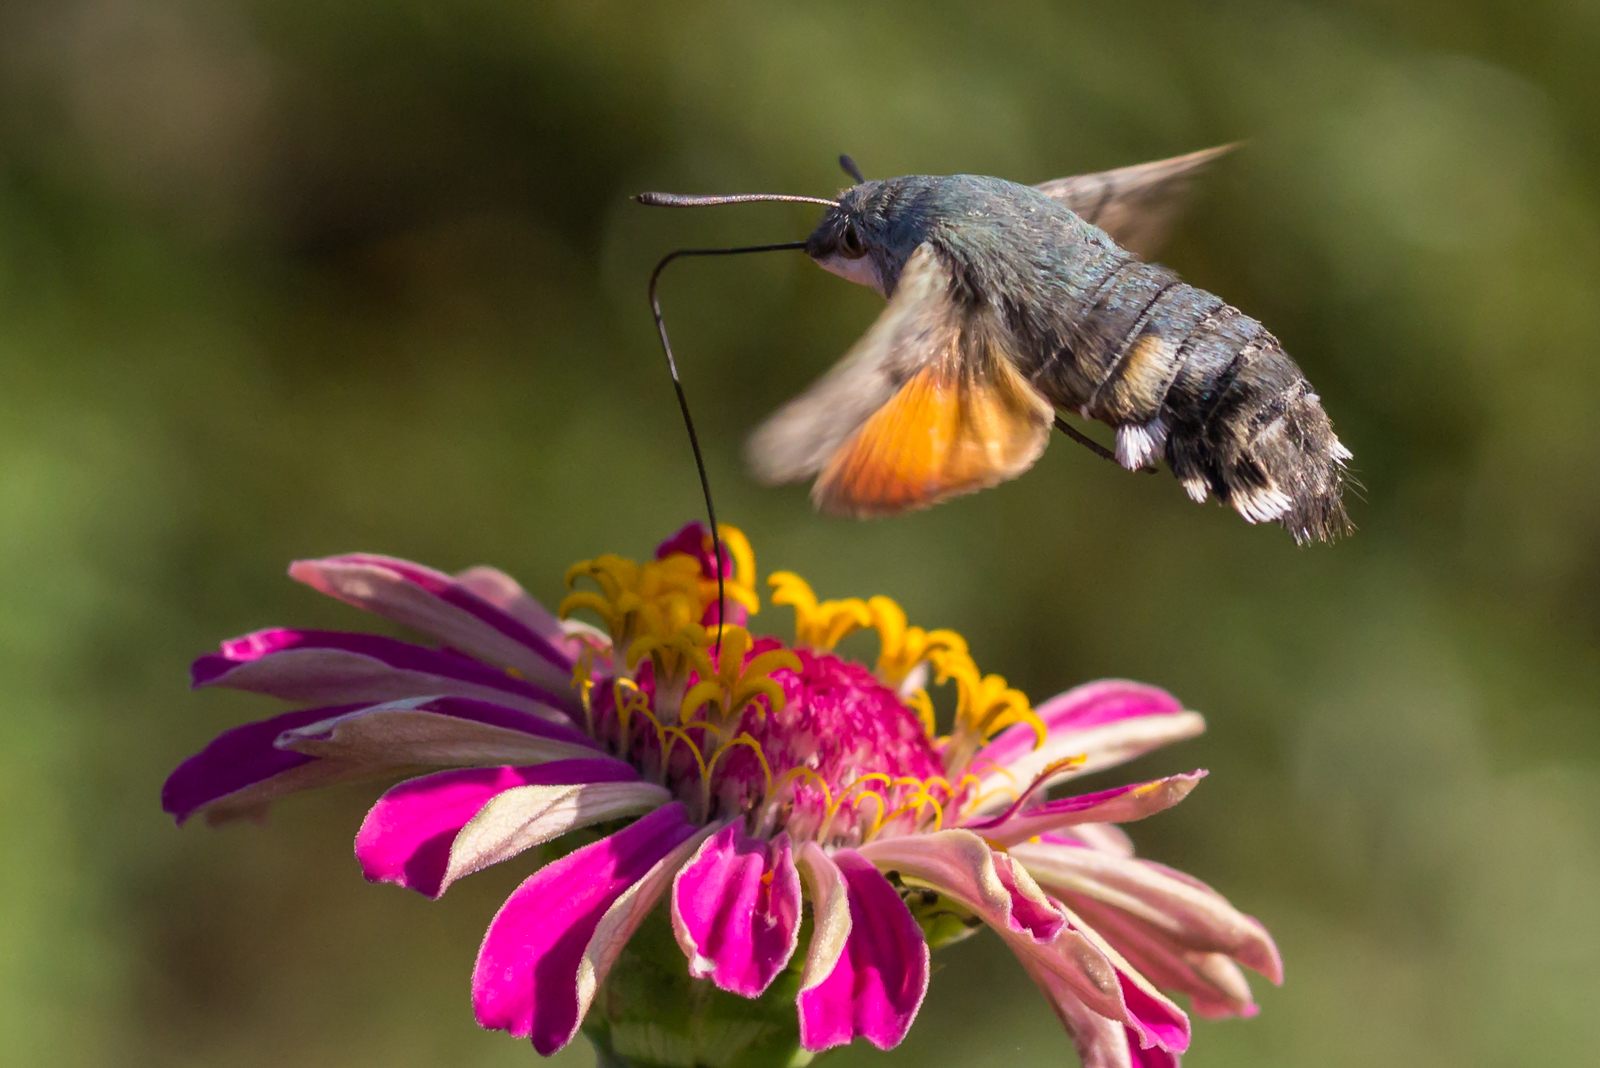
Today’s picture is from rq: Just a lean, mean, bug-eating machine hanging out.
Picture is bellow the fold.