
Harvey Sutherland. The Book of Bugs. New York & London, Street & Smith, 1902.
via: The Internet Archive

Harvey Sutherland. The Book of Bugs. New York & London, Street & Smith, 1902.
via: The Internet Archive
from Nightjar,

O is for Orange ©Nightjar, all rights reserved
Orange.
As displayed by a California Poppy.

Welcome back, Ranger ©voyager, all rights reserved
Today Jack and I stopped to say hello to one of our favourite horses who is finally out of the barn and back in the field again. We call him Ranger, but that isn’t his real name. We don’t know what his real name is so Ranger will have to do. In the past I’ve tried giving him a few other names, but none of them suited him at all. He is not a Mr. Ed nor is he a high-ho Silver and away. He’s definitely not a Secretariat or a Man O’ War and I’m pretty sure he’s not the Trigger type, either. Perhaps someday he’ll come closer and whisper his name to me, but in the meantime I’ll keep trying to guess. Ranger works for now, but it isn’t quite right either. Maybe one of you has a better guess.

Mary Dickerson Donahey. Down Spider Web Lane. Illustrations by Gertrude Alice Kay. New York, Barse & Hopkins, 1909.
cover photo via: Abe Books
Available to read at Children’s Books Online (This is a fabulous site. They have lots of vintage children’s books available and you can read them all.)
from Nightjar, (photo is below the fold because there’s a spider) [Read more…]
I did not expect to get a commission this early. I am not quite there yet to be able to make a good quality knife in a reasonable time. I am confident I can get the “quality” part right, but time – definitively not. My original plan was to perfect my manufacturing process with the kitchen knives, which, if you remember, I have left this spring at a phase where the outlines of the blades were established, but nothing else.
But I need to work on both projects now because apart from the time I also need to use my resources – electricity, propane gas and charcoal – in a more economically savvy manner. That means hardening multiple blades in one go for example. And that means I have to establish the primary bevel grind on the commissioned knife as well as on the kitchen knives so I can harden and temper all those blades together.
But the whole point of the kitchen knife project was to develop a viable manufacturing process, and establishing the primary bevel was the part where I knew I have to develop and build a fixture first. You have seen my very first attempt. It did work, but not very time-effectively, I wasted about a minute each time I needed to flip or change the blade. That is a lot, considering that for the basic grind I need to go through five belts on both sides. It was clear I need some way to hold the blade steady, but being able to dismount and re-mount it quickly.
The second attempt was this.

Failed fixture. © Charly, all rights reserved. Click for full size.
The idea was that the hinge and two screws will allow me to set the tilt, and the knife-blank can go into the slot where it will be held by the levered screw. It did and did not work. That is, it worked for one knife and then it broke. The problem was moisture which caused the wood to deform and split. But even without that, fixing and releasing the blade was still not as easy as I would like it to be. I got an idea on how to improve this design, and I already bought the materials to try it out, but then I got sick and everything got put on hold for a few months as you know. All I could do was to think about it.
And then my parent’s hard drive died and I got the idea to use those strong neodymium magnets. But for that, I need first to develop a system on how to switch them on/off, and that needs more time than I can spare right now for fooling around. The customer is not in a hurry to get the knife – they know I still have my day job and that I can only do this in my spare time – but still I think I should not strain their patience. So I needed a fixture, fast.
Luckily I got an idea utilizing things that I already have – the first attempted fixture and a few cheap, weak magnets. There is a way to make weak magnets a lot stronger, at the cost of reach – by concentrating the magnetic field to one side with two slabs of iron/mild steel. It is also possible to make longer arrays with this system.
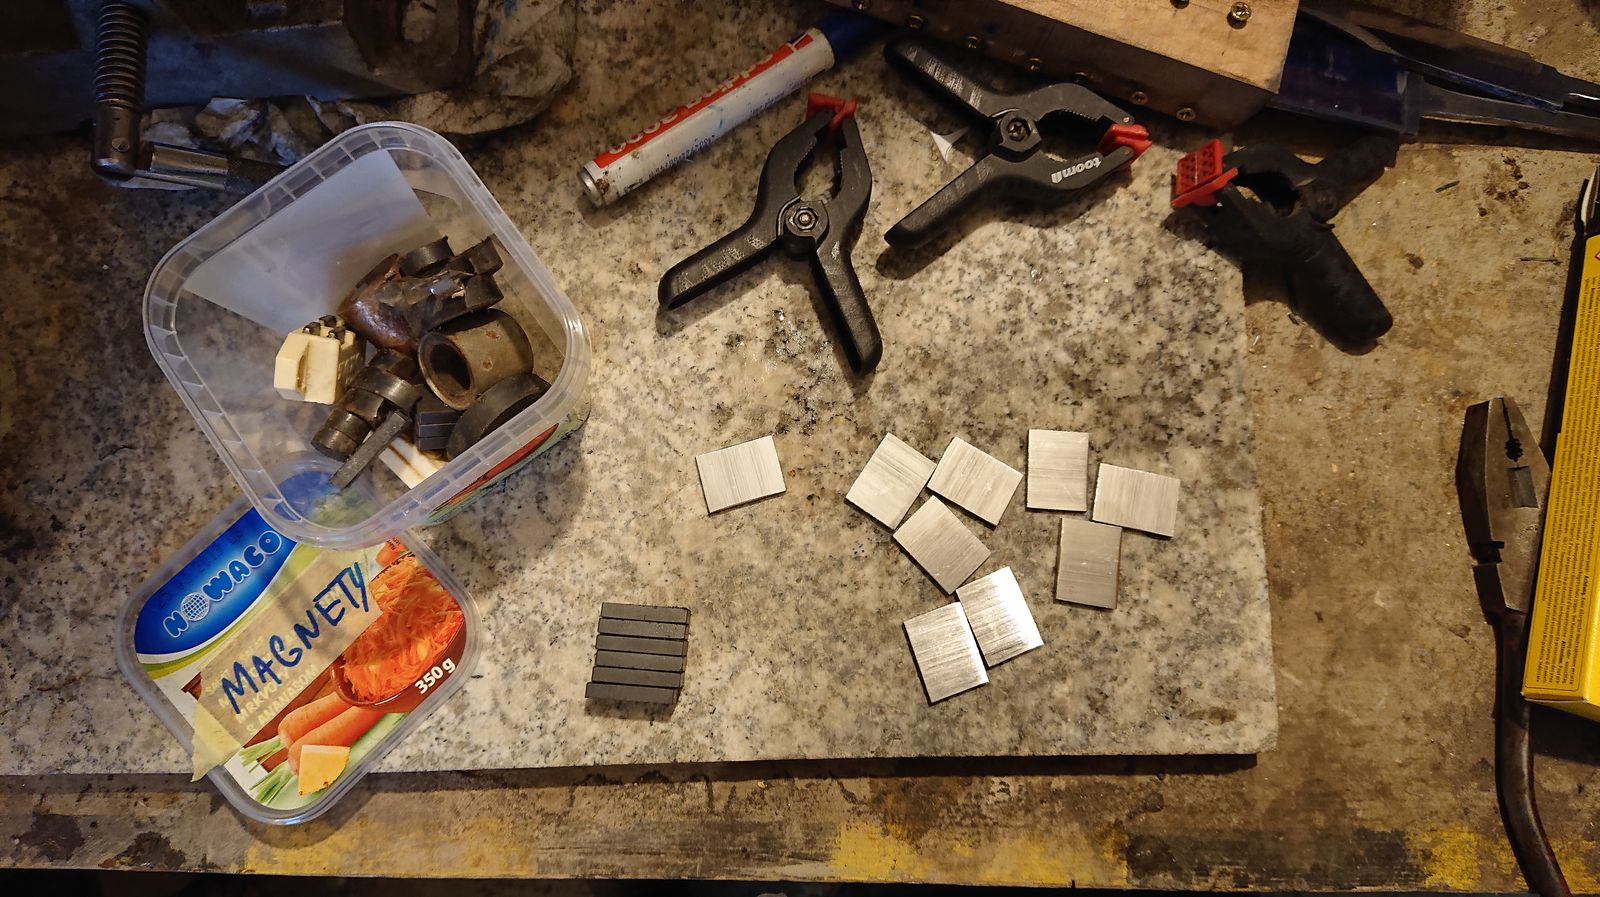
Magnets and pieces of steel. © Charly, all rights reserved. Click for full size.
So I took six of those cheap magnets and cut nine pieces of mild steel exactly as long as the magnets, but a few mm wider. Then I covered a piece of steel with masking tape and glued the magnets and steel together into three blocks, each consisting of two magnets and three pieces of steel, with the magnets facing each other with the same pole. That means the magnets oppose each other in the middle of the array, forcing the magnetic field of each magnet to the side.

Magnets arrays stacked and glued together. © Charly, all rights reserved. Click for full
The masking tape has stopped the magnets from glueing onto the steel, and the steel was there to get nice alignment on the backside of the arrays. The frontside has the steel pieces overlap a bit, and the spaces were filled with epoxy and sawdust mixture.
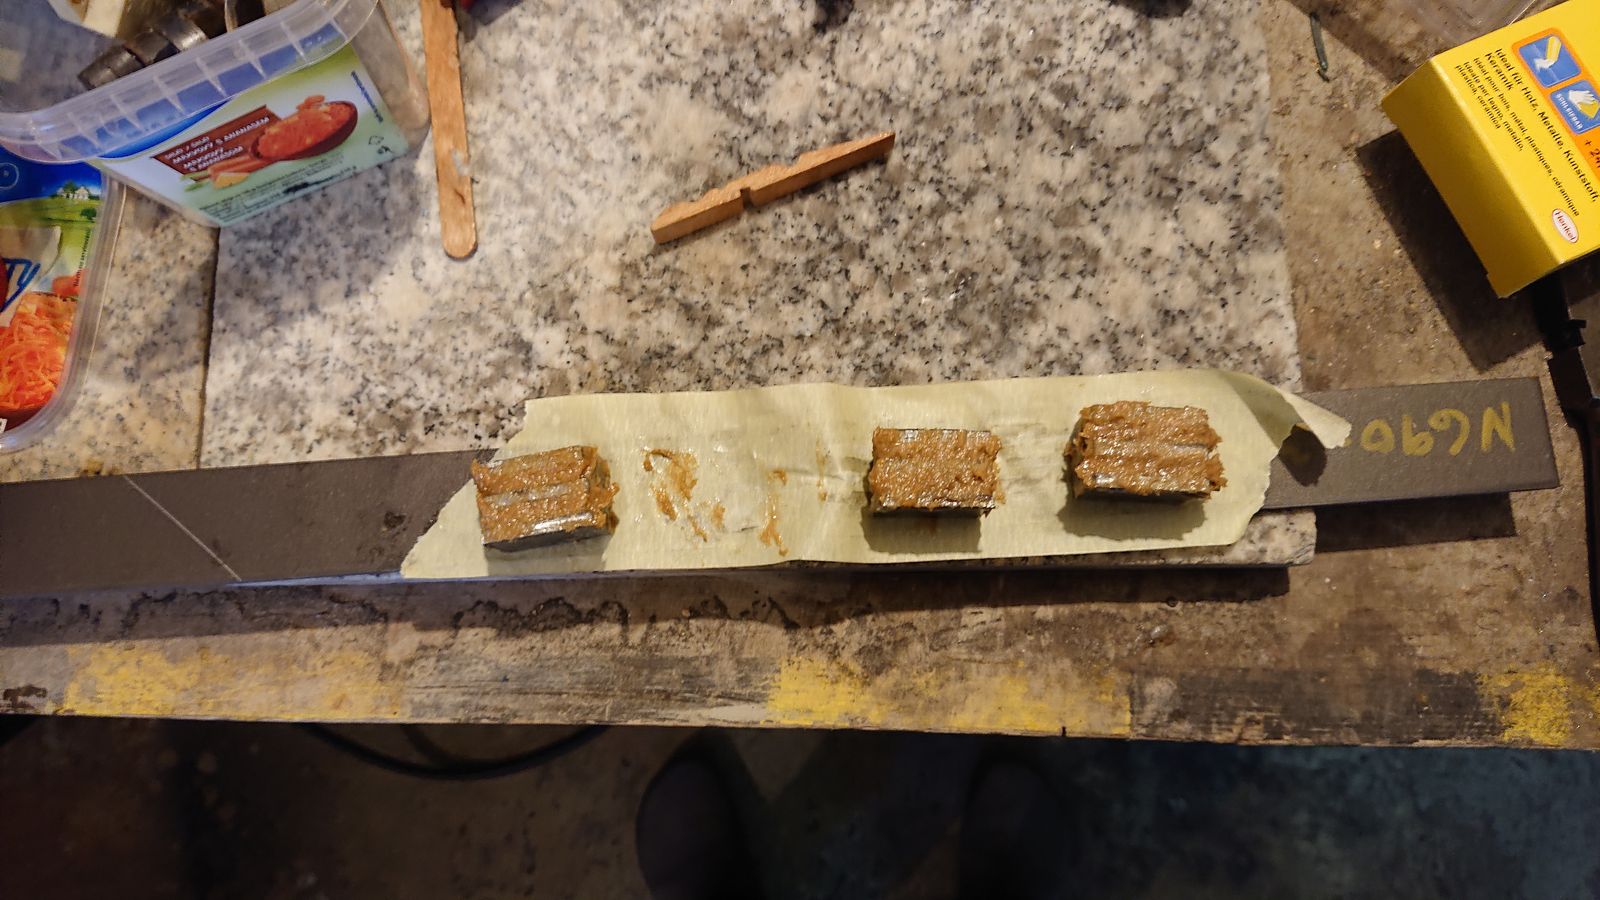
Spaces filled with epoxy. © Charly, all rights reserved. Click for full size.
Whilst the epoxy was curing, I took the first wooden fixture and attached a long strip of aluminum to it for the spine of the knife to rest against, and I chiseled out three spaces for the magnet arrays to be glued into. After the epoxy has cured I ground the front faces nice and flat and glued the arrays into the wooden block, again with using a piece of steel covered with masking tape to hold all three on one plane. I used a lot of fast curing epoxy that day, all the while completely forgetting to take pictures of the process. So the next picture is the finished fixture with a knife blank attached to it.

The fixture with knife blank attached. © Charly, all rights reserved. Click for full size.
To get the tilt the fixture has four screws on the downside (up in the picture, not visible).
And the fixture works. The magnet arrays are strong enough, but not as strong as neodymium magnet arrays, so it is still possible to comfortably detach the blade by hand. It allows me to apply a lot more even pressure on the blank, for a longer time without cooling it because I do not burn my fingers (temperature not being of concern at this stage). There is still room for improvement – the aluminium stop is a bit too fat for kitchen knives, the screws for tilting do not provide stable enough support and they are a bit finicky to get right. But you can see it allows for making nice, flat and even grind.

Established primary bevel. © Charly, all rights reserved. Click for full size.
Added bonus is, that after two hours of grinding not only did I do more work than before, but also my fingers hurt a lot less because the fixture gives my hands more material to hold onto. I am definitively going to use this a lot, and perhaps there will be other uses for this concept as well. I have an idea for sharpening gizmo in my head for about a year by now…
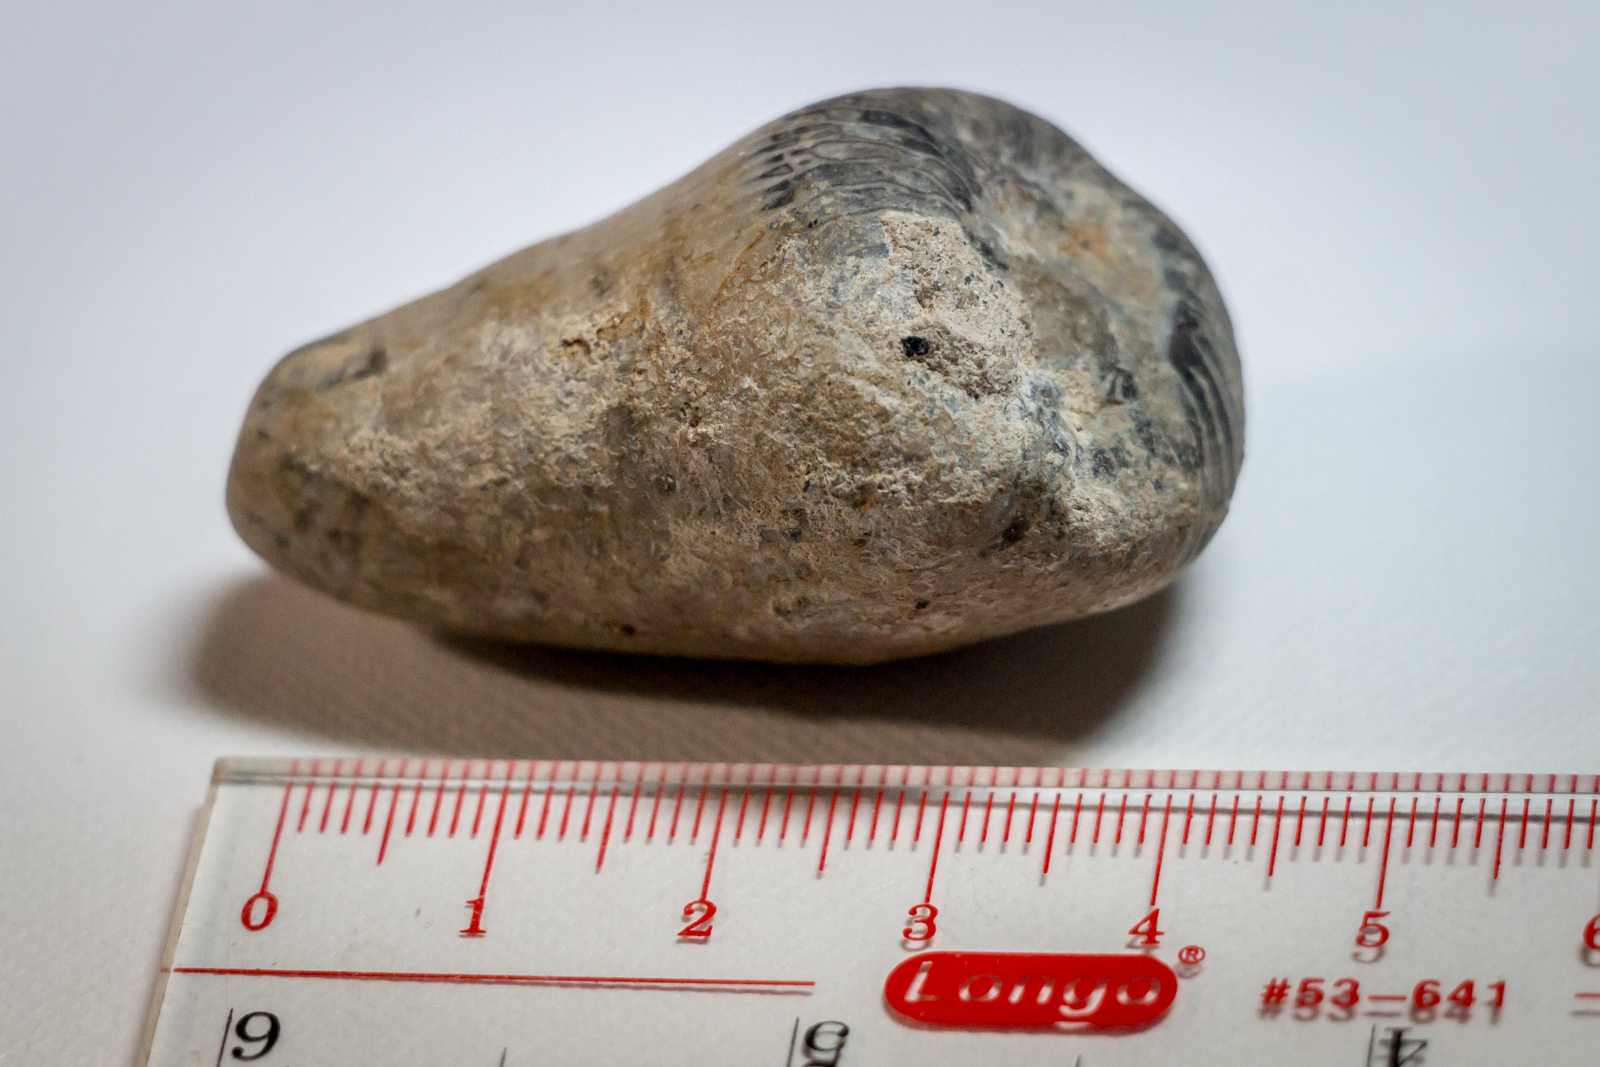
Mystery fossil, ©voyager, all rights reserved

Mystery fossil, root end, ©voyager, all rights reserved
Remember this? When I posted it I thought it might be a dinosaur tooth, but several commentators (Petern, Avalus, kestrel, Jazzlet) suggested it might be coral of some sort. It was Oggie, though, who took the time to look it up and told me it was
think it is a rugose coral. Middle Ordovician to late Permian. Yet another victim of the PT extinction event – comment section Is this a Dinosaur Tooth?
Well, Oggie was absolutely right. I sent the photos off to The Royal Ontario Museum and they concur. Although they can’t say with certainty without seeing the piece in person, they suggest that it is horn coral, of the order rugosa from the Ordovician period. Mystery solved!
Thanks to everyone for your help and suggestions.

William Earl Hodgson. How to Fish. London, A. & C. Black, 1907.
via: Biblio
Available to read at The Internet Archive
*This post has been updated due to the original photo file sitting inappropriately. It has been fixed.

M is for Maroon ©Nightjar, all rights reserved
Maroon.
A dark brownish red that gets its name from chestnuts (marron, in French). It can also be found simply in the soaked bark of maritime pines.
It’s Fairy Tale Saturday and this week we have a very special book that comes to us from our very own rq. It’s Latvian and a real departure from the fairy tales we’ve looked at so far. The pictures are very bold and some are darkly intriguing. I know you’ll enjoy it.
I don’t know Latvian so I’m including the publishing details in a photograph. I would surely botch it up if I tried to translate.

©rq, all rights reserved
I’ve attached photos of a classic Latvian family book – a large (perhaps THE) comprehensive compilation of Latvian folktales. Some are quintessentially Latvian, some are older than others, some resemble your well-known fairy-tales, and some are quite distinct and individual.
The artist is Pāvels Šenhofs, born 1924, died in 2011.
In any case, it’s a classic, and they don’t publish like they used to!
First, you have the book cover, which is a bit melodramatic.
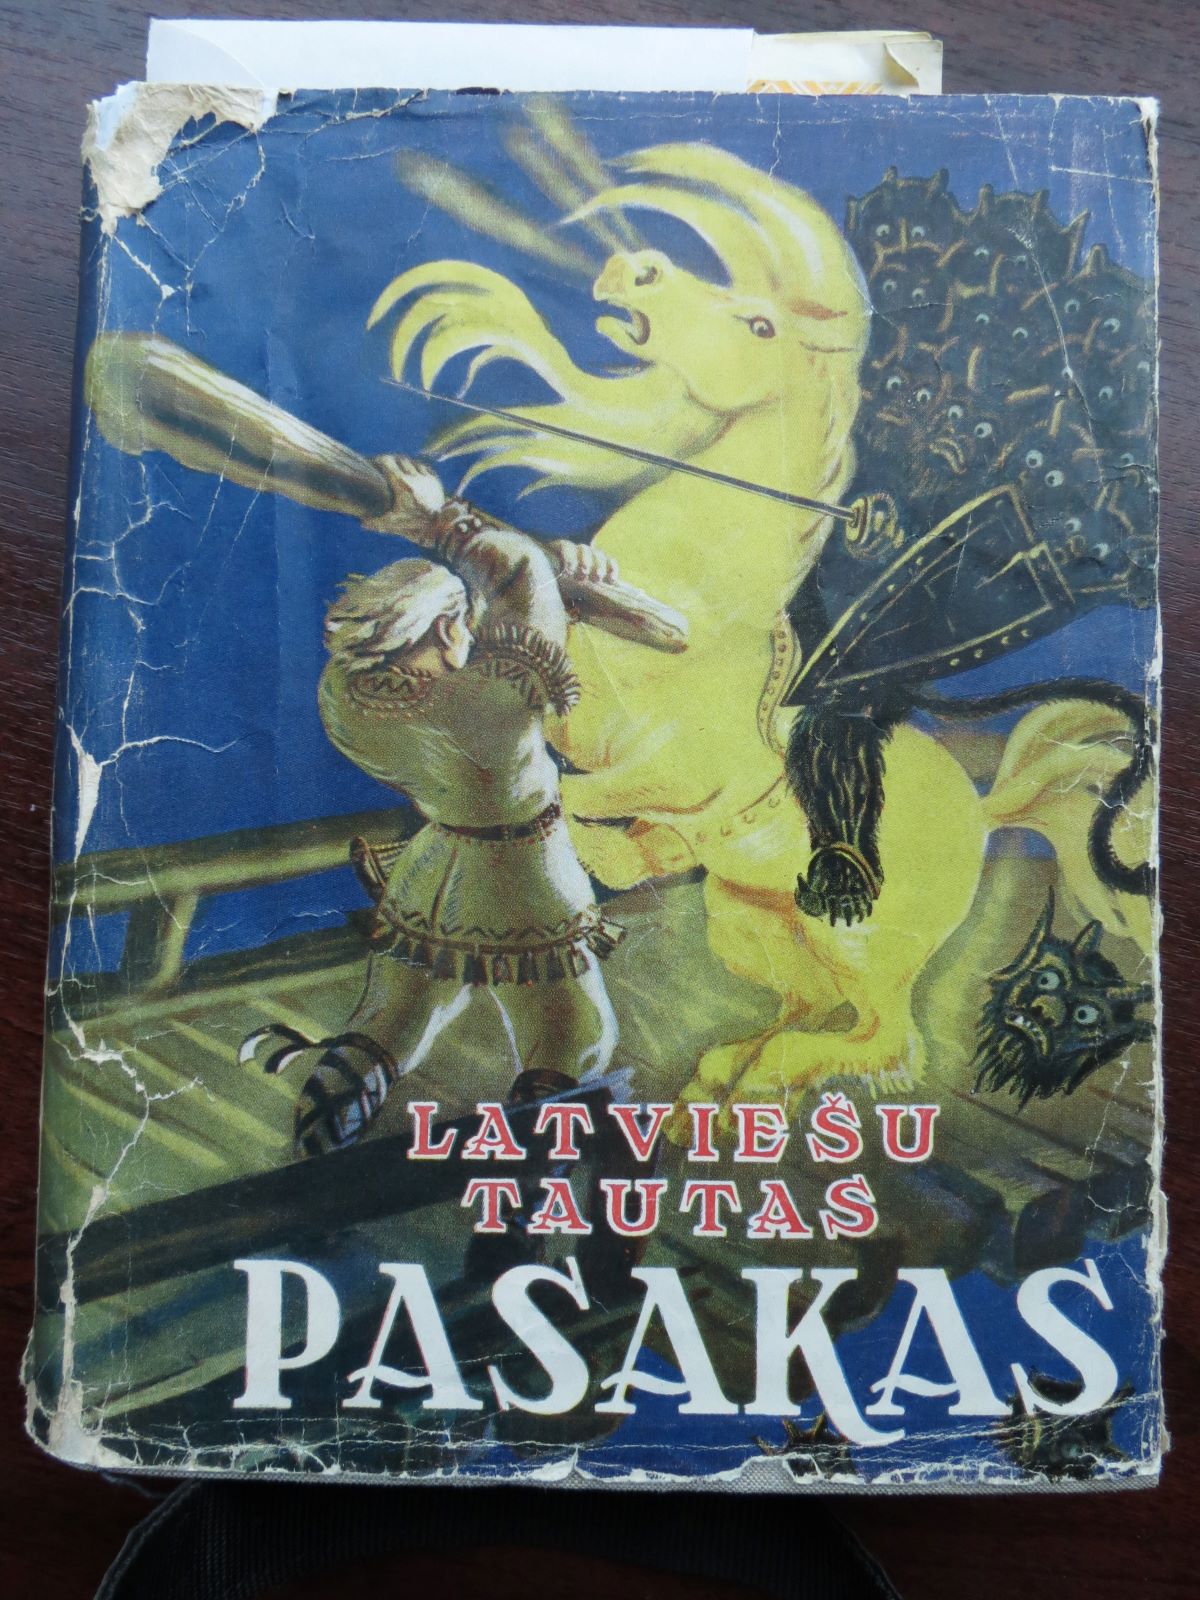
Front cover, ©rq, all rights reserved

Back cover (with the price!) ©rq, all rights reserved
Then there is the fabric cover of the book itself- how I knew it, as the copy we had when I was growing up did not have the cover anymore. It’s a dark green print on rough (almost canvas) textile, also the spine.
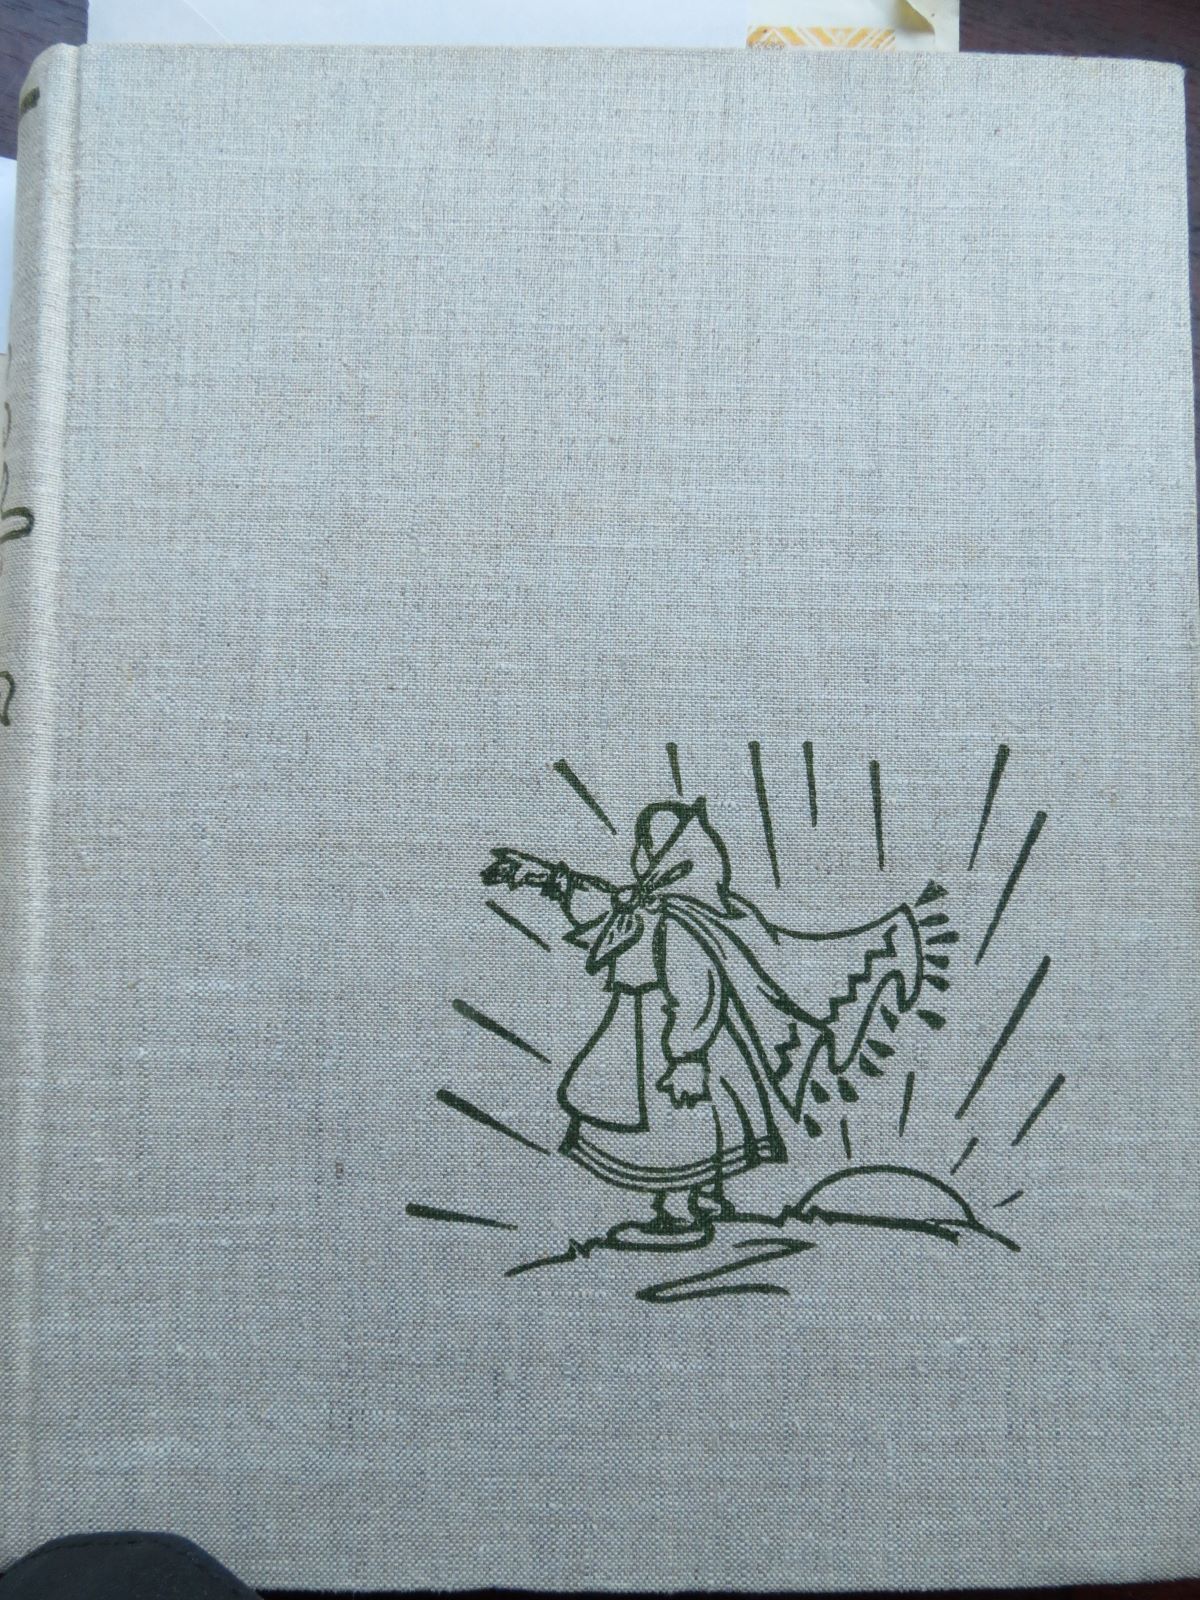
©rq, all rights reserved

©rq, all rights reserved
Then there is the inside covers, which are very traditional in style.

©rq, all rights reserved
Then some samples of the inside art: each story begins with an “illuminated” letter, drawn to look like it’s carved from wood, along with a distinctive introductory illustration, and most stories also have other line illustrations along the margins or at the end.
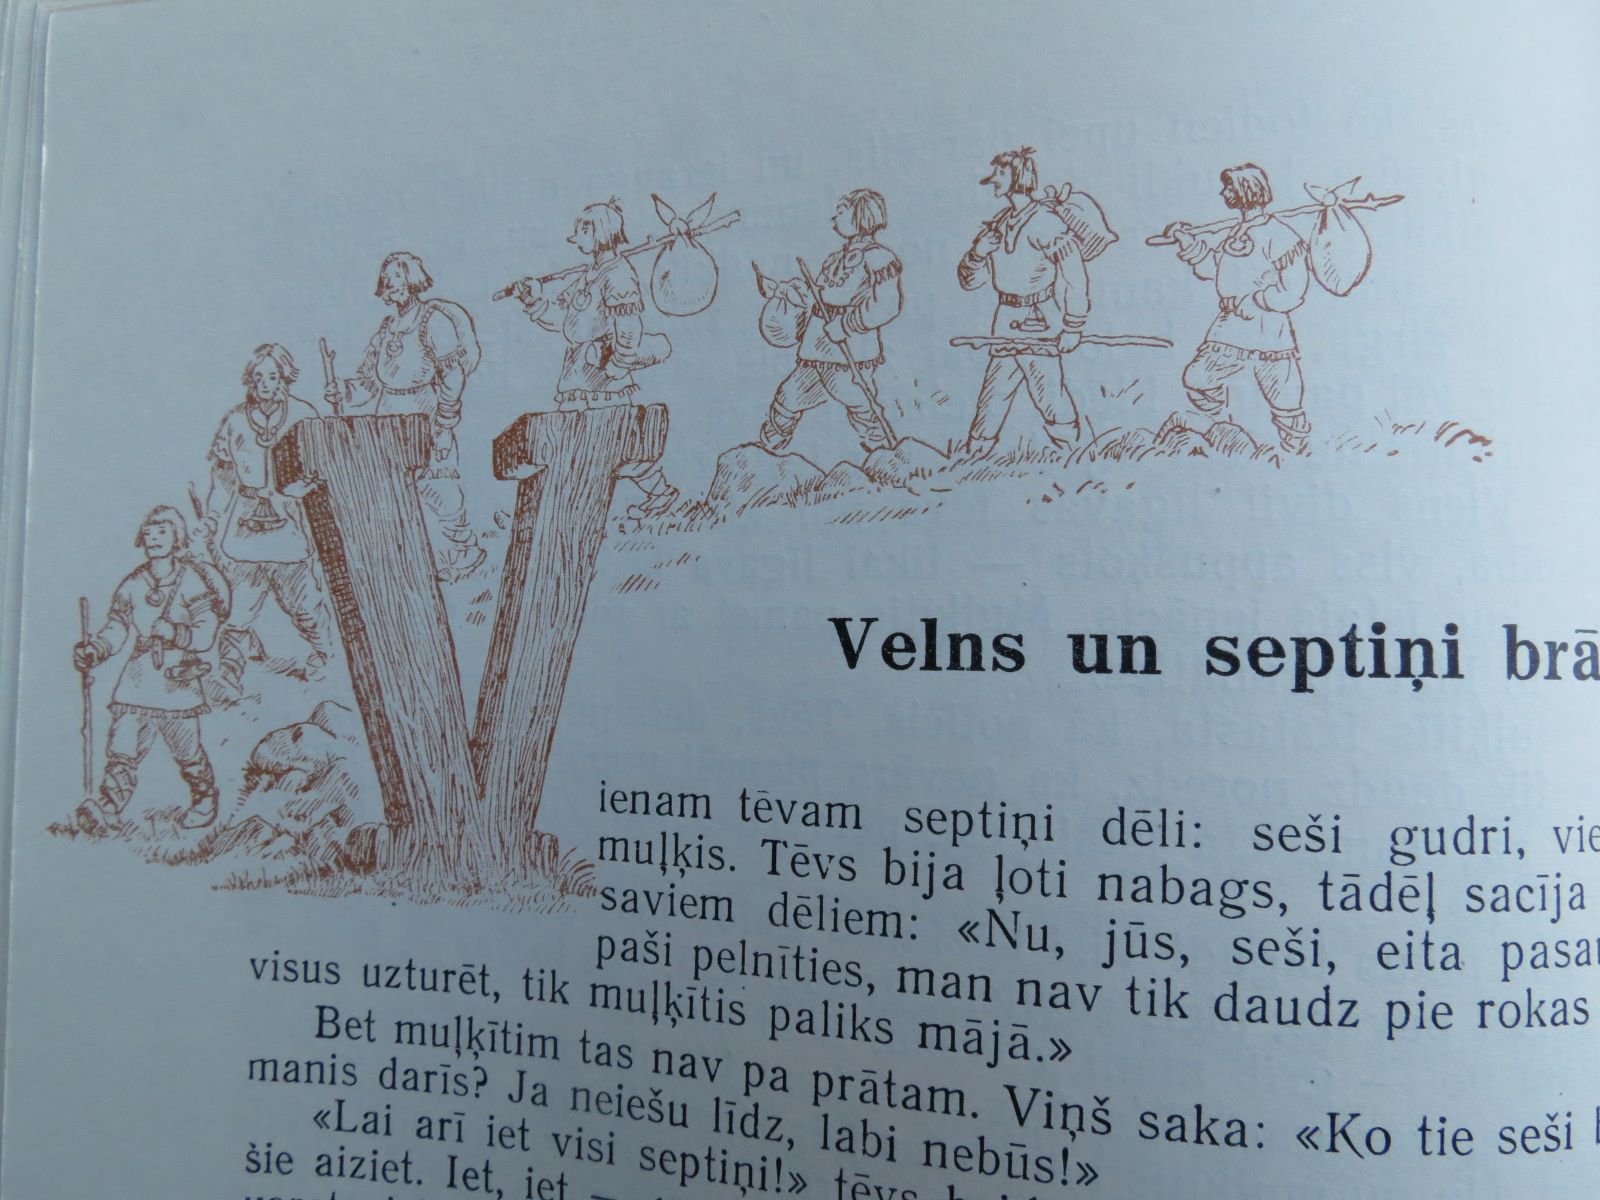
©rq, all rights reserved
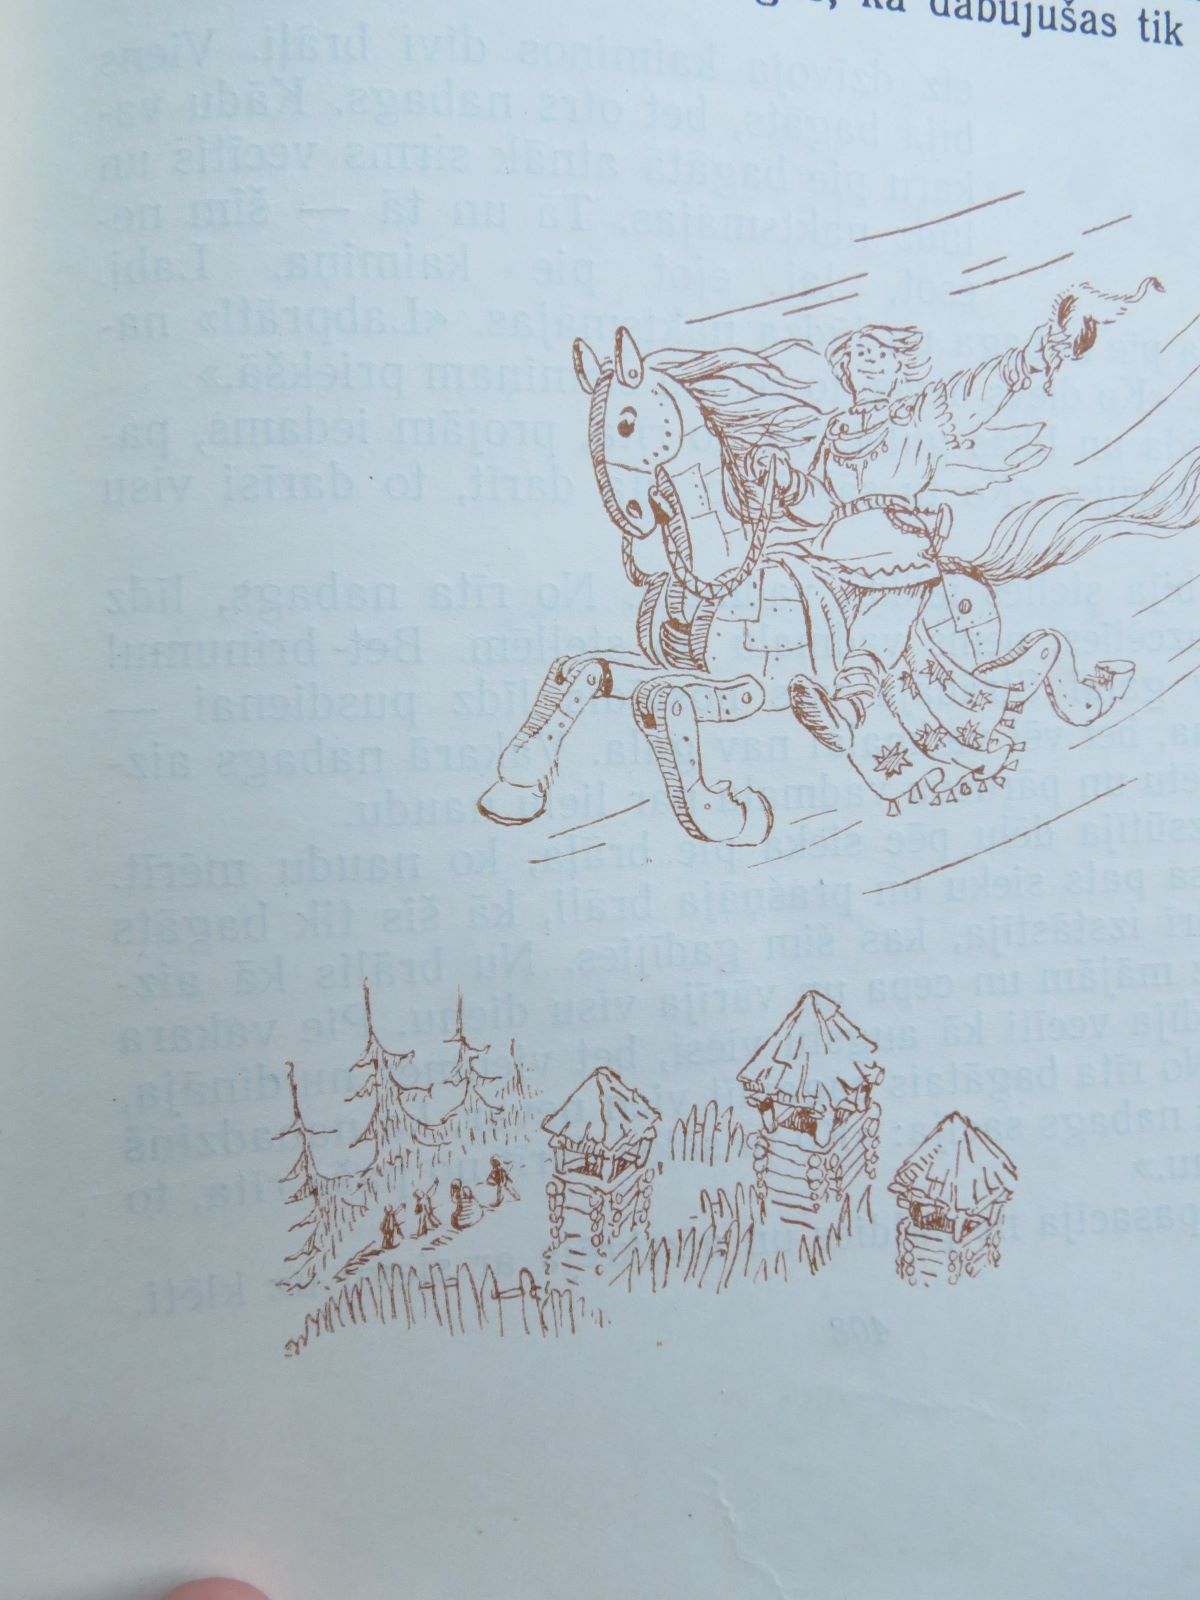
©rq, all rights reserved
But the colour plates are simply fantastic. The stories are just as horrifyingly charming!
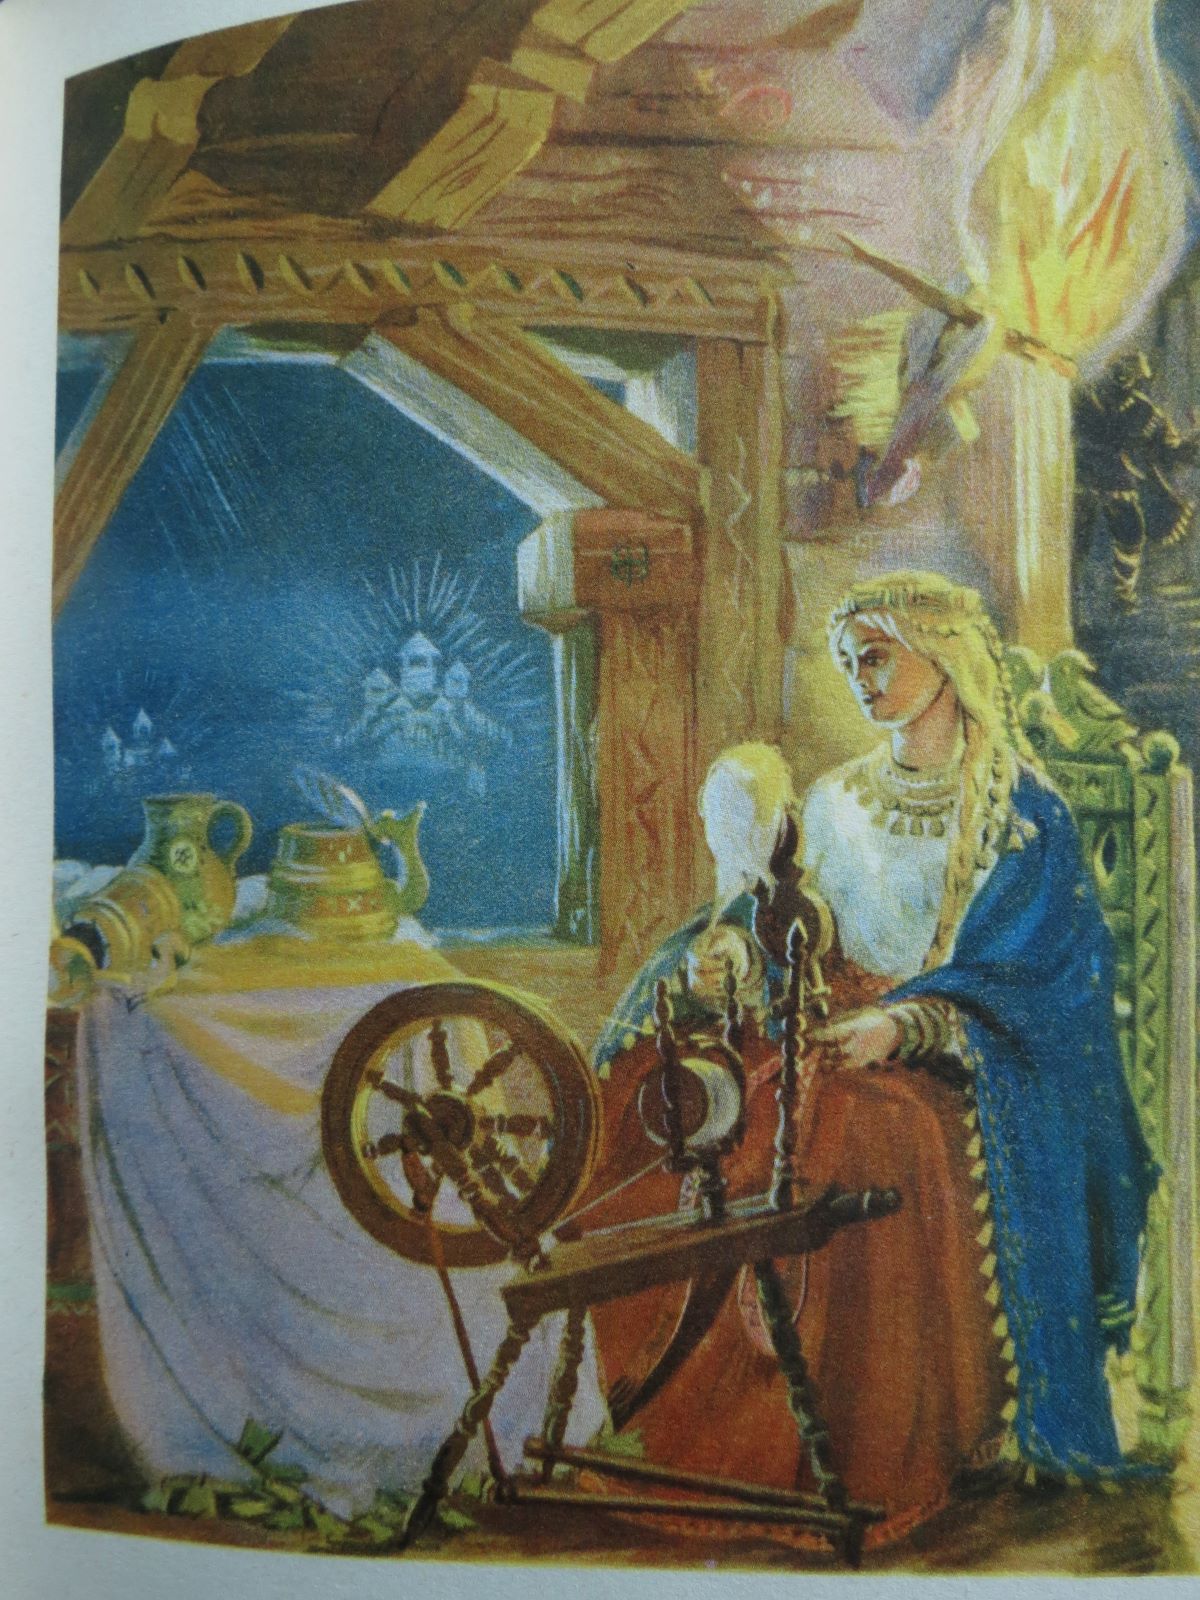
©rq, all rights reserved
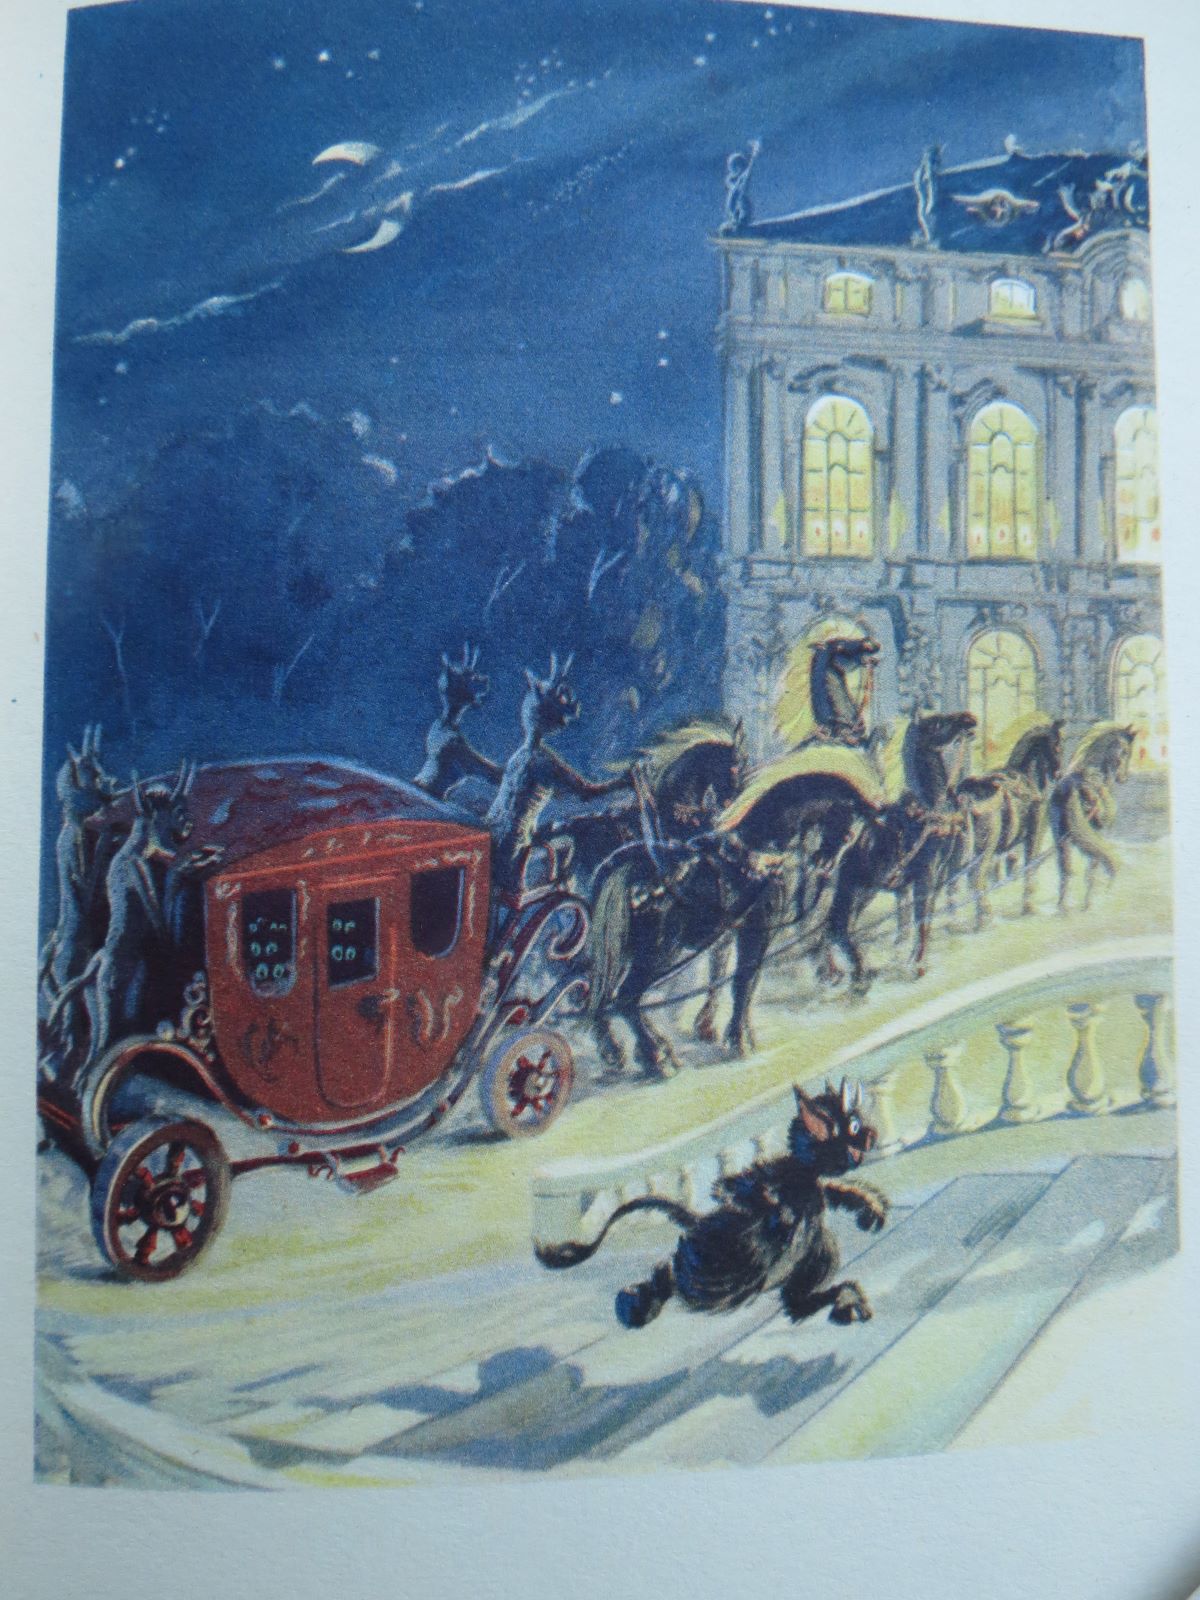
©rq, all rights reserved
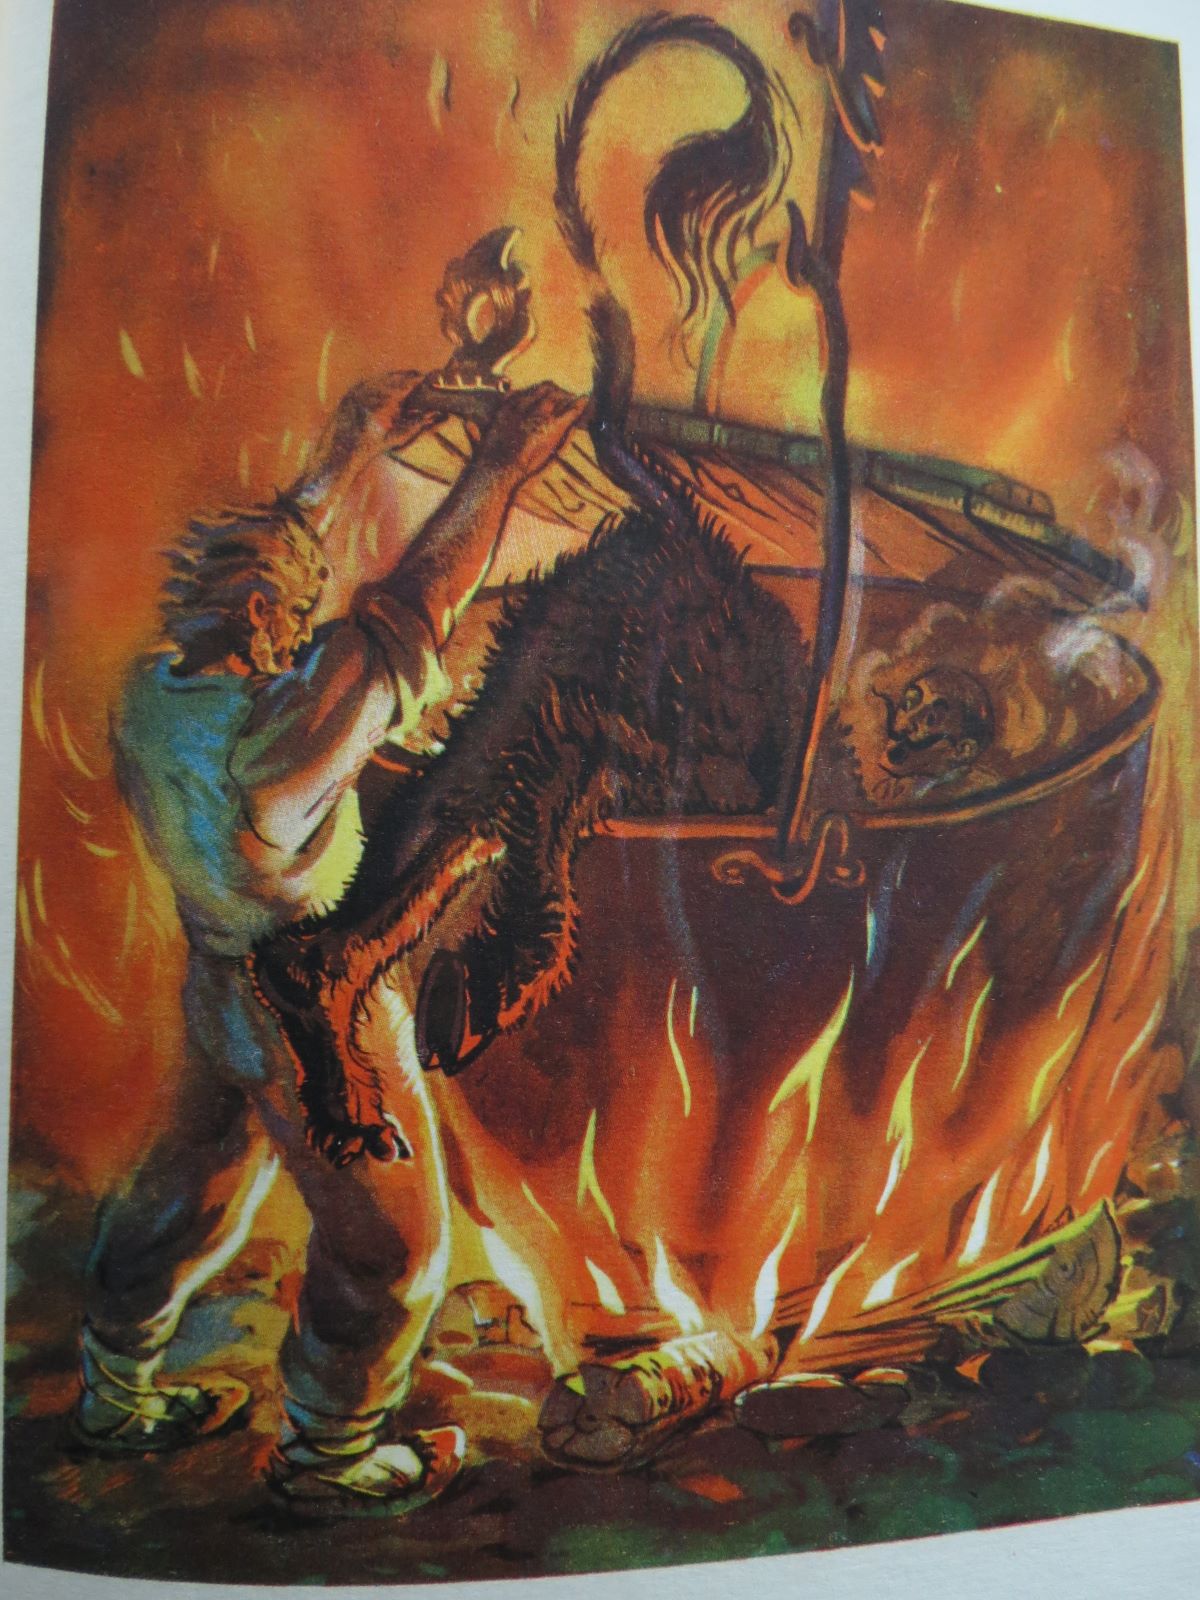
©rq, all rights reserved
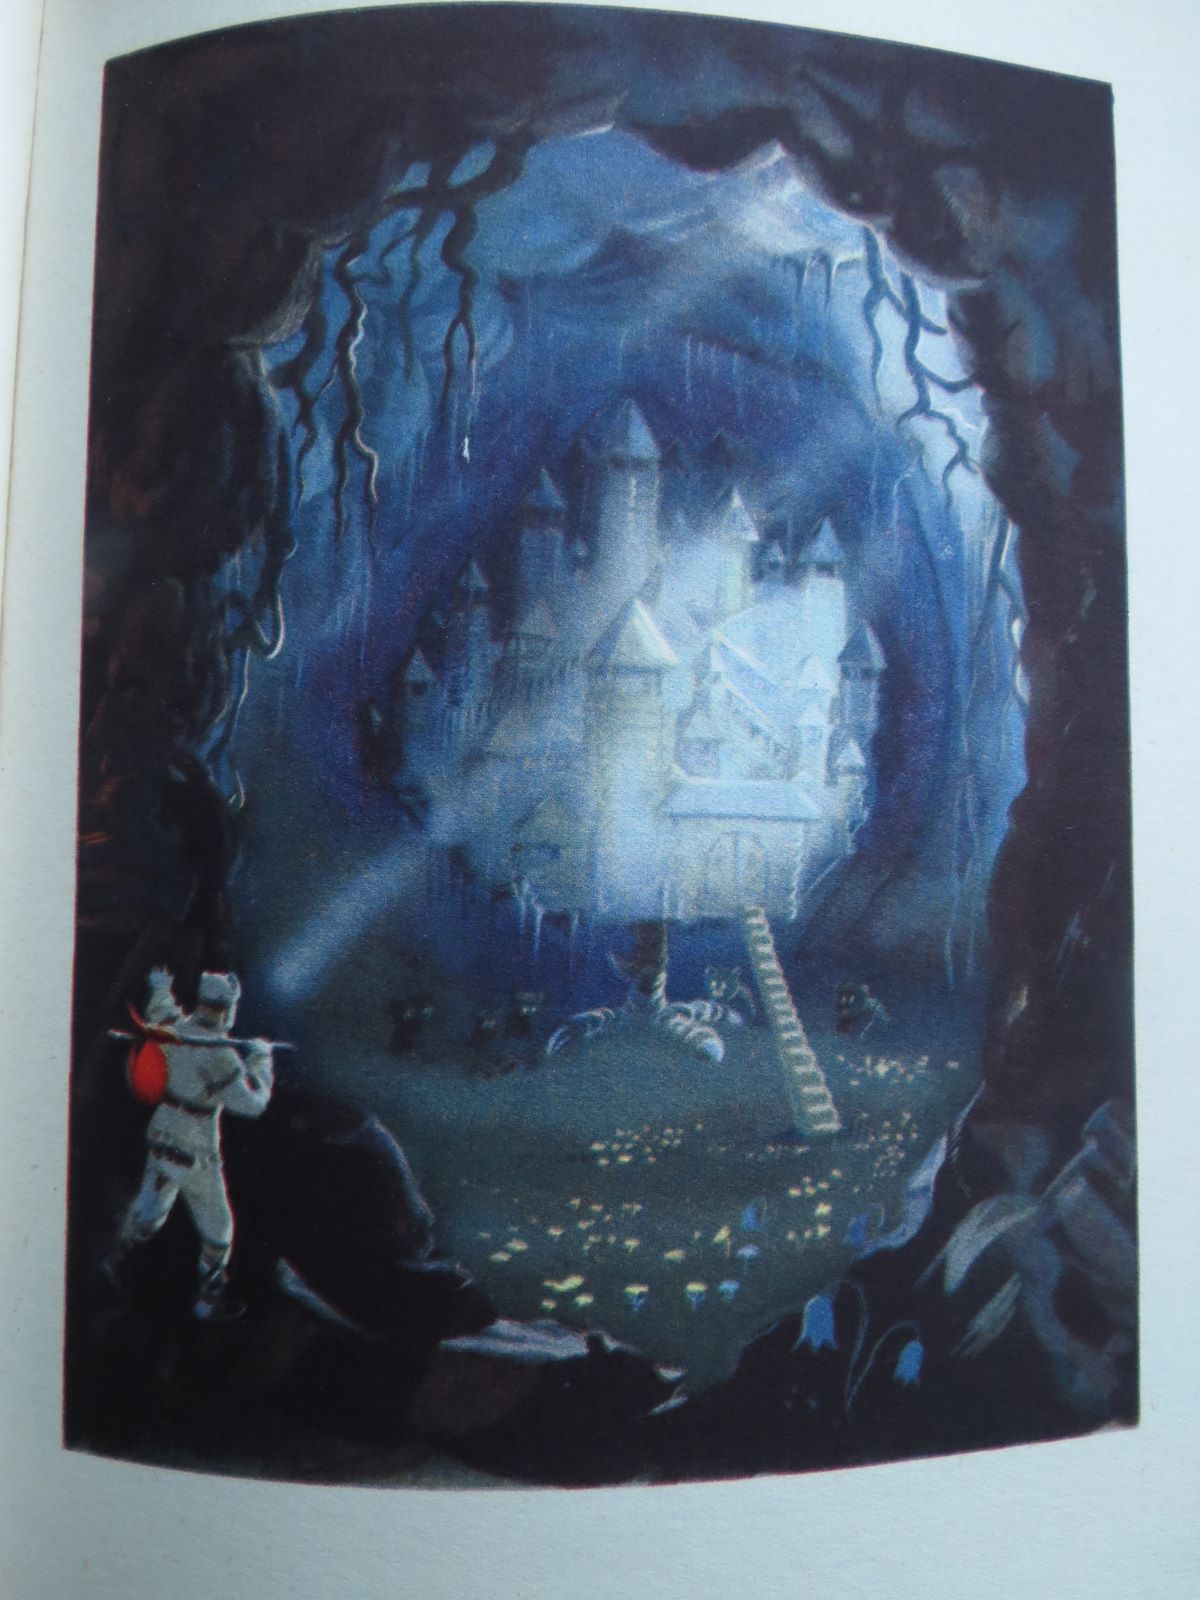
©rq, all rights reserved
An extra picture for the antireligionists among us: the book has a whole series of stories about duping the local priest or pastor in a myriad of ways: as with German barons, if they’re not cast as the Devil himself, then they’re cast as the fool. And even the Devil can be tricked!
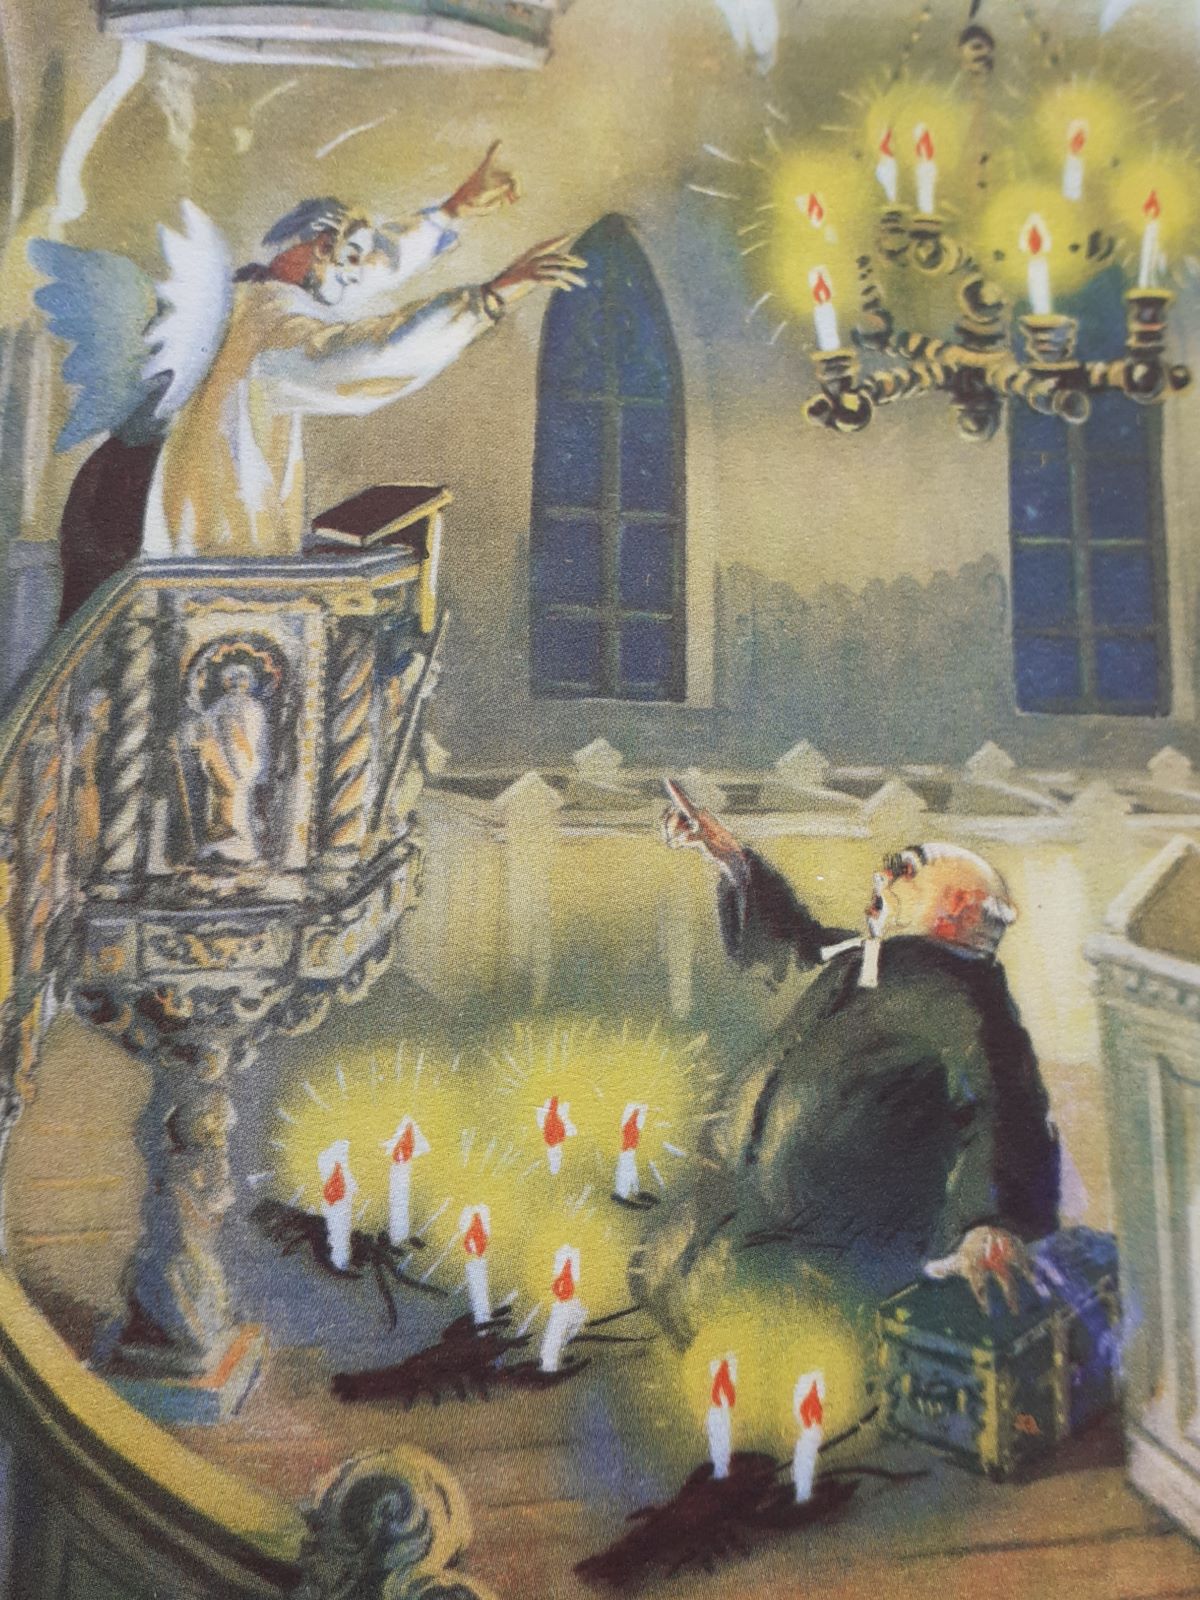
©rq, all rights reserved

L is for Lavender ©Nightjar, all rights reserved
Lavender.
A light purple representing the color of the flower with the same name. There were no lavender flowers anywhere to be seen when I got to the letter L in mid-November, but a trip to the village’s limestone formation revealed a nice surprise. Little lavender-colored crocus flowers (Crocus serotinus) work just as well.

© voyager, all rights reserved

Cutcliffe Hyne. The Derelict. New York and London: Lewis, Scribner & Co., 1901. First edition.
Via: Books and Art
Available to read at The Internet Archive