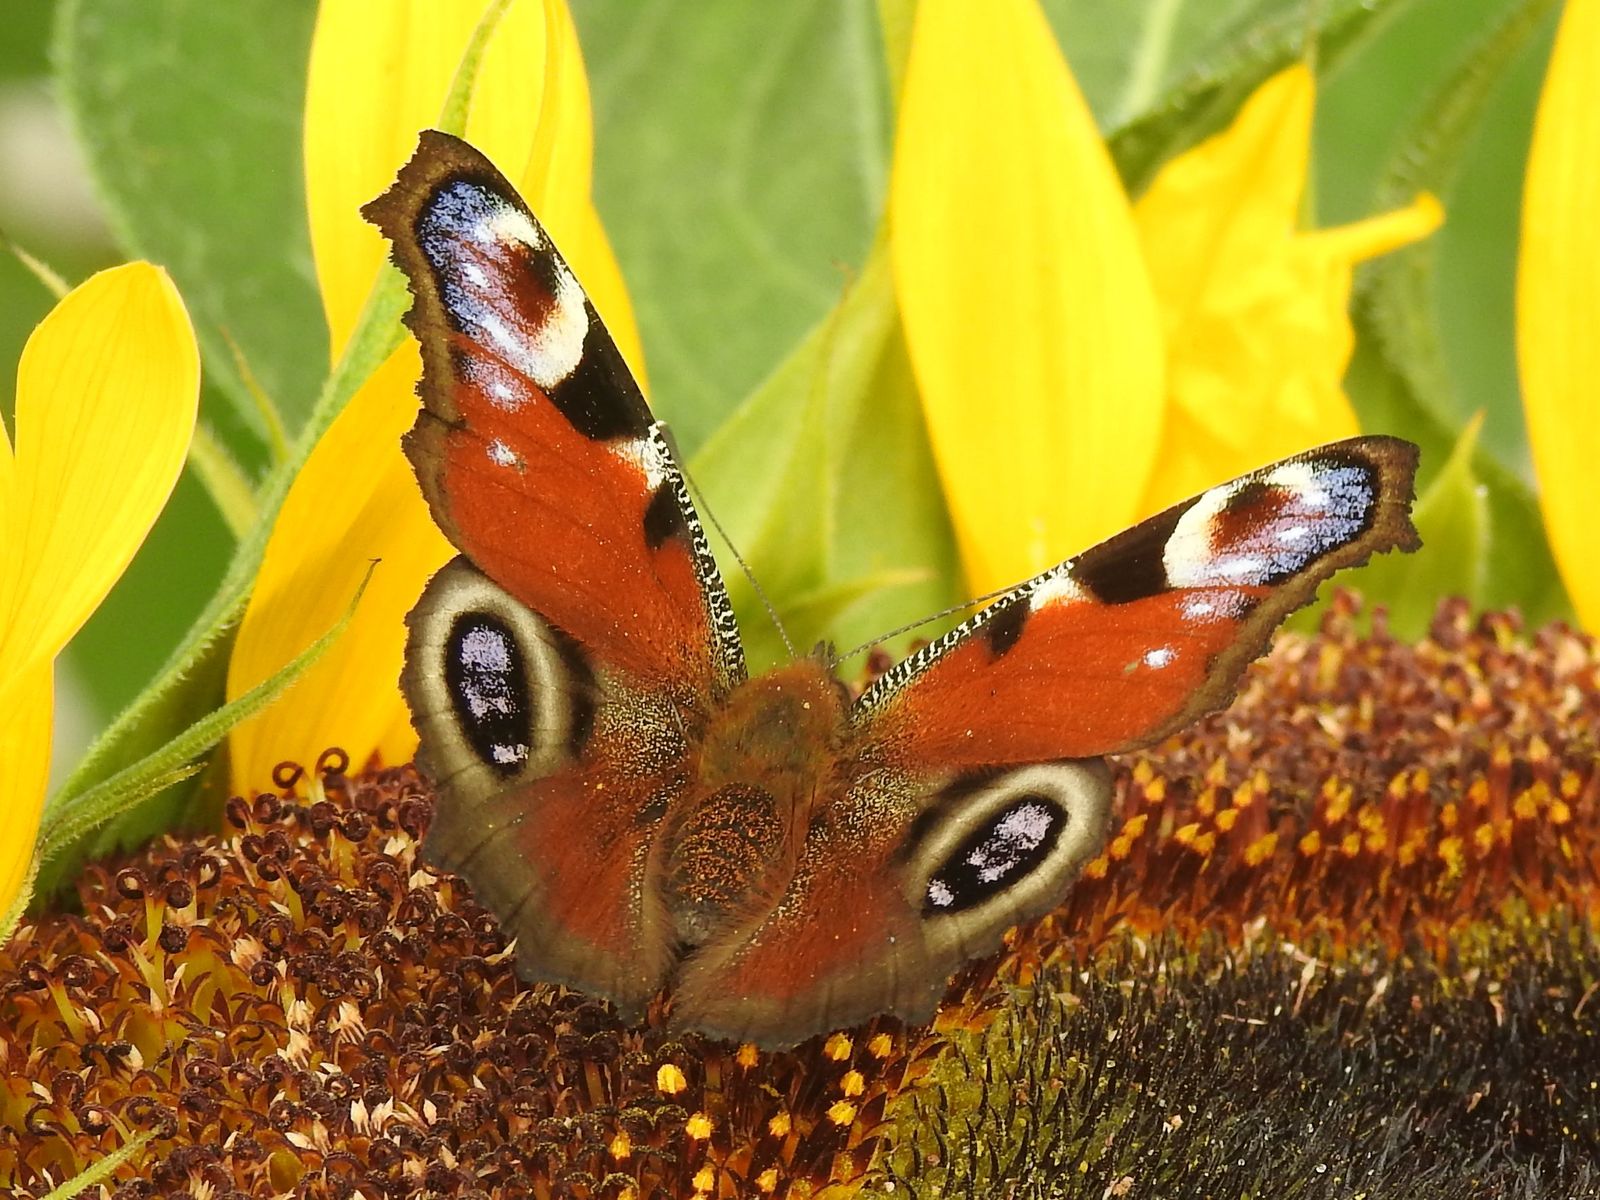
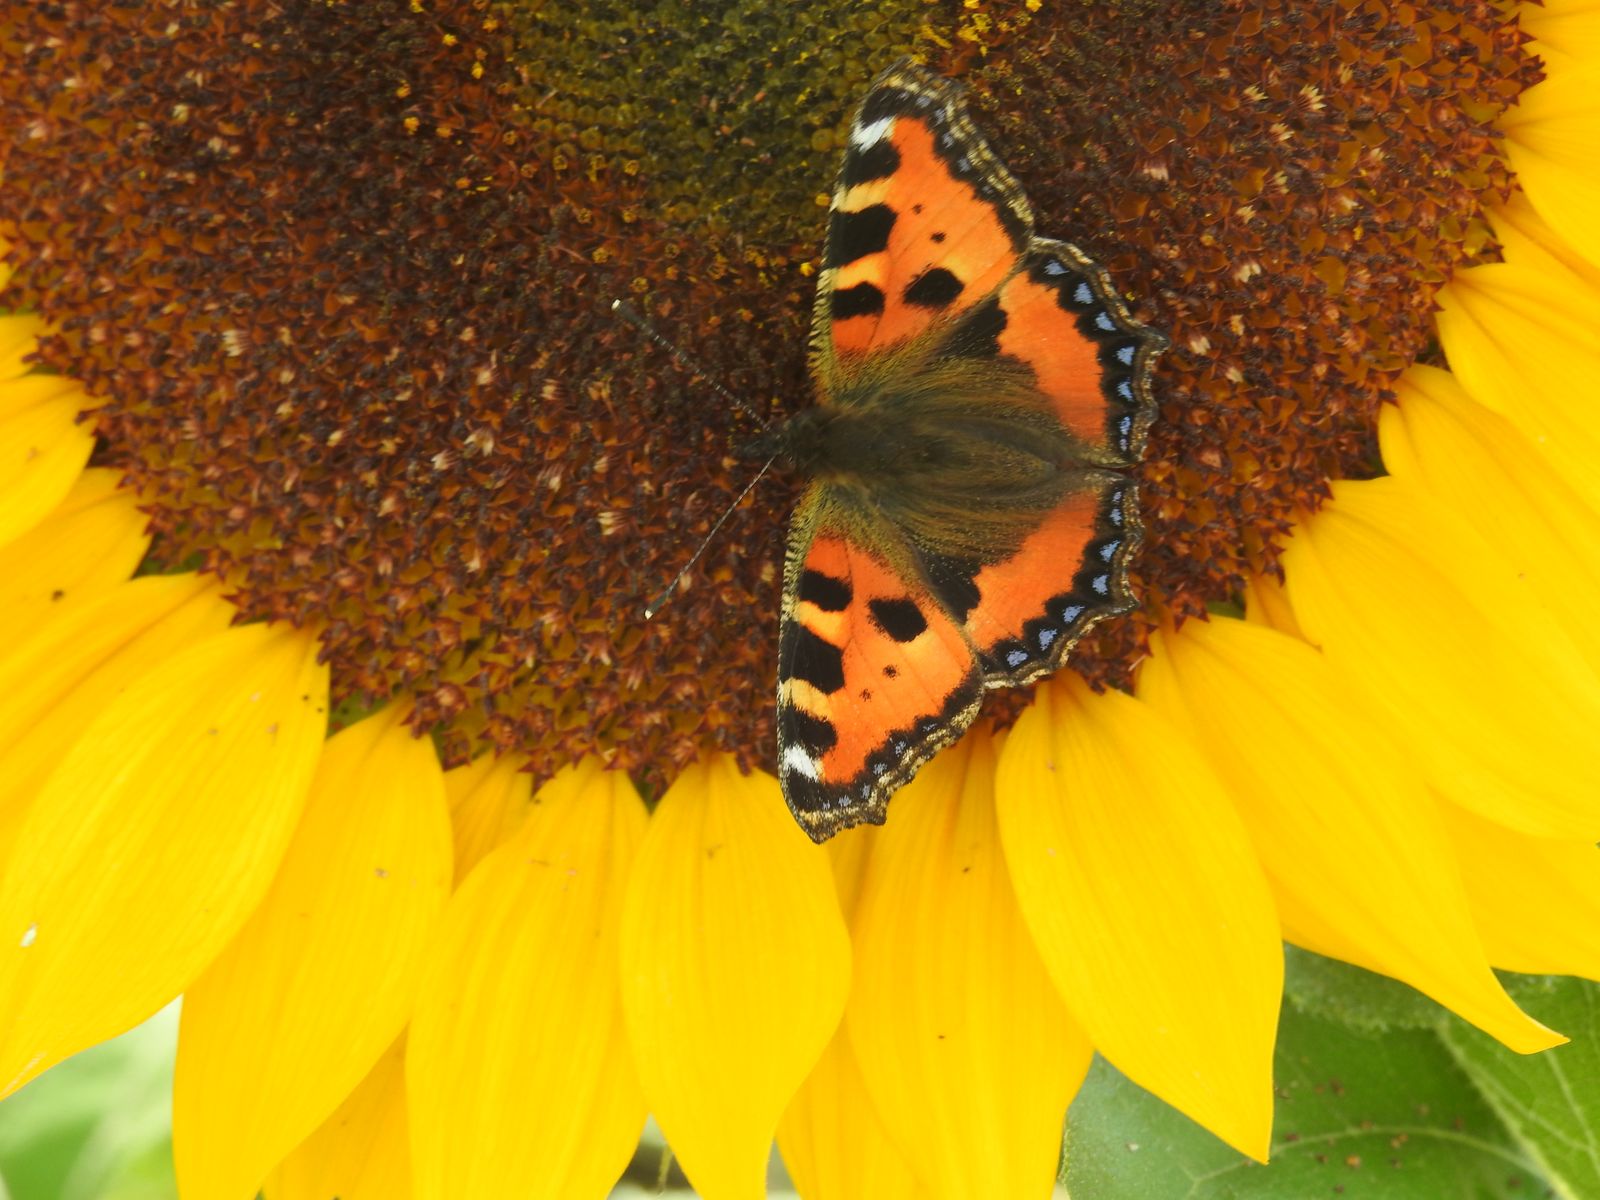
Avalus went on a walk one frosty morning and he was kind enough to take his camera and make some beautiful pictures. So let’s begin with some moody shots of colorful fall landscapes.

© avalus, all rights reserved. Click for full size.

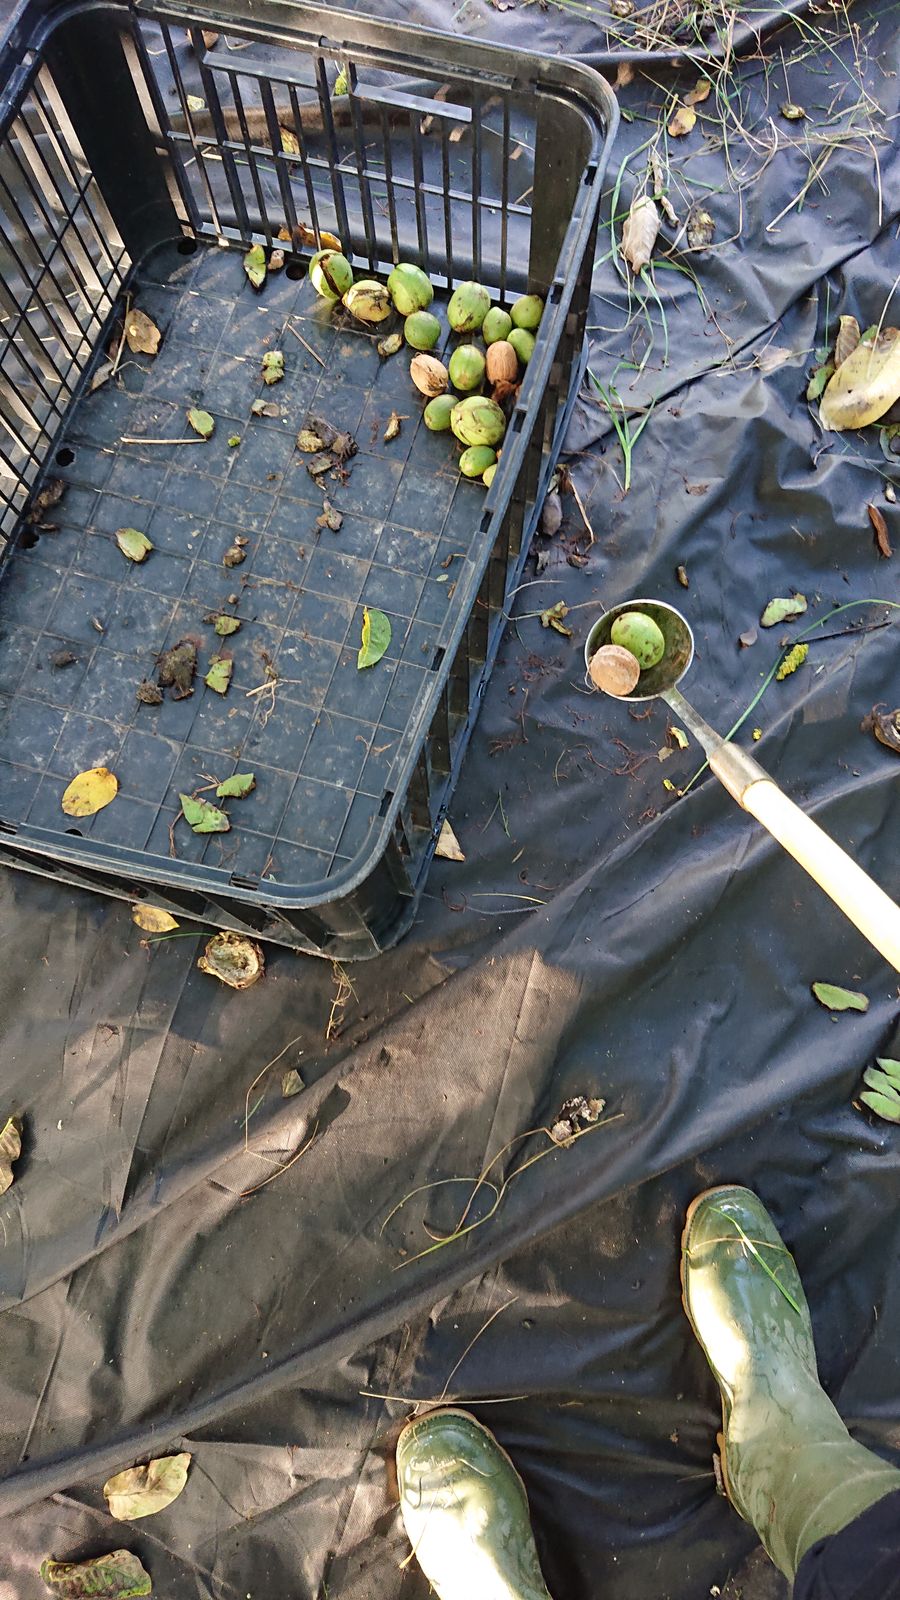
© avalus, all rights reserved. Click for full size.

© avalus, all rights reserved. Click for full size.