I did not take many pictures today. Mostly because the object of my photos would be an object of frustration.
Metal doesn’t move the same way as play doh would, or pretty much anything else. So it’s interesting: you hit it here and it goes over there. But it takes some of the surrounding material in a different direction.
In order to start to hammer the bar into the shape of a sword, you have to whack what will be the edge, to drive it down and widen the blade – and then you have to whack the back of the blade to lengthen it slightly. If you’re not very even-handed (I’m not) you can wind up with parts of the blade that are wider and thinner than their neighbors; what you’re supposed to produce in this process is a perfectly even and symmetrical thing of beauty. These blades are not hardened yet, so they’re going to try to bend when we quench them, too; everything is subject to perturbation, so we need to get everything as close as possible, all the time, on each pass. Just keep refining it and refining it and refining it and eventually it will be fine.
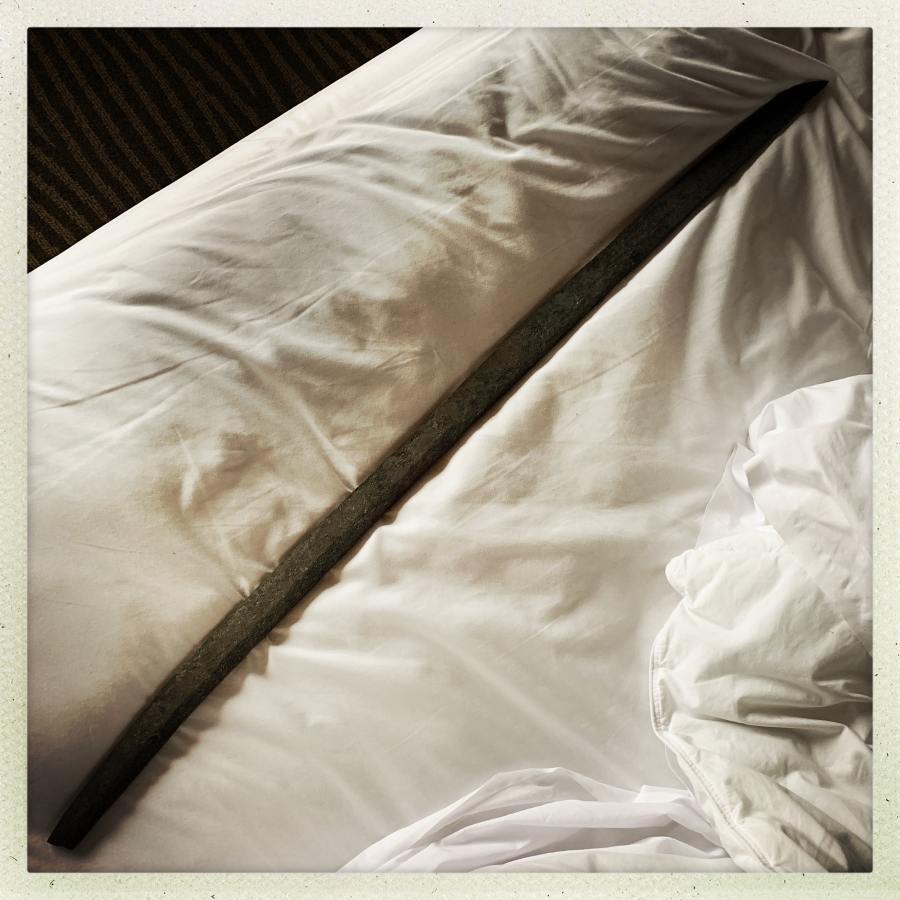
It’s heading toward being the right length and width and symmetrical. But it has a long way to go. I photographed it against a simple background to emphasize that the main thing at this point is getting the blade to be blade-shaped.
Today (wednesday) we’ll be doing more refining passes, and maybe we’ll surface grind down to the metal and begin shaping using stock removal. I’m much more comfortable with a grinder than a hammer and I keep thinking that normally, left to my own devices, I’d have started doing stock removal a while ago.
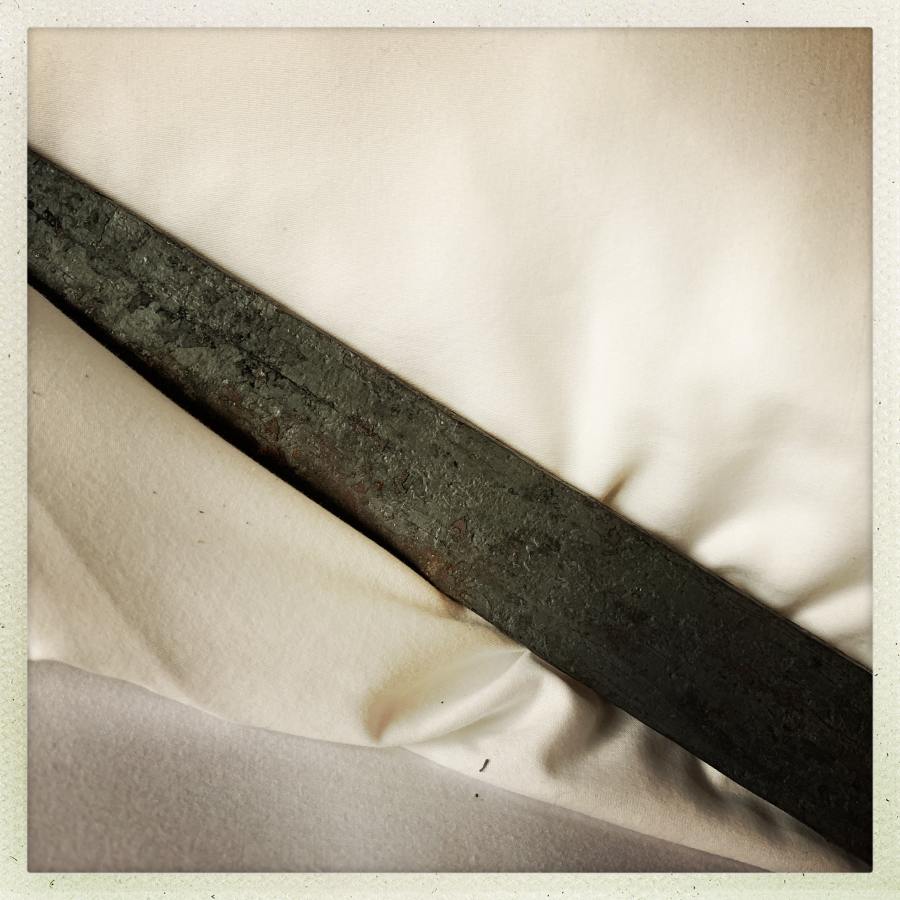
I noticed that we’re walking right into a trap. Remember the blade is two bars of different twists? Right now the weld-line between those bars is pretty neatly defining the shinogi (high side facet-line) of the blade. That means that if I mess with the metal too much, I might drive that line off the shinogi and it’ll be obvious what happened. I’m going to be careful to try to avoid that trap.
It’s OK and normal for the weld-line to be visible (the distribution of carbon was disturbed) but there could also be flaws in there that are like a dotted line the blade will split along when we quench it. Usually bad welds become visible as fine grayish areas, and I don’t see any of those.
For me this is the moment of maximum angst. The sword looks like a left-over potato that someone tried to cook in a campfire. It is not what it will be, and what it is is not very interesting-looking at all.
It’s coming along beautifully. It looks full of possibility and also it’s starting to look very sword-like.
The situation reminds me of a cartoon I saw years ago: a guy is running through the office saying, “The computer is on the blink again! It’s doing what I tell it to do instead of what I want it to do!”. But in this case it looks to me like the metal is trying very hard to do what you want it to do, and that you are talking together well. I predict this story will have a happy ending.
In case Marcus needs any further encouragement, I recently met the author of this book and paged through a copy:
A Study of the Eastern Sword
by Kirill Rivkin (Author), Brian Isaac (Contributor)
https://www.amazon.com/dp/153234001X/ref=cm_sw_em_r_mt_dp_U_3Nw5CbBGHM6EX
If I had a hammer, I’d hammer in the morning, I’d hammer in the evening….Sorry, that song just got stuck in my head.
It looks to be coming along quite well. I can see the curve developing and it seems to have a good overall shape. It’s certainly more interesting than a left-over potato. I think it’s full of beautiful possibility. I also think it’s fabulous that you’re doing things differently than you would if you were on your own at home. Getting outside your comfort zone is generally a great way to learn and grow, especially as an artist.
I agree you can see the sword within that will be.
I hope you are just photographing it on your bed, not ctually planning on sleepig with it …
Jazzlet@#4:
I hope you are just photographing it on your bed, not ctually planning on sleepig with it …
Well, it was on the other side of the bed, and I was over here. So, not … really?