I dragged myself through my door around 4:00pm yesterday. My connection from Minneapolis to Washington Dulles had mysteriously cancelled so Delta put me on a plane to Washington Reagan and generously suggested I take a taxi 30 miles between the airports. Naturally I was compensated with a $100 voucher to be spent on any future Delta flight I could not avoid having to be on.
When I got my bag at the baggage claim it was wide open, with all the stuff sort of piled in the top. One of the steel bars I took for ‘show and tell’ was gone, as was the embarrassing fail-knife – I suspect its obviously knife-like outline attracted some corrupt agent of the state who simply took it. (Cooking knives are still legal in Washington, though the politicians have declared illegal anything that The People might use to express their displeasure with politics as usual) Fortunately, the wakizashi blade was still in the side-pocket where I stashed it.
I’m compressing the last two days of class into a single posting because we had a big dinner Thursday night (Mike made sous vide steaks and Gabriel surface-charred them with the forge’s propane burner) and I didn’t have enough time off to write. Also, the last two days consisted mostly of my learning how to be a very slow and imprecise manual milling machine.
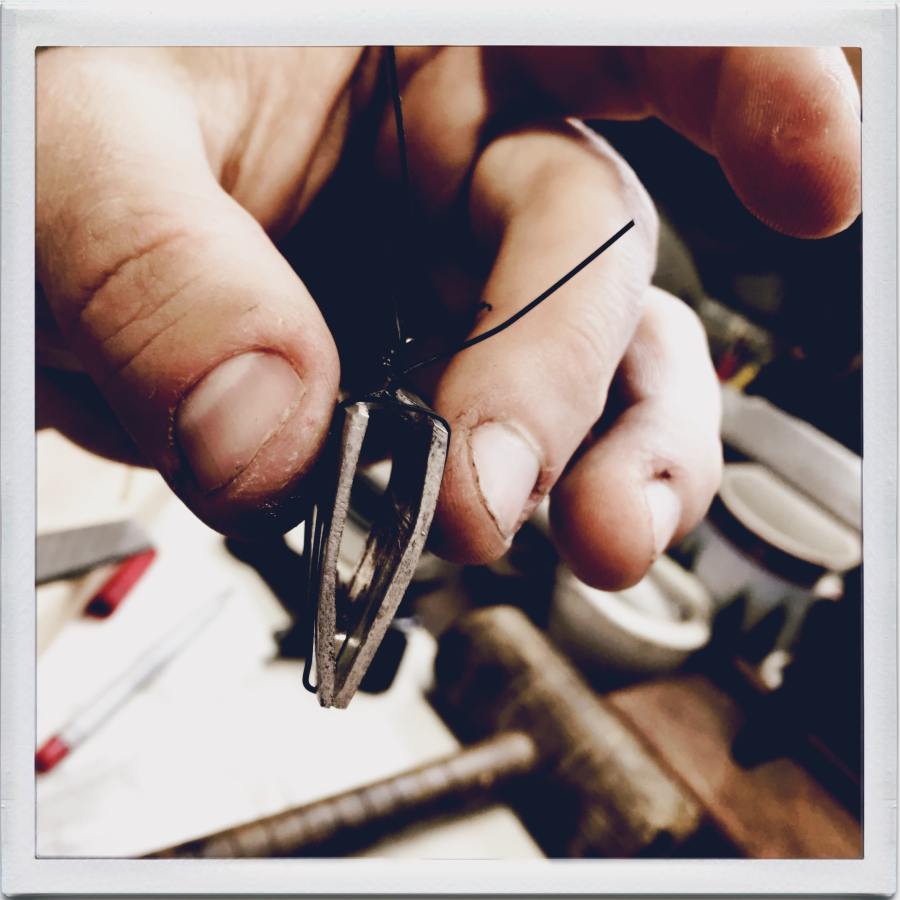
Once the habaki had been tapped into shape using the tang of the sword as a mandrel, I wired it tightly to hold the bottom together, fitted the little silver piece into its final position, and Gabriel packed flux and silver solder into the top crack then heated it with the propane torch (which later featured in making dinner) so it all flowed into place. This was our final opportunity to melt the proto-habaki into a puddle, but mine survived with a nice clean brazed join.

Then, comes a part that is very typical of a Japanese crafts process: carefully adjusting the fit. The habaki gets stretched/fitted onto the tang with a lot of little taps from a little brass hammer. You tap on the side (to more closely shape the silver to the steel) or on the base (to drive the habaki a tiny bit farther up the tang) – eventually, it comes to rest in its destination.
Or, as did not happen to me, but happened to Mike, the braze pops out and you have to clean, flux, and re-braze the piece. Mine fit pretty nicely but needed lots of encouraging little taps with the little brass hammer to adjust its shape slightly.
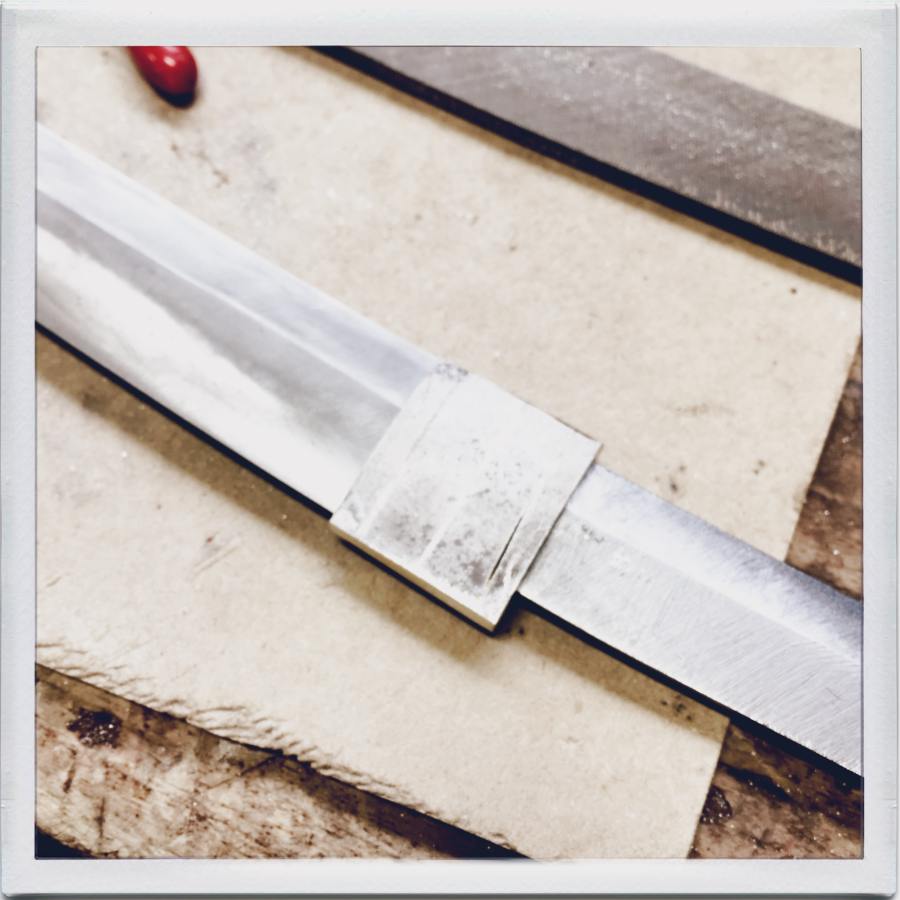
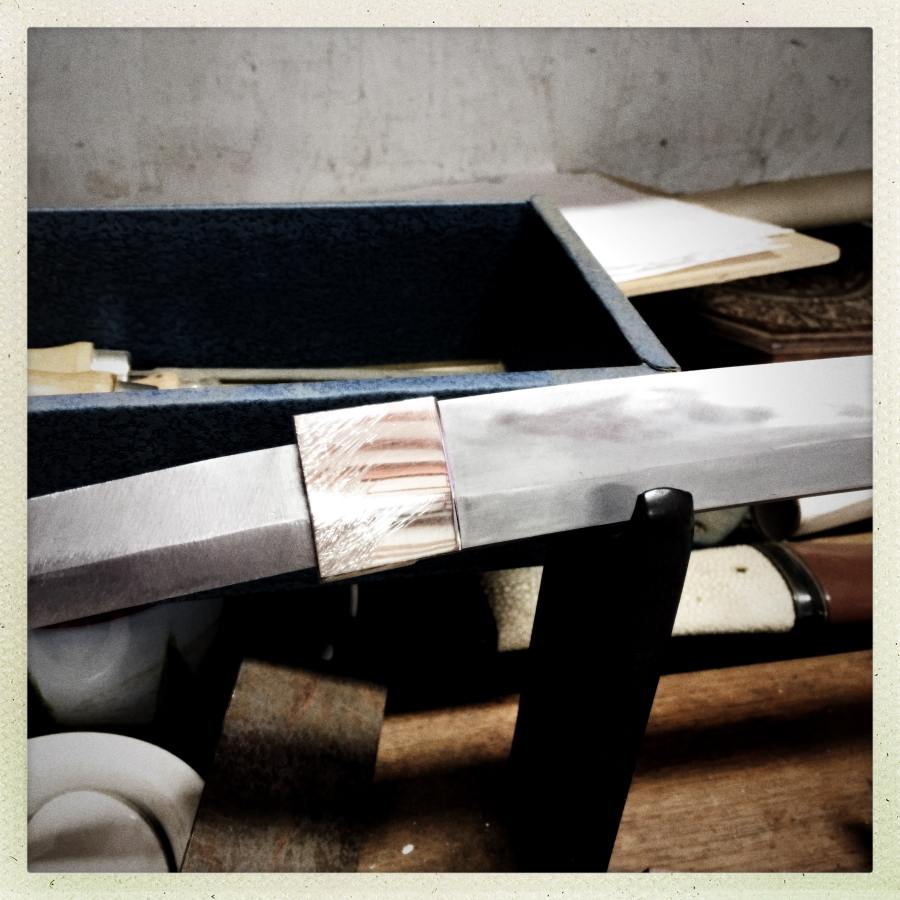
You will notice in the image above that the top-line (mune) of the blade and the habaki do not agree. That’s because the sword is off. I spent about an hour with a fine stone adjusting the steel in the Japanese manner – i.e.: more hand-fitting. You can see some fine scratches in the mune, anyway, which had to go as part of finishing.
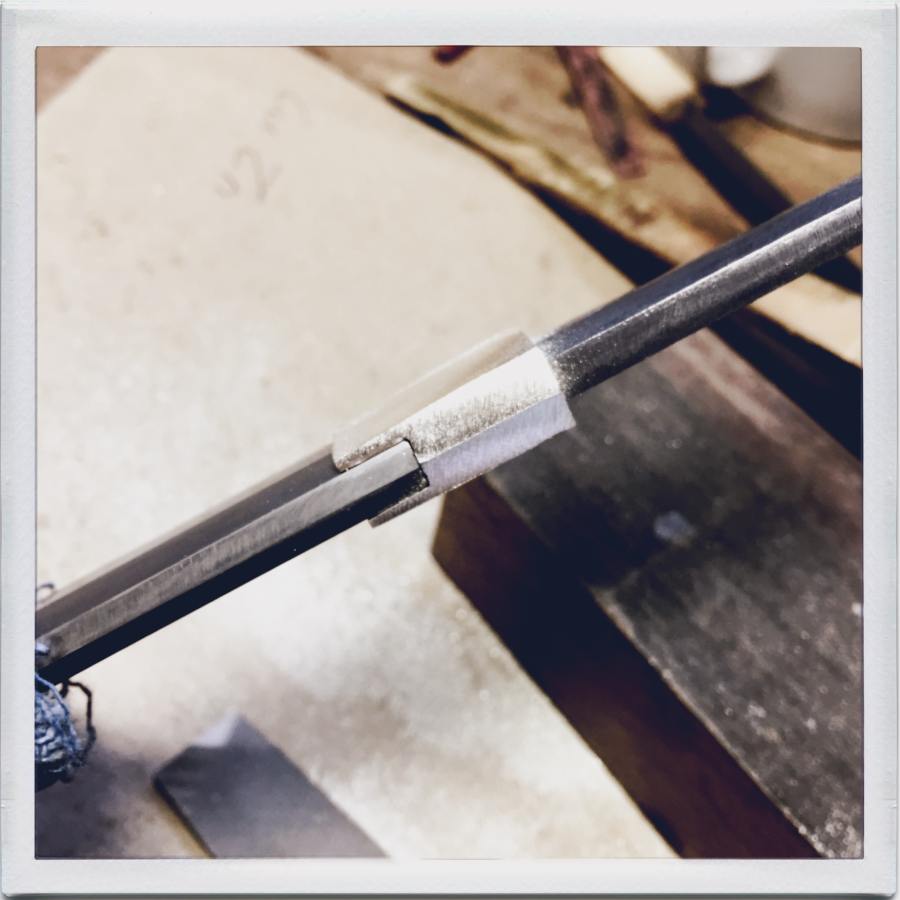
Getting the habaki onto the blade was an exercise in seeing how straight and correctly tapered the tang is. There was one spot on mine that was a bit high so it got filed down. Having plenty of time to think about it, I realized that the endless filing and grinding is self-correcting – the Japanese sword’s parts are fitted to each other as a way of ensuring that each piece is correct. If they look like they’re correctly lined up, they are. Otherwise, they won’t fit at all. There was a pair of calipers on the workbench but nobody used them.
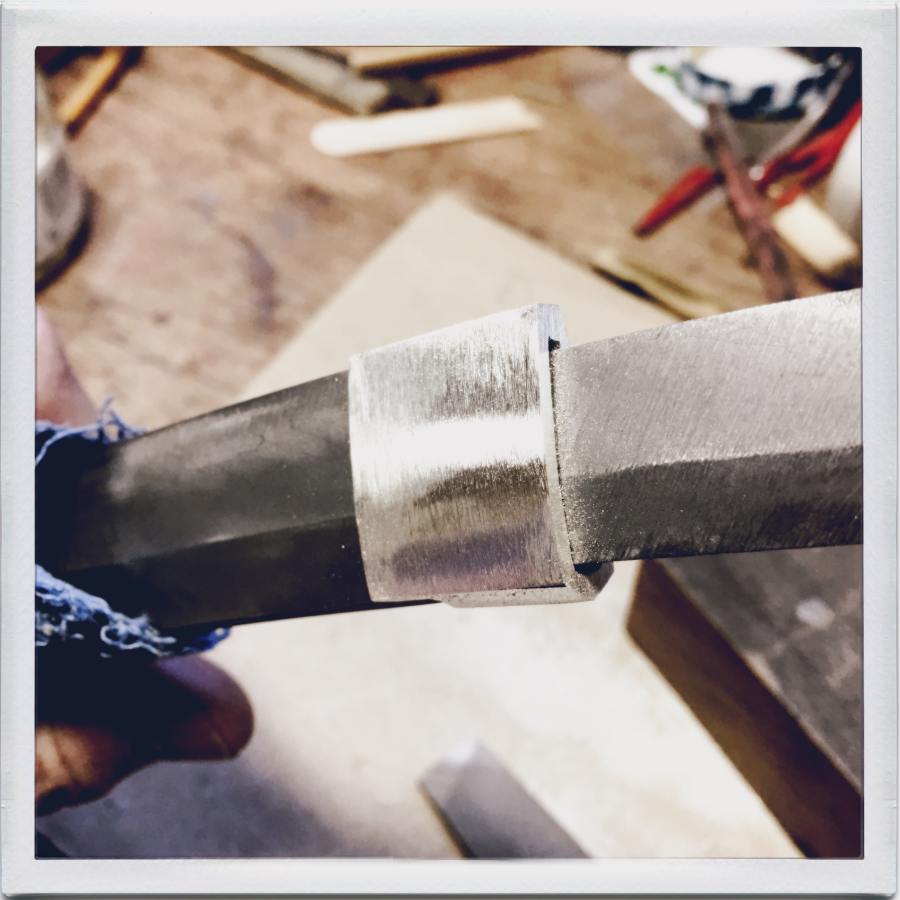
You know what comes next: “thin it out.” The habaki has a taper from the back to the leading edge, and it’s curved. The tapers have to be shaped evenly and smoothly. Hand fitting! The way to get this right is to file top to bottom, then file side to side, which makes all the errors from your previous filing pass just jump right out at you.
I hit upon a trick of watching the reflection of the flourescent light-tube above the bench in the sides of the habaki. A “bump” in the reflection meant a high spot in the metal. If the reflection’s ends twisted, the curve of the surface was off. Once I figured that trick out I was able to work faster and with assurance and made the silver dust swirl!
After the filing, we wrapped wet/dry sandpaper (400, 800, 1500grit) around tongue depressors and further refined the curves.
The final step of polishing was to burnish the silver with a piece of an old file that was been polished to a fare-thee-well. That process was magical: you gently rubbed the burnisher on the silver and suddenly it melted into a mirror-like surface. For that to work right, the burnisher and silver had to be perfectly clean or you’d burnish a scratch right into it, which meant starting over with 1500 grit sandpaper and trying again.
Then, Michael Bell showed how to get the “raindrop” finish – take a little saw blade (cut from an old kitchen knife) and make angled scratches in the surface that we had just killed ourselves polishing, then pit the surface and burnish it over to make little ‘drops’ in the metal. You only get one chance to do this part right since sanding it down and re-polishing would make the habaki too thin.
Sort of like a rainstorm, or a tempest in a teapot.
Then it was time to say “good bye” and head for the airport.
great
おかえりなさい。
Very nice! How long before you’ll call the sword finished???
Using reflections to check alignment is fairly common. How to quickly test if an HDD disk is correctly seated on the spindle of a spinstand? Spin it, and look for shimmer in the reflected field of view. It’s a surprisingly sensitive technique requiring no additional tools.
chigau@#2:
Thank you, it’s good to be home.
Sunday Afternoon@#3:
How long before you’ll call the sword finished???
Probably never… The blade still needs to be polished more, and that’s months of work. Then normally I’d make a guard for it, and fittings, handle and scabbard. Each of those steps would be weeks of work.
I’ll probably make a storage scabbard (“shira saya”) for it and take it down and polish on it every so often for the rest of my life. Perhaps having it unfinished will keep me alive forever like some samurai Dorian Gray.
It’s a surprisingly sensitive technique requiring no additional tools.
Clever!
I guess it’s an amplifier. When they laid the first transatlantic cable, the signal was very faint and Lord Kelvin (who happened to be hanging around…) made an amplifier for the signal, consisting of a magnet hanging on a hair, with a mirror attached to it, and a pinhole of light from a lantern shining onto it. The motion of the reflection on the wall revealed the signal that was not powerful enough to operate the telegraphist’s buzzer.
A similar idea: create a steady beam of electrons. Use a resonant cavity with a weak signal to slow them down or accelerate them a tiny bit. Let them travel a good distance, and they have now bunched up and spaced apart quite a lot, enough for another resonant cavity to collect a strong signal (a million times stronger is feasible). For more power, just build a bigger one and use more electrons. It’s called a klystron.