It’s another interesting mix of fungi photographed by Avalus in a natural burial cemetery.
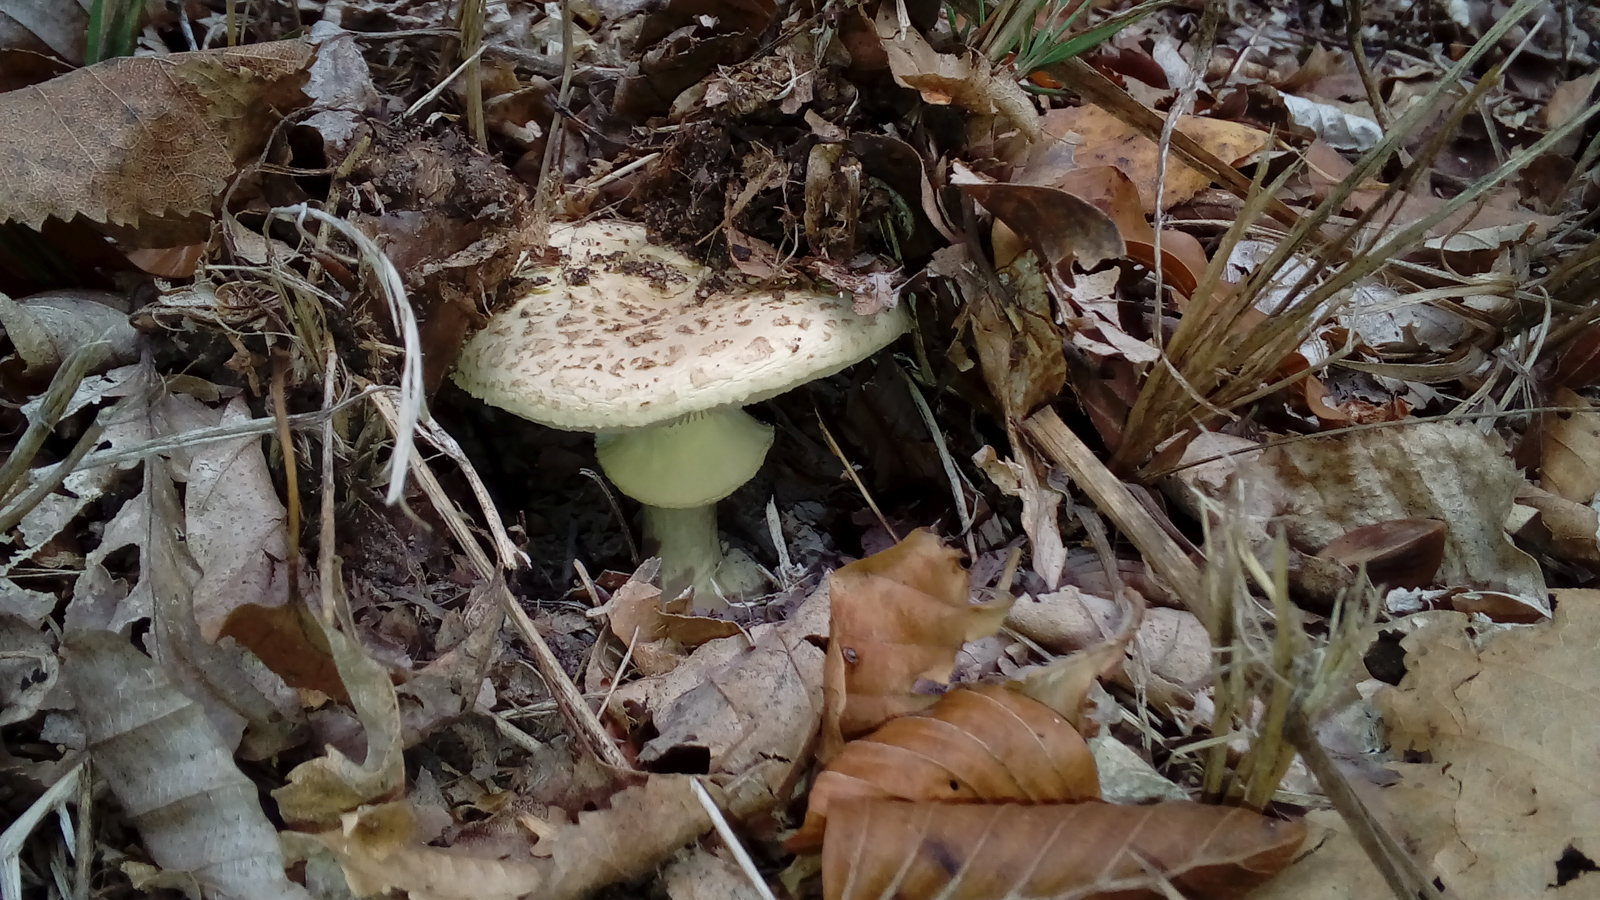
It’s hard work pushing up. A still deadly false death cap pushing up. ©Avalus, all rights reserved

It’s the real Sluglife! Note the dry, dead mosses. They were like that in all the forest.

Proudly presented!©Avalus, all rights reserved

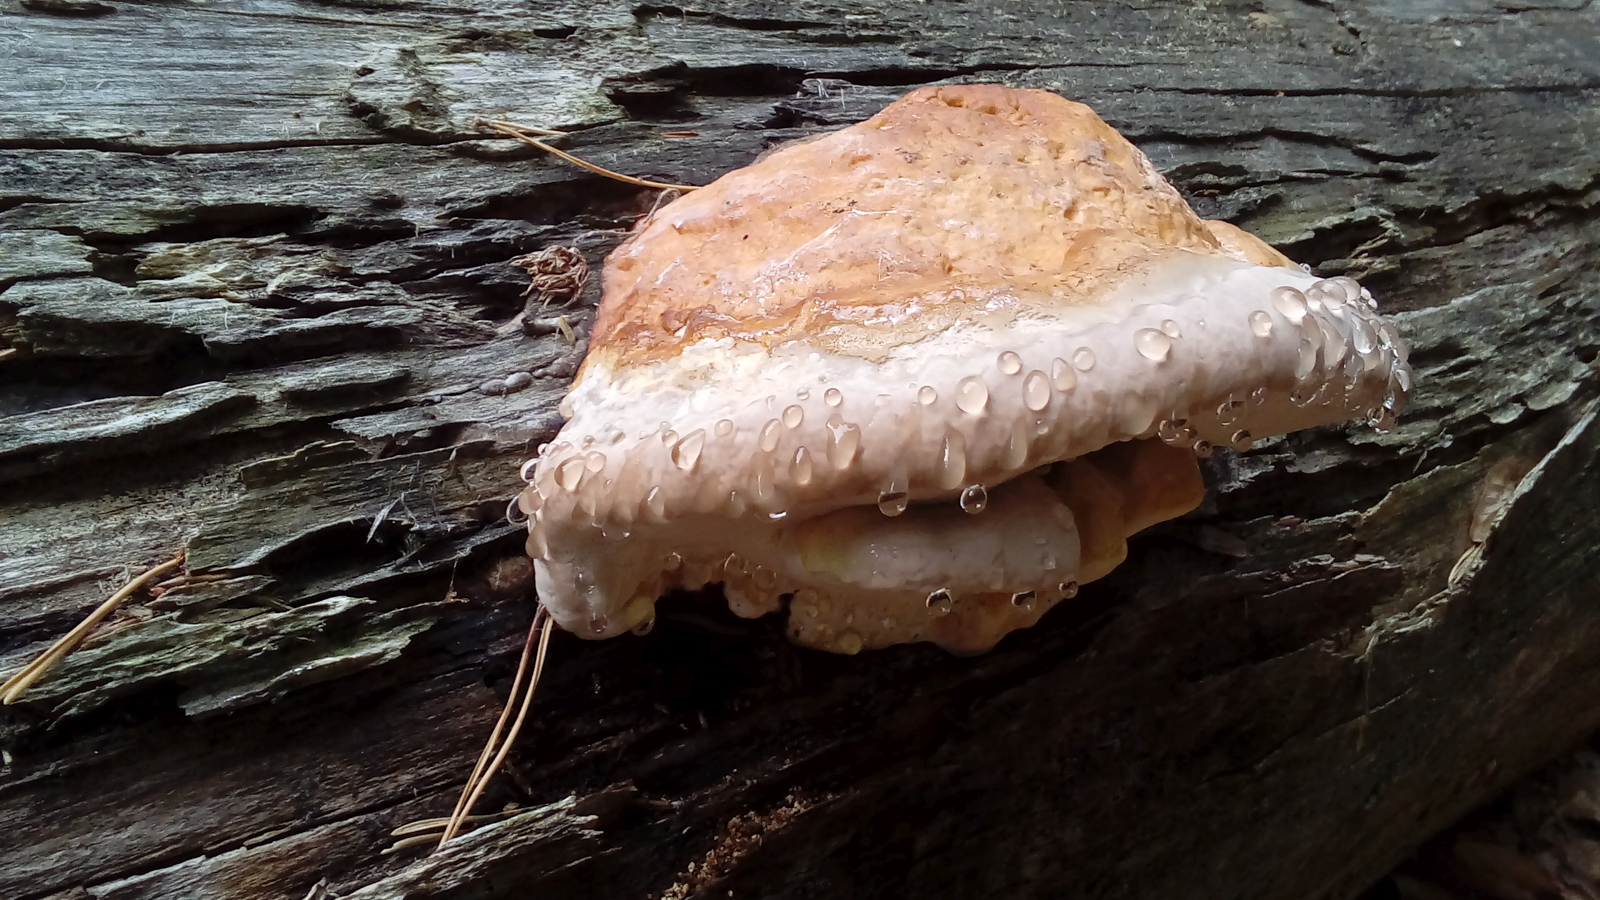
Iggi Pilz, a pun on Igelpilz (hedgehog shroom) and Iggy Pop. Don’t know why. ©Avalus, all rights reserved
You have a good eye, Avalus. So many different types of mushrooms! I’ll be sure to check back tomorrow to see what else you found.