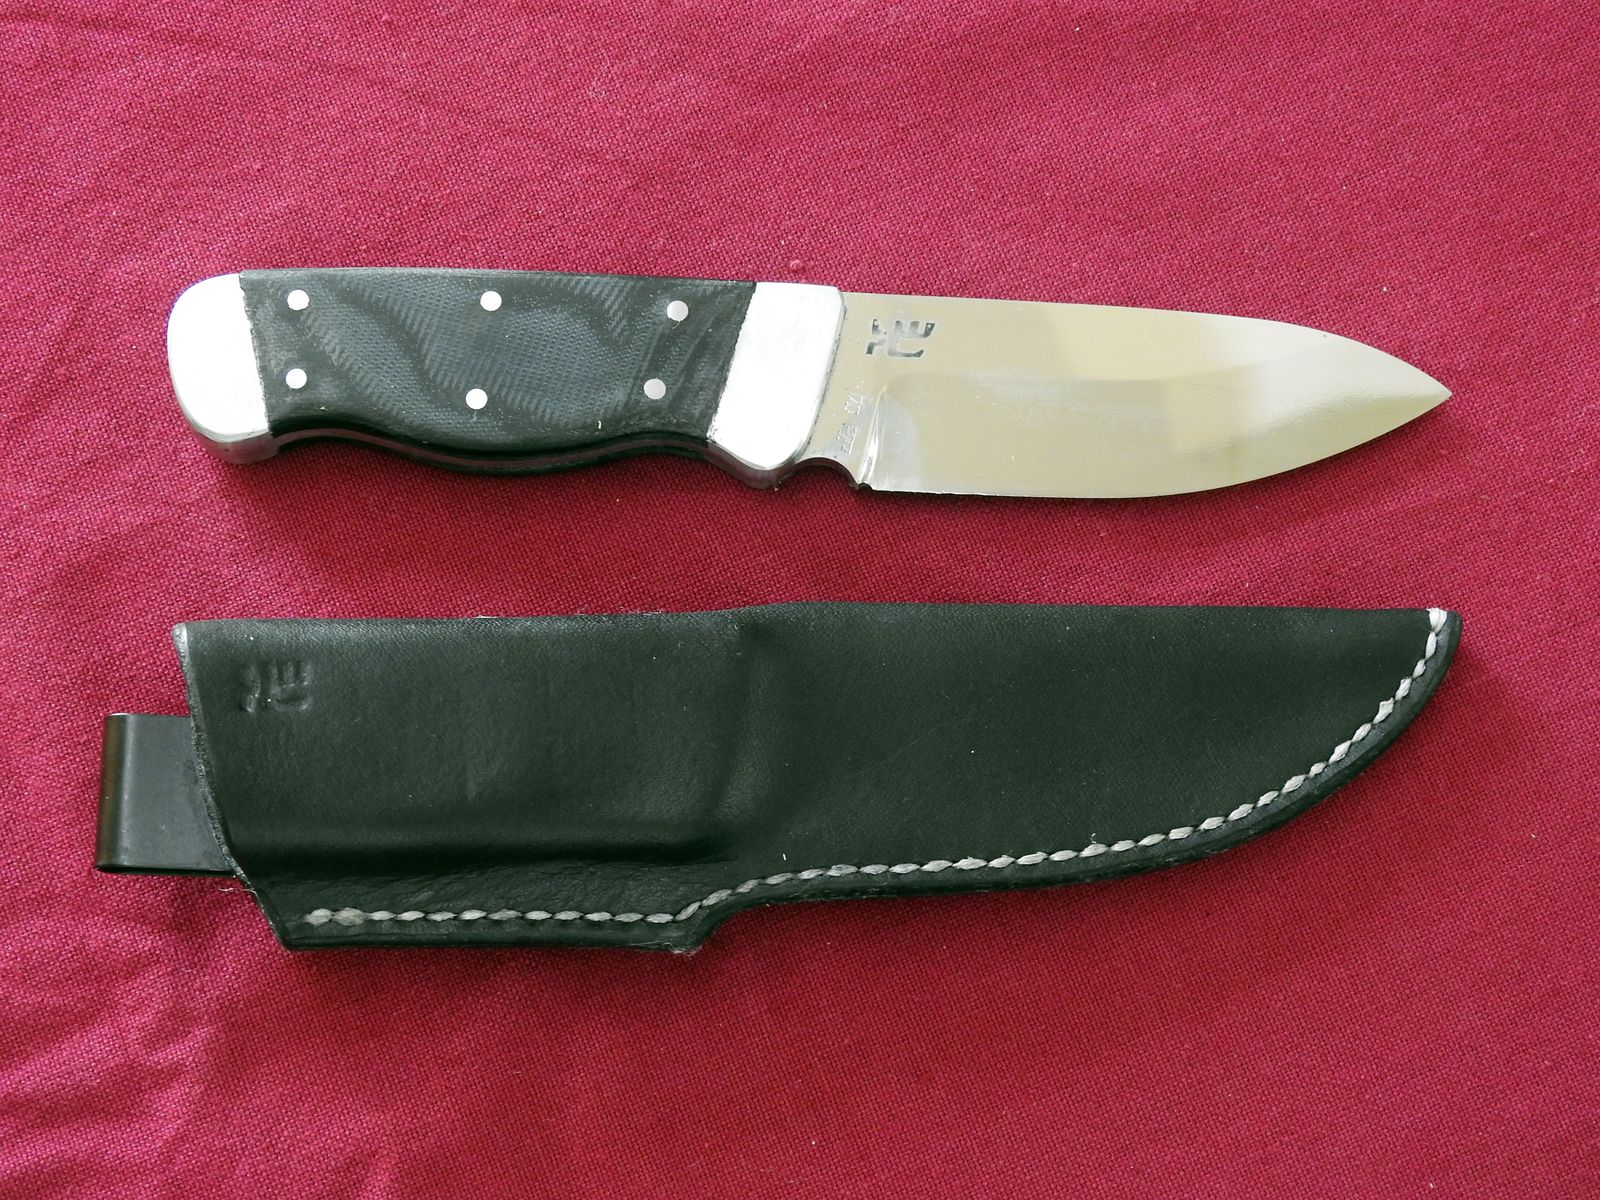
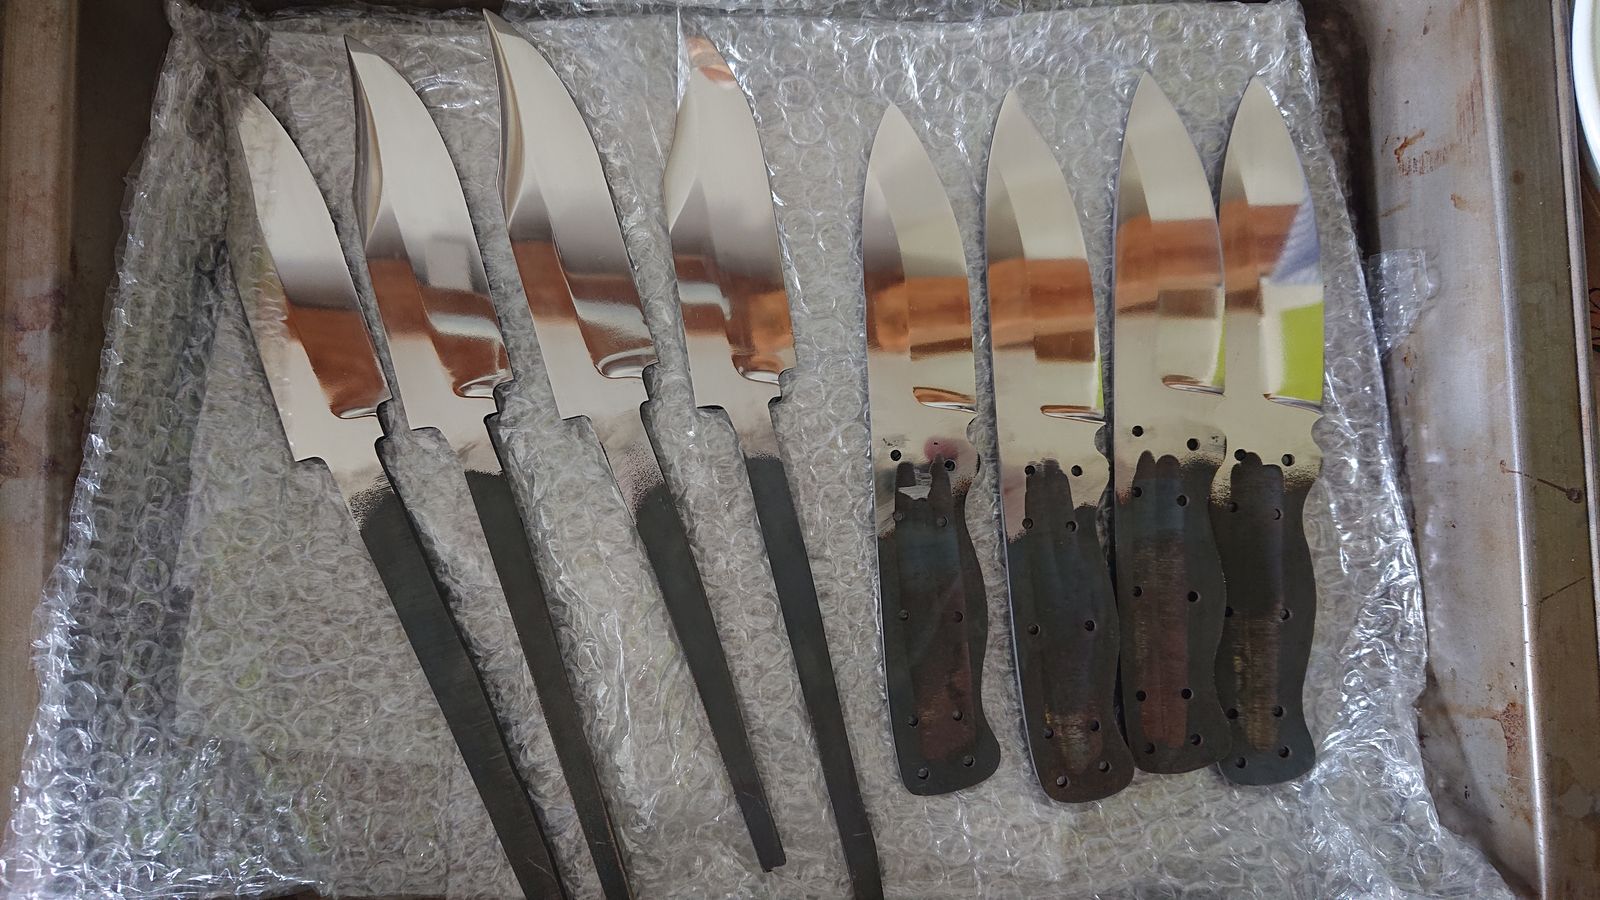
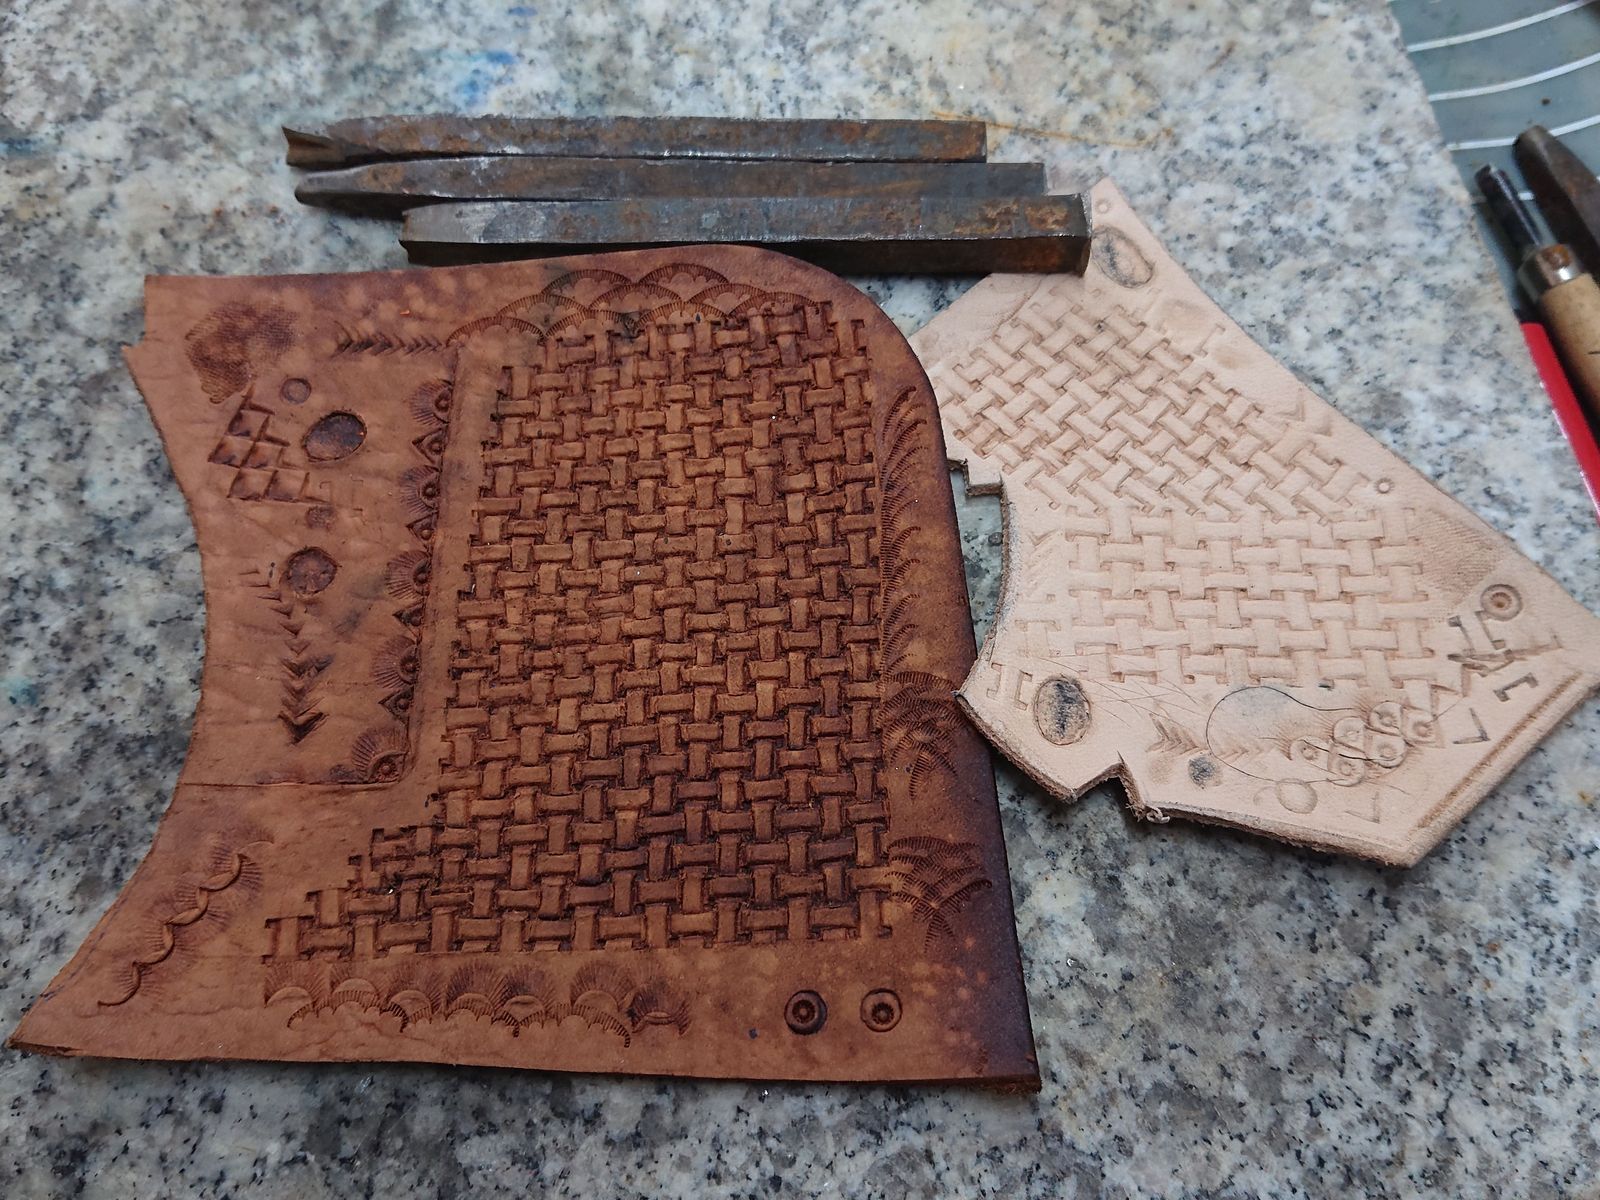
Marcus sent me a piece of stabilized maple burl last year. It wasn’t very big, not enough for my usual chunky knife handles, but it was big enough for two badger knives, so I used it for the last two blades in the current batch.
I did not do the brass bolsters and pommels very well, I am afraid. The pins refused to blend in – they do so so seamlessly in aluminum and stainless steel, but so far I did not have any luck with brass. And since this blade is stainless steel, some artificial extreme patina would not look proper. I tried to make the heads rounded this time, but I did not like the look of it at all, especially because I did not position them correctly for that kind of look. Nevertheless, the extremely beautiful wood from Marcus, when polished with beeswax, does redeem the knives a little. And when I saw how pretty the wood is, I have decided to make better and nicer sheaths for these knives too.

© Charly, all rights reserved. Click for full size.
© Charly, all rights reserved. Click for full size.
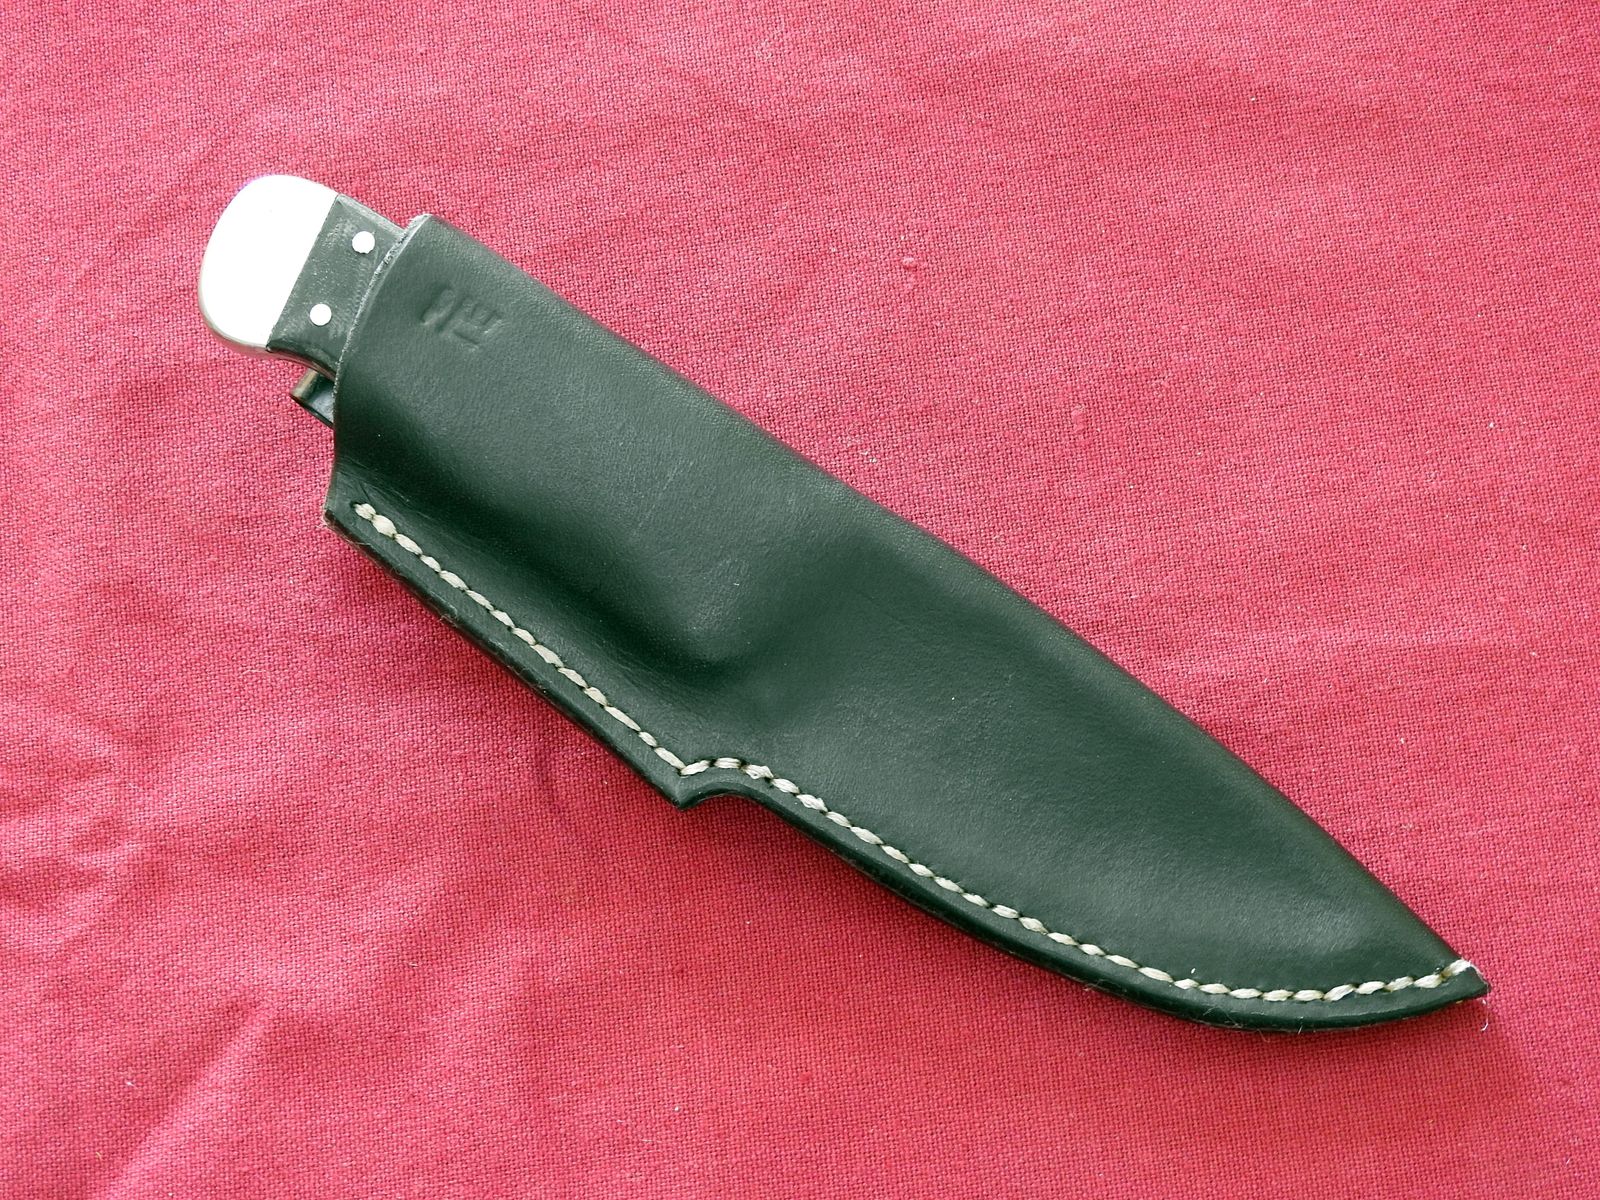
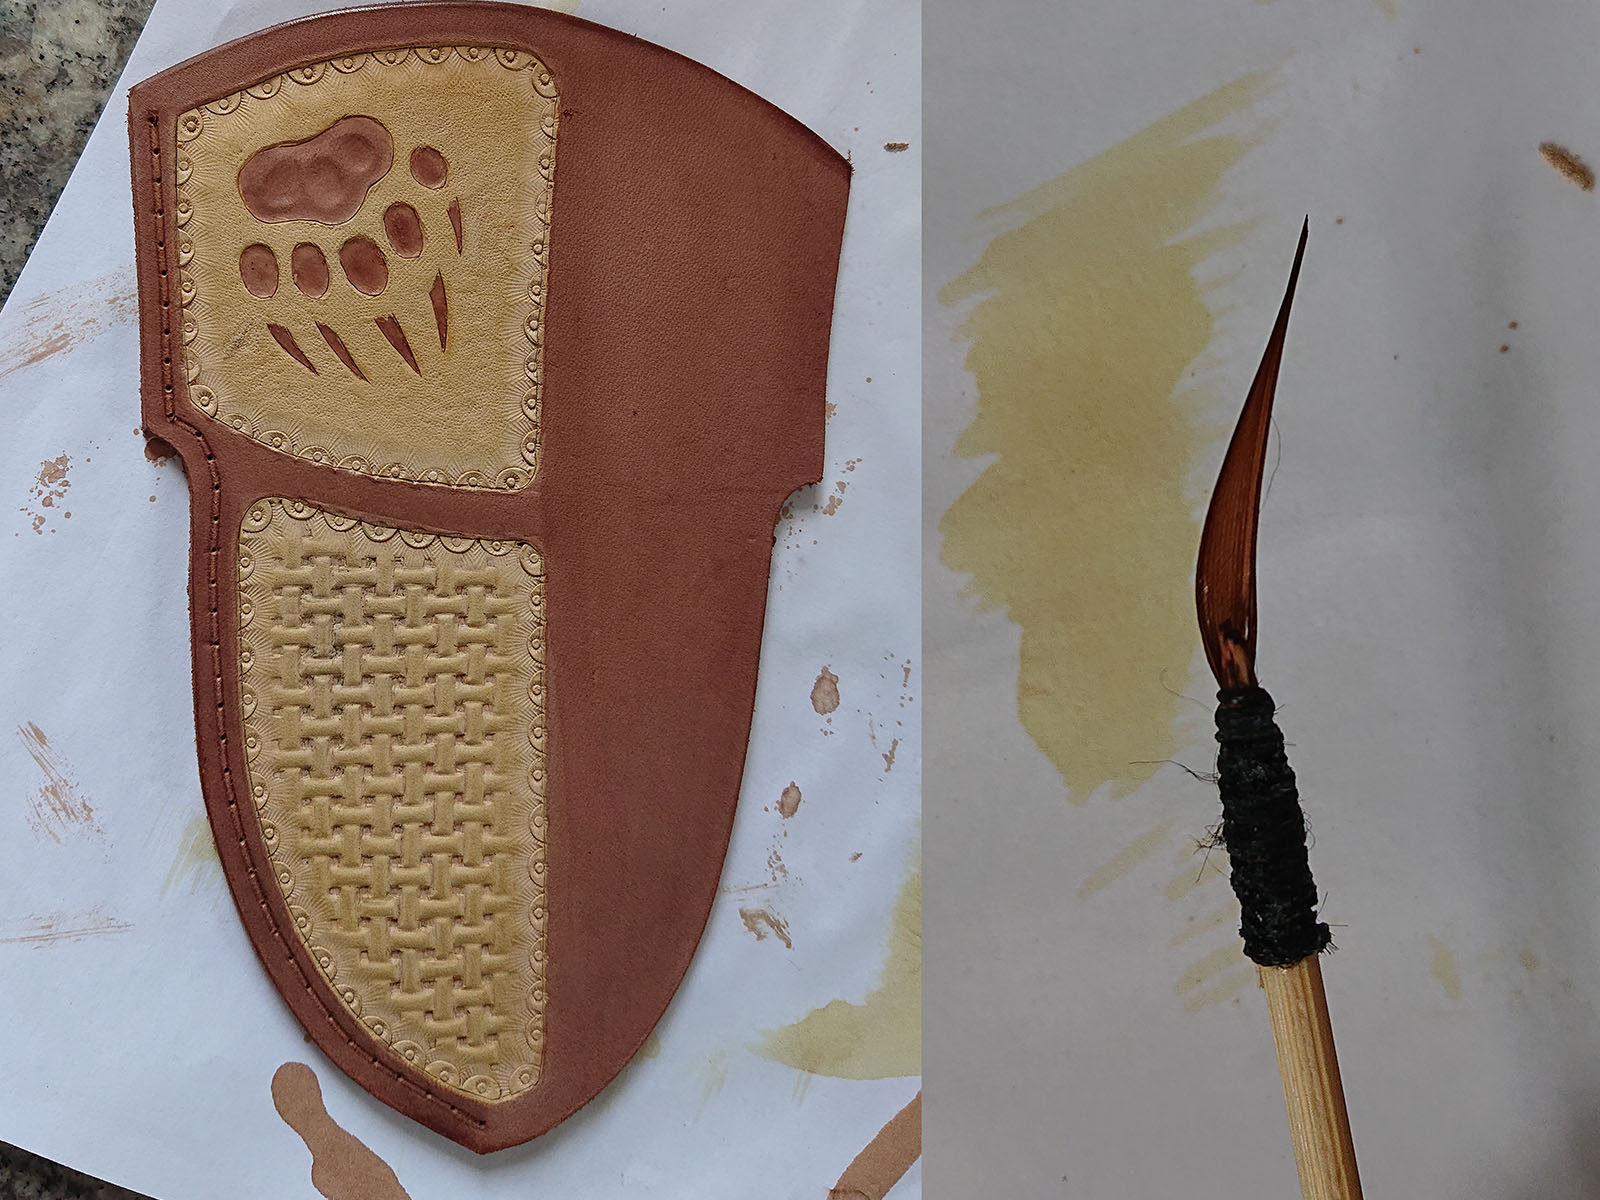
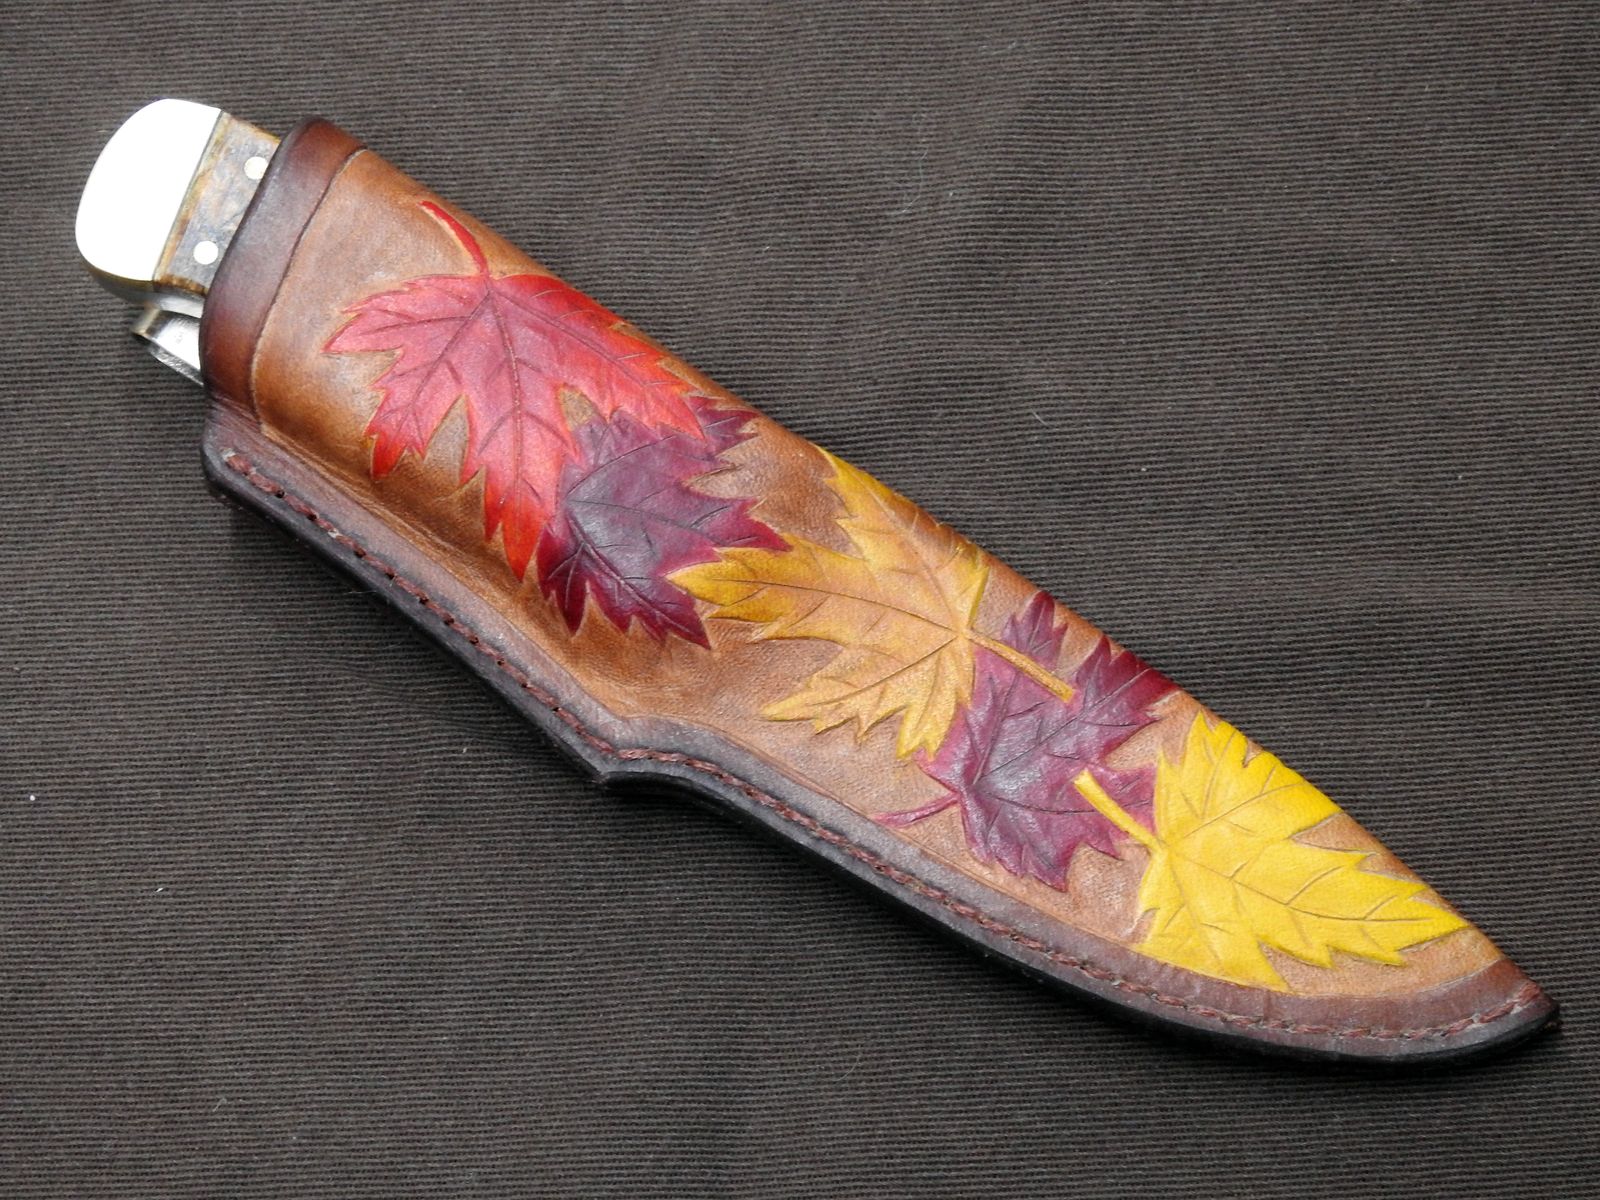
This is the better of the pair. Making the silver maple leaves was real fun, and I have managed to get the colors very close to what I have originaly designed in Photoshop.
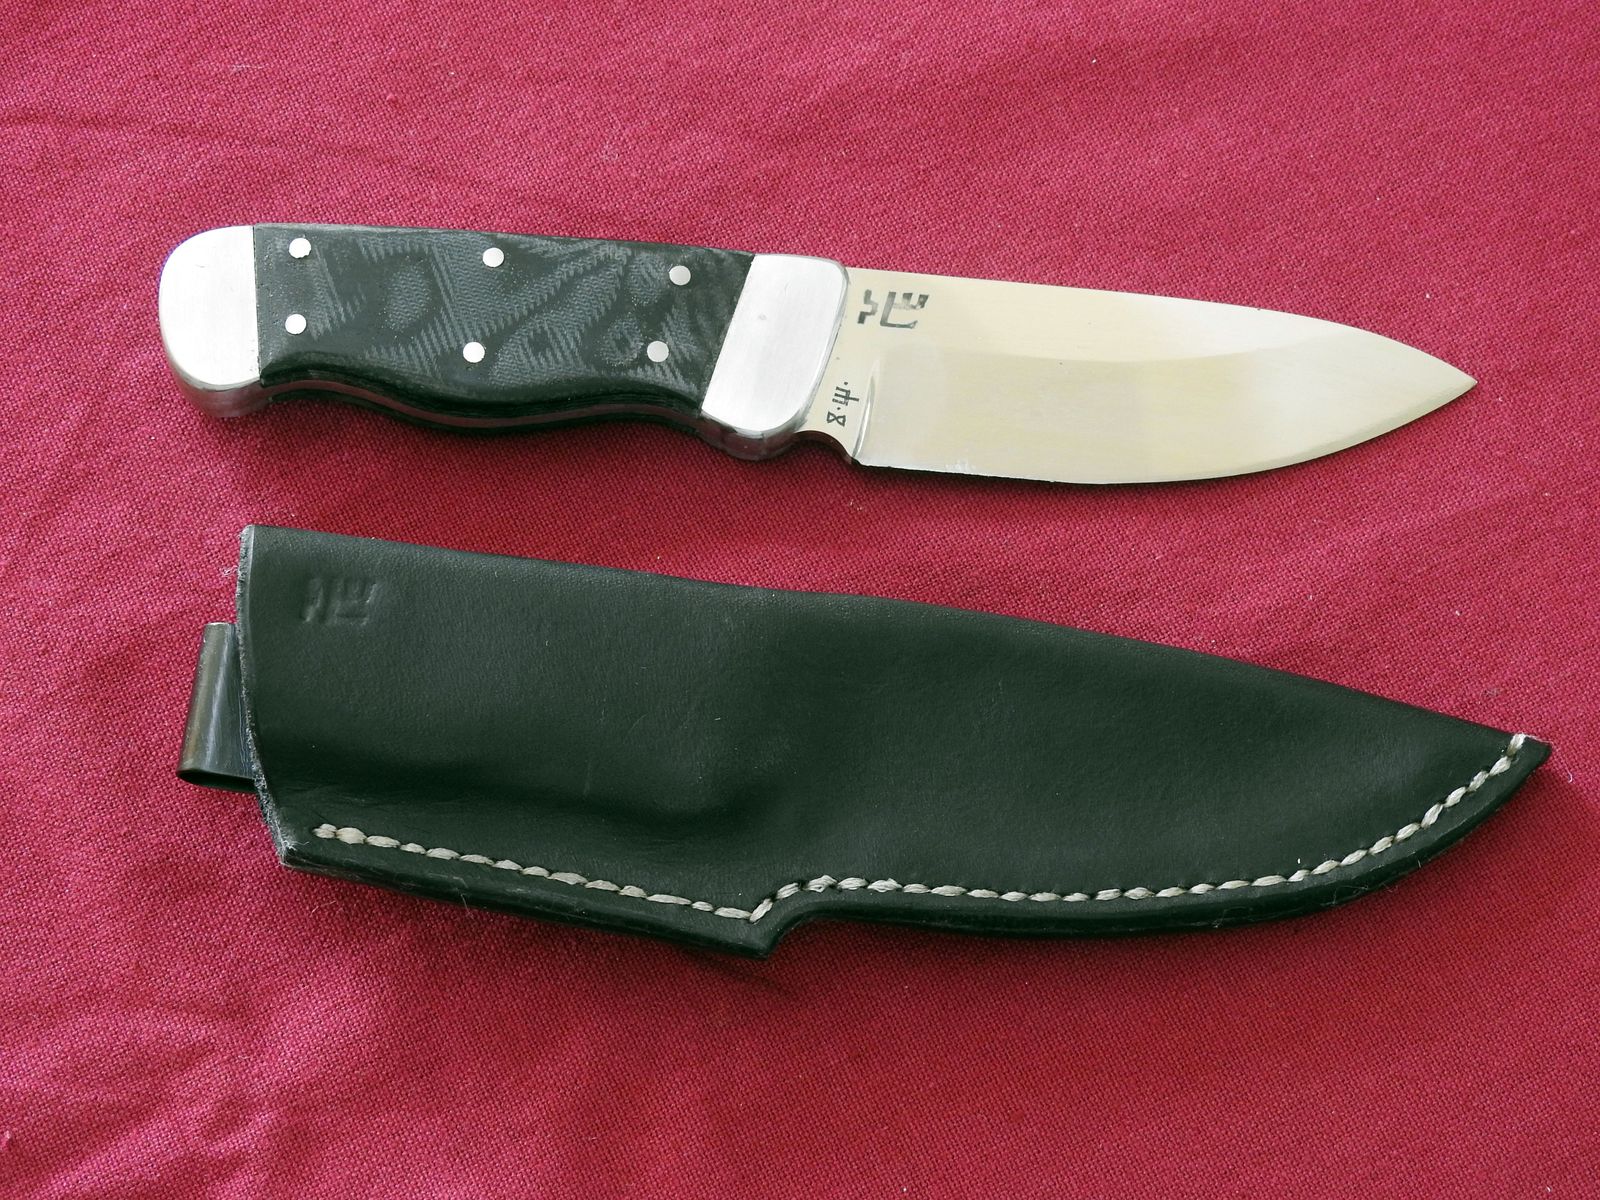
It looks pretty, but silver maple is not native here so for the second one I have used a different design and color palette – yellow small-leaved linden leafs.

© Charly, all rights reserved. Click for full size.

© Charly, all rights reserved. Click for full size.
The small-leaved linden tree is pretty common here and it is also Czech national tree, so I have been intentionally a bit patriotic with this one. Unfortunately, I run out of the medium thickness leather so I had to use the thicker one and it was just a tad too thick for this small knife design. It is not a functional problem, only the leather could not be formed so snugly around the knife, because the knife would not get out.
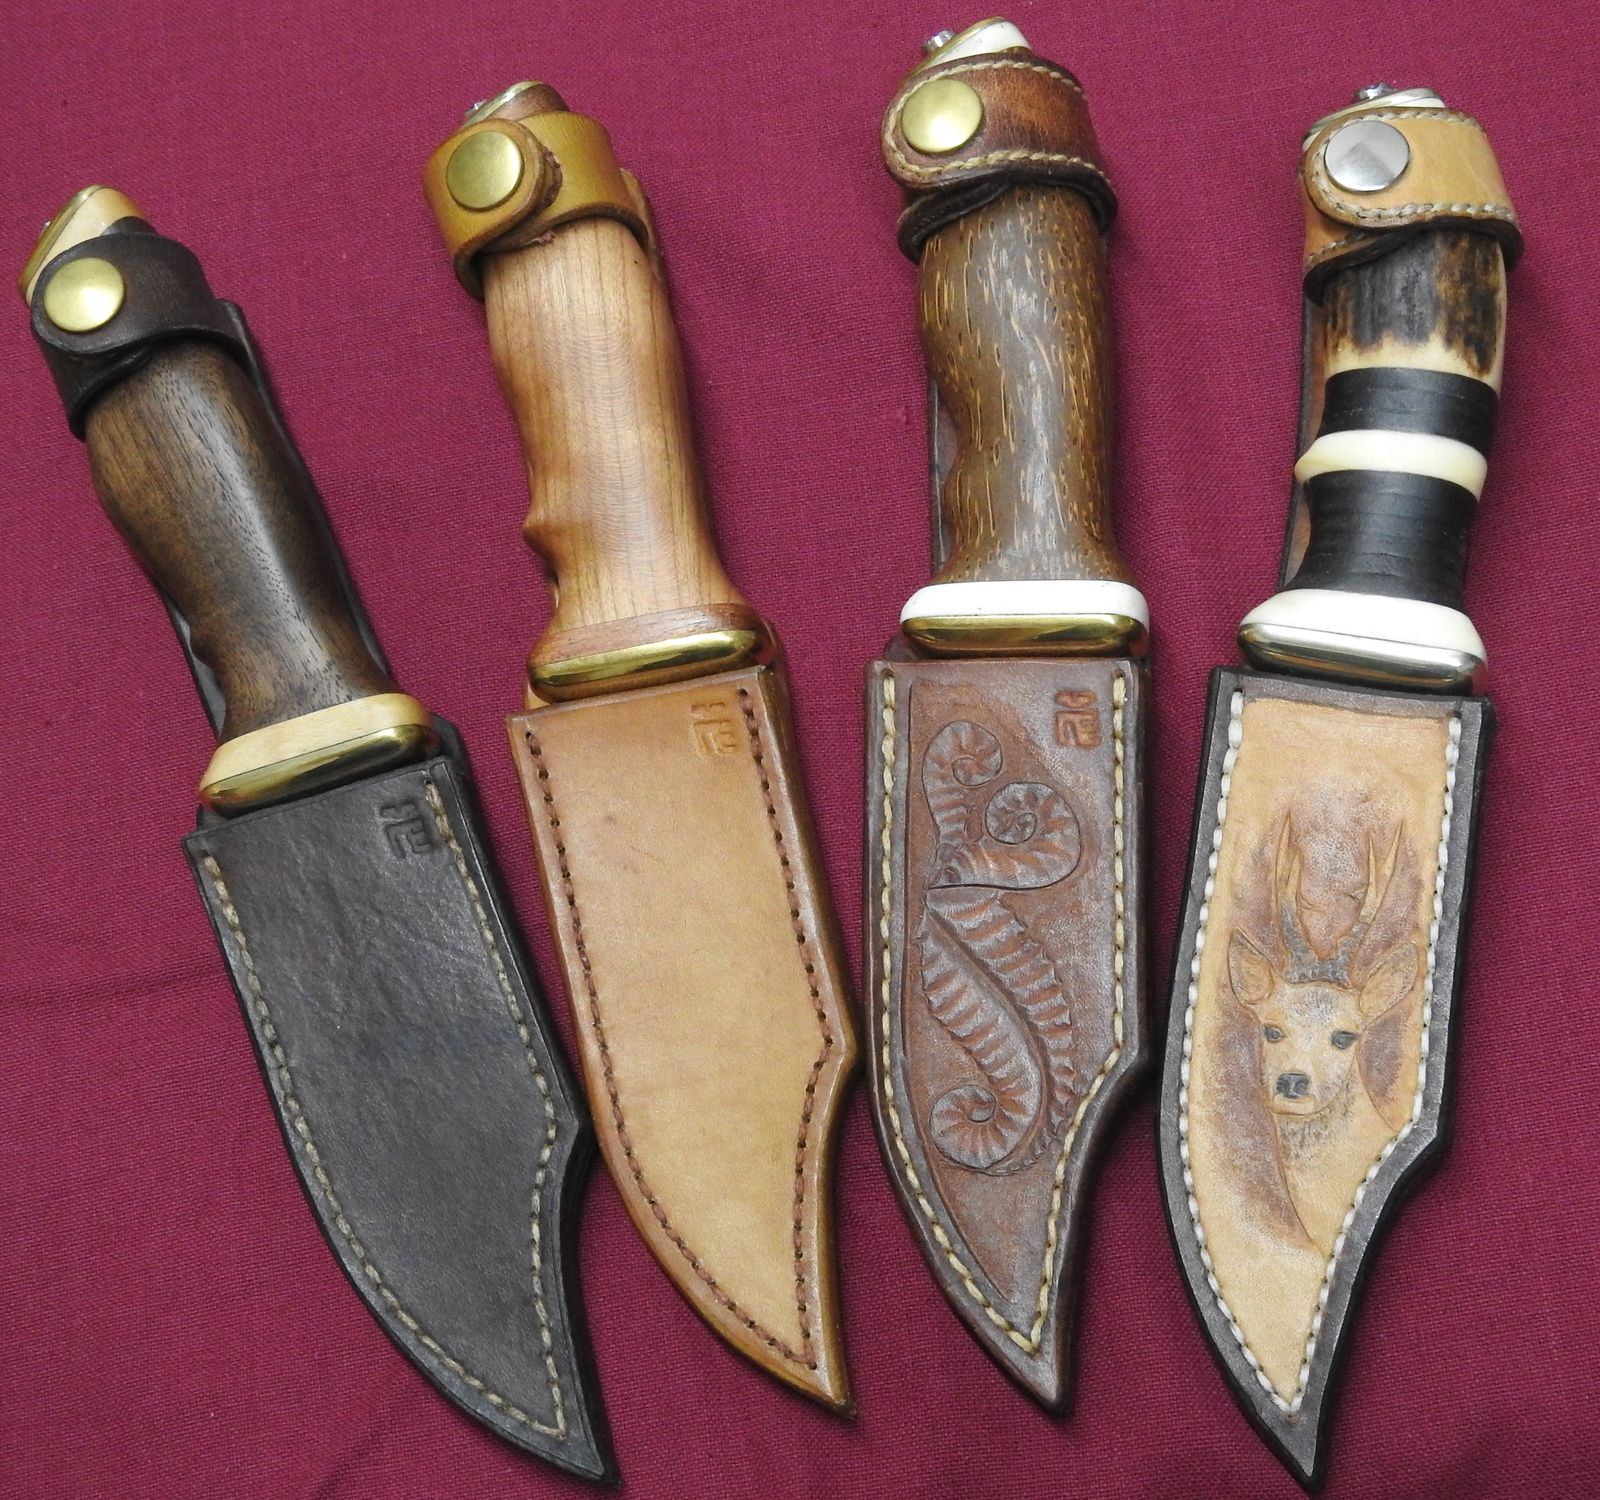
I think my leatherwork is improving and I like these leafs-designs. I shall definitively use them more, even though they are a bit labor-intensive, especially since I do not intend to use the same design twice. I might use the outline, but I will always at least mix up the colors differently.