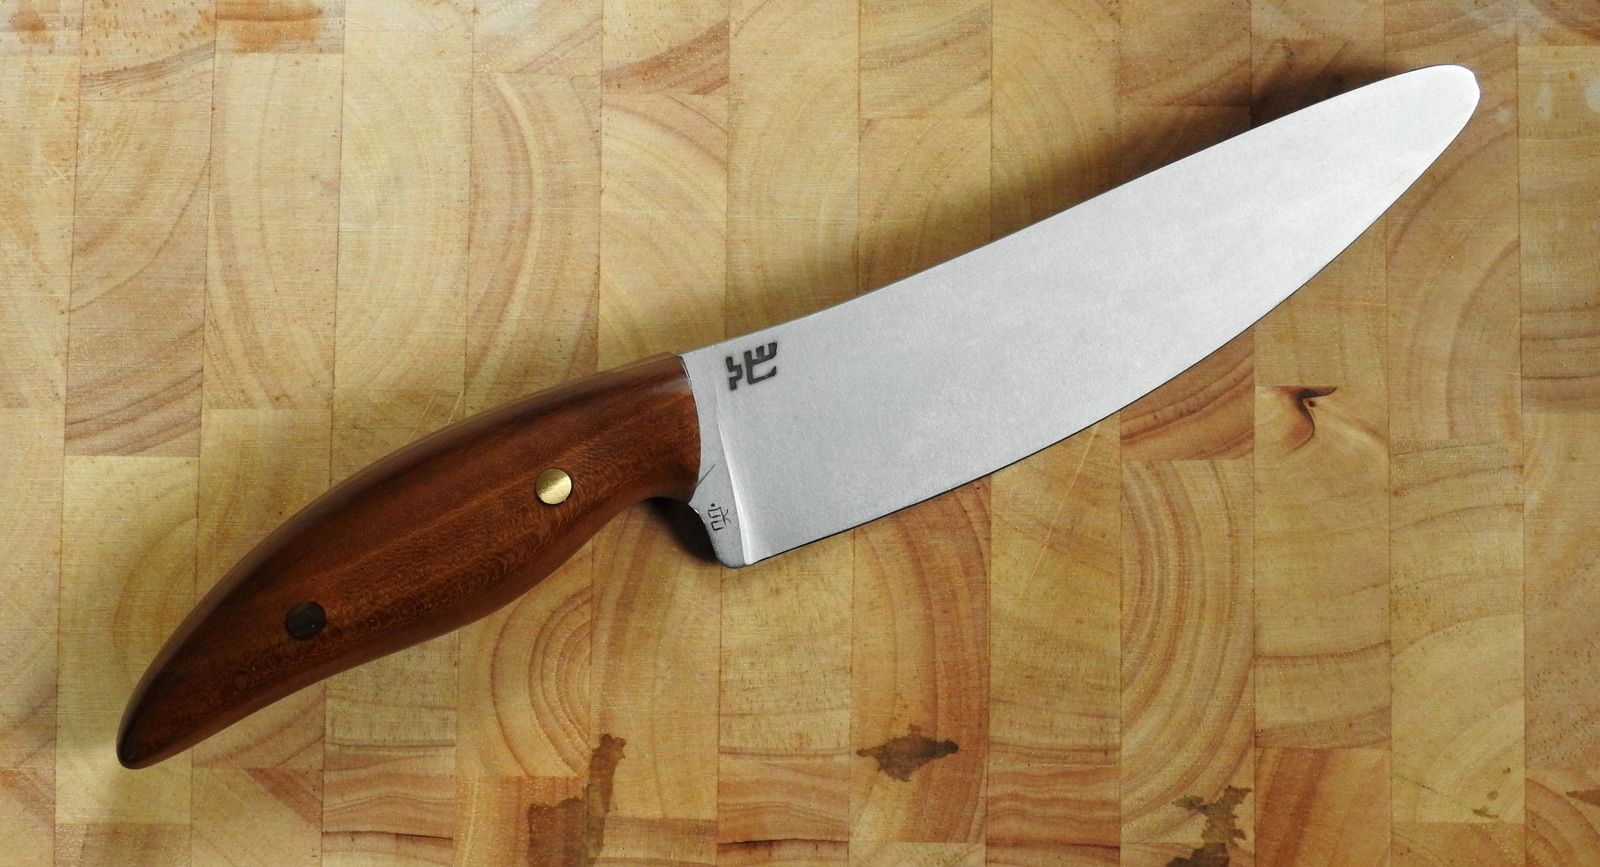
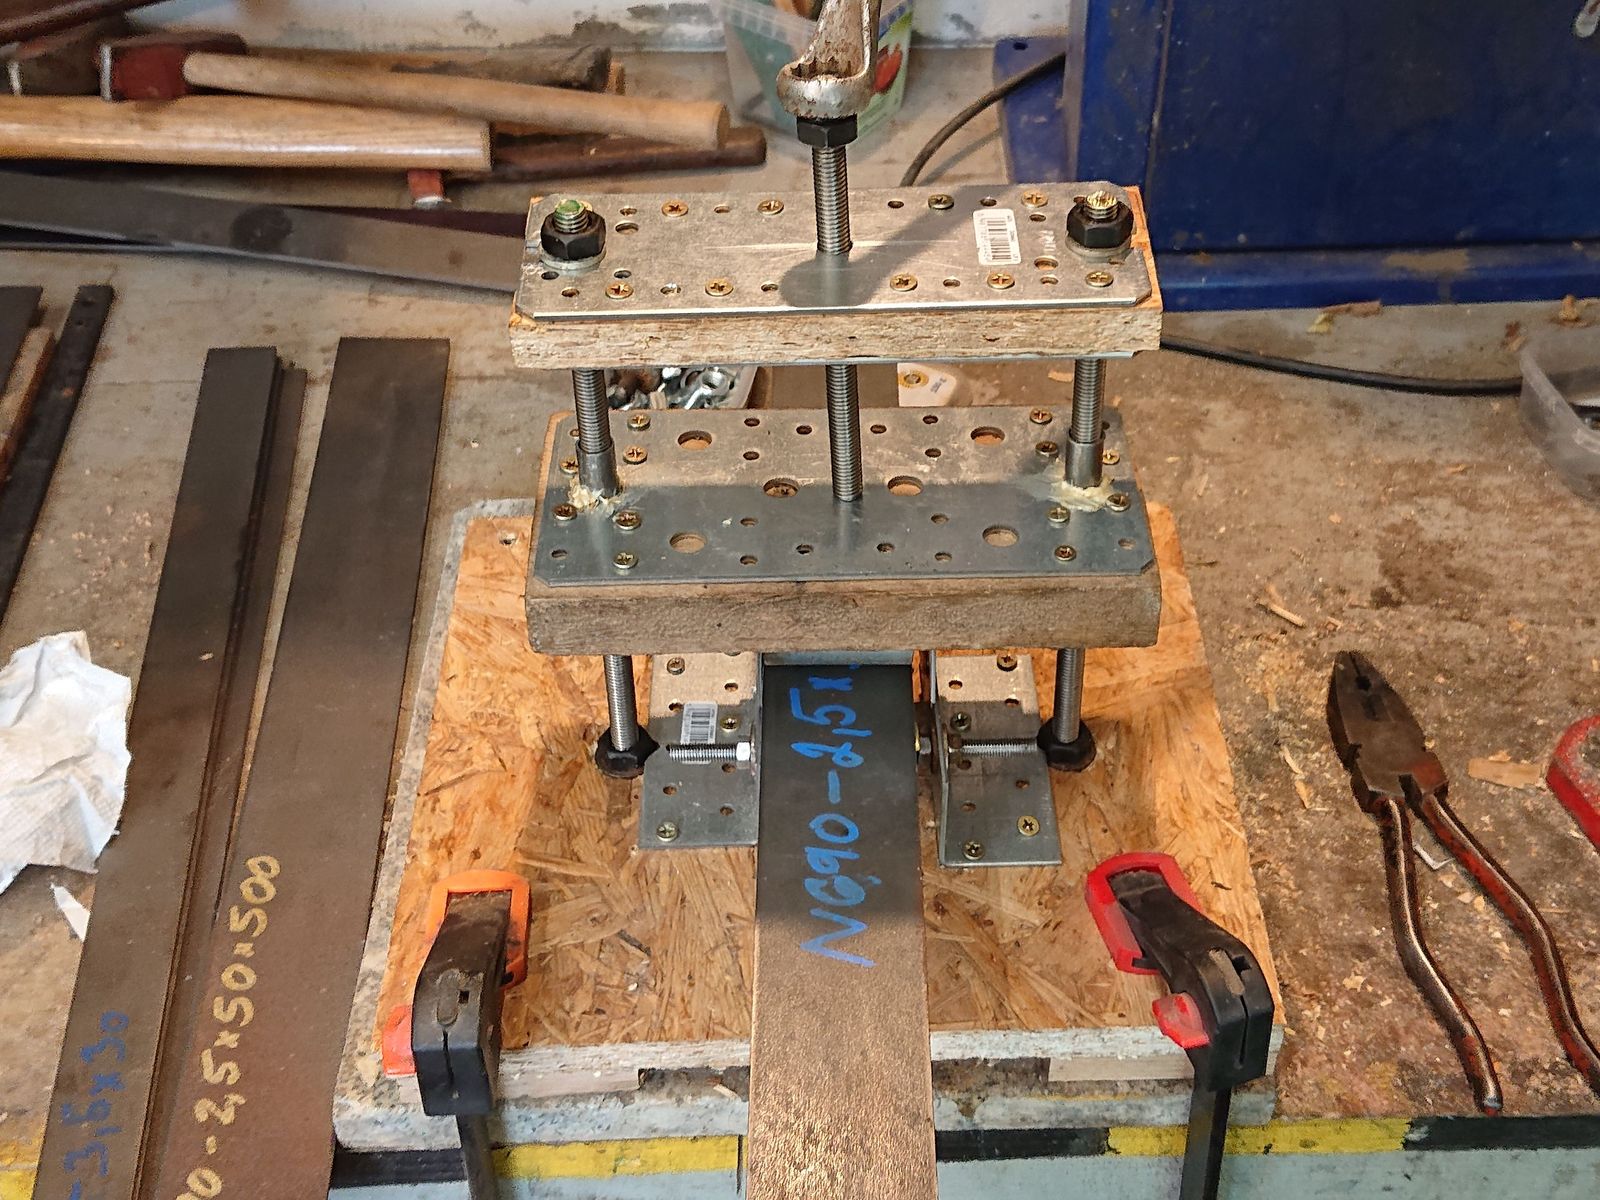
There is not much to say about these, they are all made from one partially rotten palette. Therefore I do not know precisely what kind of wood it is. I suspect it is birch because one of the boards had still a bit of bark on it, but the palette was obviously made from scraps, so there could be several species involves. So other realistic possibilities are poplar and beech.
Since it was from planks, I had no control over grain direction, but I have at least paired the slabs to the best of my ability so they are of the same species – they varied wildly in coloration – and in three cases, I ended up with pairs where one slab had more interesting grain. And, in those cases, I have given this slab on the right side of the knife, where the signature is.
© Charly, all rights reserved. Click for full size.

© Charly, all rights reserved. Click for full size.

© Charly, all rights reserved. Click for full size.
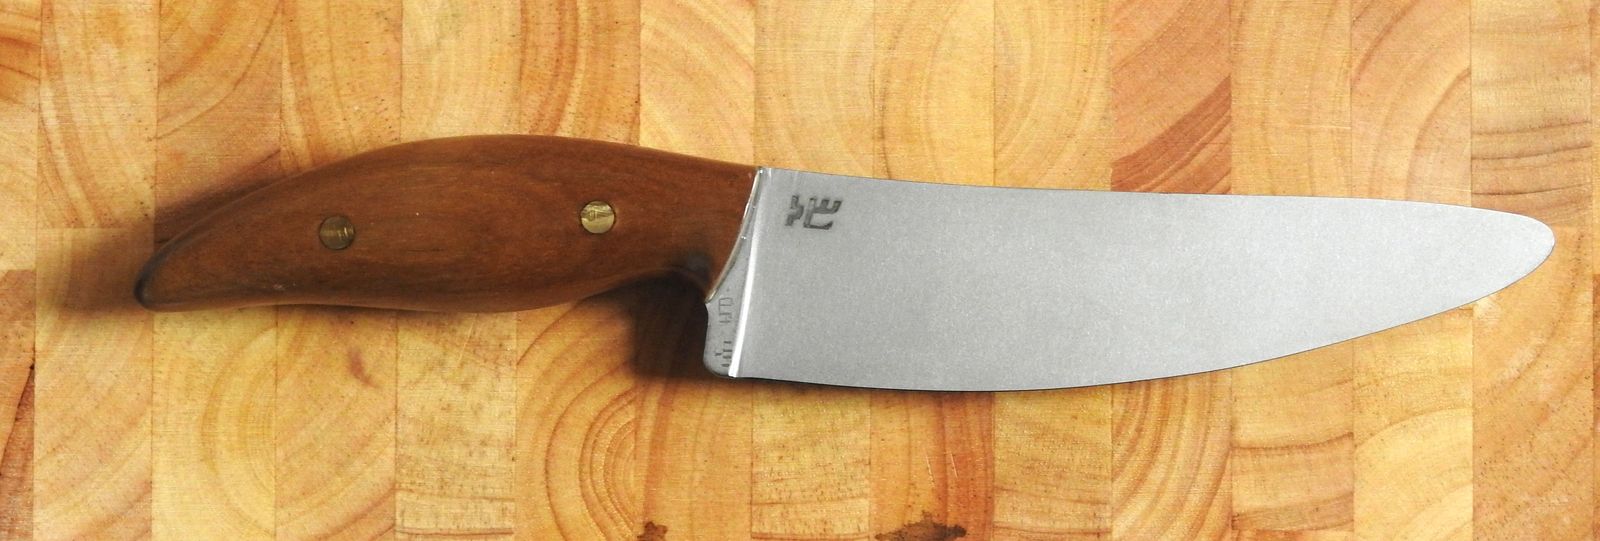
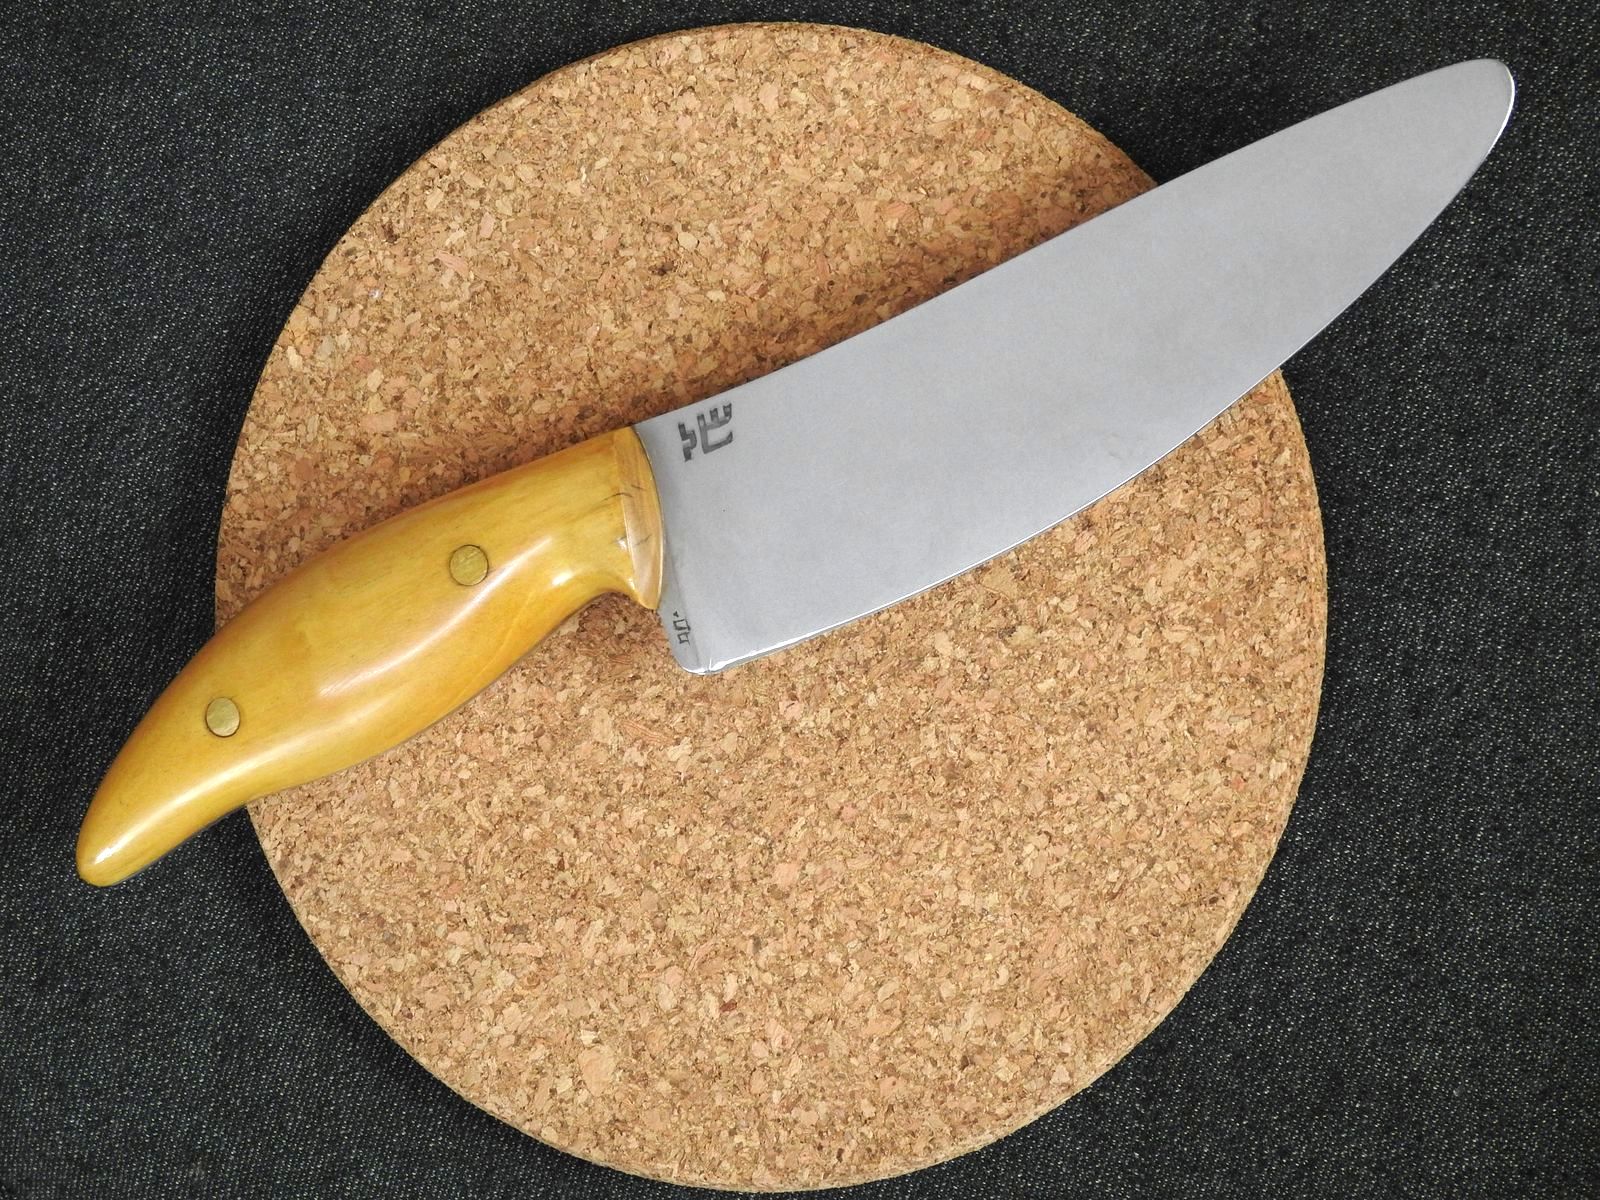
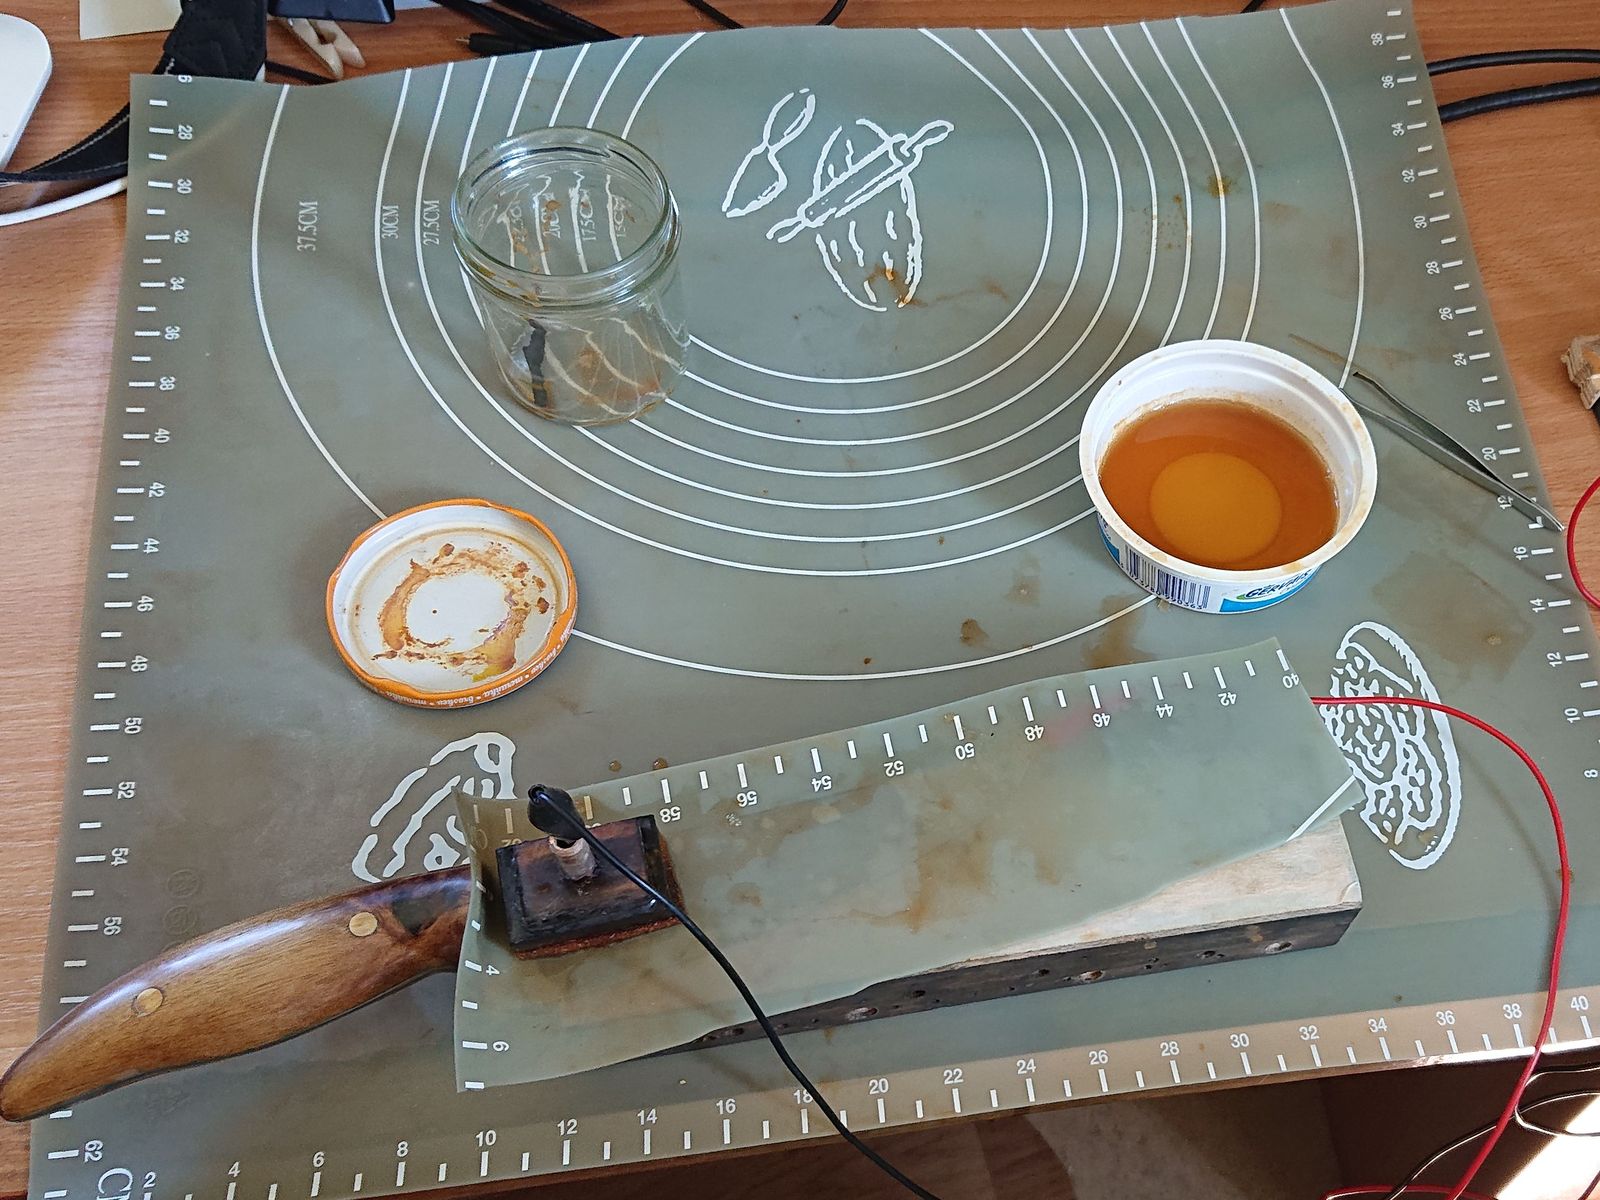
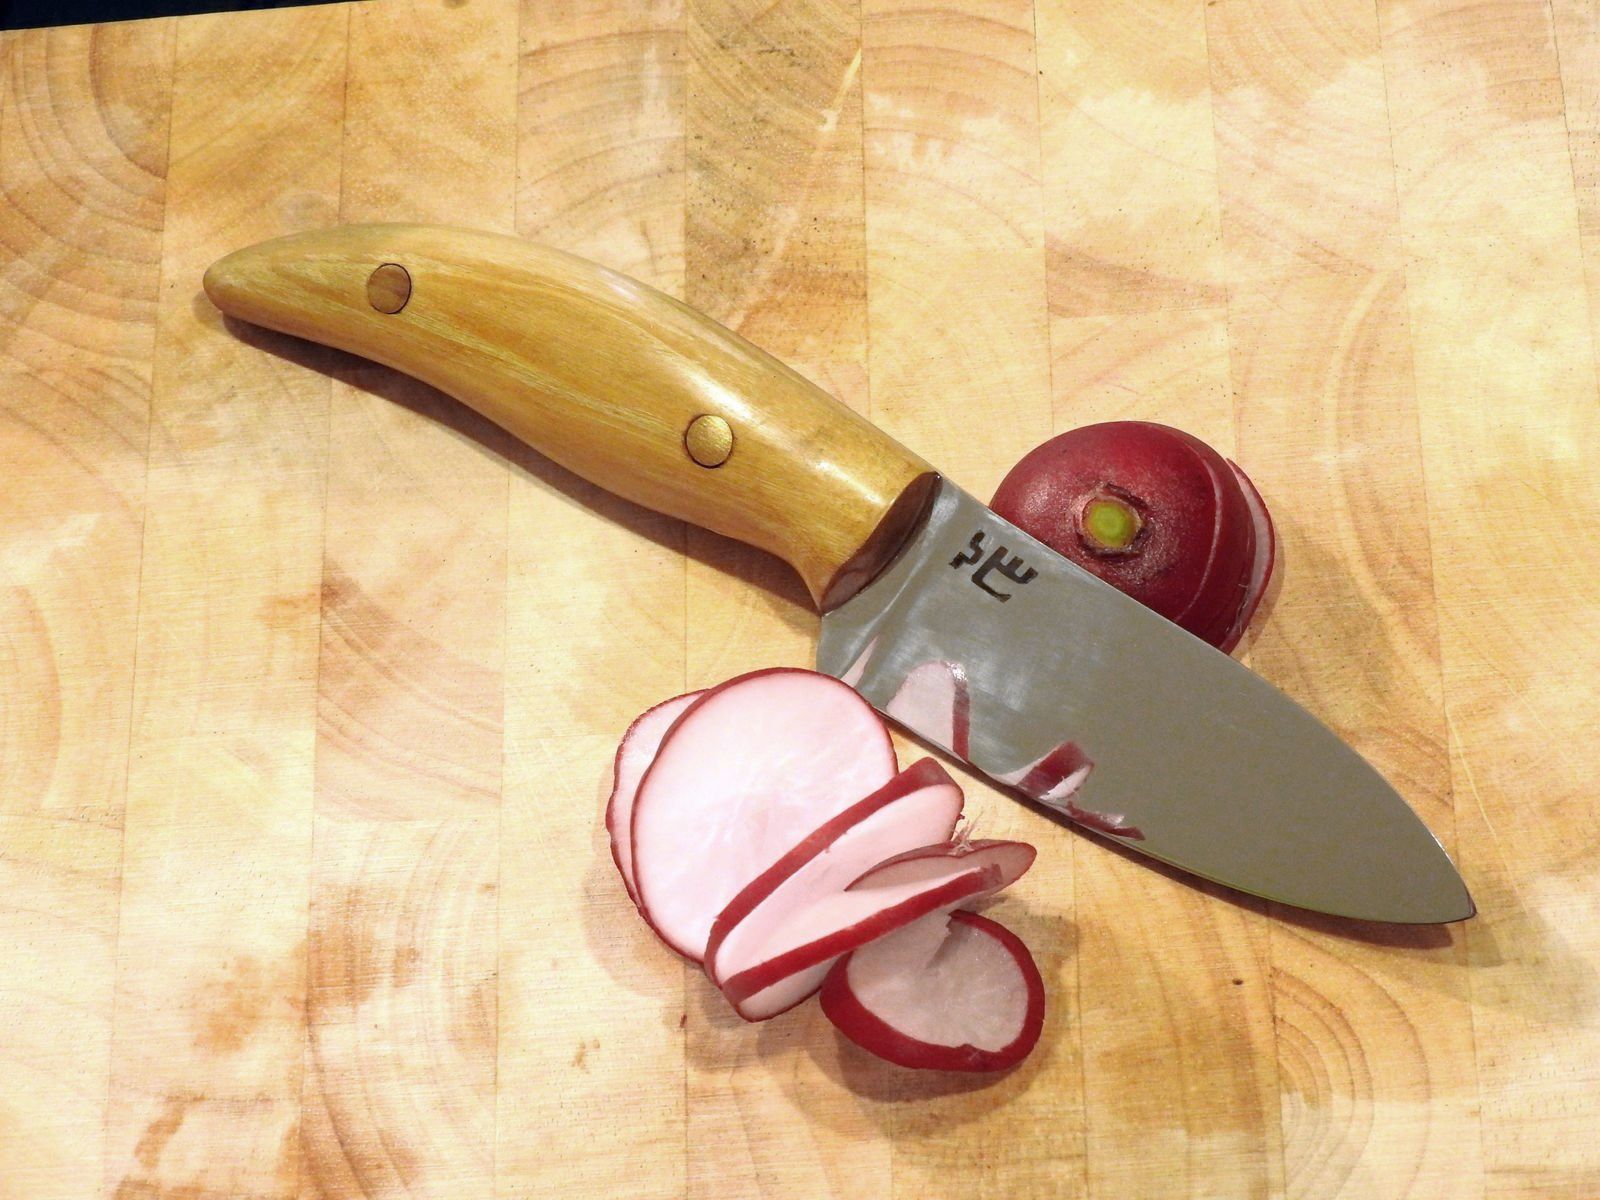
These three are those with more plain-looking handles, besides rich brown color from the ammonia fuming there is not much to see here. I have no idea why the logo etched so strangely on the second one, it just did. Maybe the metal was a bit dirty so it etched only on the edges, where there is stronger current? I did wipe all blades with acetone, but maybe not enough.
© Charly, all rights reserved. Click for full size.
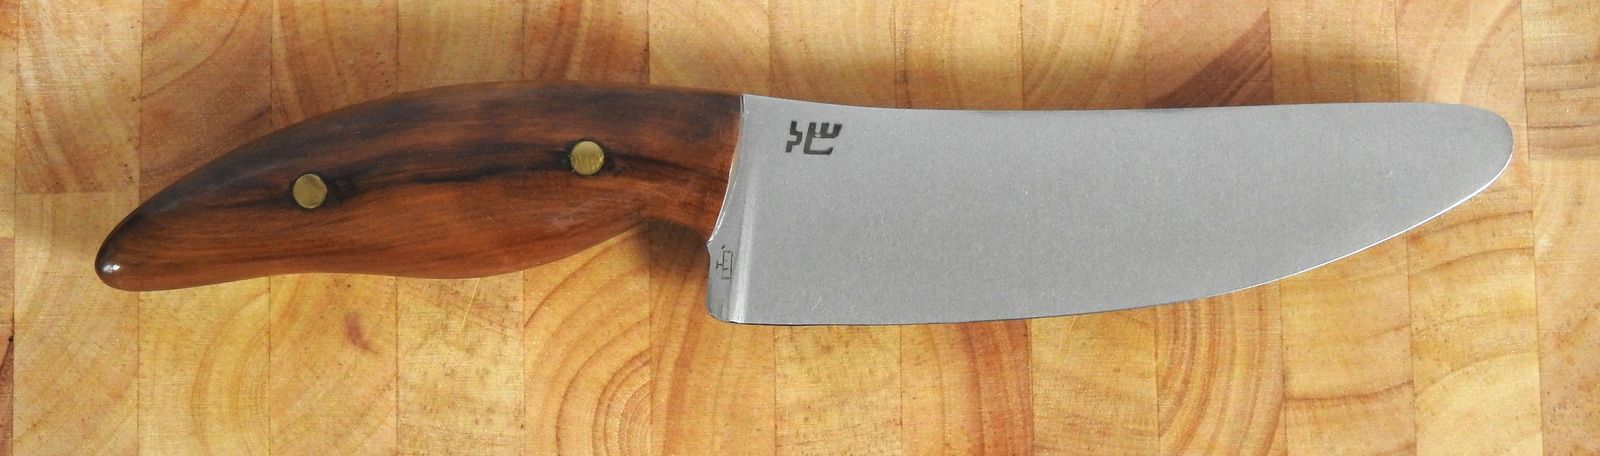
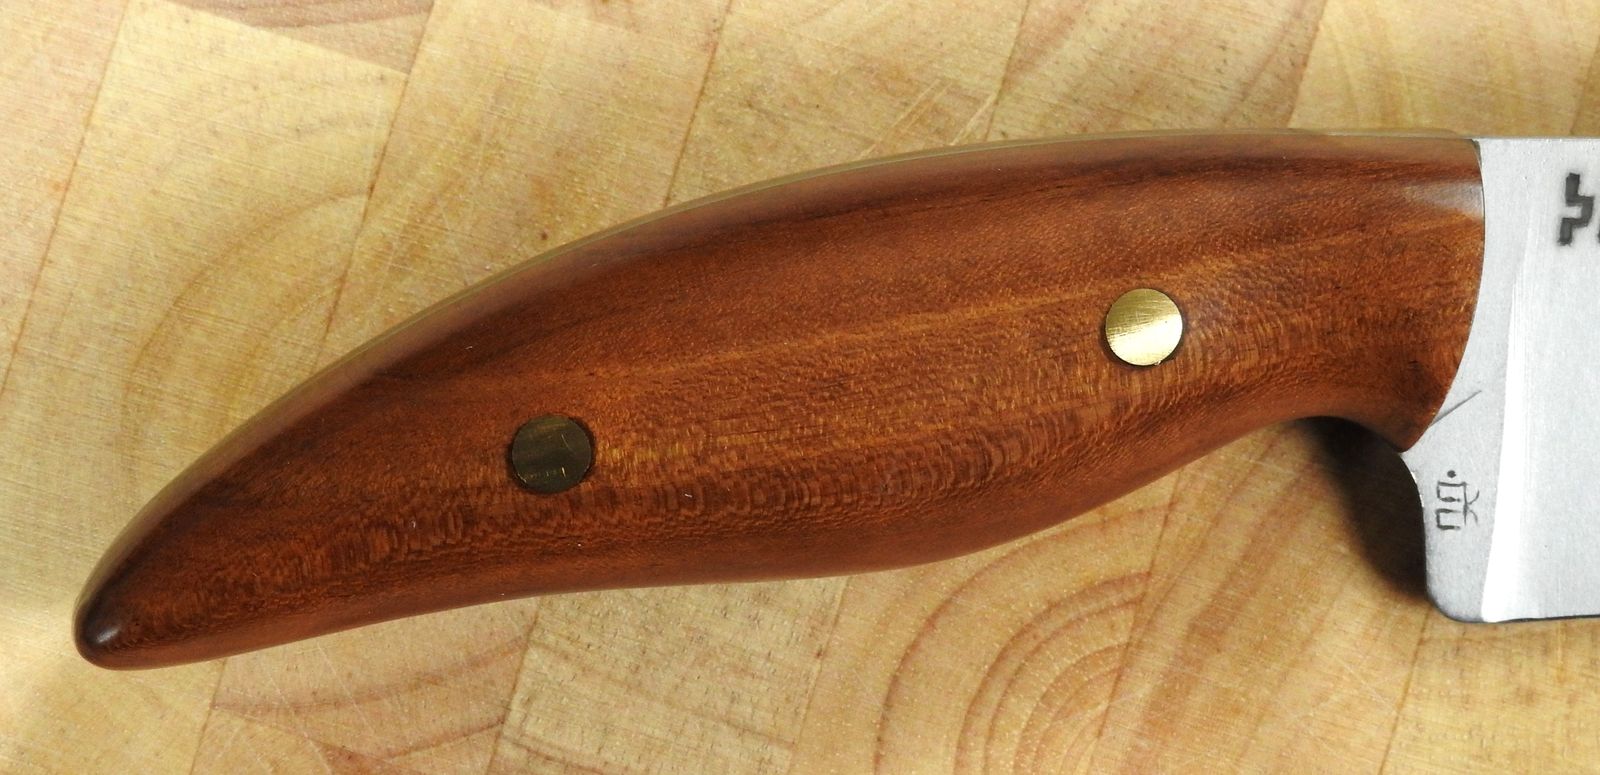
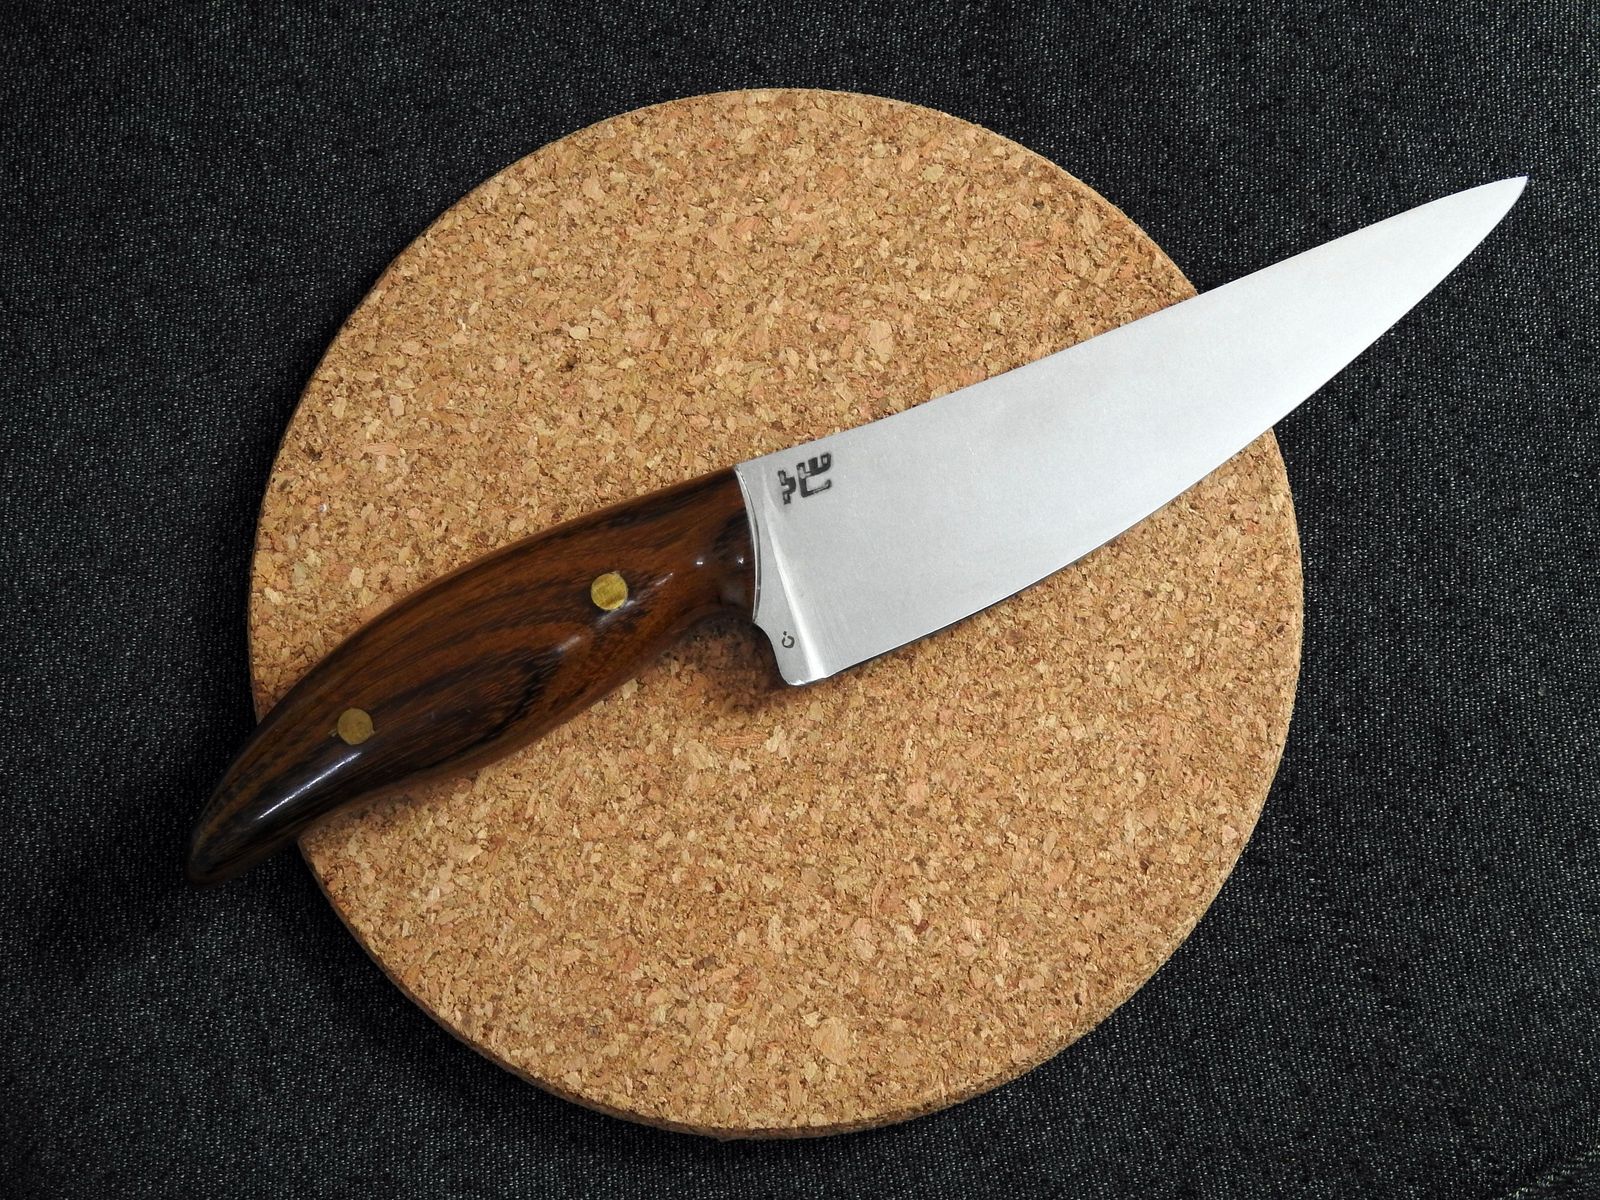
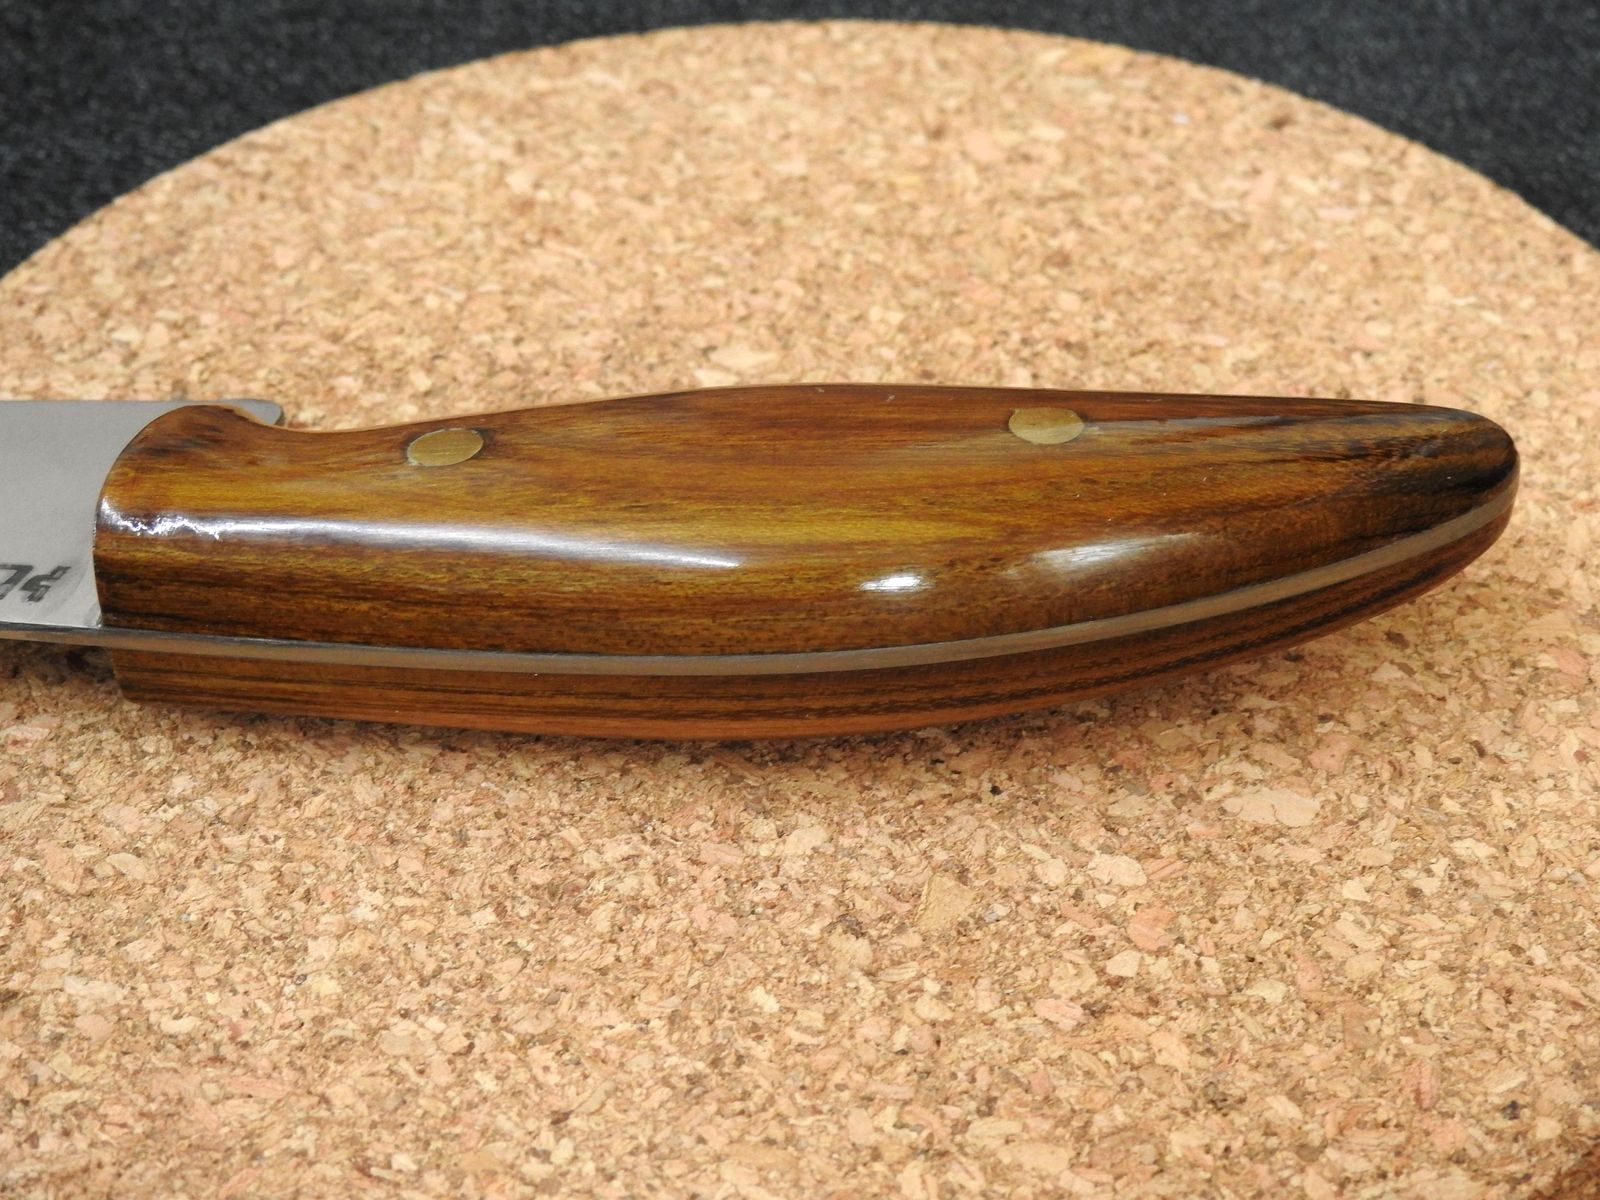
This one has a nice dark stripe of ever so slightly more decomposed, but still hard, wood running down the middle. The placement of the pins is purely coincidental, at least I do not remember consciously putting the holes exactly into the stripe.
© Charly, all rights reserved. Click for full size.
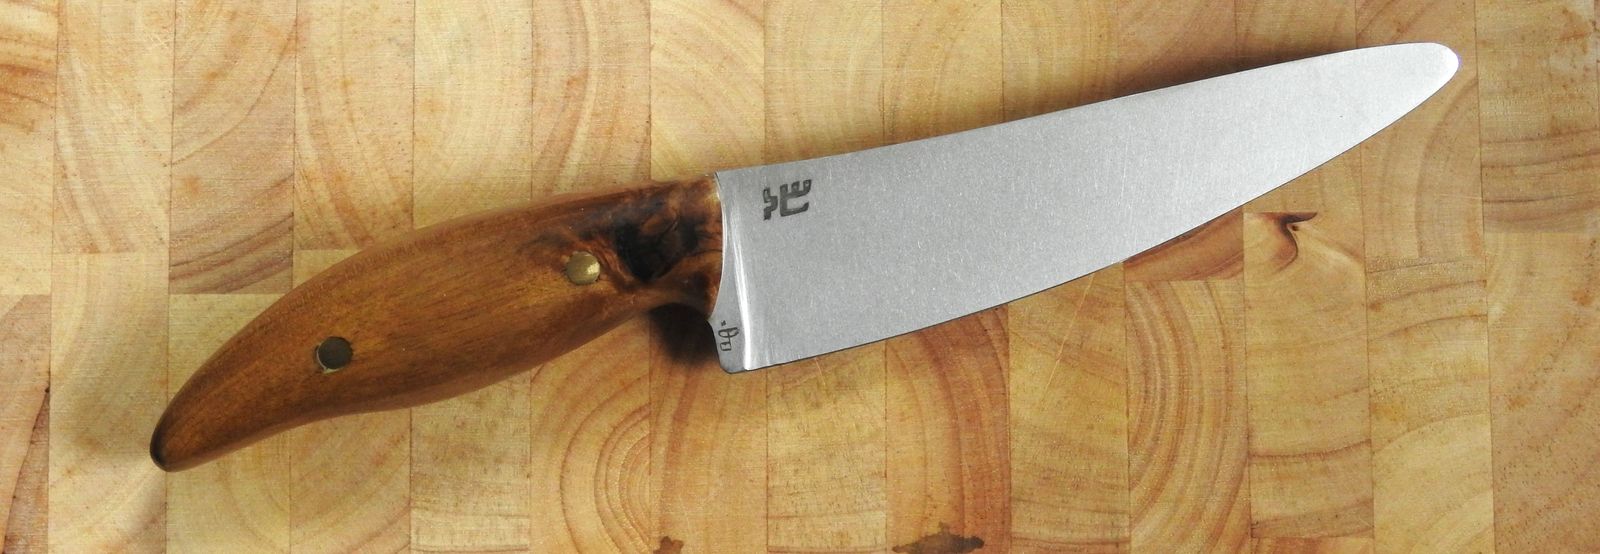
This one has a knot in the wood. Unfortunately, it is so dark, that I currently cannot make a good photo of it without overexposing everything else. The blade on this one is one of those that curled on the edges, so I had to re-grind it into narrower shape.
© Charly, all rights reserved. Click for full size.
© Charly, all rights reserved. Click for full size.
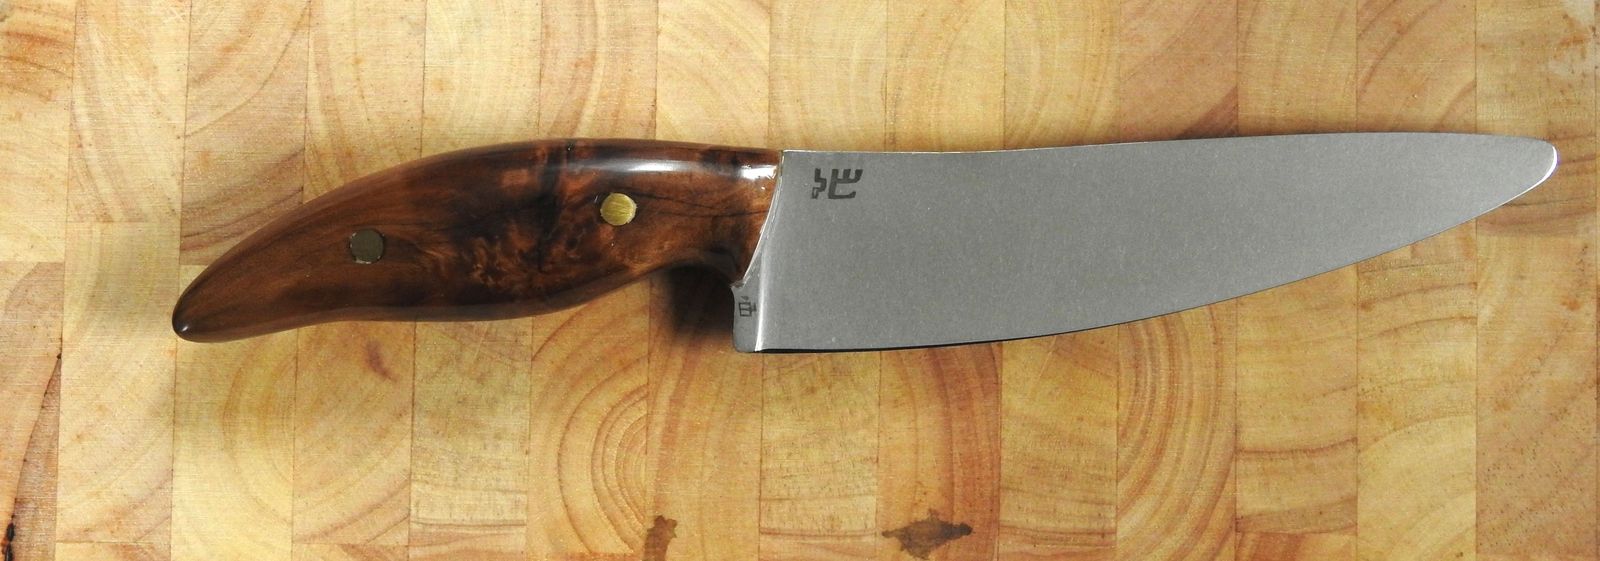
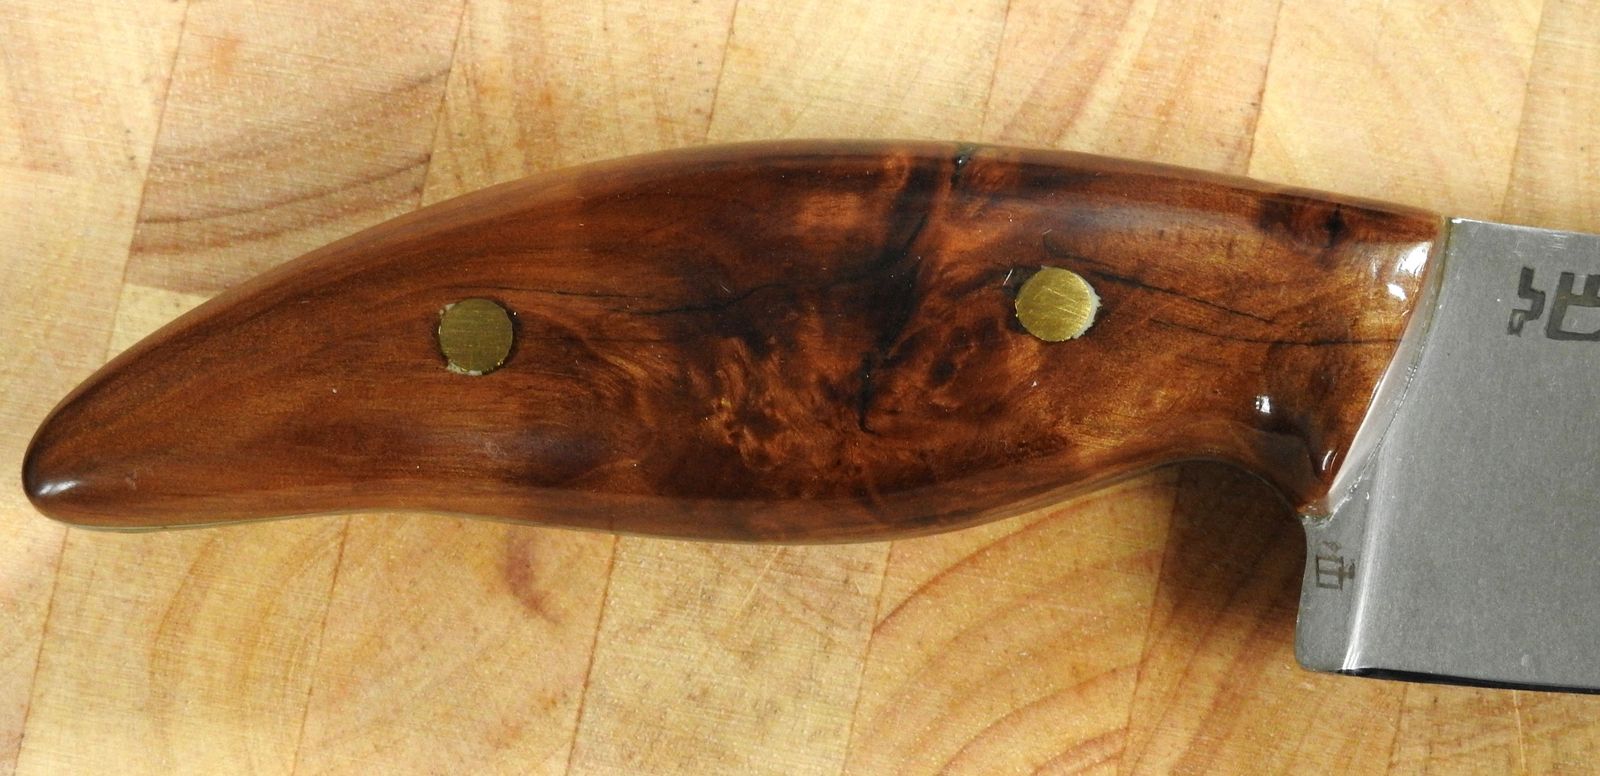
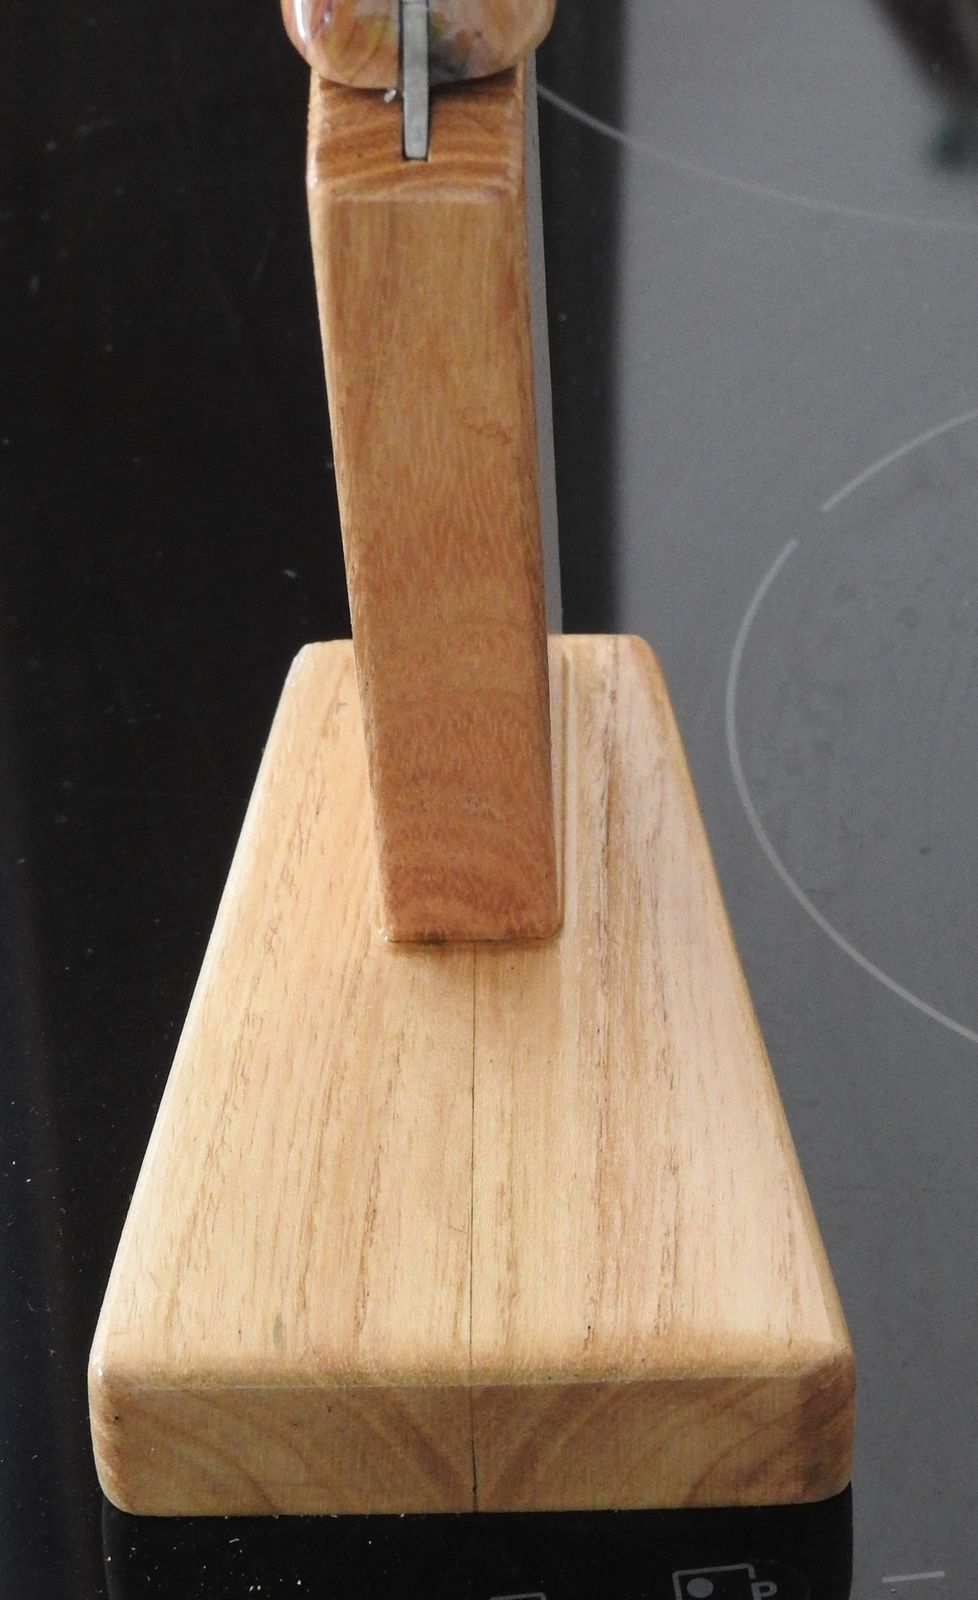
And lastly a piece with extremely beautiful grain, almost like a burl. This one piece really shows that half-rotten wood is not necessarily only fit for burning.


