Some more pictures from kestrel.
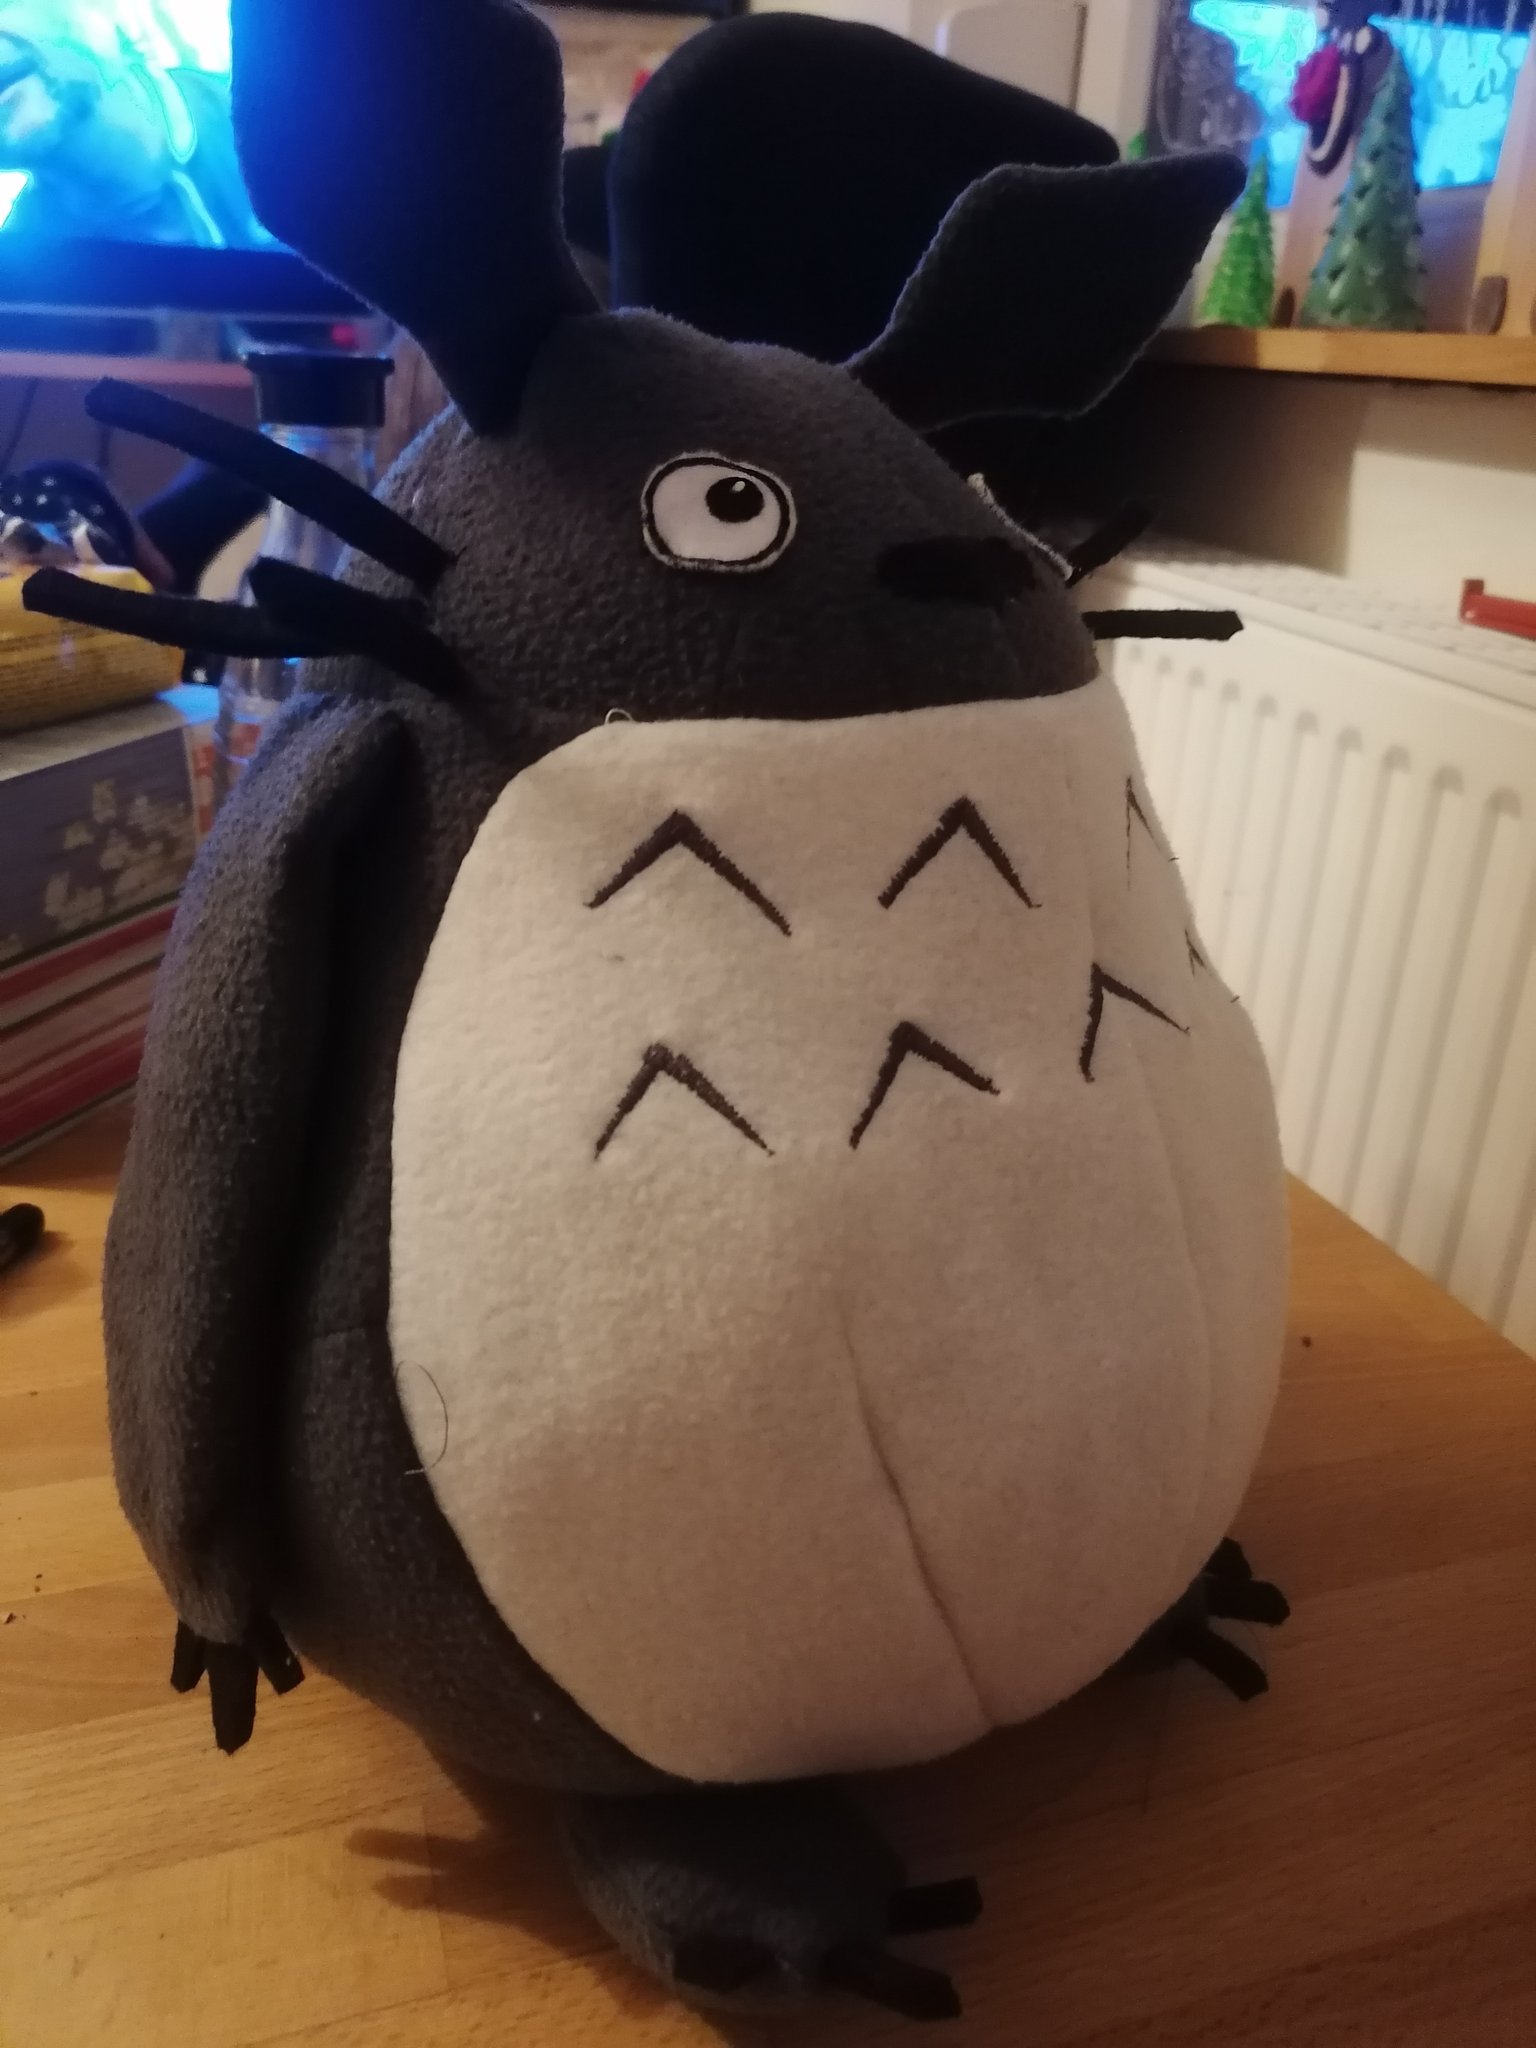
This is the Heartland Virus. It was named after the Heartland Regional Medical Center, and not for the shape:

© kestrel, all rights reserved. Click for full size.
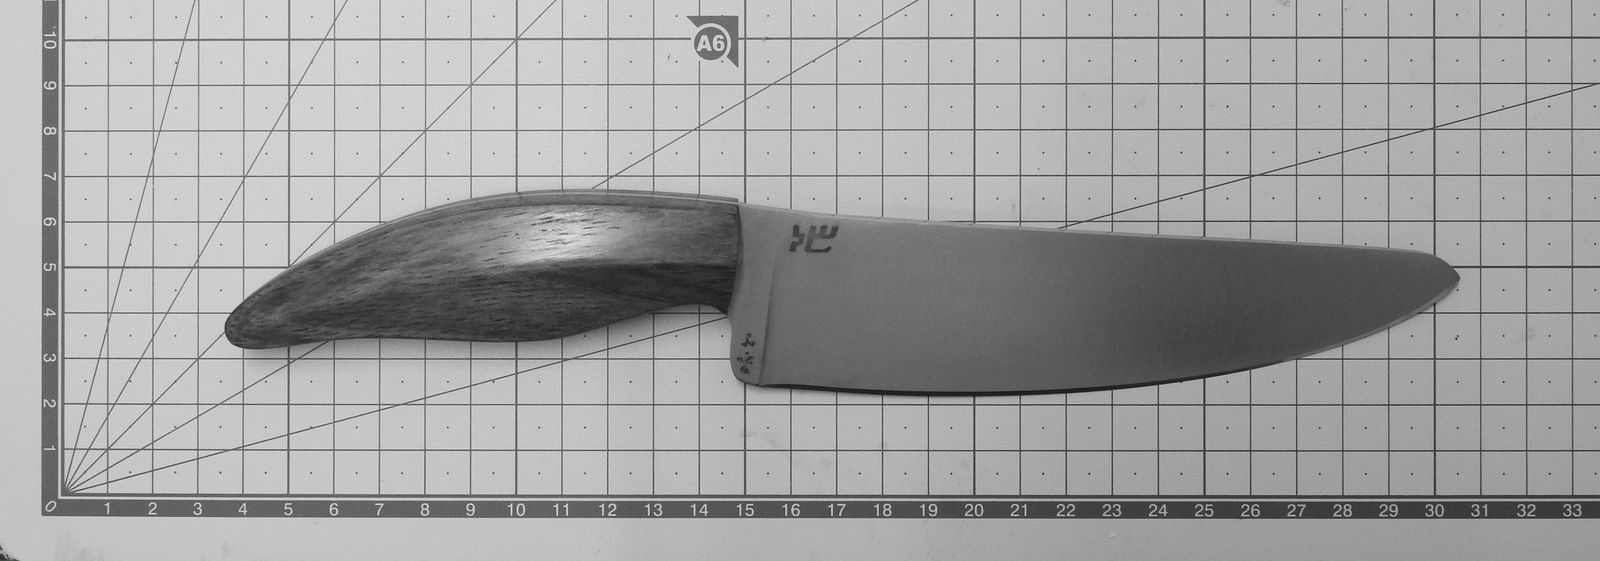
This is Adenovirus, which can actually be genetically modified and used is gene therapy and in vaccines for viruses, including SARS-CoV-2:

© kestrel, all rights reserved. Click for full size.
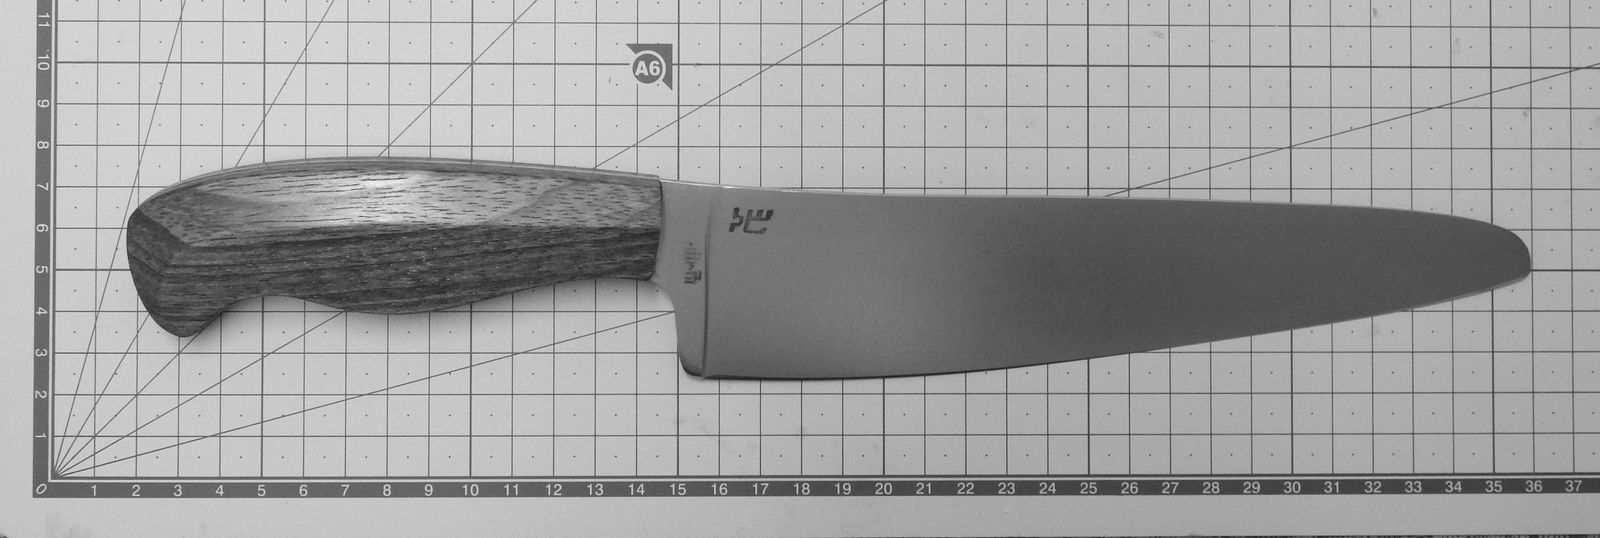
Lassa Virus can cause a severe illness and can be caught from rodents in parts of West Africa:

© kestrel, all rights reserved. Click for full size.
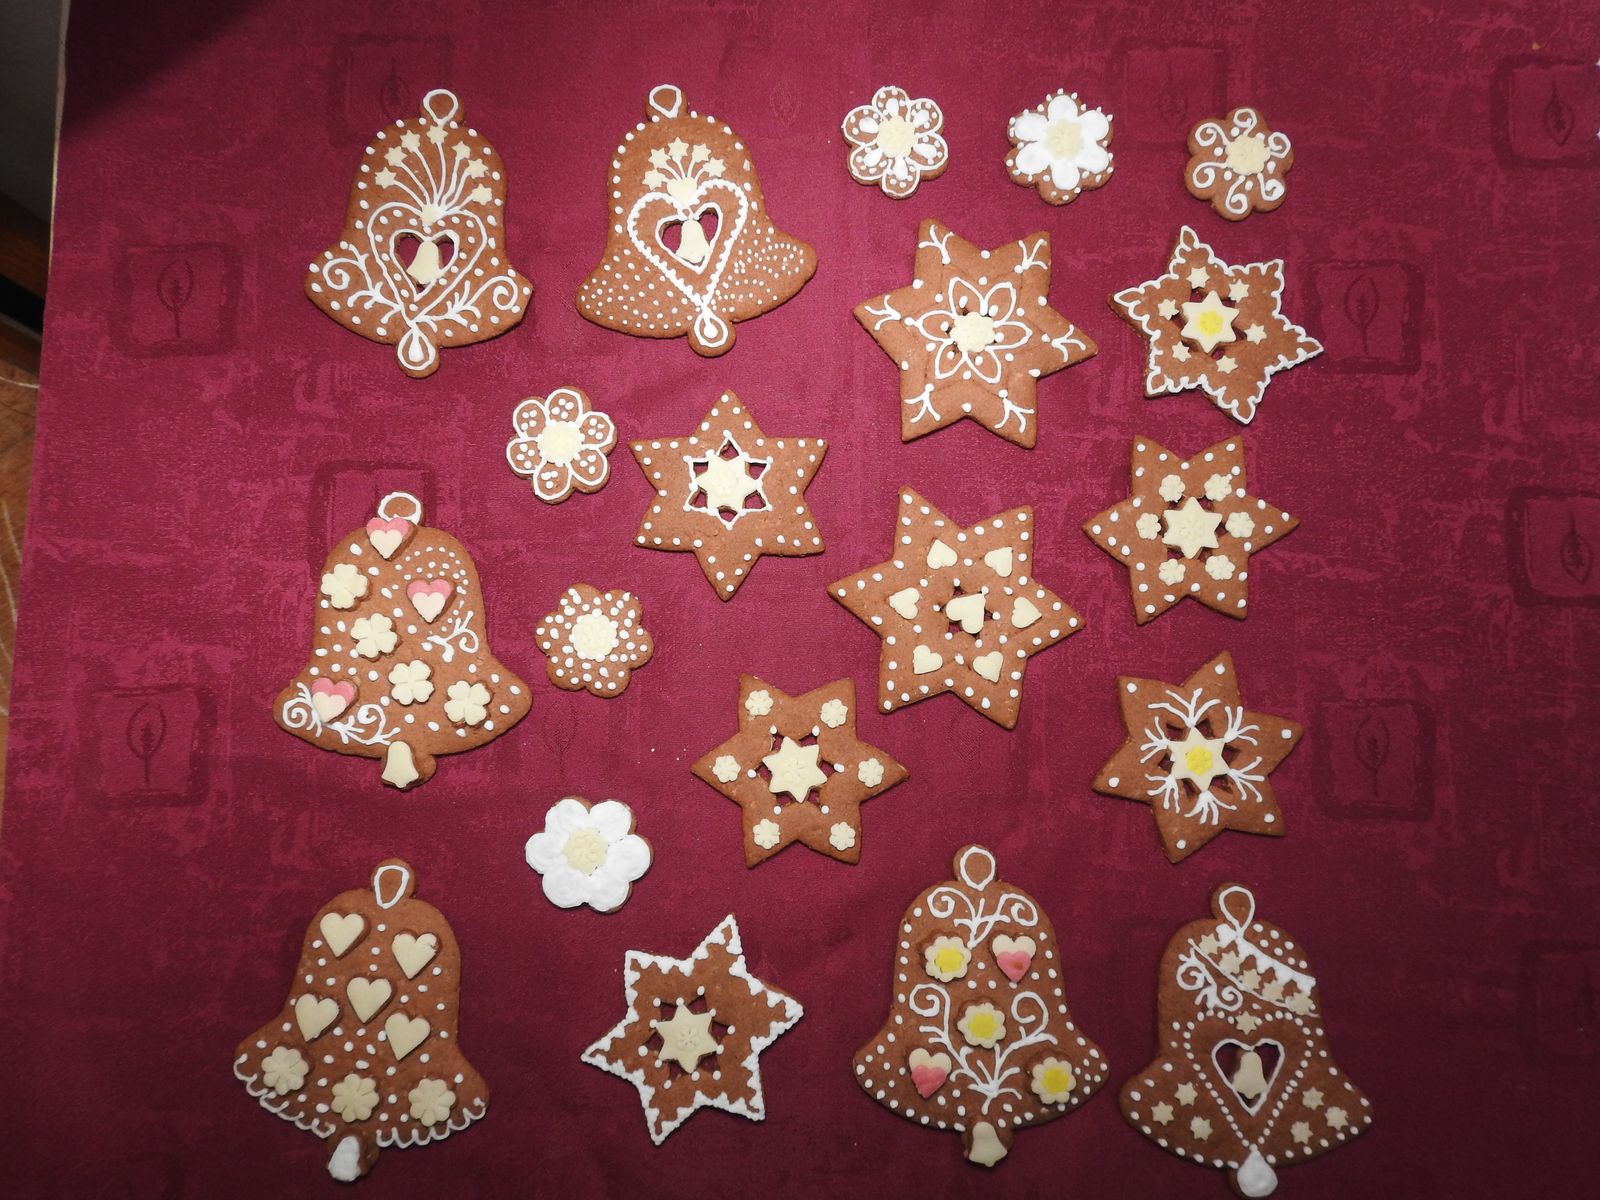
Bluetongue virus causes disease in cattle, sheep, and goats. I think the inner shapes are particularly beautiful:

© kestrel, all rights reserved. Click for full size.