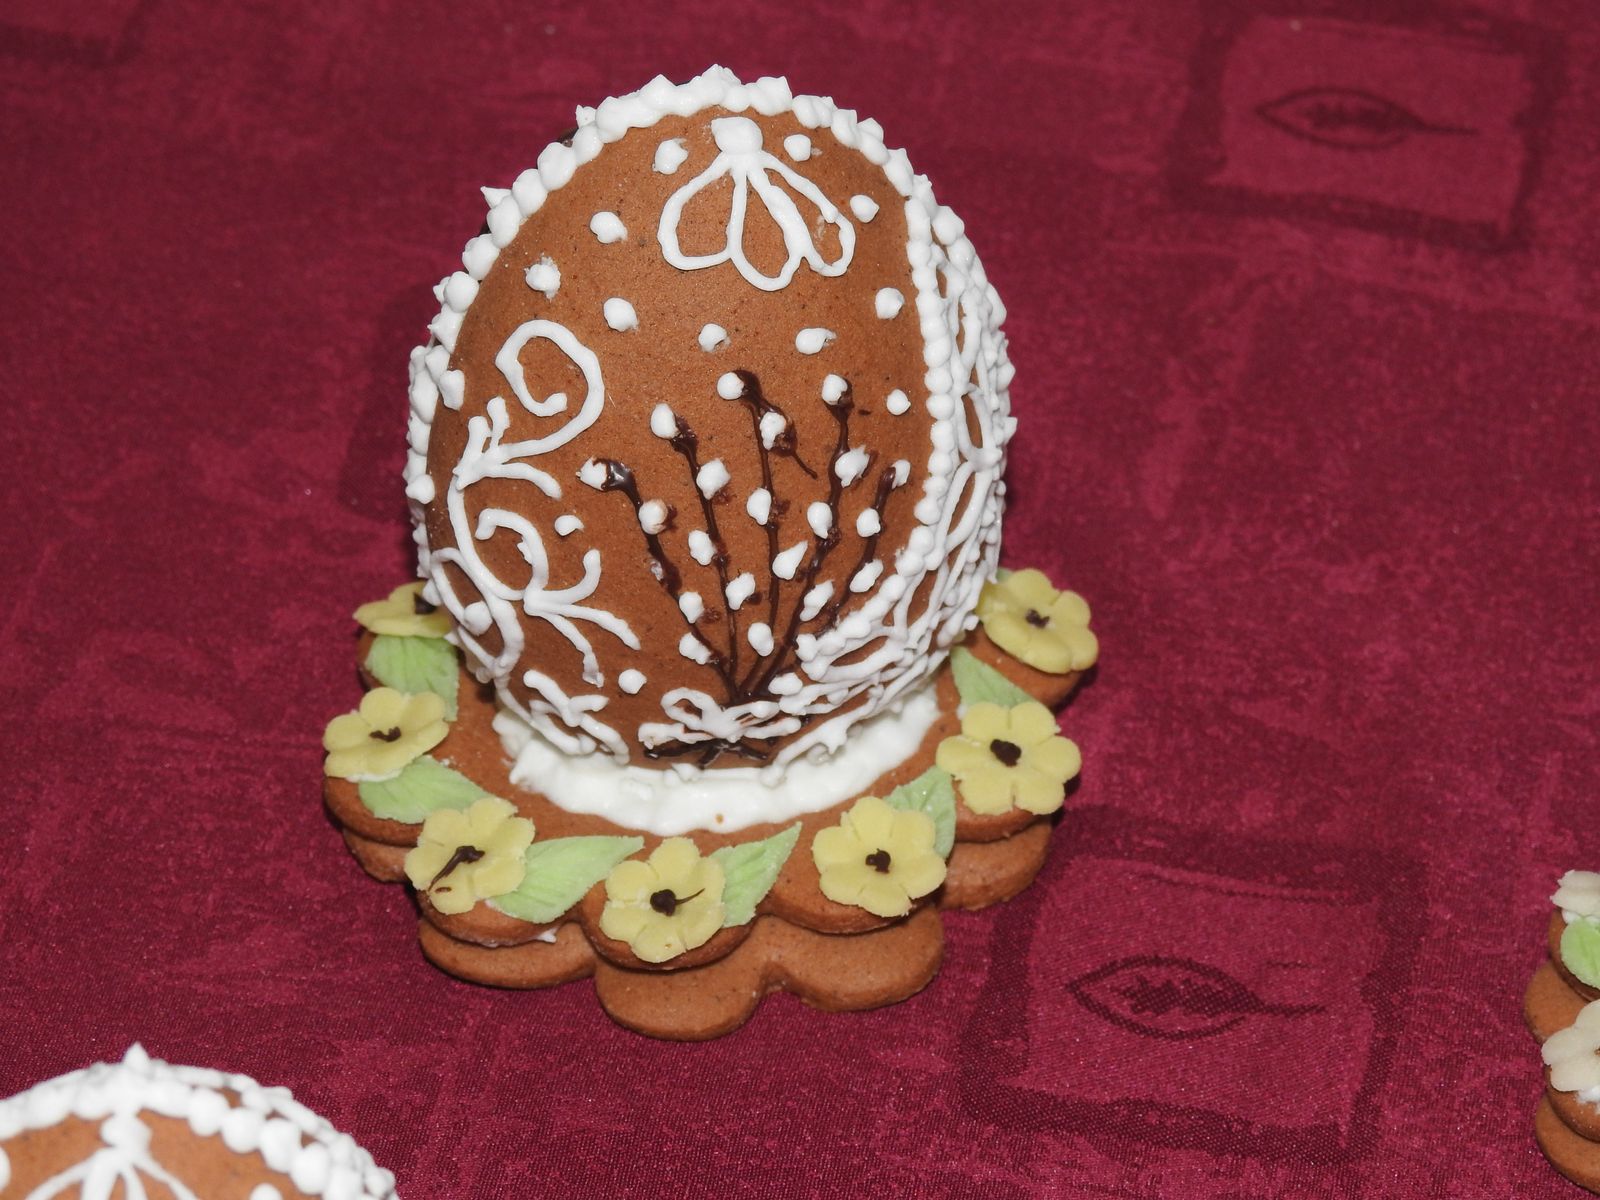
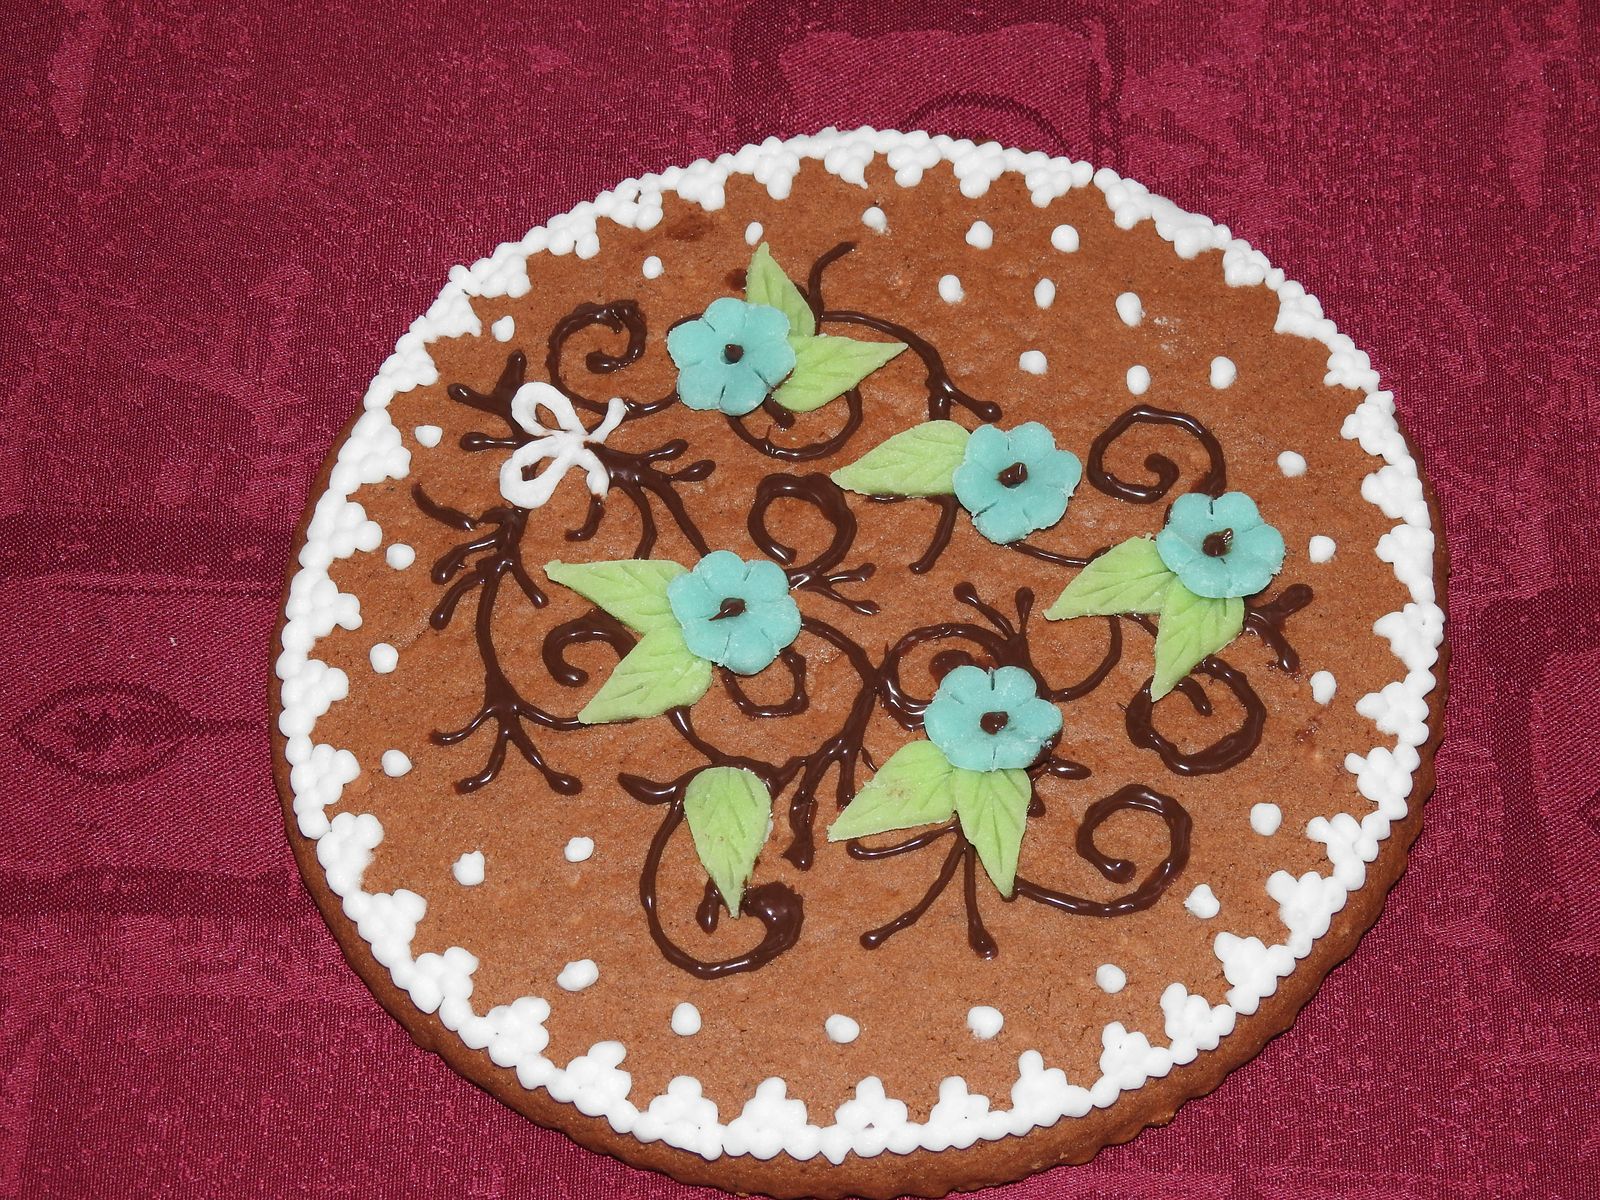
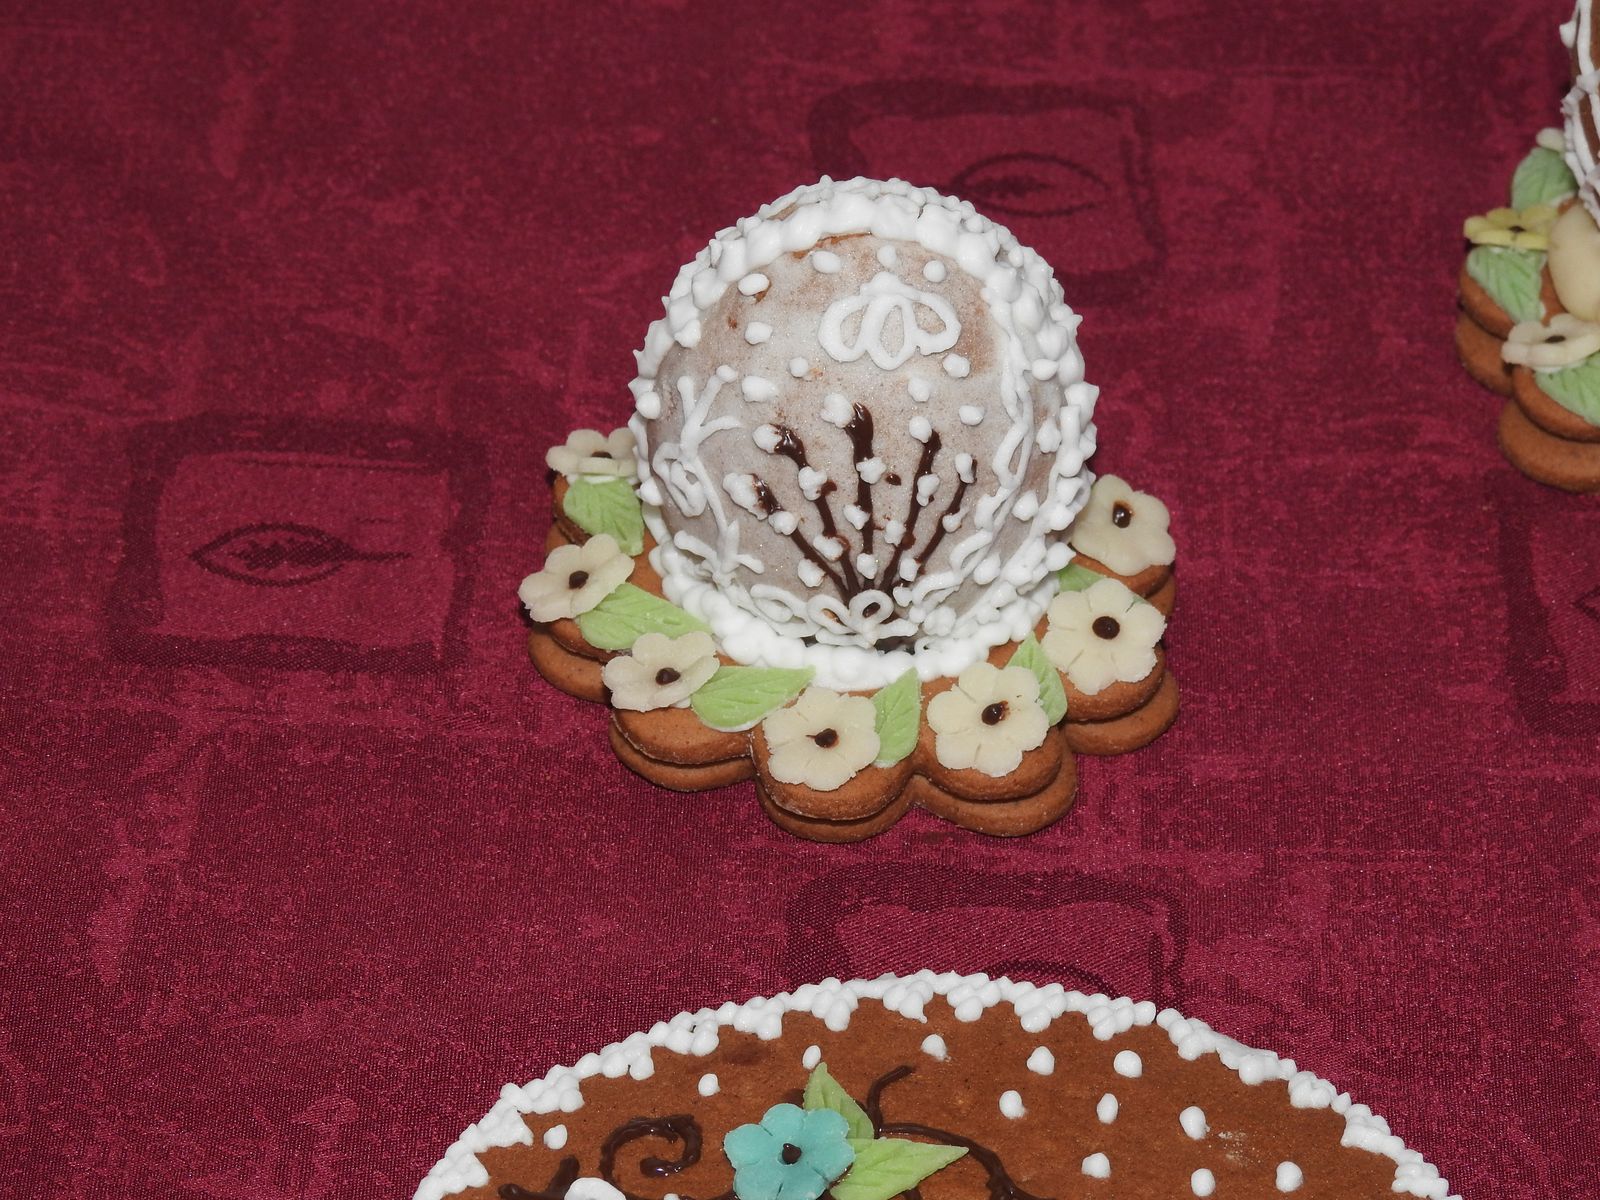
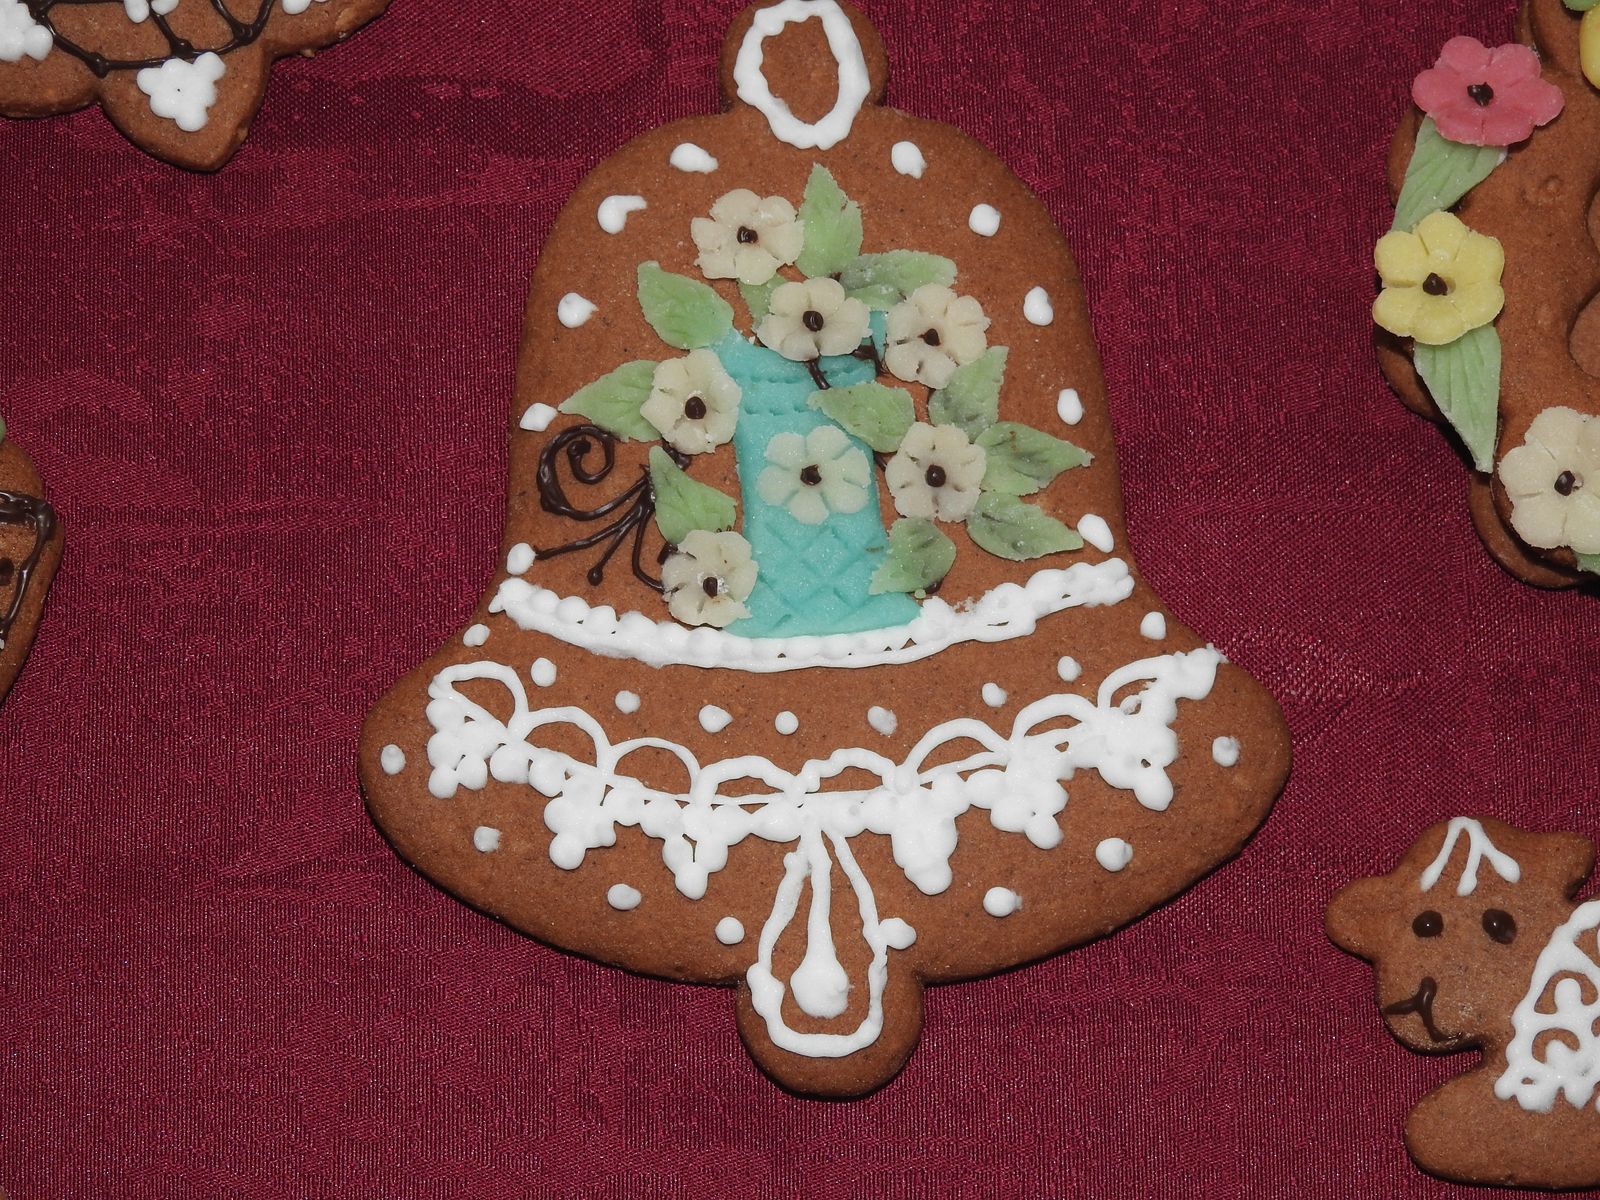
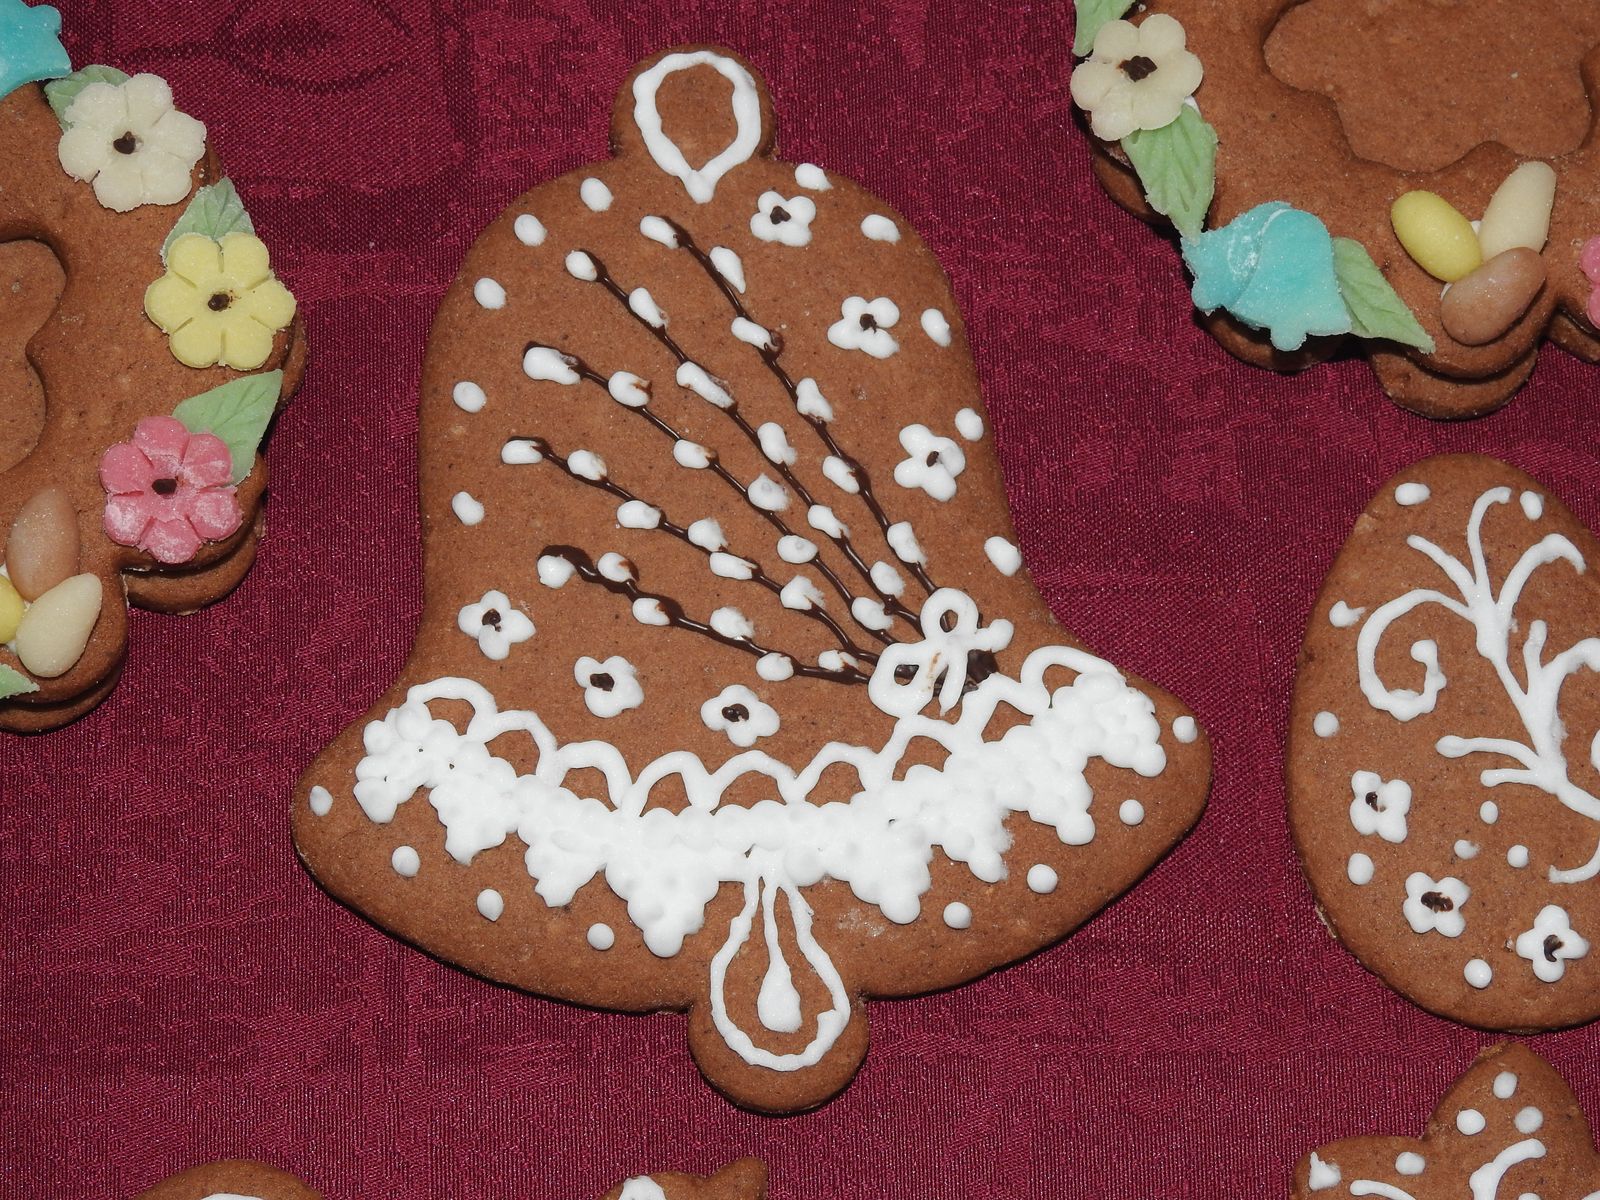
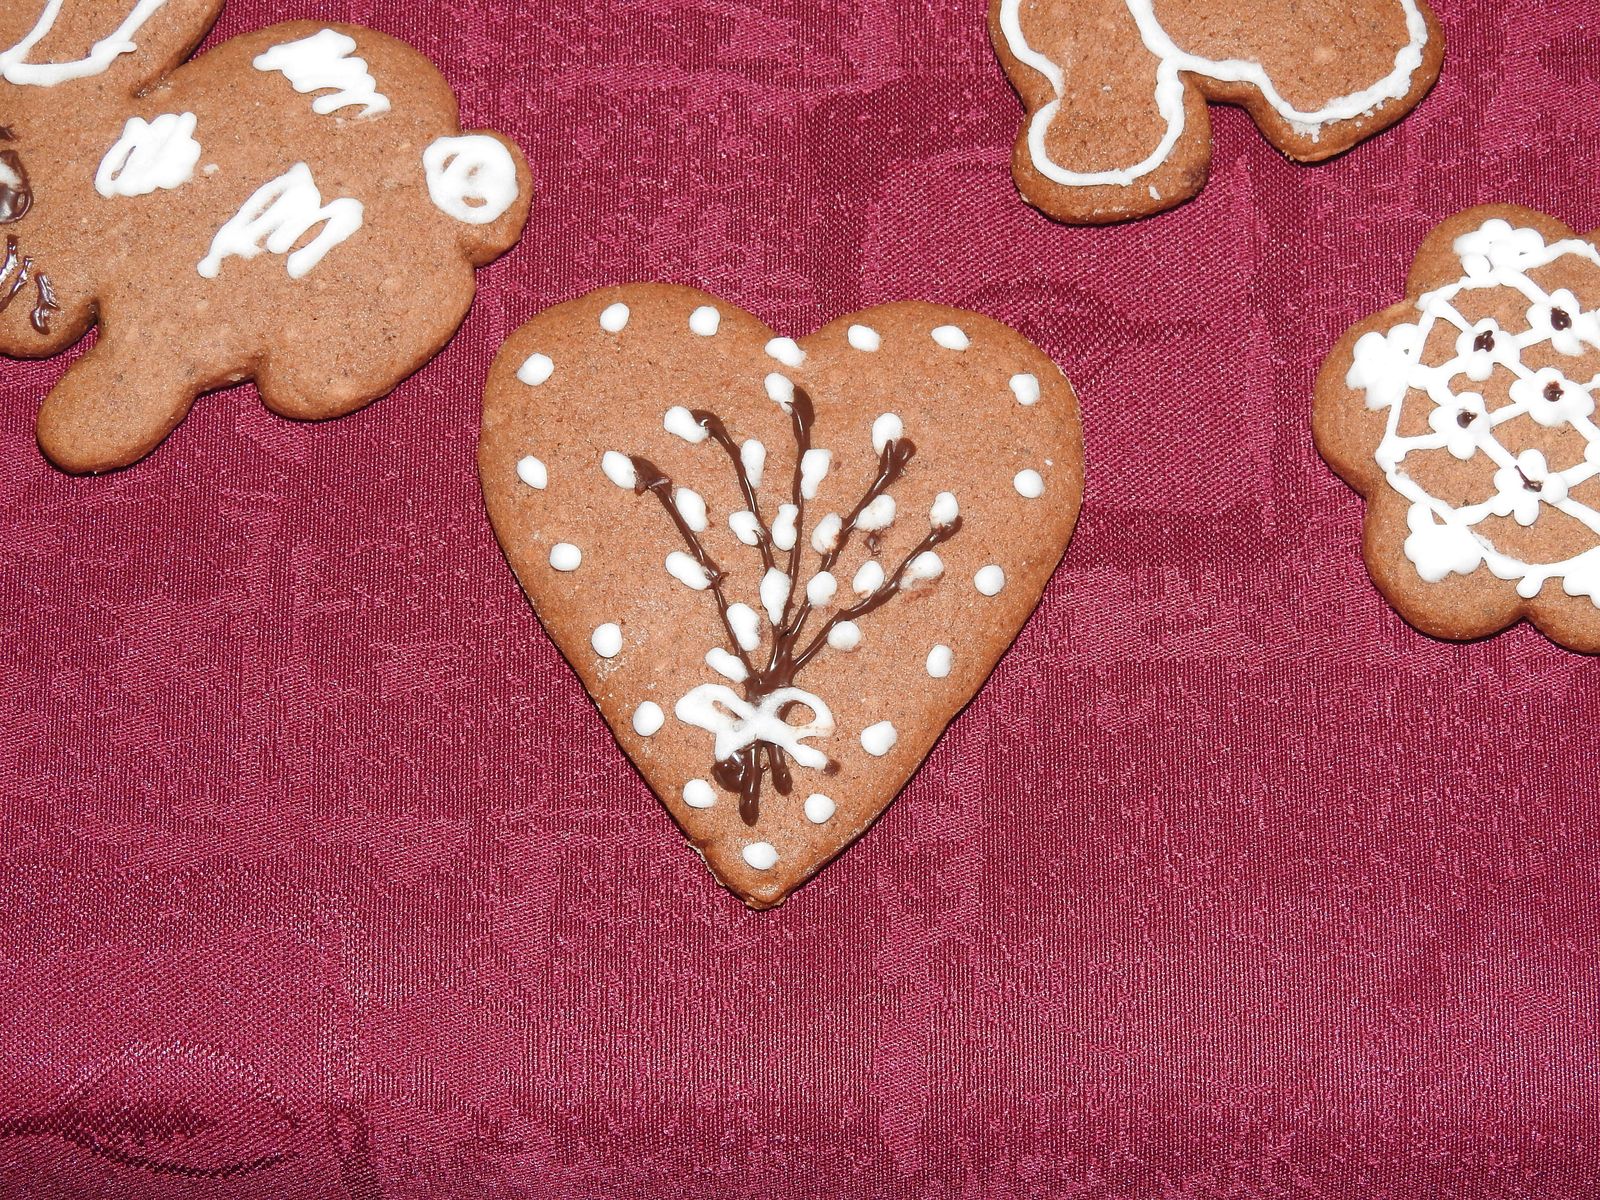
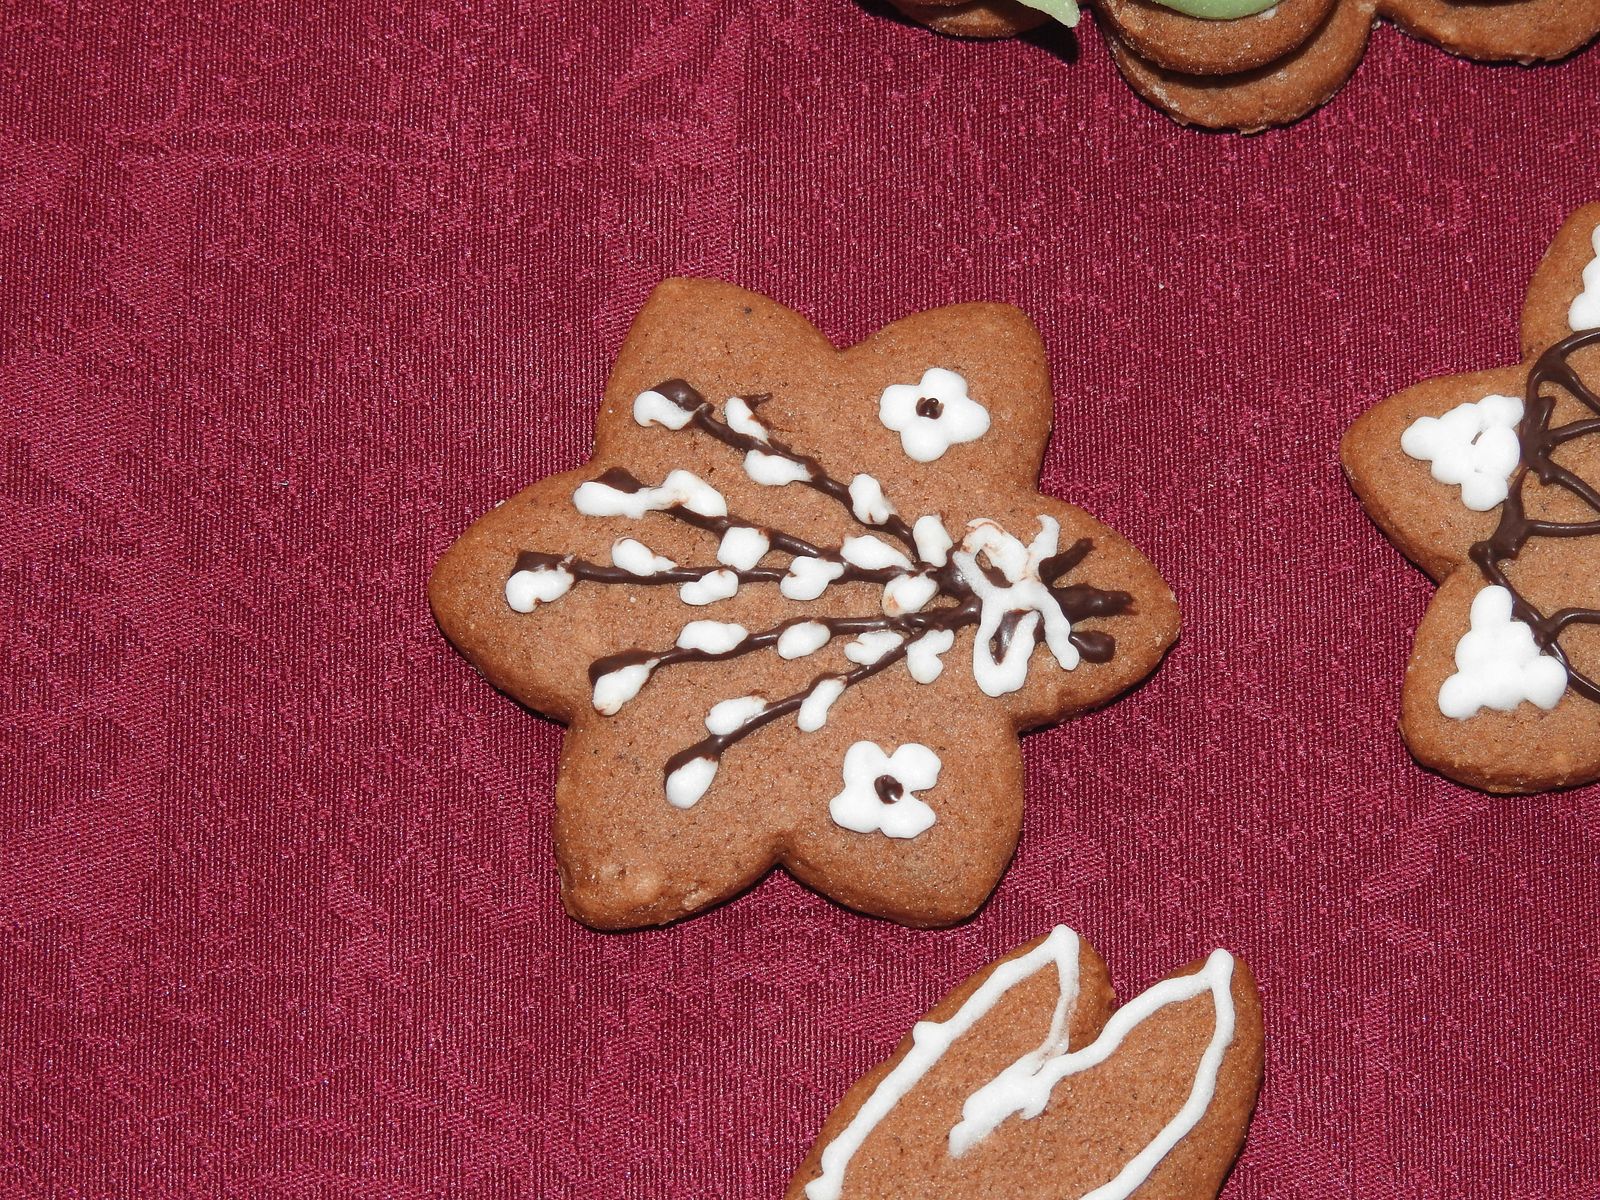
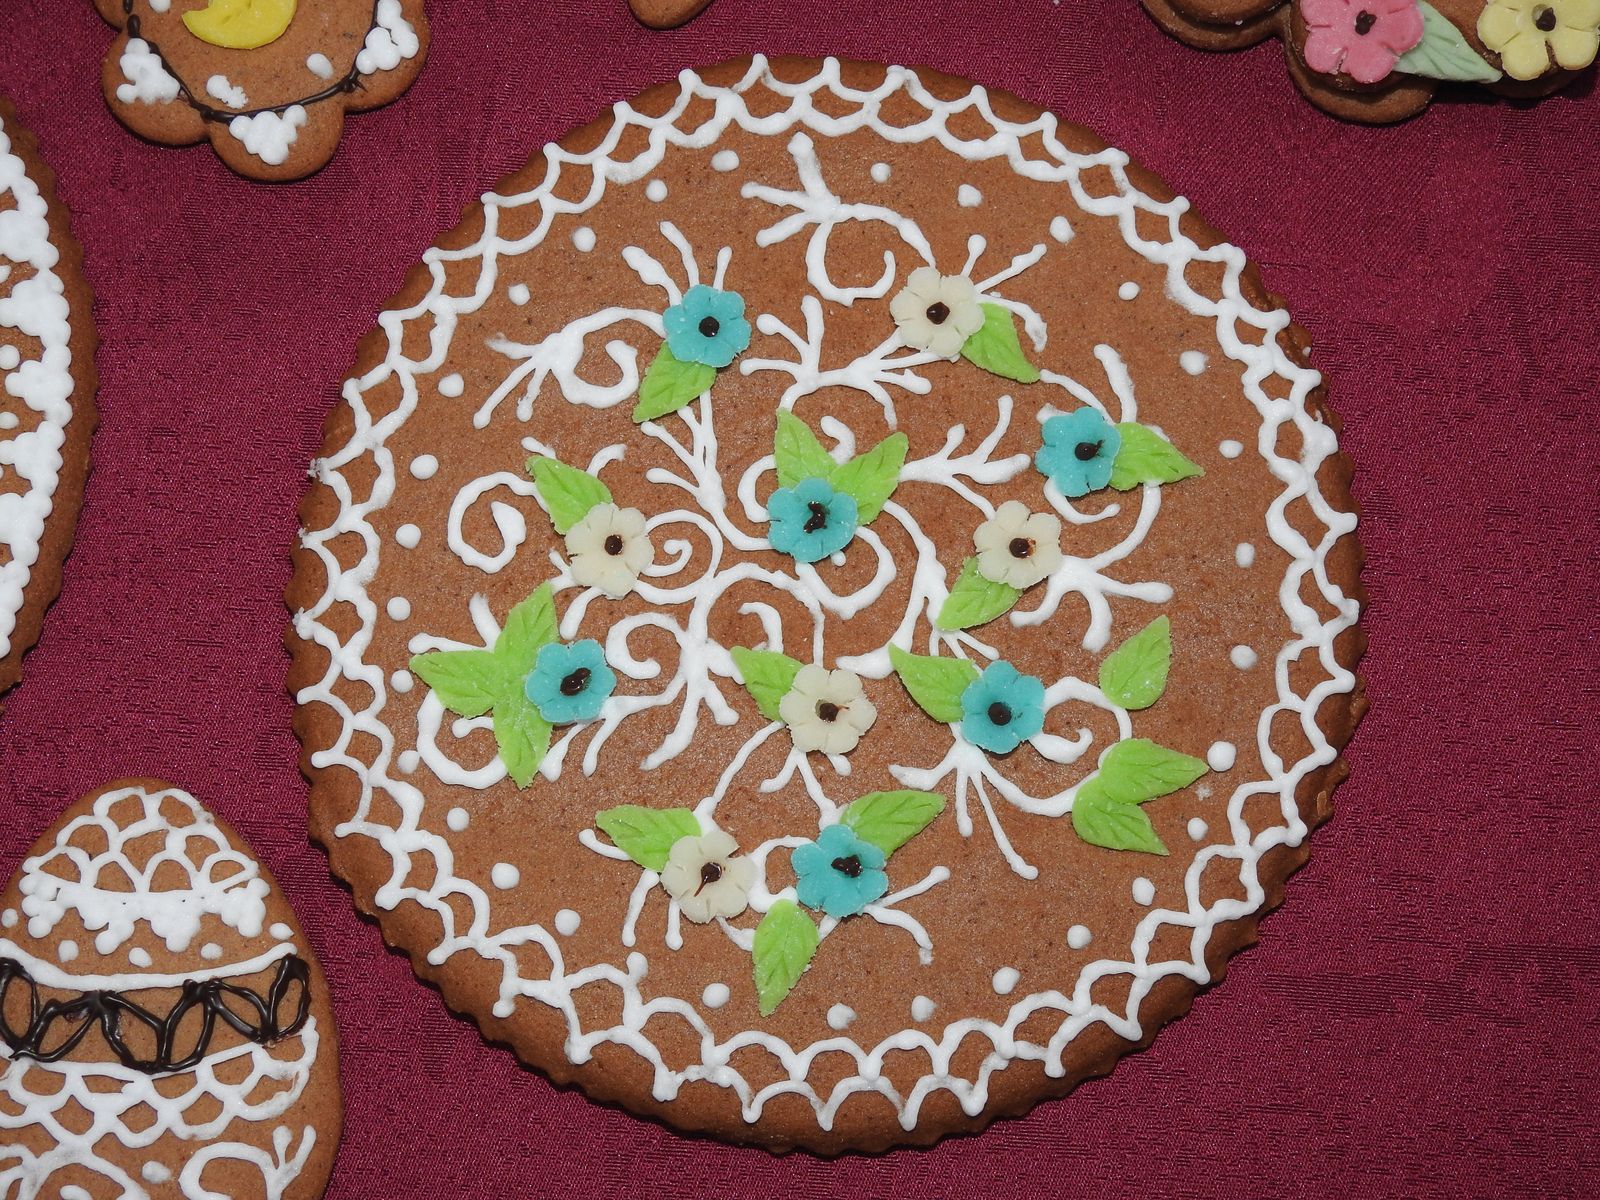
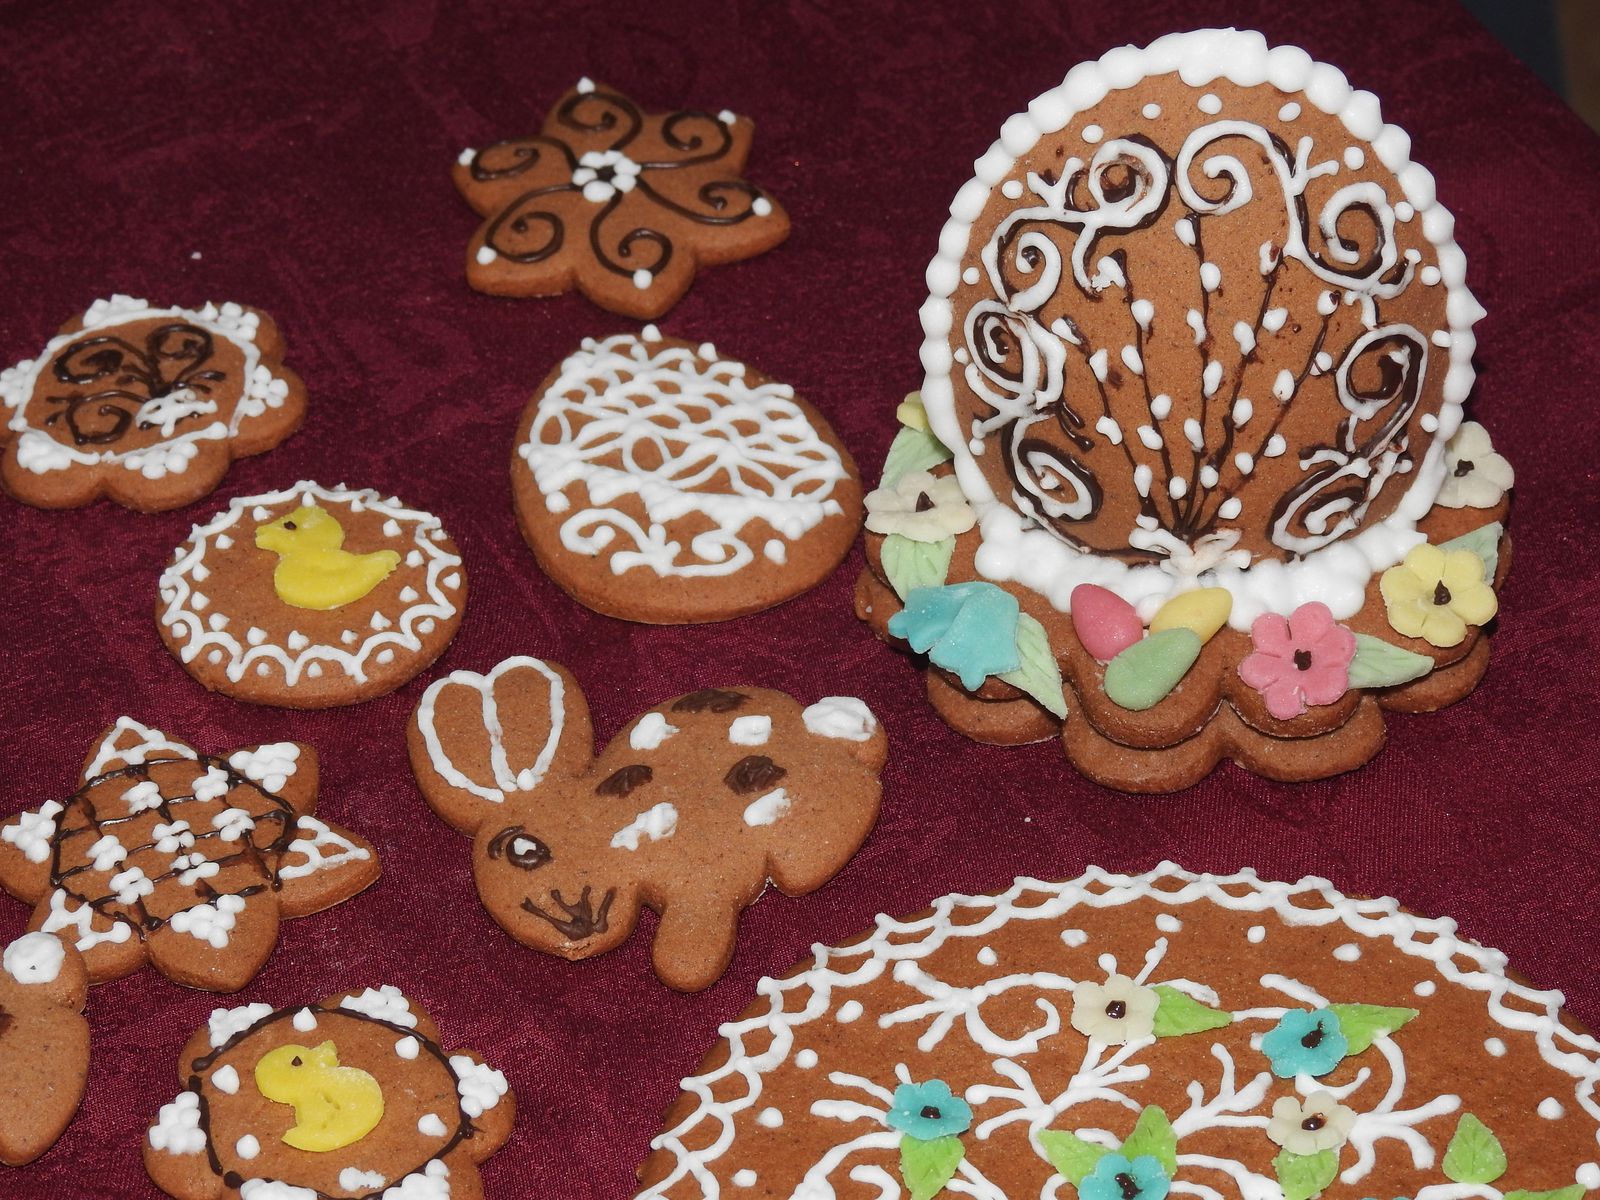
Even more Easter Eggs. The last batch from Easter, next will be Christmas.

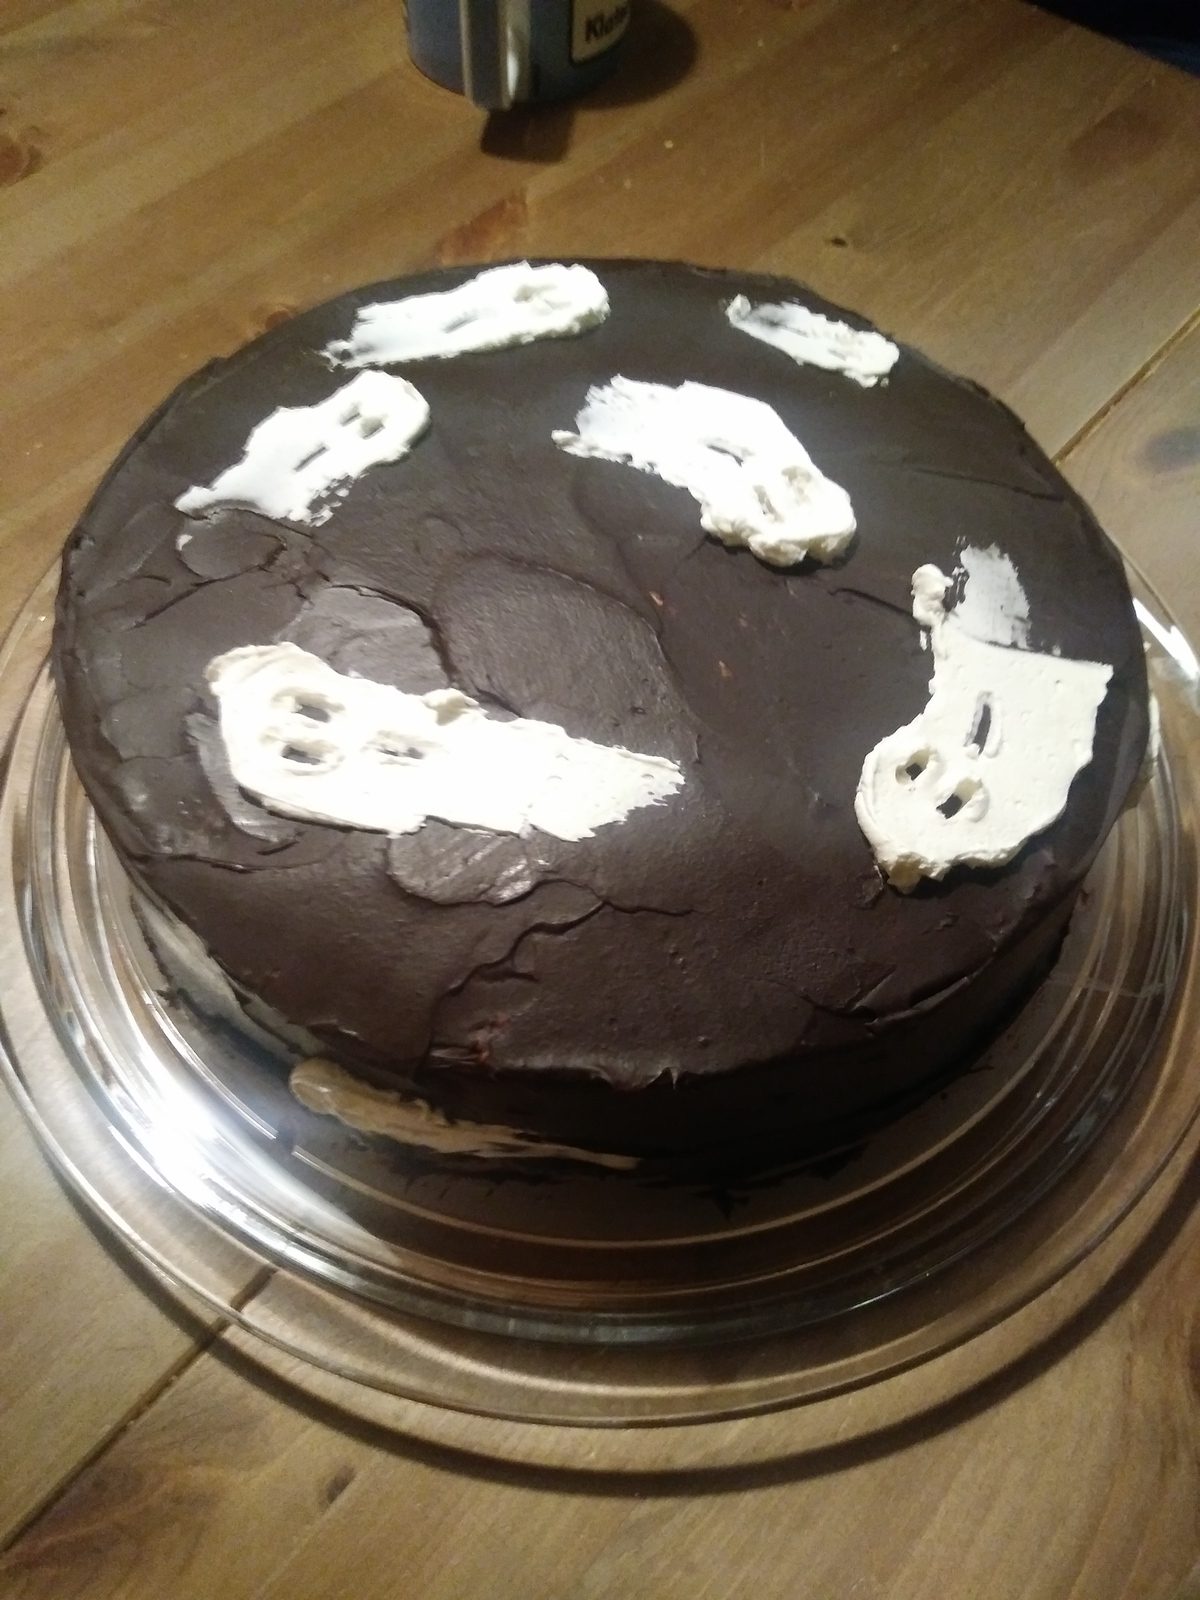
© Charly, all rights reserved. Click for full
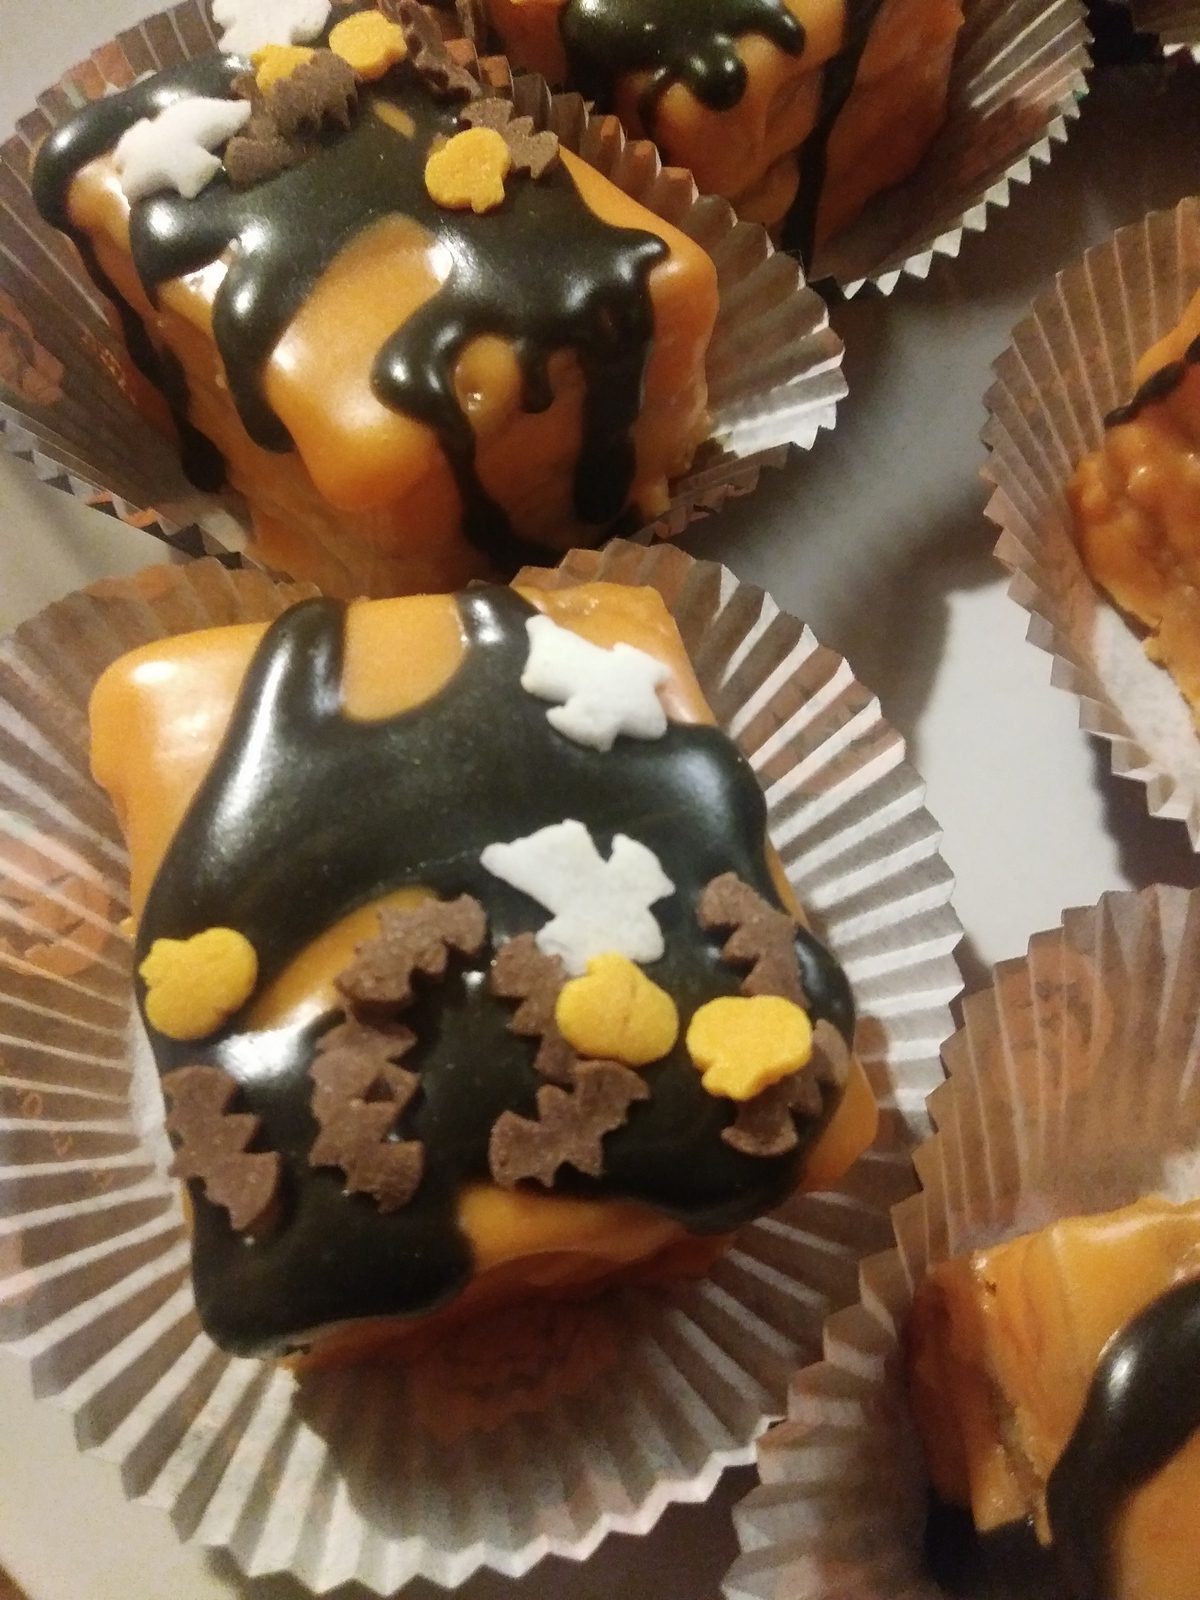
© Charly, all rights reserved. Click for full
© Charly, all rights reserved. Click for full

© Charly, all rights reserved. Click for full

© Charly, all rights reserved. Click for full

© Charly, all rights reserved. Click for full