It’s very relaxing and satisfying to sit, with some music playing in the background, and shape a piece of silver with a file. There is none of the worry associated with rapid metal removal using a grinder; you really can’t screw things up at this speed.
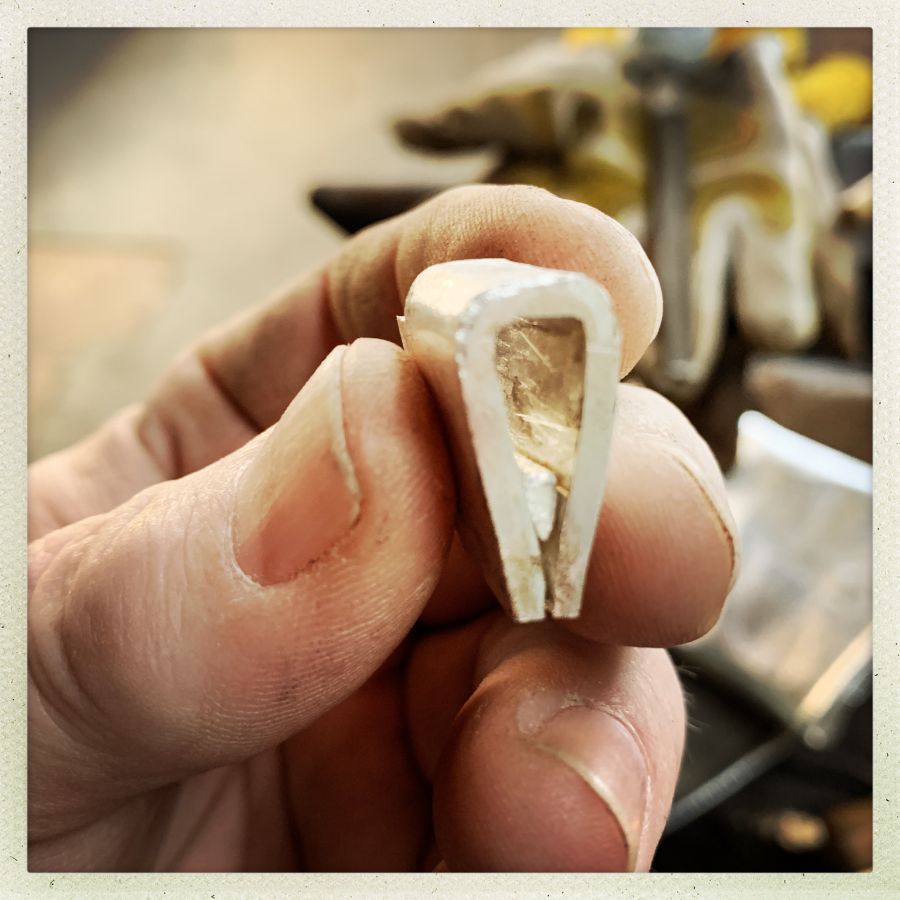
There you can see the little silver wedge, half-fitted. I need to bring the sides in a bit more, and test-fit it with the blade, but it’s looking good! Filing a little bitty thing like that is a pain in the butt, especially when your eyes start to fail from age. The wedge is slightly forward from the back of the habaki because the back is going to get shaped down that far. It looks like a lot but really it’s not very much. From here, it just gets lighter and thinner and smaller, then it gets shiny.
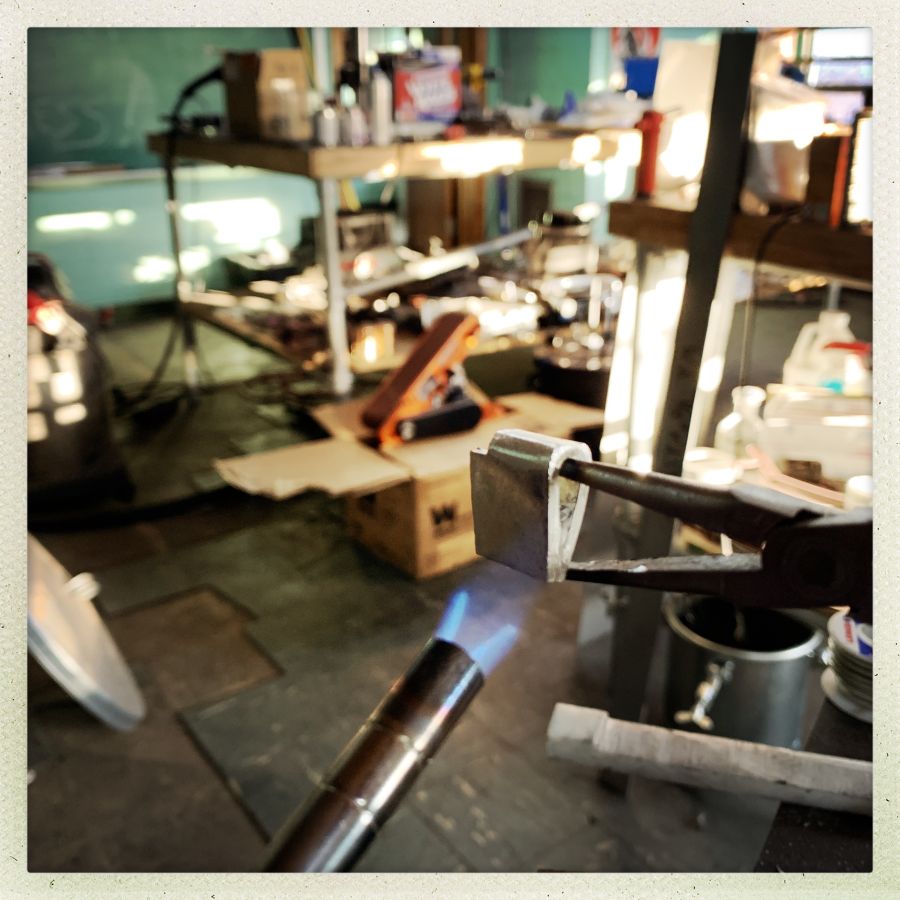
This is how I do it: I put some paste flux (just borax with a bit of beeswax) on top of the piece, then a piece of pewter (silver and tin) that has a slightly lower melting-point than the pure silver of the habaki. Then, heat it up with a propane torch and cross your fingers. Basically, that’s the process. If you heat it too much, the whole thing turns into a pretty splash on the floor. Not that that has ever happened to me!
In this case, the soldering worked fine. The next step (not shown) is to clean up the inside with a file, then work the habaki into position on the blade. That takes little taps from a hammer, a few tweaks from a file, and a bit of cursing. There’s a razor-sharp (not an exaggeration) blade involved in all of this, and it’s bad to use force when you’re around a sharp edge – I don’t want to push the habaki and have my finger slide along the blade.
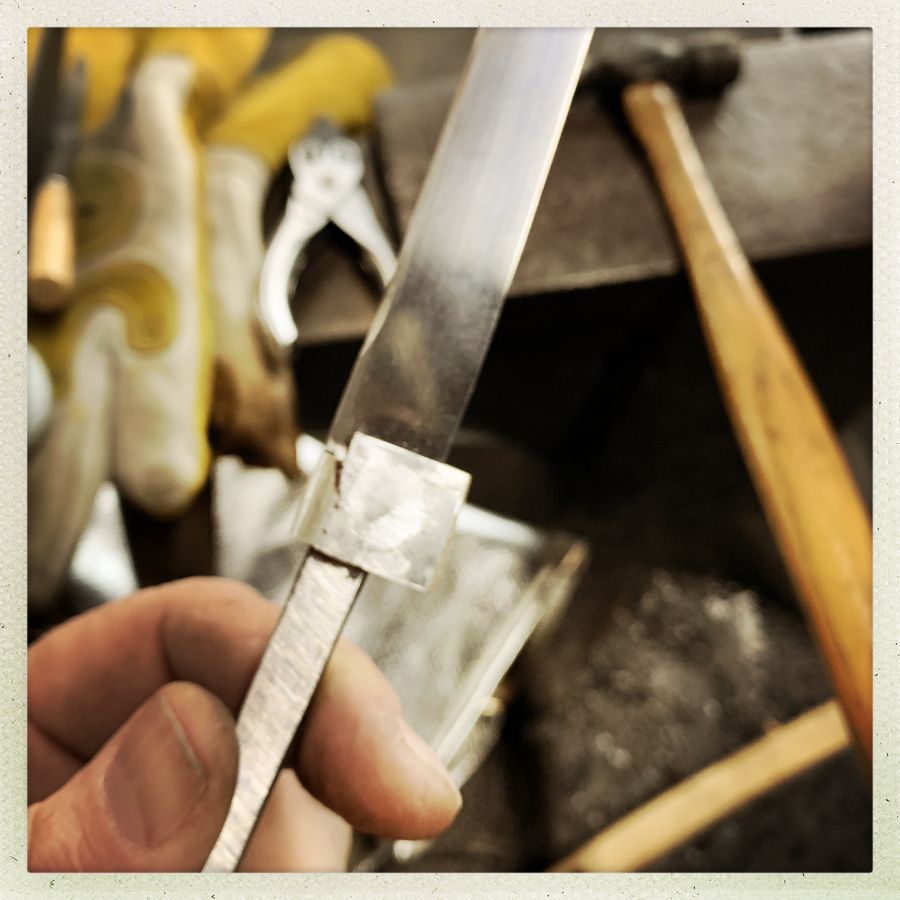
Don’t worry, that black line isn’t a crack, it’s just schmutz. That’s a good illustration of the fit that you need to achieve. The back of the blade has to transition smoothly to the habaki, or when you put it in a scabbard, it’ll chip the edge of the scabbard out. Everything must slide like it’s been buttered.
[By the way, that is a thing that utterly bugs the shit out of me: movies where someone draws a katana and there’s a “shhhing!” noise. No! A barely audible dry rustling sound is a loud draw, and that means sloppy. There is never a “shhhing!” I’m looking at you, Quentin Tarantino! And nobody but a yob slams a blade into the scabbard so hard it makes a thump.]
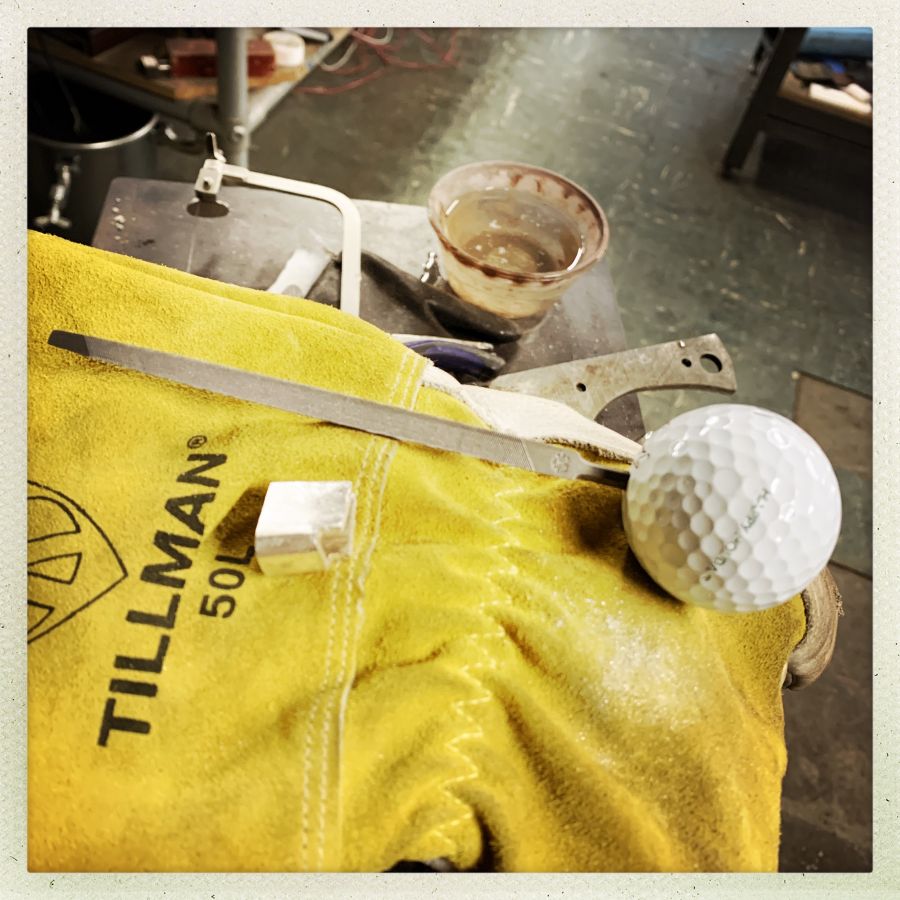
Japanese crafts are big on files. Files are great because they create flat surfaces (if you want them to) – in fact it’s hard not to create a flat surface with a file. The trick is to find a good way to keep your work-piece steady and then the movement of the file defines a plane. Or, you can work in one spot until it’s lower, then feather it back to a curve, and the file will tend to make the curve smooth.
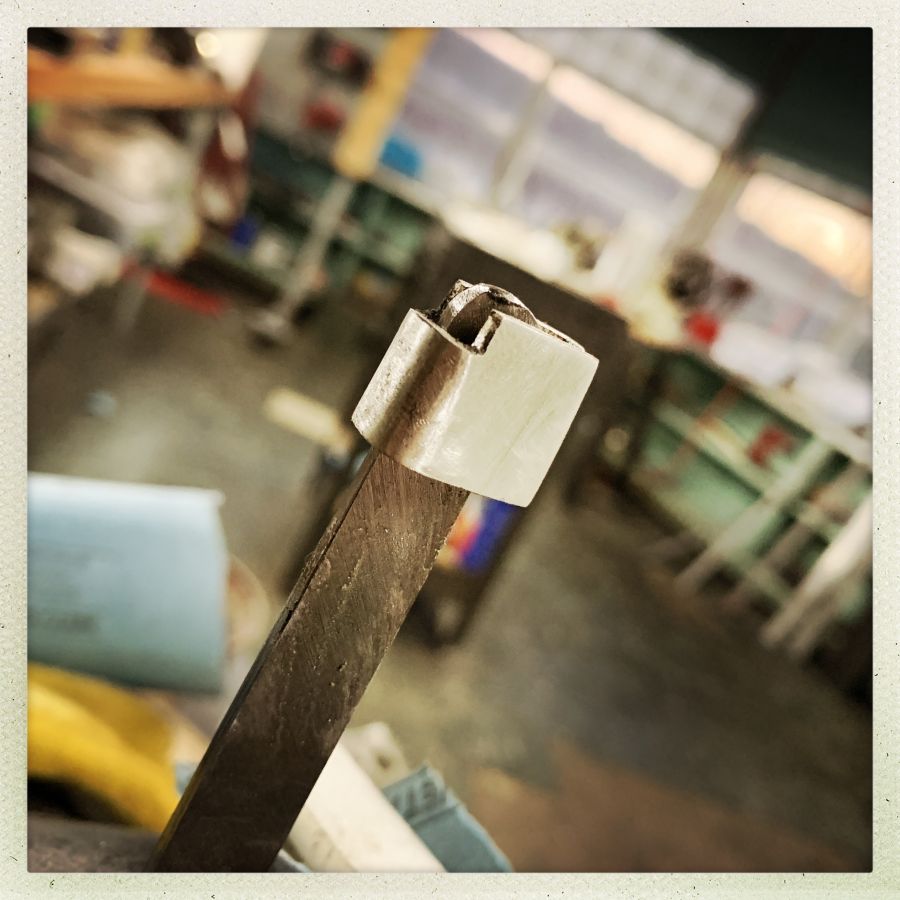
I alternate between hand-holding the work-piece, and sticking it on a mandrel (really, just a piece of broken steel that I can put in a vise. At this point, you don’t want to be working with it on the actual blade, because a slip from the file could mar the blade. That’s not a big deal when you’re talking about a blade made by an amateur like me, but imagine doing this on an irreplaceable katana from the 16th century. [By the way, when you see pictures of samurai inspecting a blade, they often have a piece of cloth in their mouth. That’s a way of telling everyone that they’re not the person who breathed moisture-laden breaths on a priceless blade]
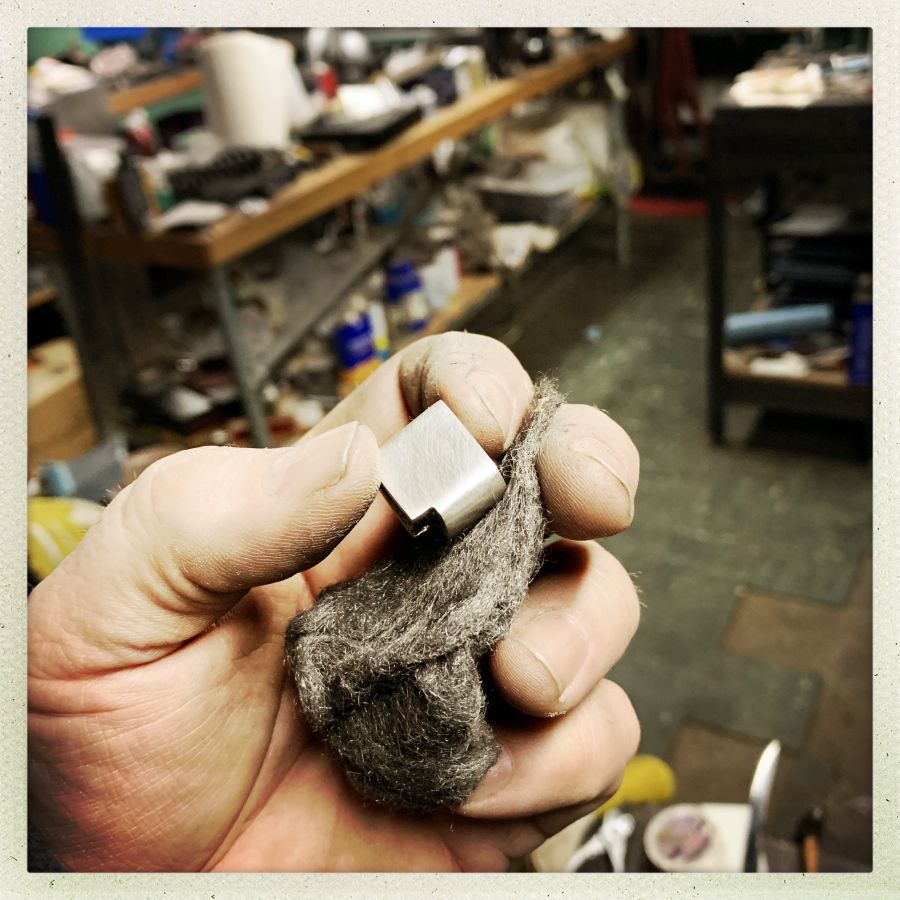
At a certain point I switch from the file to some 800-grit sandpaper (the file leaves about 400-grit scratches) and alternate with steel wool to make the scratches visible. You can’t “chase the scratch” because just buffing out a scratch will ruin the planes you’ve set up on the surfaces. So, if there’s a scratch or divot, the whole surface has to lose a thousandth of an inch or so until it’s clear and then you can polish it. The steel wool will give a good enough polish that you can go directly to liquid polish or Yorkshire Grit (Yorkshire grit is beeswax with diatomaceous earth in it).
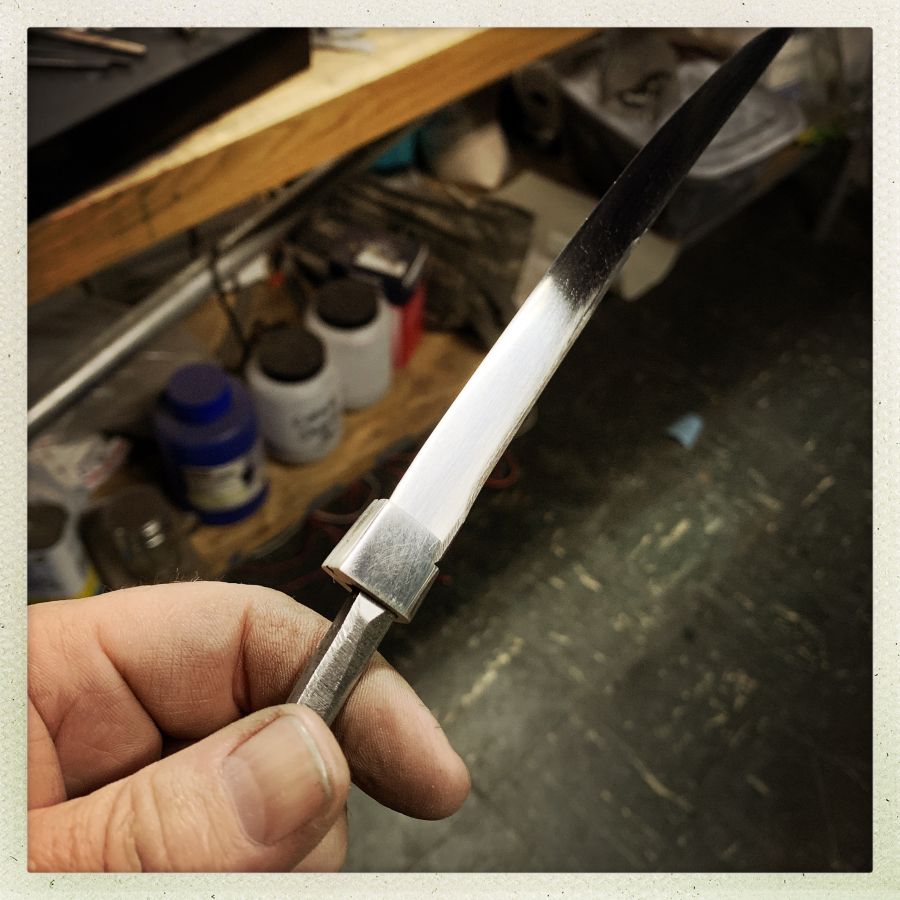
I hate to say this, but now that I see it in picture form, I realize that the bottom is too thick and looks pretty unelegant. I’m going to need to bring the bottom edges of the faces in a couple hundredths of an inch on each side. That’s no big deal – about a half hour of filing – but it means that any effort I expended on polishing was wasted. Except for this: polishing silver is a pleasure in its own right, so Edith Piaf says, “je ne regrette rien.”
This is the state of play at the end of yesterday:
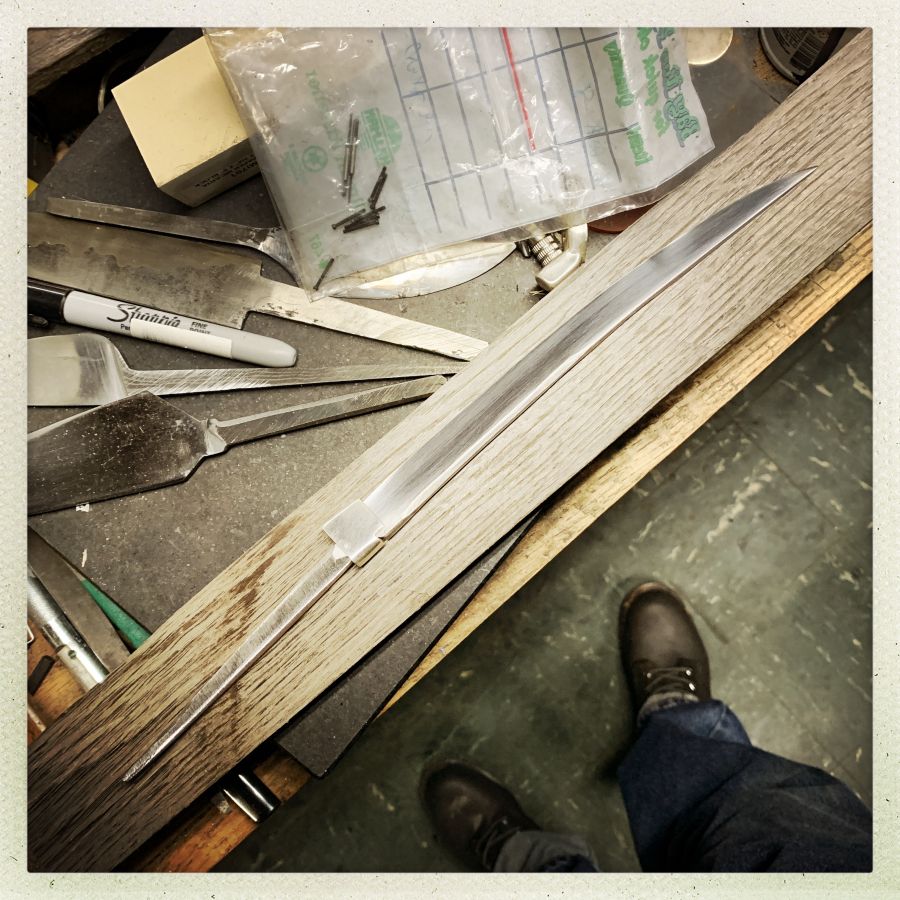
That cut piece of bog oak is what the handle/scabbard will be made of, once the habaki is done. I’ll trace the outline I want the wood to conform to, then cut it out on the bandsaw. After that, it’s time to sharpen my kiridashi and the saya nomi I made, and cut the scabbard for the blade. There’s an interesting little challenge, there – see how the blade is more curved at the tip? If the inletting in the wood tracks too closely to the blade, the blade will bind when it’s drawn. I may take a small piece of plywood on the bandsaw and cut the outline of the blade, then slowly widen and adjust it with the bandsaw until it’s right. An experienced scabbard-maker would know, but I don’t.
One final point about all of this: in the Japanese tradition, the blade-smith is not the fittings-maker who does the habaki, or the scabbard-maker who does the saya, or even the sharpener/polisher who gives the blade its final finish. During the height of sword-carrying, each of those was a separate job, which makes sense because you could have new mountings done for your sword without having to annoy a master blade-smith. And, getting good at each of these processes is time-consuming and it doesn’t make economic sense for a blade-smith to do all this stuff, when they can set up a manufacturing pipeline where all the components are distributed.

Words fail me. Amazing work, young man.
As an old bushi I am still working on my noto; less noise is better.
It looks amazingly dangerous and mean already.
I have yet to try and make a japanese-style blade of any size. Maybe I never will. I have more knife designs in my head than I can ever make as it is.
>>>movies where someone draws a katana and there’s a “shhhing!” noise. No!<<<
Ah ha! Another to add to my collection of "anachronistic acoustics" (although in this case, the real is much older than the fiction). To go with "car tyre squeal" on braking (not with ABS) and now on acceleration (not with traction control), "SLR mirror" on camera phones, "stampede noise" during televised horse racing, the "dial tone" when a phone is cut off…
This is going to be a fantastic blade.
Quote: “Filing a little bitty thing like that is a pain in the butt, especially when your eyes start to fail from age.”
Happens to all of us. Fortunately they make these: https://www.riogrande.com/product/daylight-omega-5-magnifying-lamp/115615 I have two of them, but wish I had more… One warning, do not trust their system for attaching the lamp and instead provide a sturdier one. It does take a little practice to get used to working through them but personally, I found myself sufficiently motivated to make that happen. There are a few tell-tale chips on the bottom of one of my lenses… where the file hit…
A little quibble: since you are auctioning off your products successfully, I would argue that you are NOT an amateur. Yes, you do choose to donate the money to a very good cause, but nevertheless, people are willing to pay for your work. :) Now there is the famous “expert amateur” so you might choose to call yourself a “pro beginner”. But that might be arguable as well.
Great info and that last picture is, well, fantastic. It looks beautiful. I can see how you would find this craft satisfying.
I agree with you about the base of it, but it looks like you’re past the hard bits and it’s all just tweaking from here. I’m excited to see how it turns out!
From memory western swords were also made with a similar division of labour between blades and fittings. Blades were also traded in an unhandled state. If you’re making a significant number it makes sense as a division of labour.
It gets better and better, really lovely work.
That’s looking fabulous! The blade is a lovely size with a fine, elegant curve. I’m looking forward to seeing it finished with its bog oak handle and scabbard.