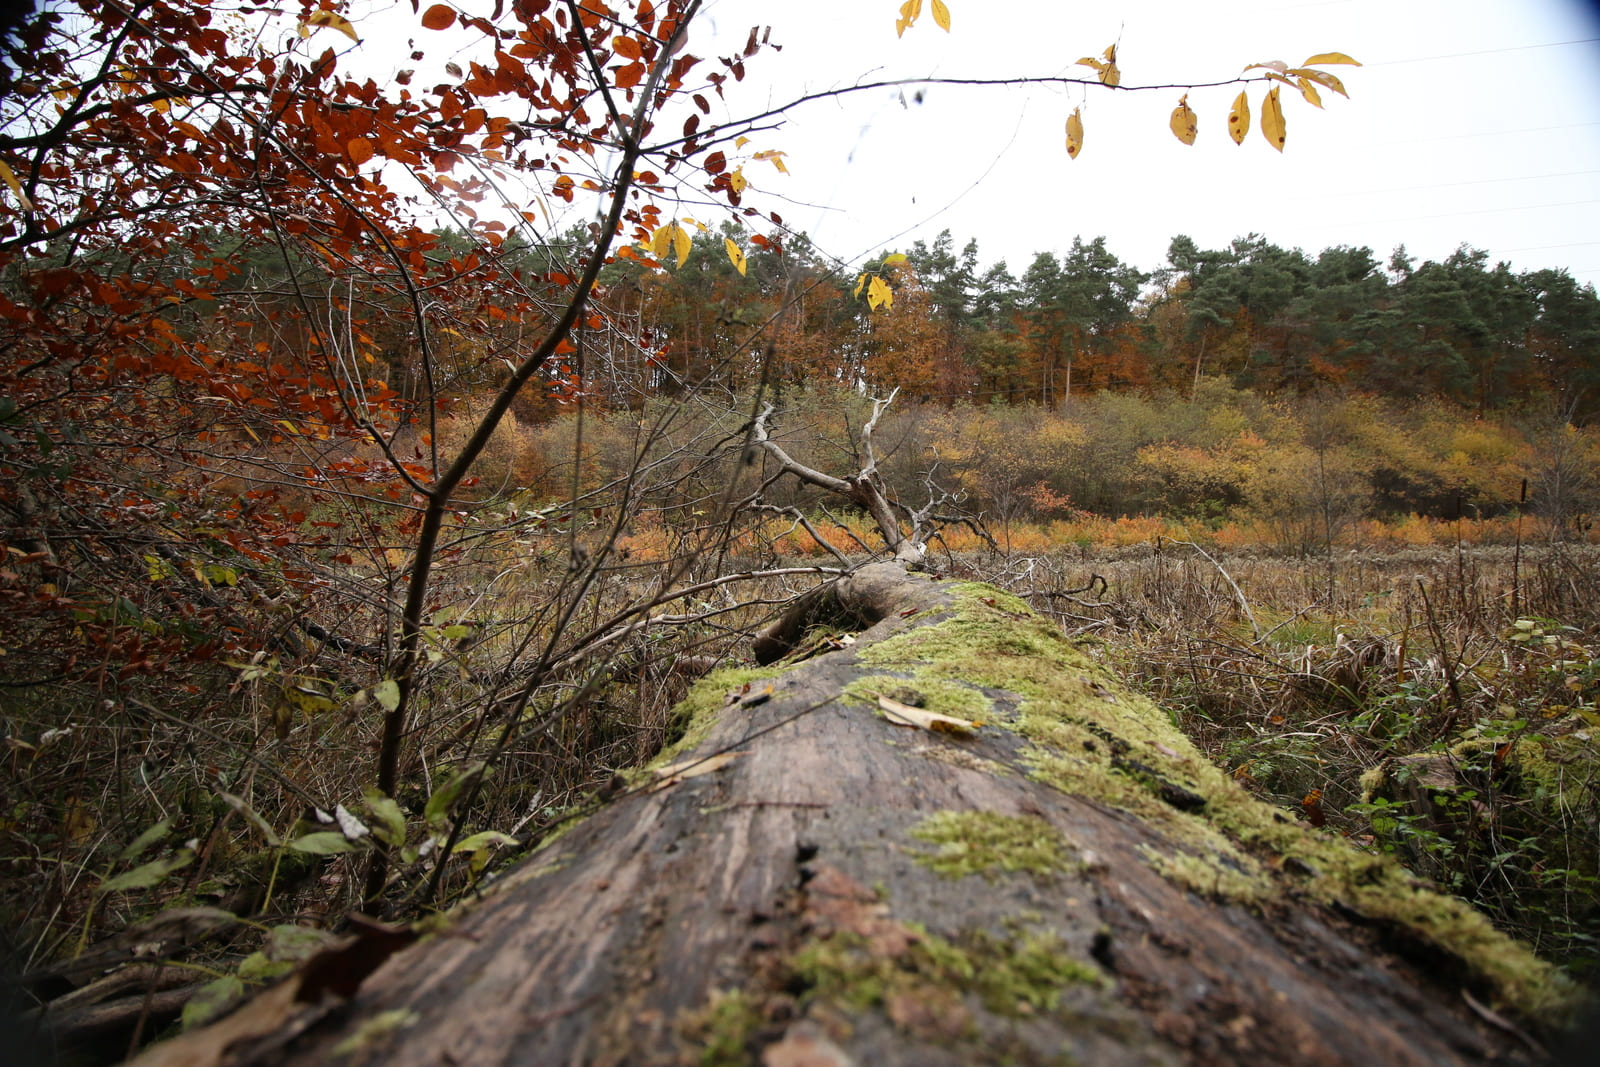
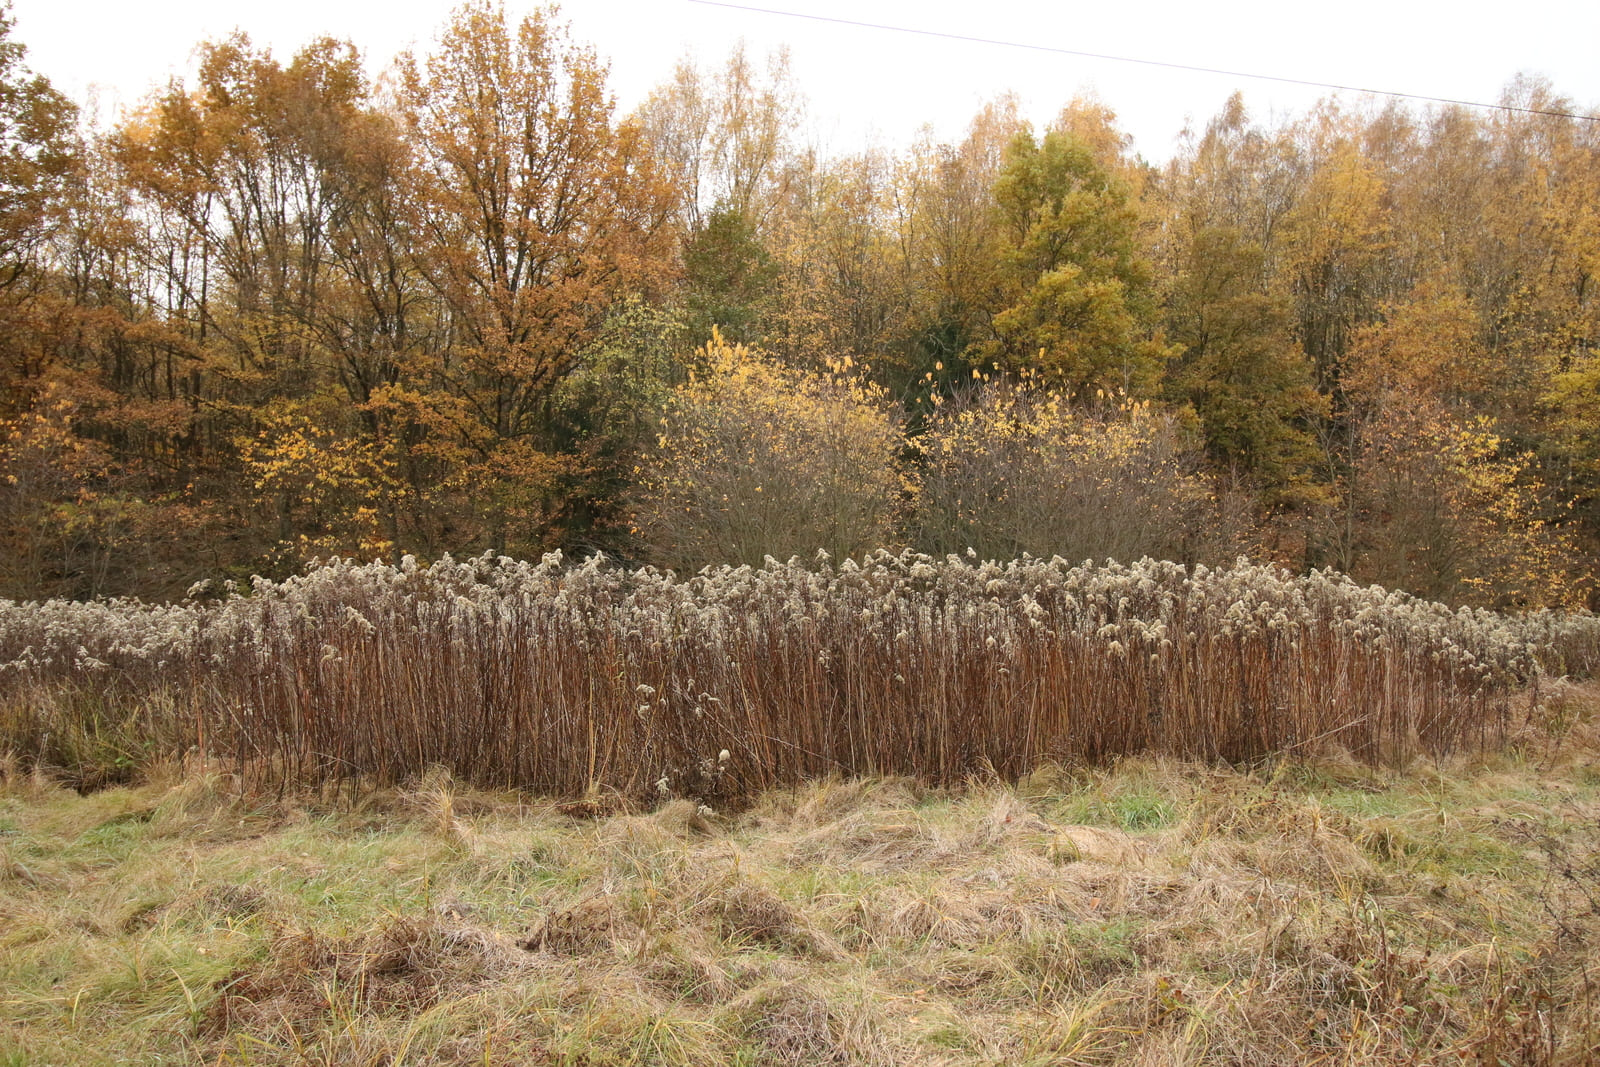
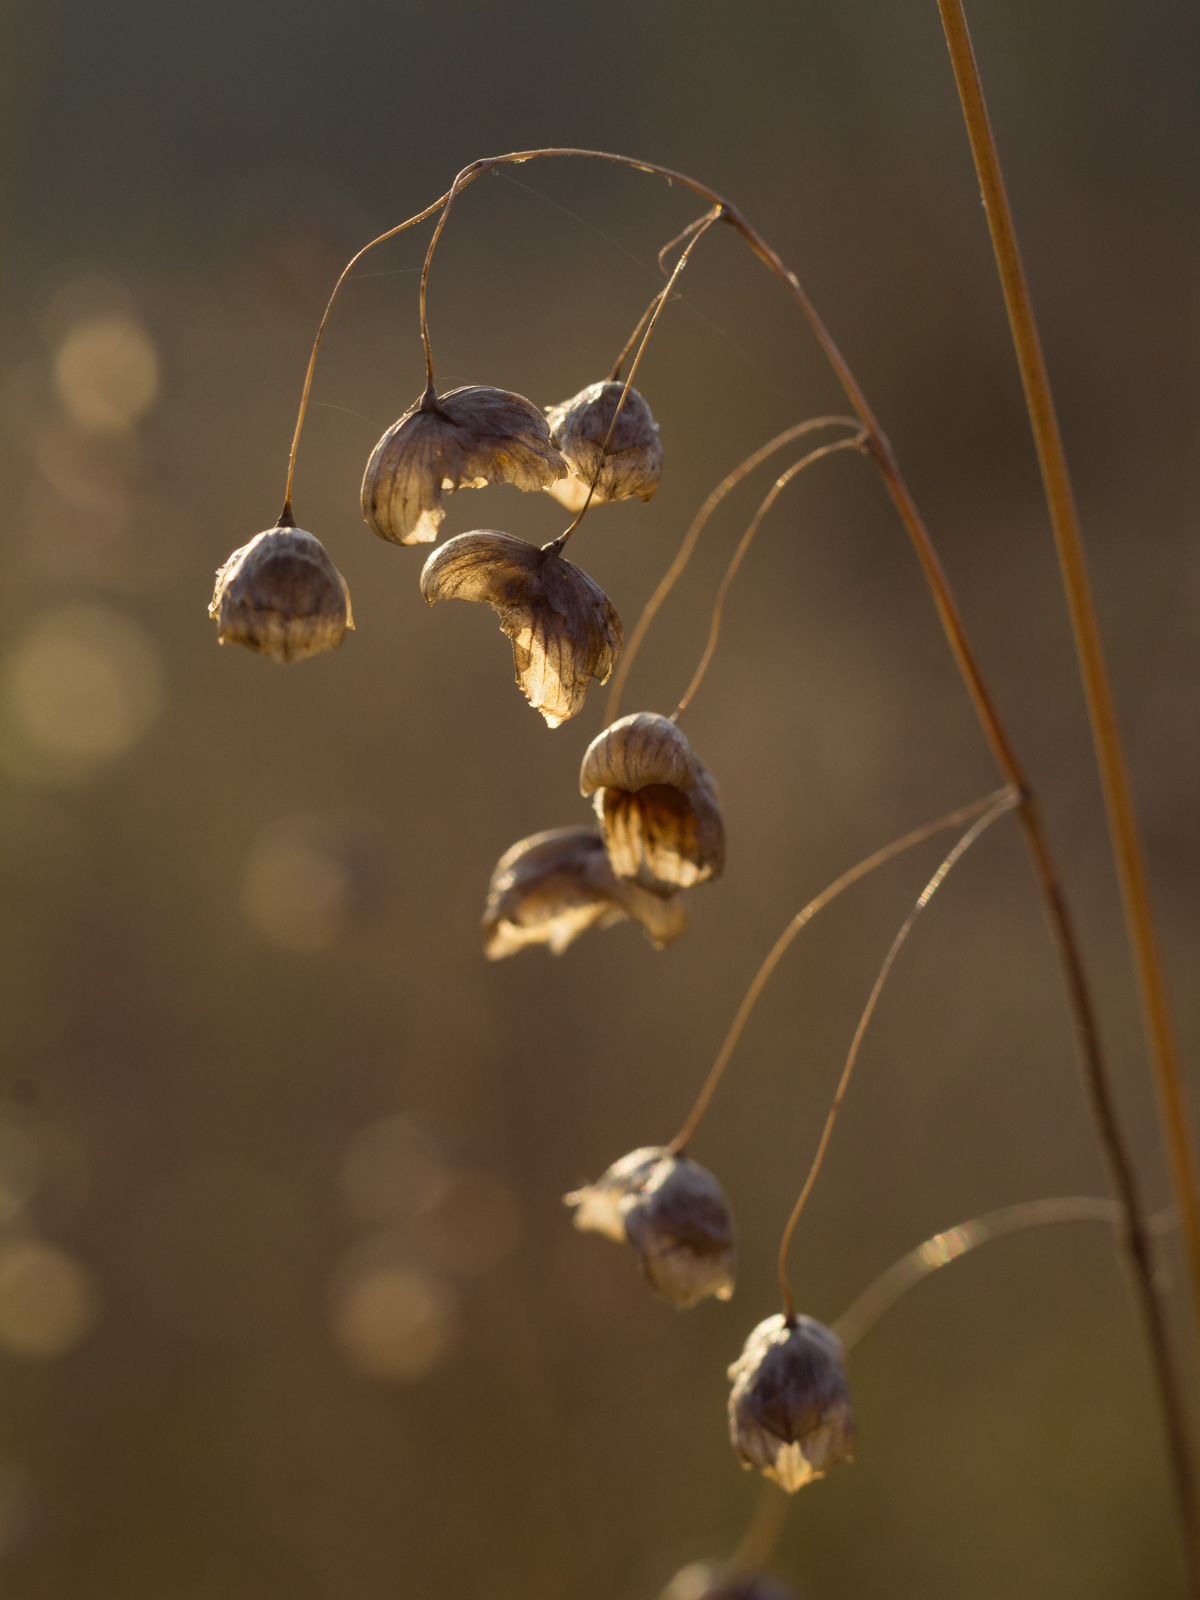
This week we have glorious fall colour from Avalus,
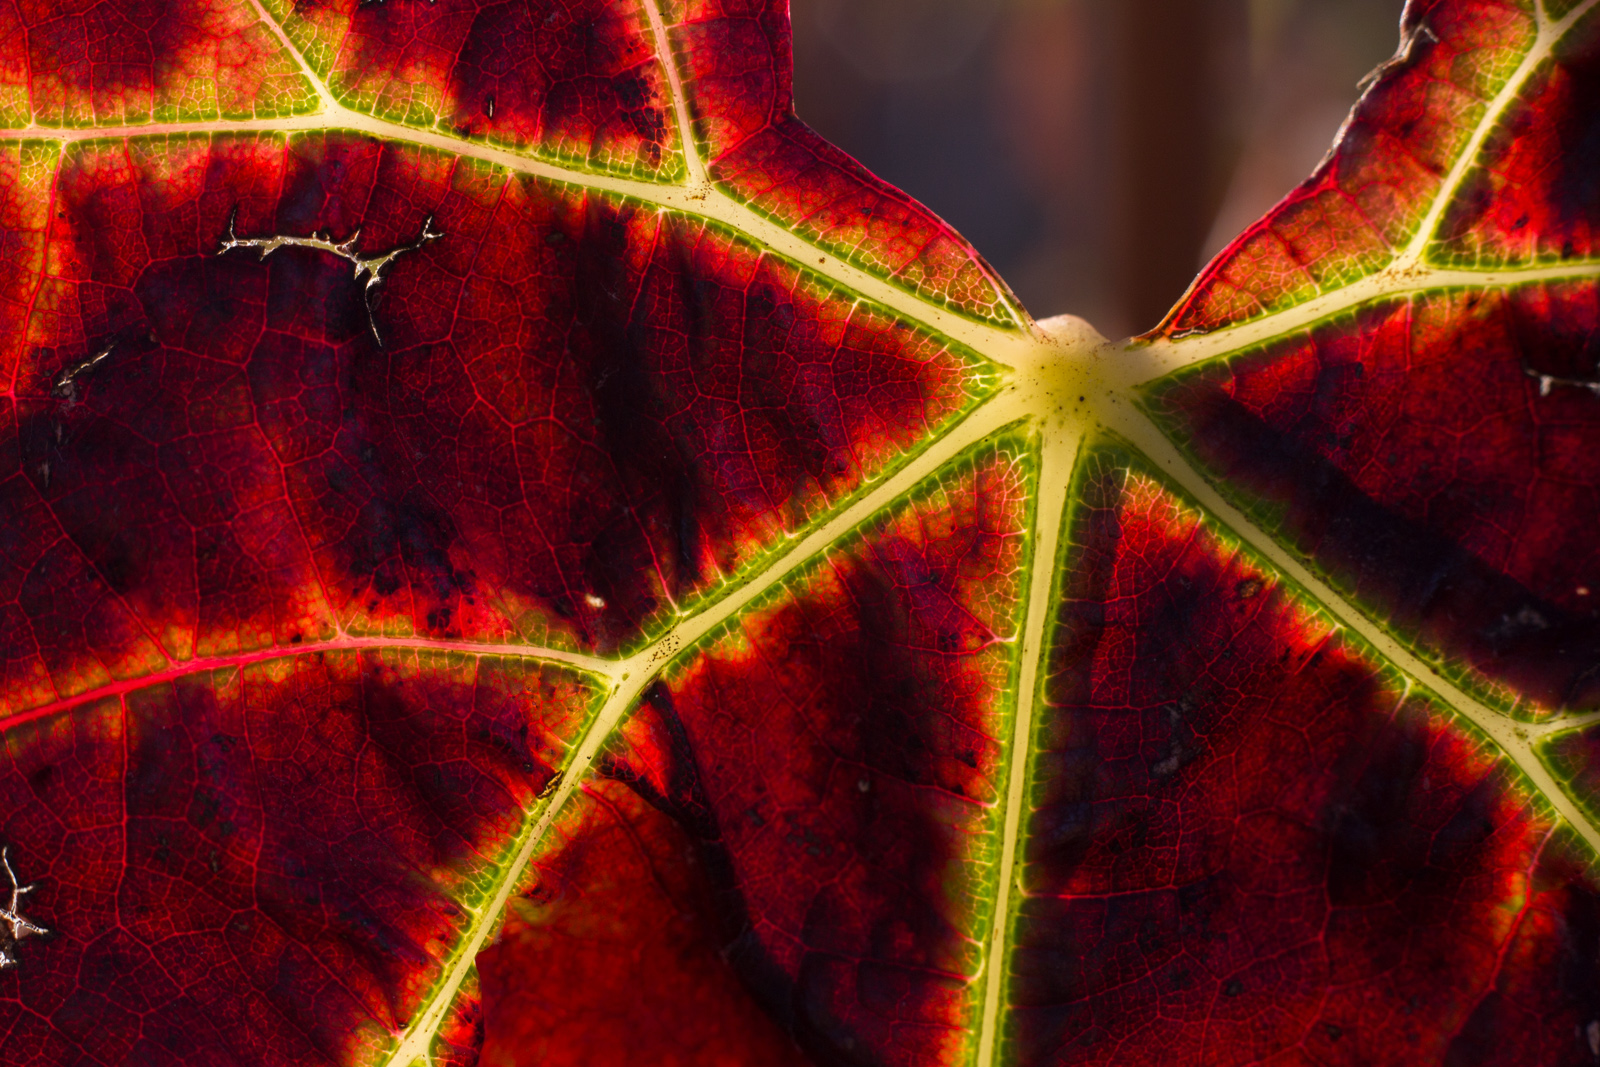
Lets begin with some brightly coloured leaves from the first of October.
Golden walnut trees, red wild grapes and assorted green plants.
And it was quite good timing, just half a week later, the walnuts were all leafless.
Your timing was perfect, Avalus. All that deep, rich autumn colour shot against a clear blue sky. Thanks so much for sharing.
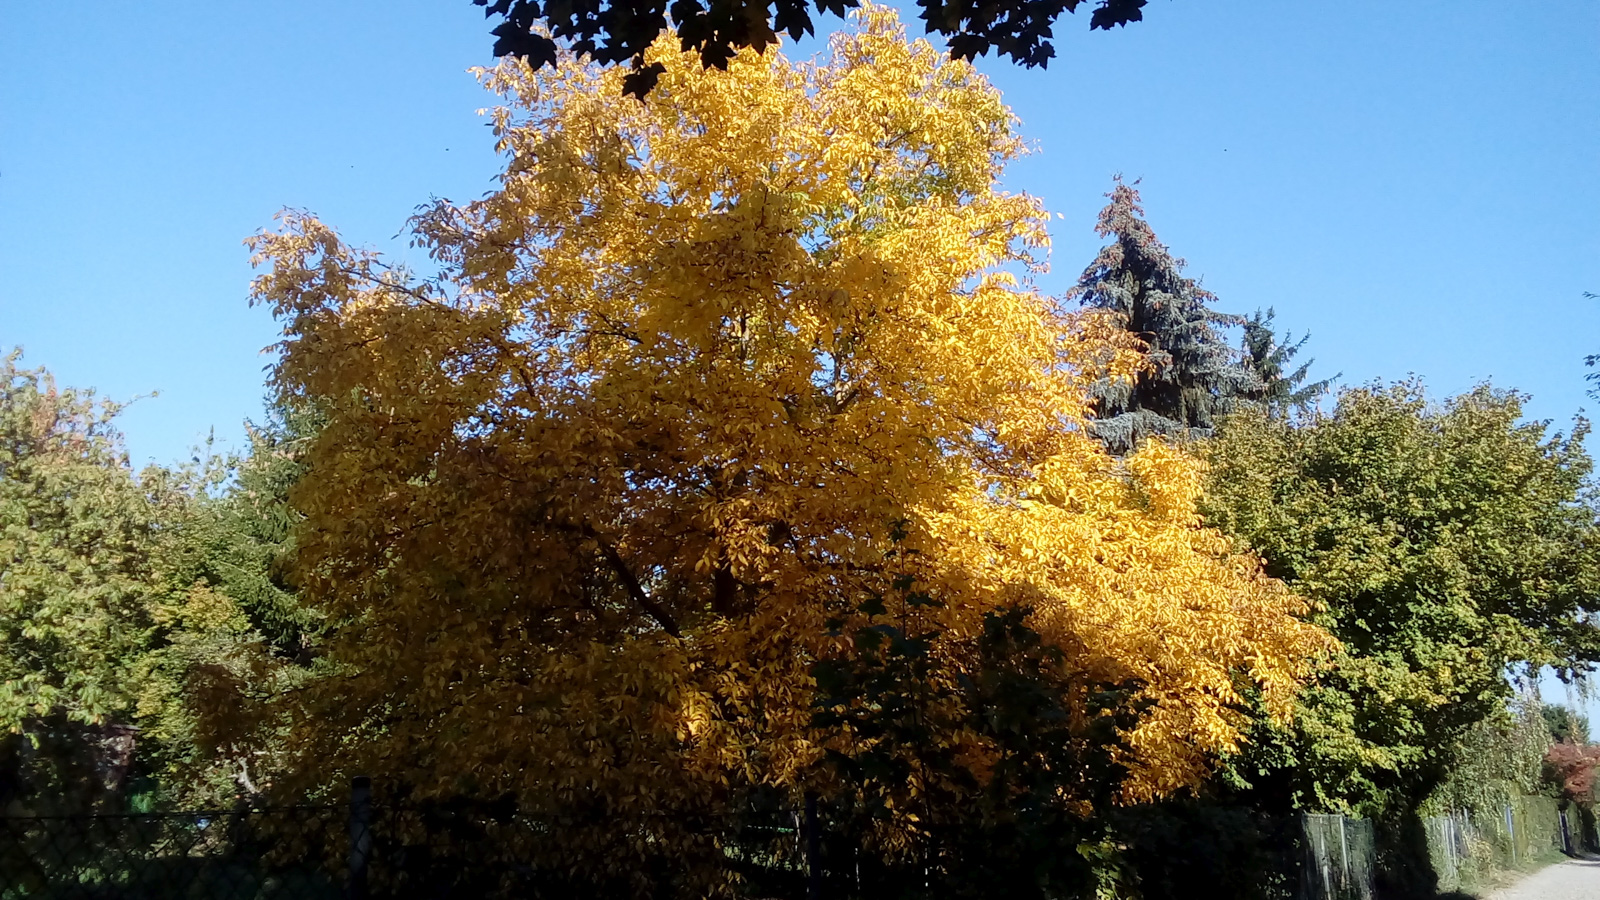
Herbstfarben, ©Avalus, all rights reserved

Herbstfarben, ©Avalus, all rights reserved

Herbstfarben, ©Avalus, all rights reserved