Today I have started the work on the handle, starting with brass fittings. First I have cut four pieces of brass, two for the bolster, two for the pommel, and I drilled 2,5 mm holes in the bolster pieces. On the left piece, I have then cut M3 thread and on the right piece, I have widened the holes to 3 mm.
For pins, I am going to be using a 3 mm brass rod. I cut 4 small pieces and on each, I have made a bit of M3 thread to go into the left side of the bolster (and later on the pommel). The M3 threads are, strictly speaking, unnecessary, but I find they help with two things. First, they help to keep track of which part is left and which is right, so I do not confuse them at some point and make a false cut with a file. Second, fiting the two halves together is easier, because the pins hold fast in place and do not fall off when manhandling the assembly.
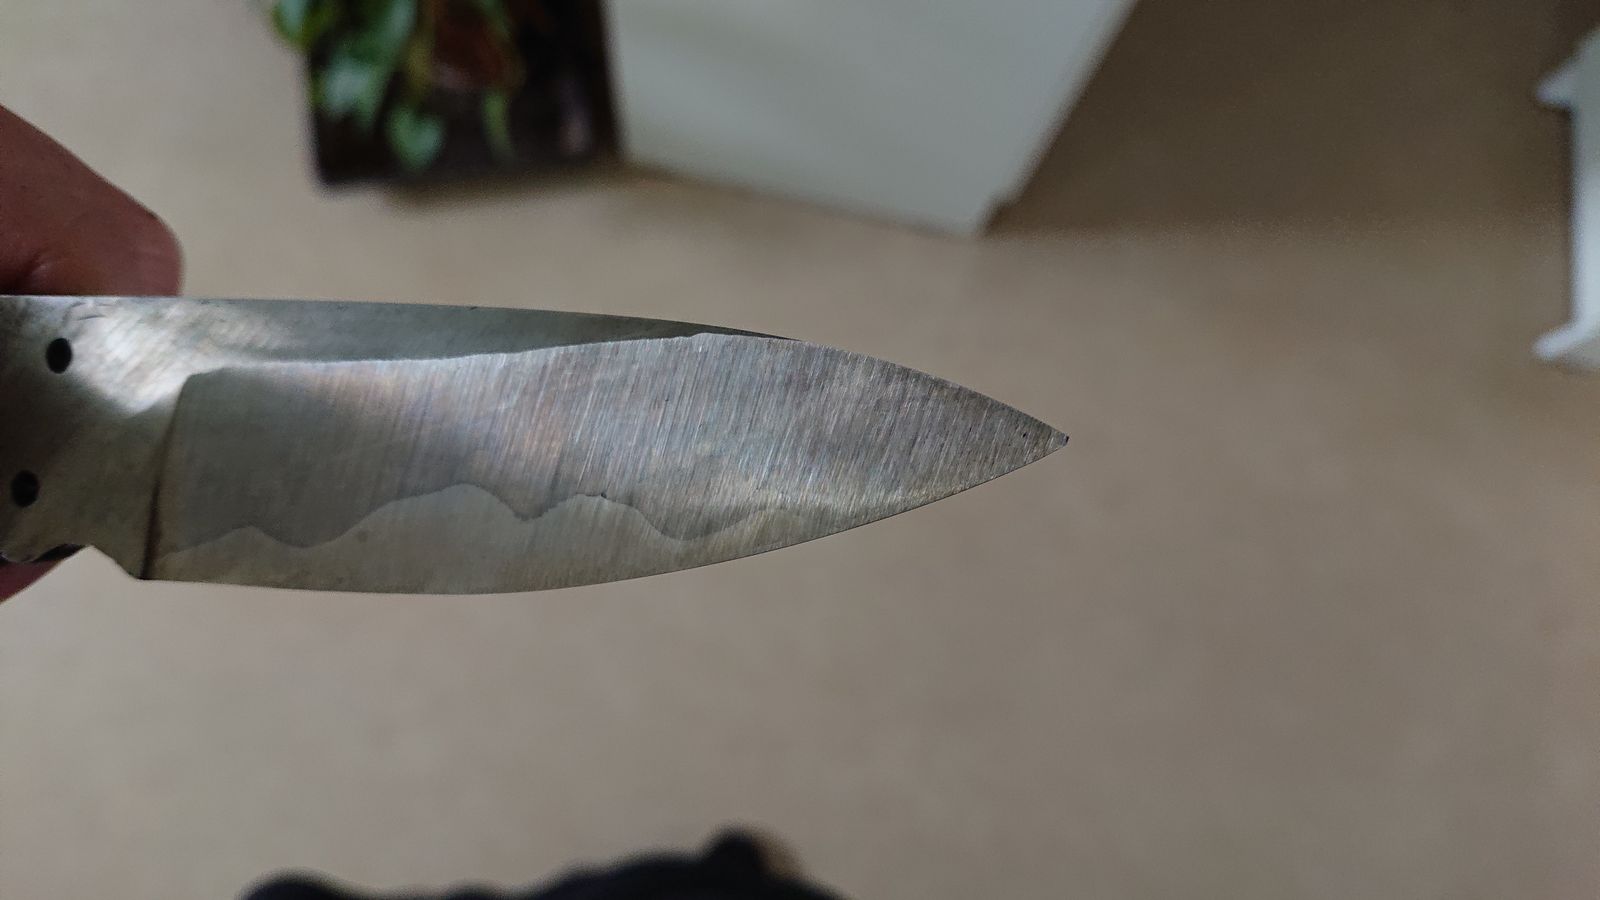
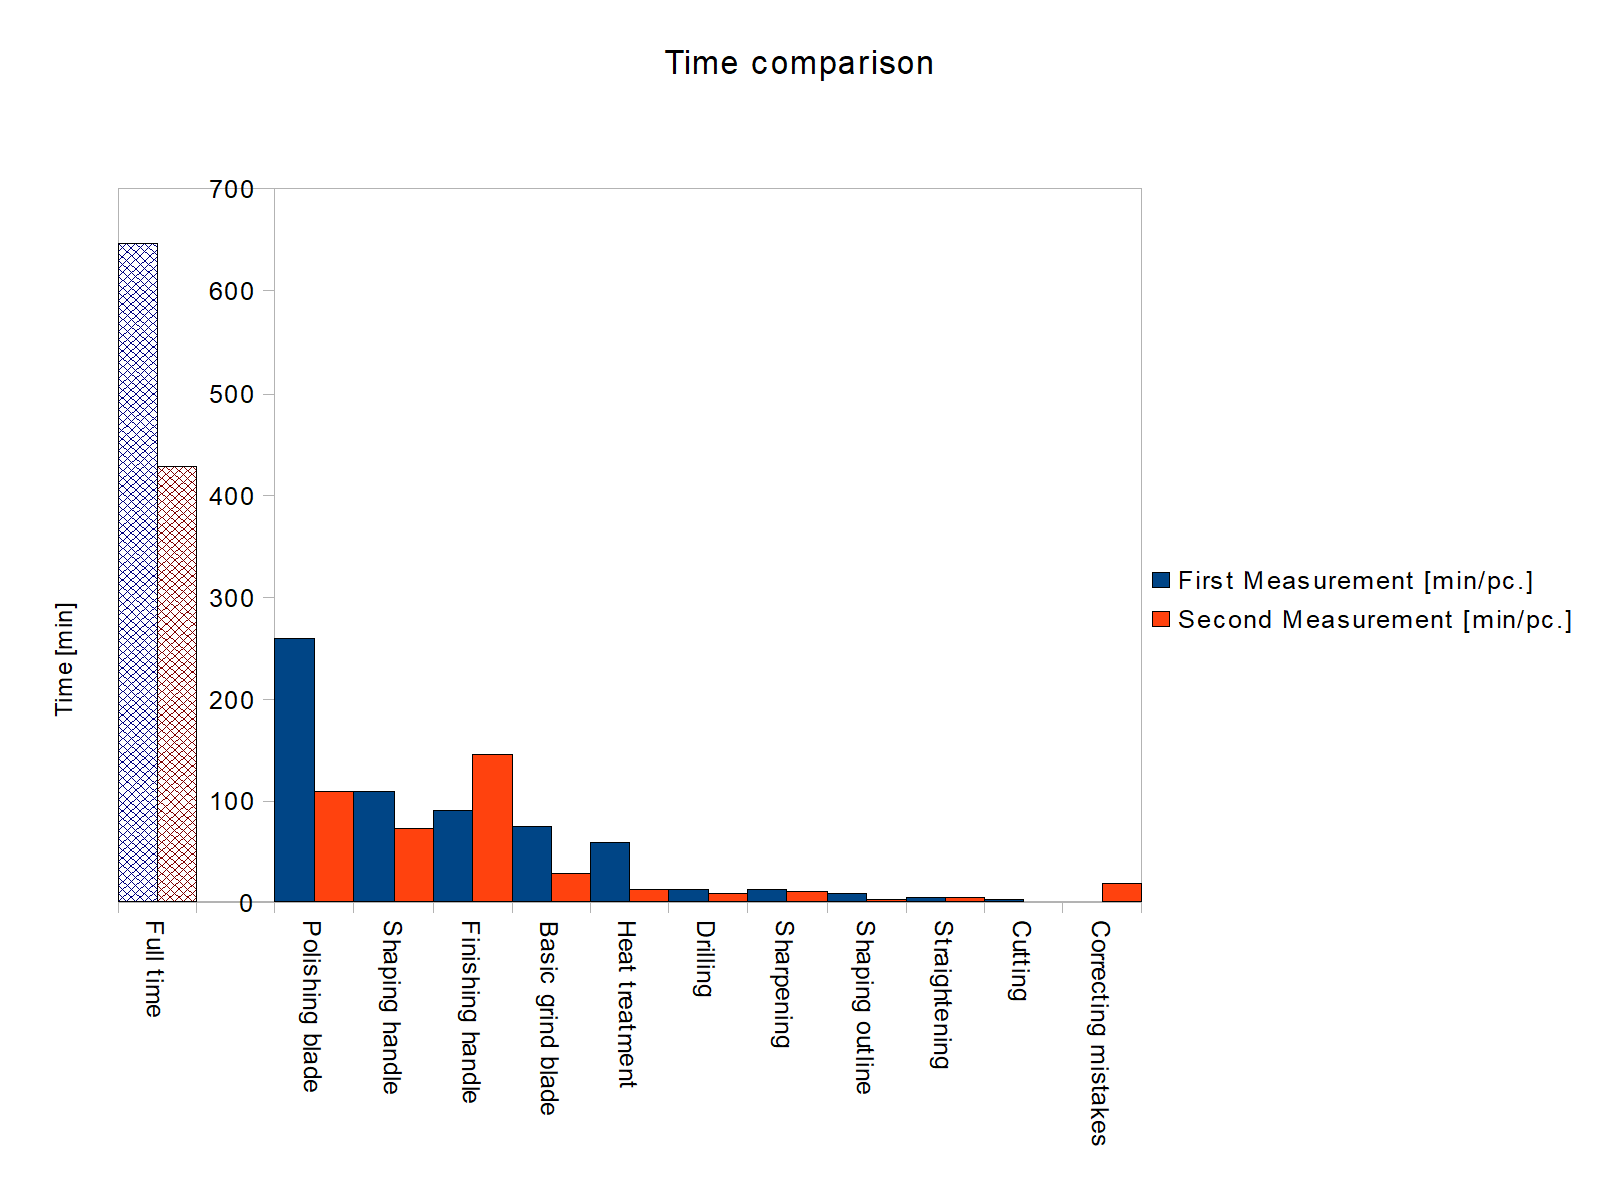
I guess these preparations should not take me too long. They took me over five hours. The drilling, cutting etc was not the biggest issue. The biggest issue was the tang. During polishing of the blade it became noticeably thinner, and because the polished area bleeds over to the tang, the tang was not flat anymore – it was a few tenths of a mm thinner at the bolster. So I went and flattened it on a stone.

© Charly, all rights reserved. Click for full size.
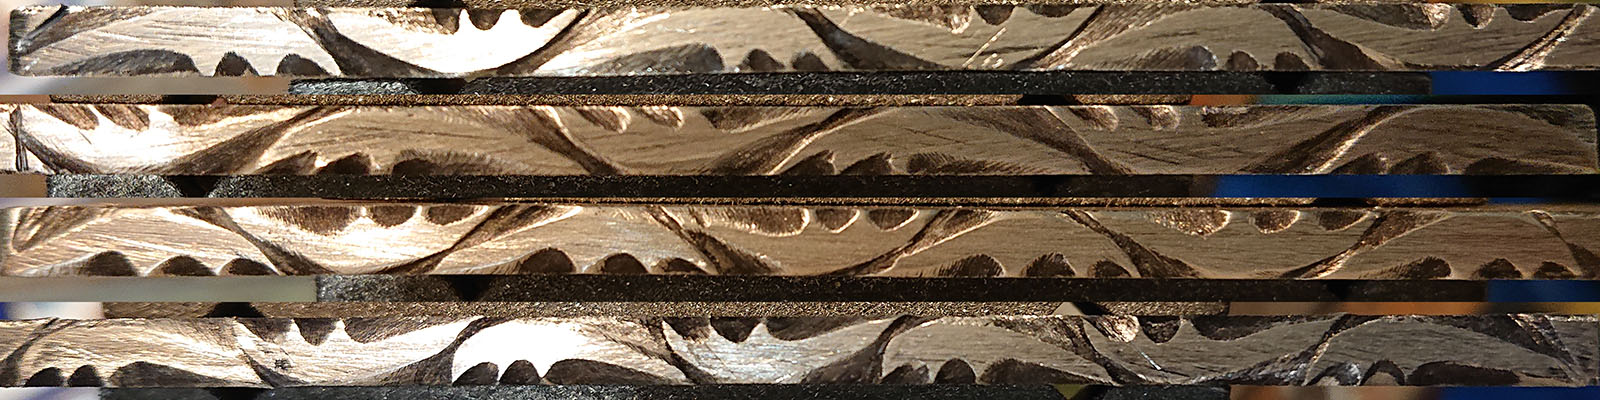
As you can see, the tang has relatively deep gashes cut into it with the edge of the grinding wheel. Those are there for three purposes – they reduce the weight, they provide a good grip for the epoxy later on, and they reduce the area that needs to be manually ground off when making the tang flat.
Even so it took me a lot longer than it should have because I did not have the correct sandpaper readily available. What you see here is green corundum, which should be used only dry and only for wood. I have to buy very coarse wet & dry sandpaper, but I keep forgetting and the coarsest I have in stock is 120 grit, which is not nearly enough for this.

© Charly, all rights reserved. Click for full size.
And this is where I am now. Next, I will polish and finish the front side of the bolster but not assemble it. Then I will make the handle scales, fit and drill those, and only after that is done I will drill and fit the pommel part. I have not decided yet whether or not the pommel needs a hole for a lanyard.
The way things are going, I have still quite a few days of work ahead of me.