This is the last week that I’ll be sharing images from Beardsley’s Morte Darthur. Enjoy these final few delicious illustrations.
La Beale Isoud at joyous gard. Artwork by Aubrey Beardsley. Le Morte Darthur.
Artwork via The Enchanted Booklet
This is the last week that I’ll be sharing images from Beardsley’s Morte Darthur. Enjoy these final few delicious illustrations.
La Beale Isoud at joyous gard. Artwork by Aubrey Beardsley. Le Morte Darthur.
Artwork via The Enchanted Booklet
I hope you are not bored with my writing about knife making yet. It is not that I do not care about other things, but knife making is where most of my focus is right now. And this week I had barely the strength to do anything else at all.
I have started a new batch of blades, 18 pieces altogether – 4 small hunting knives, 4 badger knives, 5 chef knives (prototyping new design), and 5 universal kitchen knives. So this whole week I was drilling, cutting, and grinding steel every day. I have progressed reasonably fast, despite being also slow. Because I simply cannot handle more than 6 hours net a day at the grinder, and I have to make a substantial pause every two hours. My hands are doing reasonably OK and I have been pain-free for a few months by now (despite never having a diagnosis about what was wrong last year), but even so, the vibrations are a strain on the fingers. And after two hours not only the glasses start getting foggy – the mind does so as well and thus the risk of injury increases.
© Charly, all rights reserved. Click for full size.
Today was a big finale of that busy week and all knives went into quench and tempering. This time I have decided to use quenching foil on all blades, despite bad experience on some blades the last time. I have decided to do so because the protective coating that I have concocted did work well but also was a real pain in the ass to remove afterward. And that did cost me a lot of time and I destroyed two belts before I figured it out. But I have tried plate quench with on this steel with moderate success), and I have hoped, really, really hoped, that doing plate quench on newly ground and straight blanks will lead to straight blades without having to scrub off a hard crust.
And following the maxim of Scrooge McDuck “Work smarter, not harder”, I have done my best to make the plate quench easy and reliable – I have built myself a jig. The construction is very simple and it did only take me a few hours. I have used the locking pliers and aluminum plates from last time, but I have connected it all into one piece that can be easily used in one hand. So instead of one hinge in the middle of the plates, I have added two hinges on the sides. Then I have drilled holes in the fixed jaw of the pliers (and re-ground it a bit) so I can screw one of the plates to it with two M4 screws. The movable jaw is not fixed to the second plate, but it does fit into a groove cut in it and it was also re-ground for a better fit at the angle where most blades will be gripped.

© Charly, all rights reserved. Click for full size

© Charly, all rights reserved. Click for full size
The idea was that I will hold this jig in my left hand, with my right hand I pull a blade out of the forge, insert it between the plates (still in the foil), lock the pliers and dunk the whole thing into a bucket of water. And it worked well! None of the knives came out of the quench with a perm or as a banana-imitation, none have cracked either, at least I did not notice it yet. All but one blade quenched properly (and that one I have re-quenched OK the second time) with hardness above 55 HRC, most even over 62.

© Charly, all rights reserved. Click for full size

© Charly, all rights reserved. Click for full size
Hardening all these blades took me only 15-16 minutes per blade, so even with all that foil wrapping, I was well within a reasonable time. There was only one small problem towards the end – my new burner worked really well and I have reached and held 1.050-1.080°C without problem with four blades in the forge, but after a few hours, it started to struggle. I thought at first that I am running out of propane, but that was not the case. As it turns out, the propane bottle got too cold (just 10°C) after that long continuous decompression, and the gas was evaporating less. I am not sure yet how to solve that problem for the future.
Now the blades are in the second tempering cycle (each cycle two hours at circa 180°C) and they did not seem to develop any bends or curls in the oven either. So far, so good, let us hope it stays that way since I am going to try some new techniques with this project again.
Behold below the fold. [Read more…]

How Sir Tristram drank of the love drink. Artwork by Aubrey Beardsley, Le Morte Darthur..
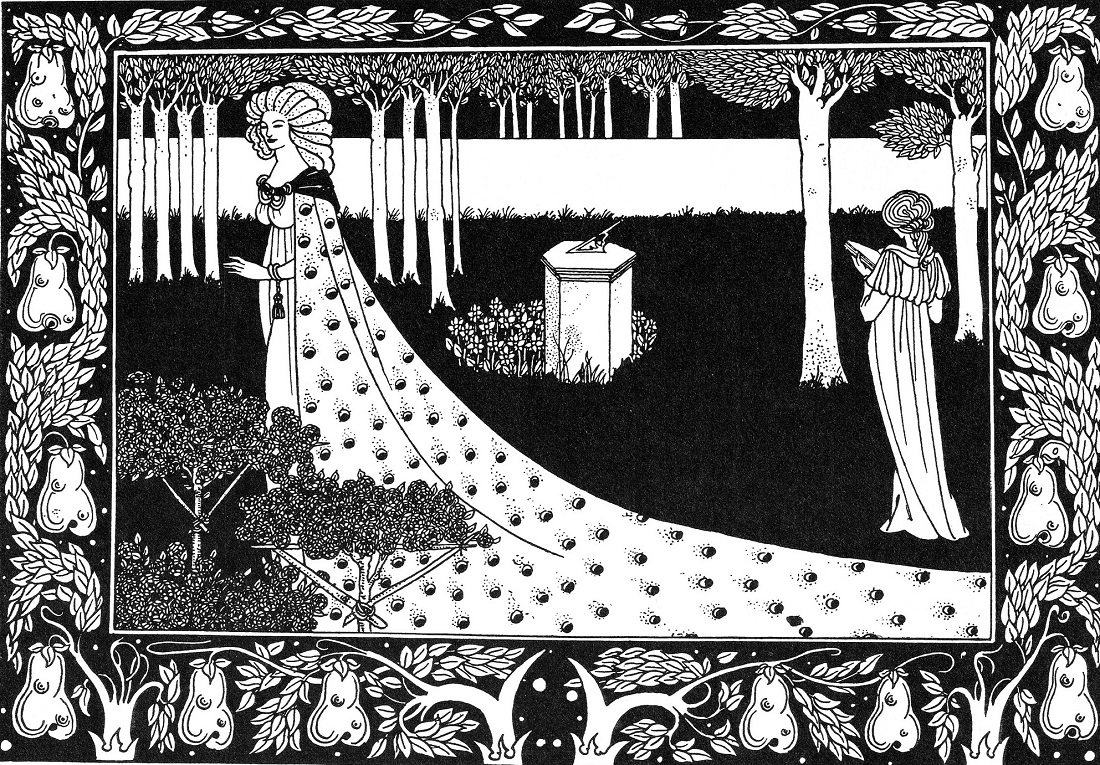
The Lady of the Lake telleth Arthur of the sword Excaliber. Artwork by Aubrey Beardsley. Le Morte Darthur.
Artwork via The Enchanted Booklet
© Charly, all rights reserved. Click for full size.

How Sir Belvedere cast the sword Excaliber itno the water. Artwork by Aubrey Beardsley, Le Morte Darthur.

© Charly, all rights reserved. Click for full size.
One of Beardsley’s double-page illustrations. I just love the trees and the road fading away into the hills.

How Sir Lancelot was known by Dame Elaine. Artwork by Aubrey Beardsley. Le Morte Darthur.
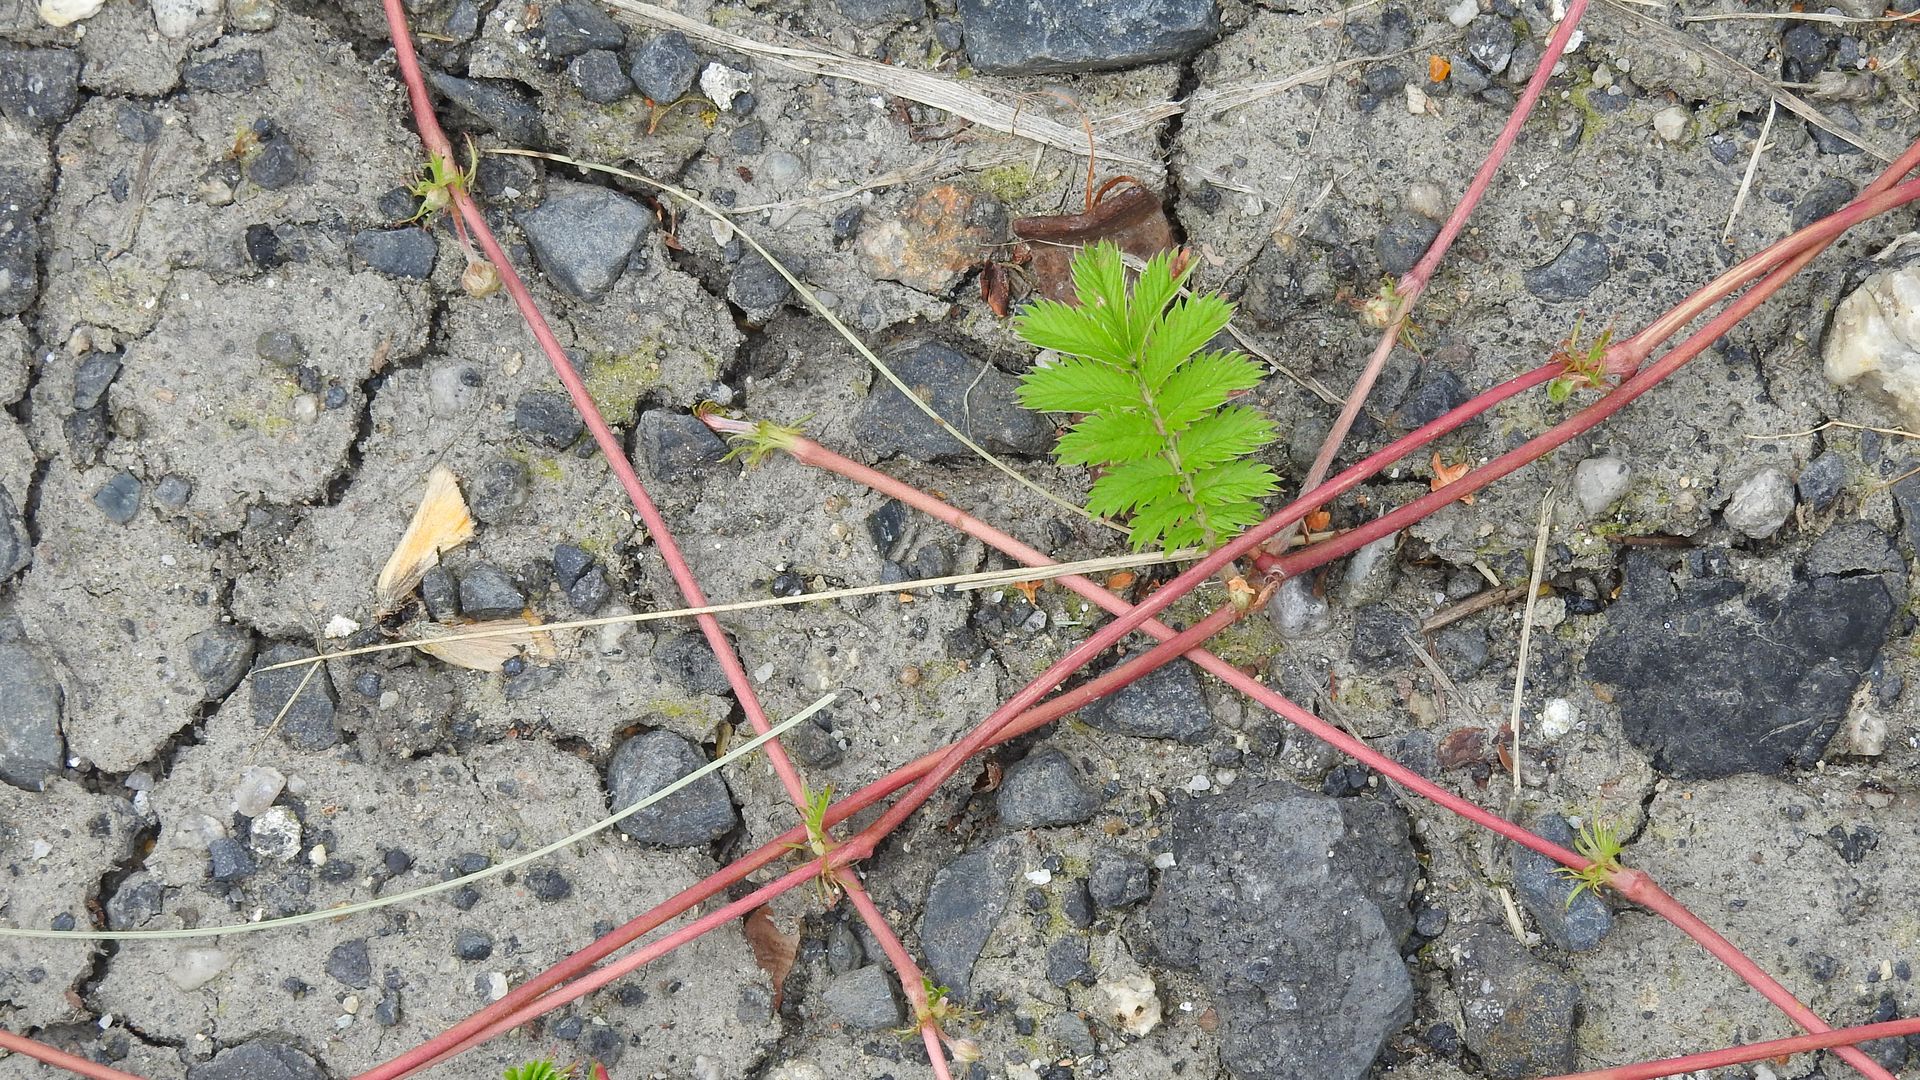
Death and destruction on the roadside. A parched strip of land, baked by the sun in the summer, destroyed by salt runoff in winter. But silverweed endures and sends its creeping stolons across it.
© Charly, all rights reserved. Click for full size.
I did not notice the dead moth until today. But it fits the scenery just fine.
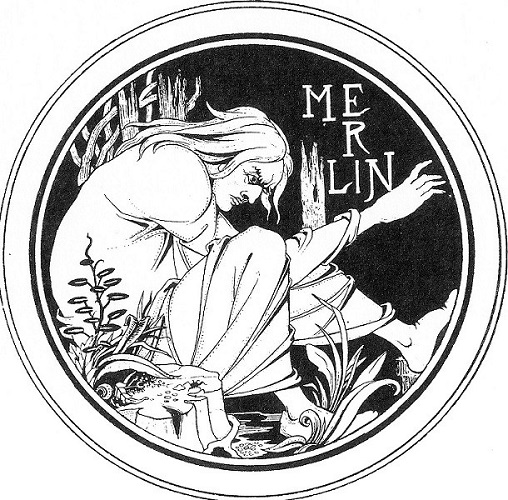
Merlin. Artwork by Aubrey Beardsley. Le Morte Darthur.
Merlin and Nimue. Artwork by Aubrey Beardsley. Le Morte Darthur.
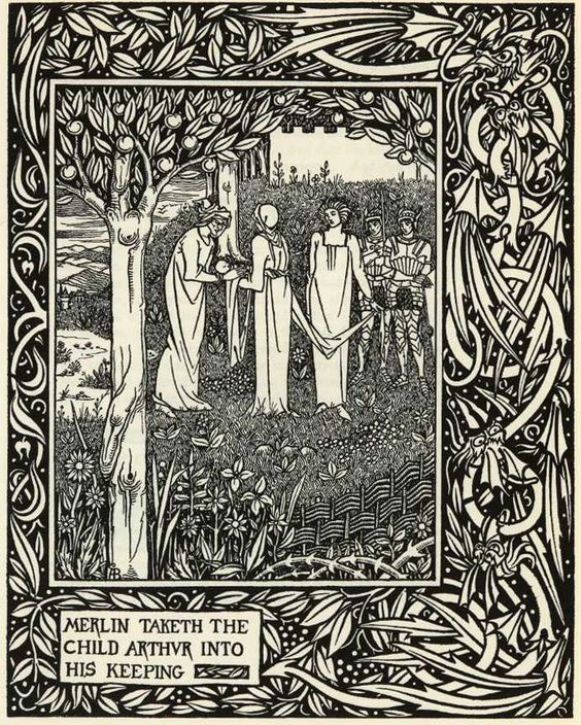
Merlin Taketh the child Arthur into his keeping. Artwork by Aubrey Beardsley. Le Morte Darthur.
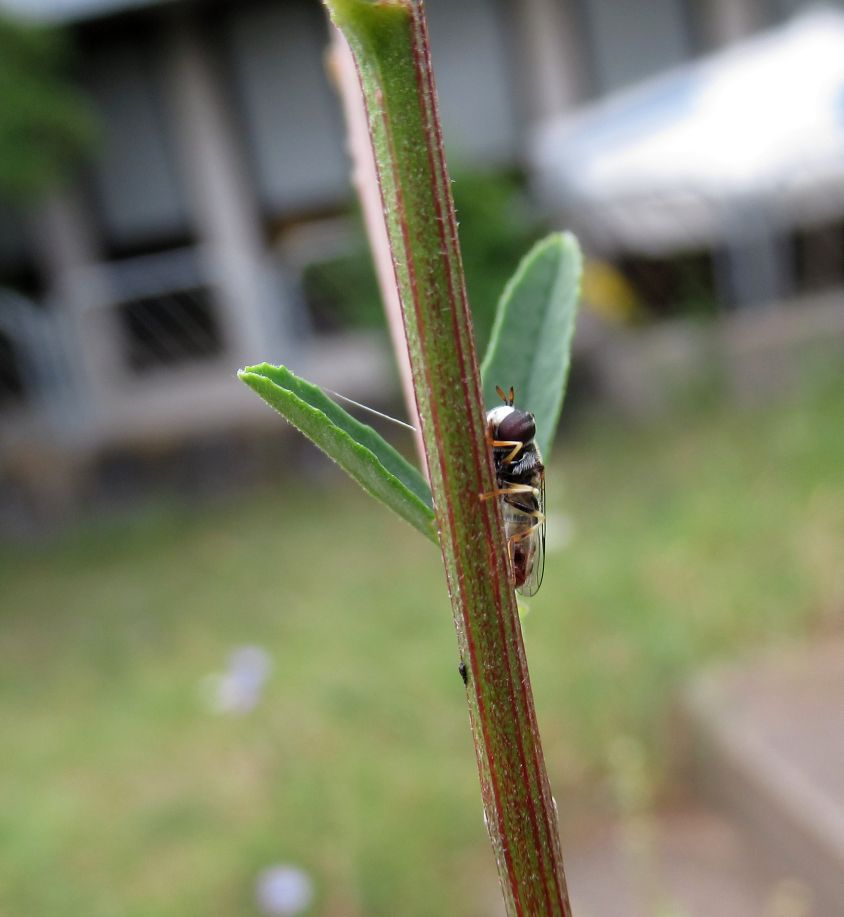
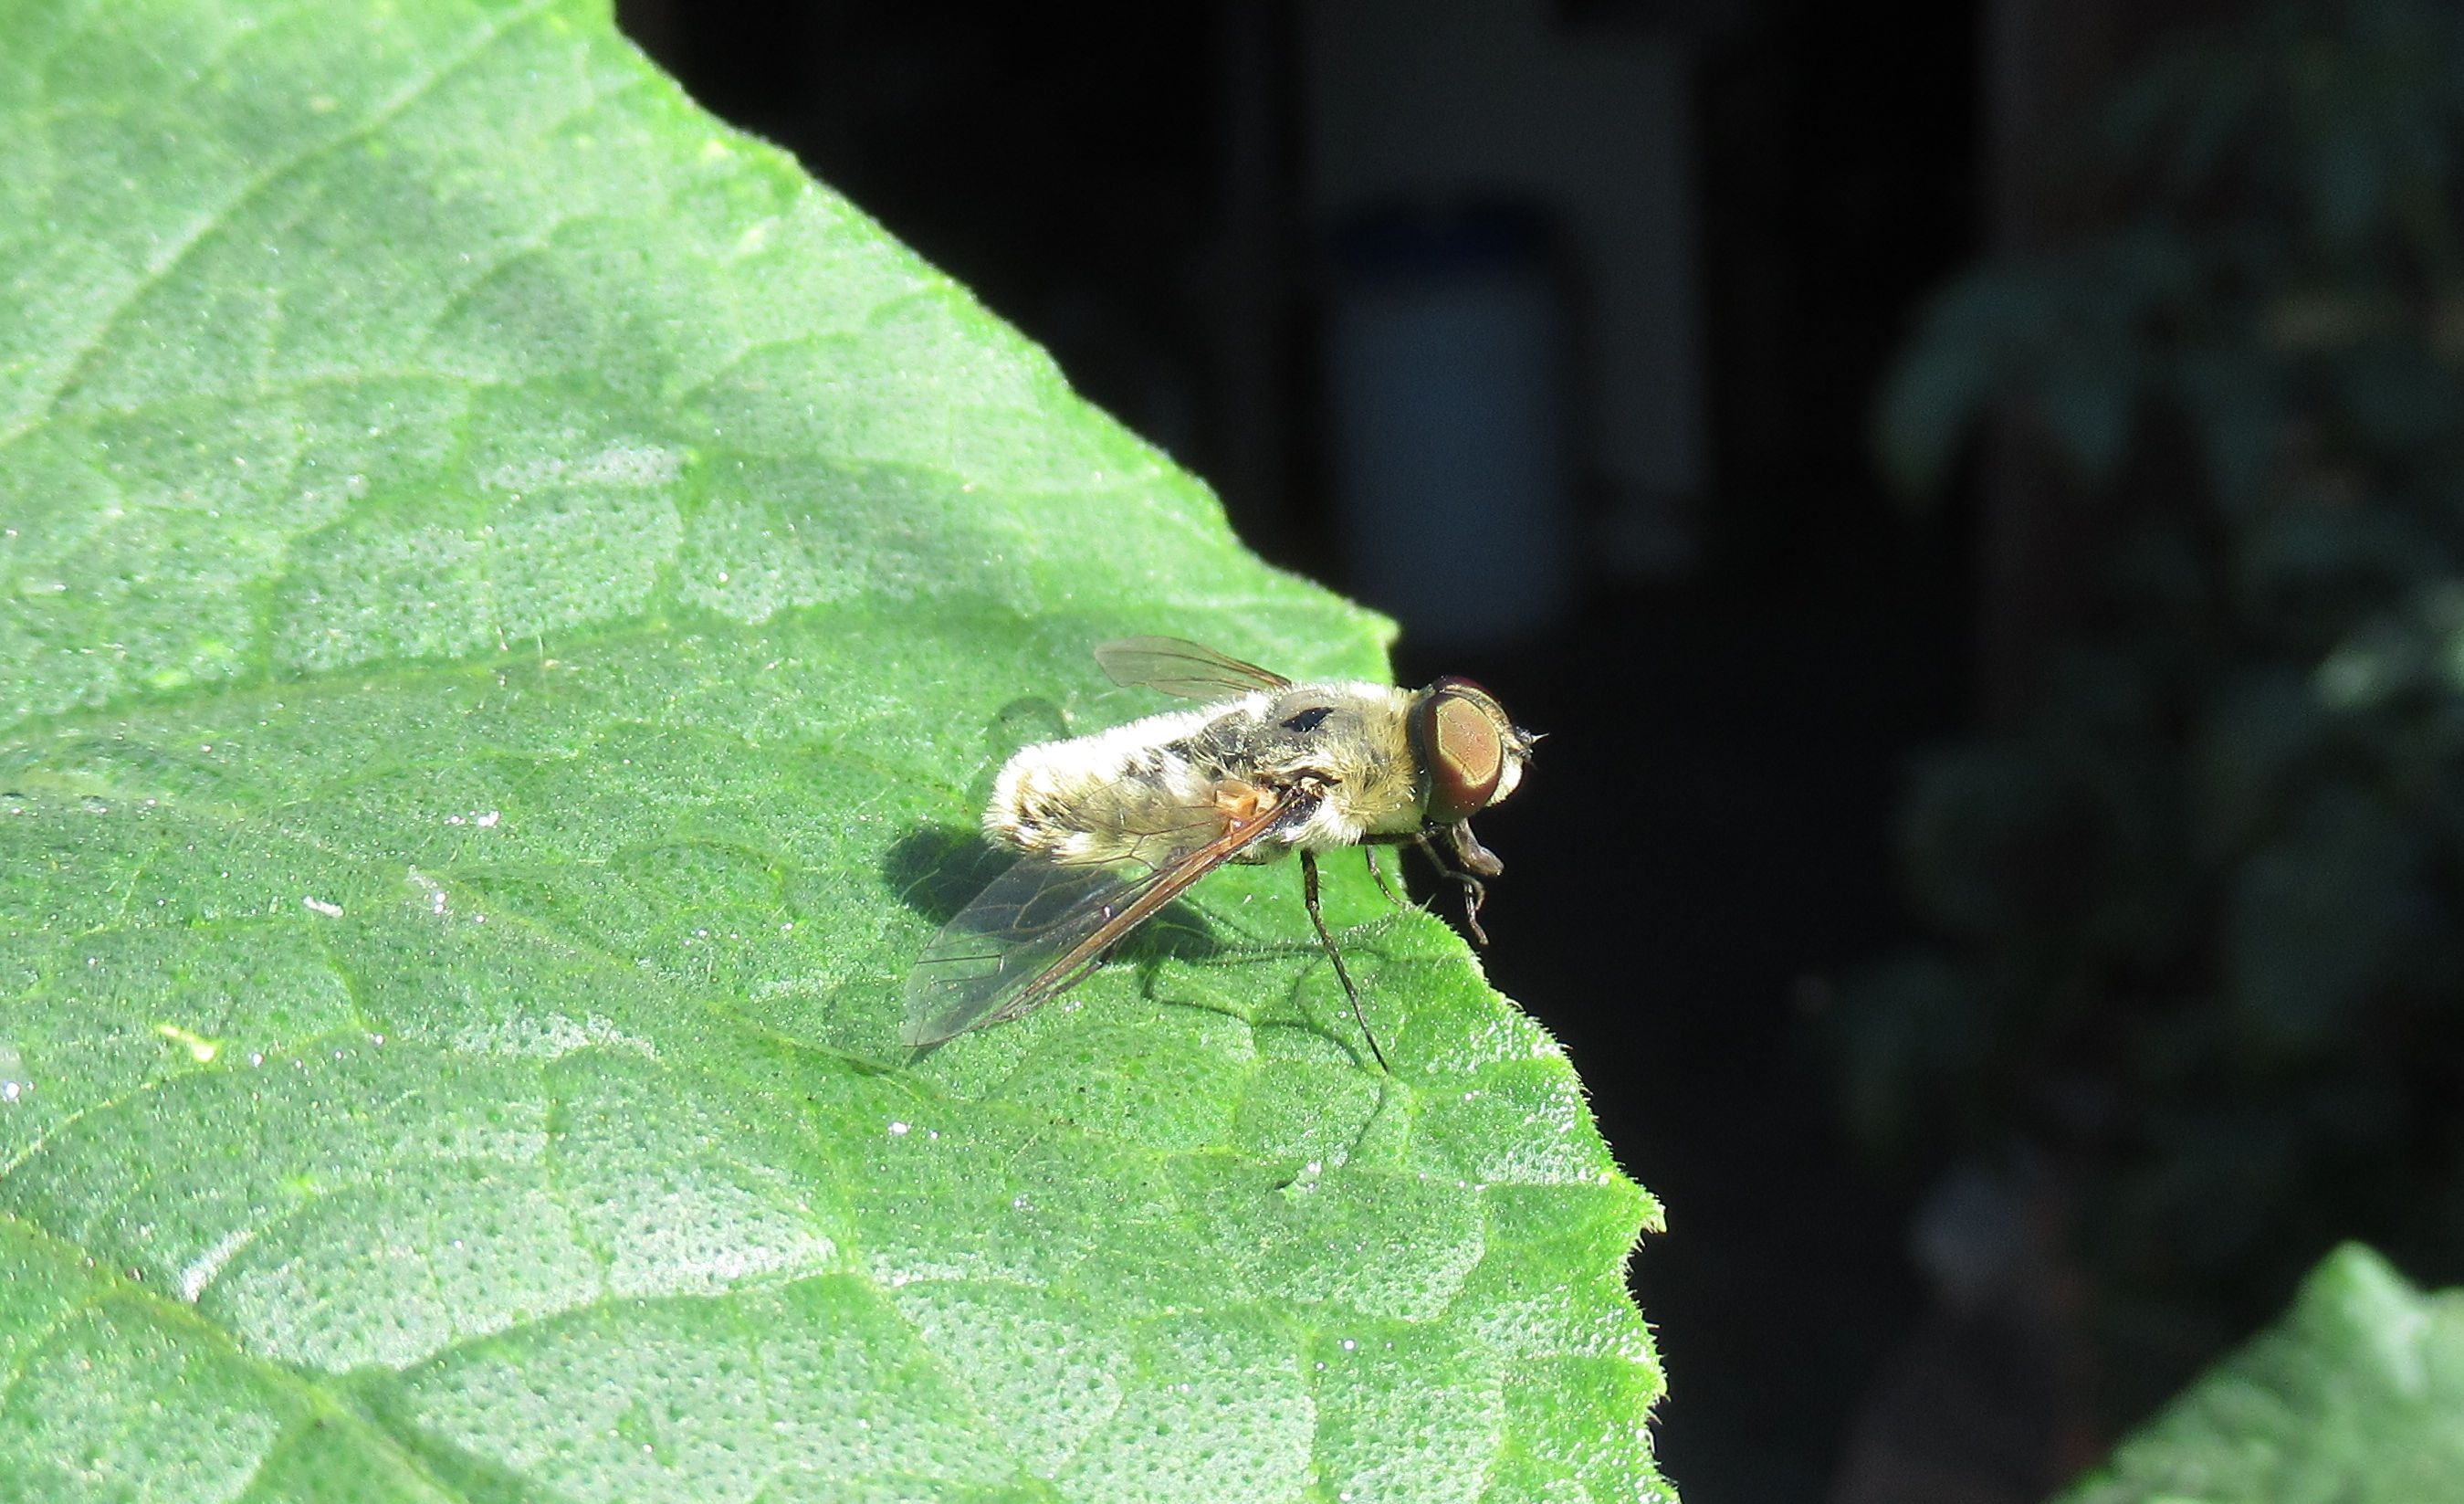
More fabulous photos from Avalus.
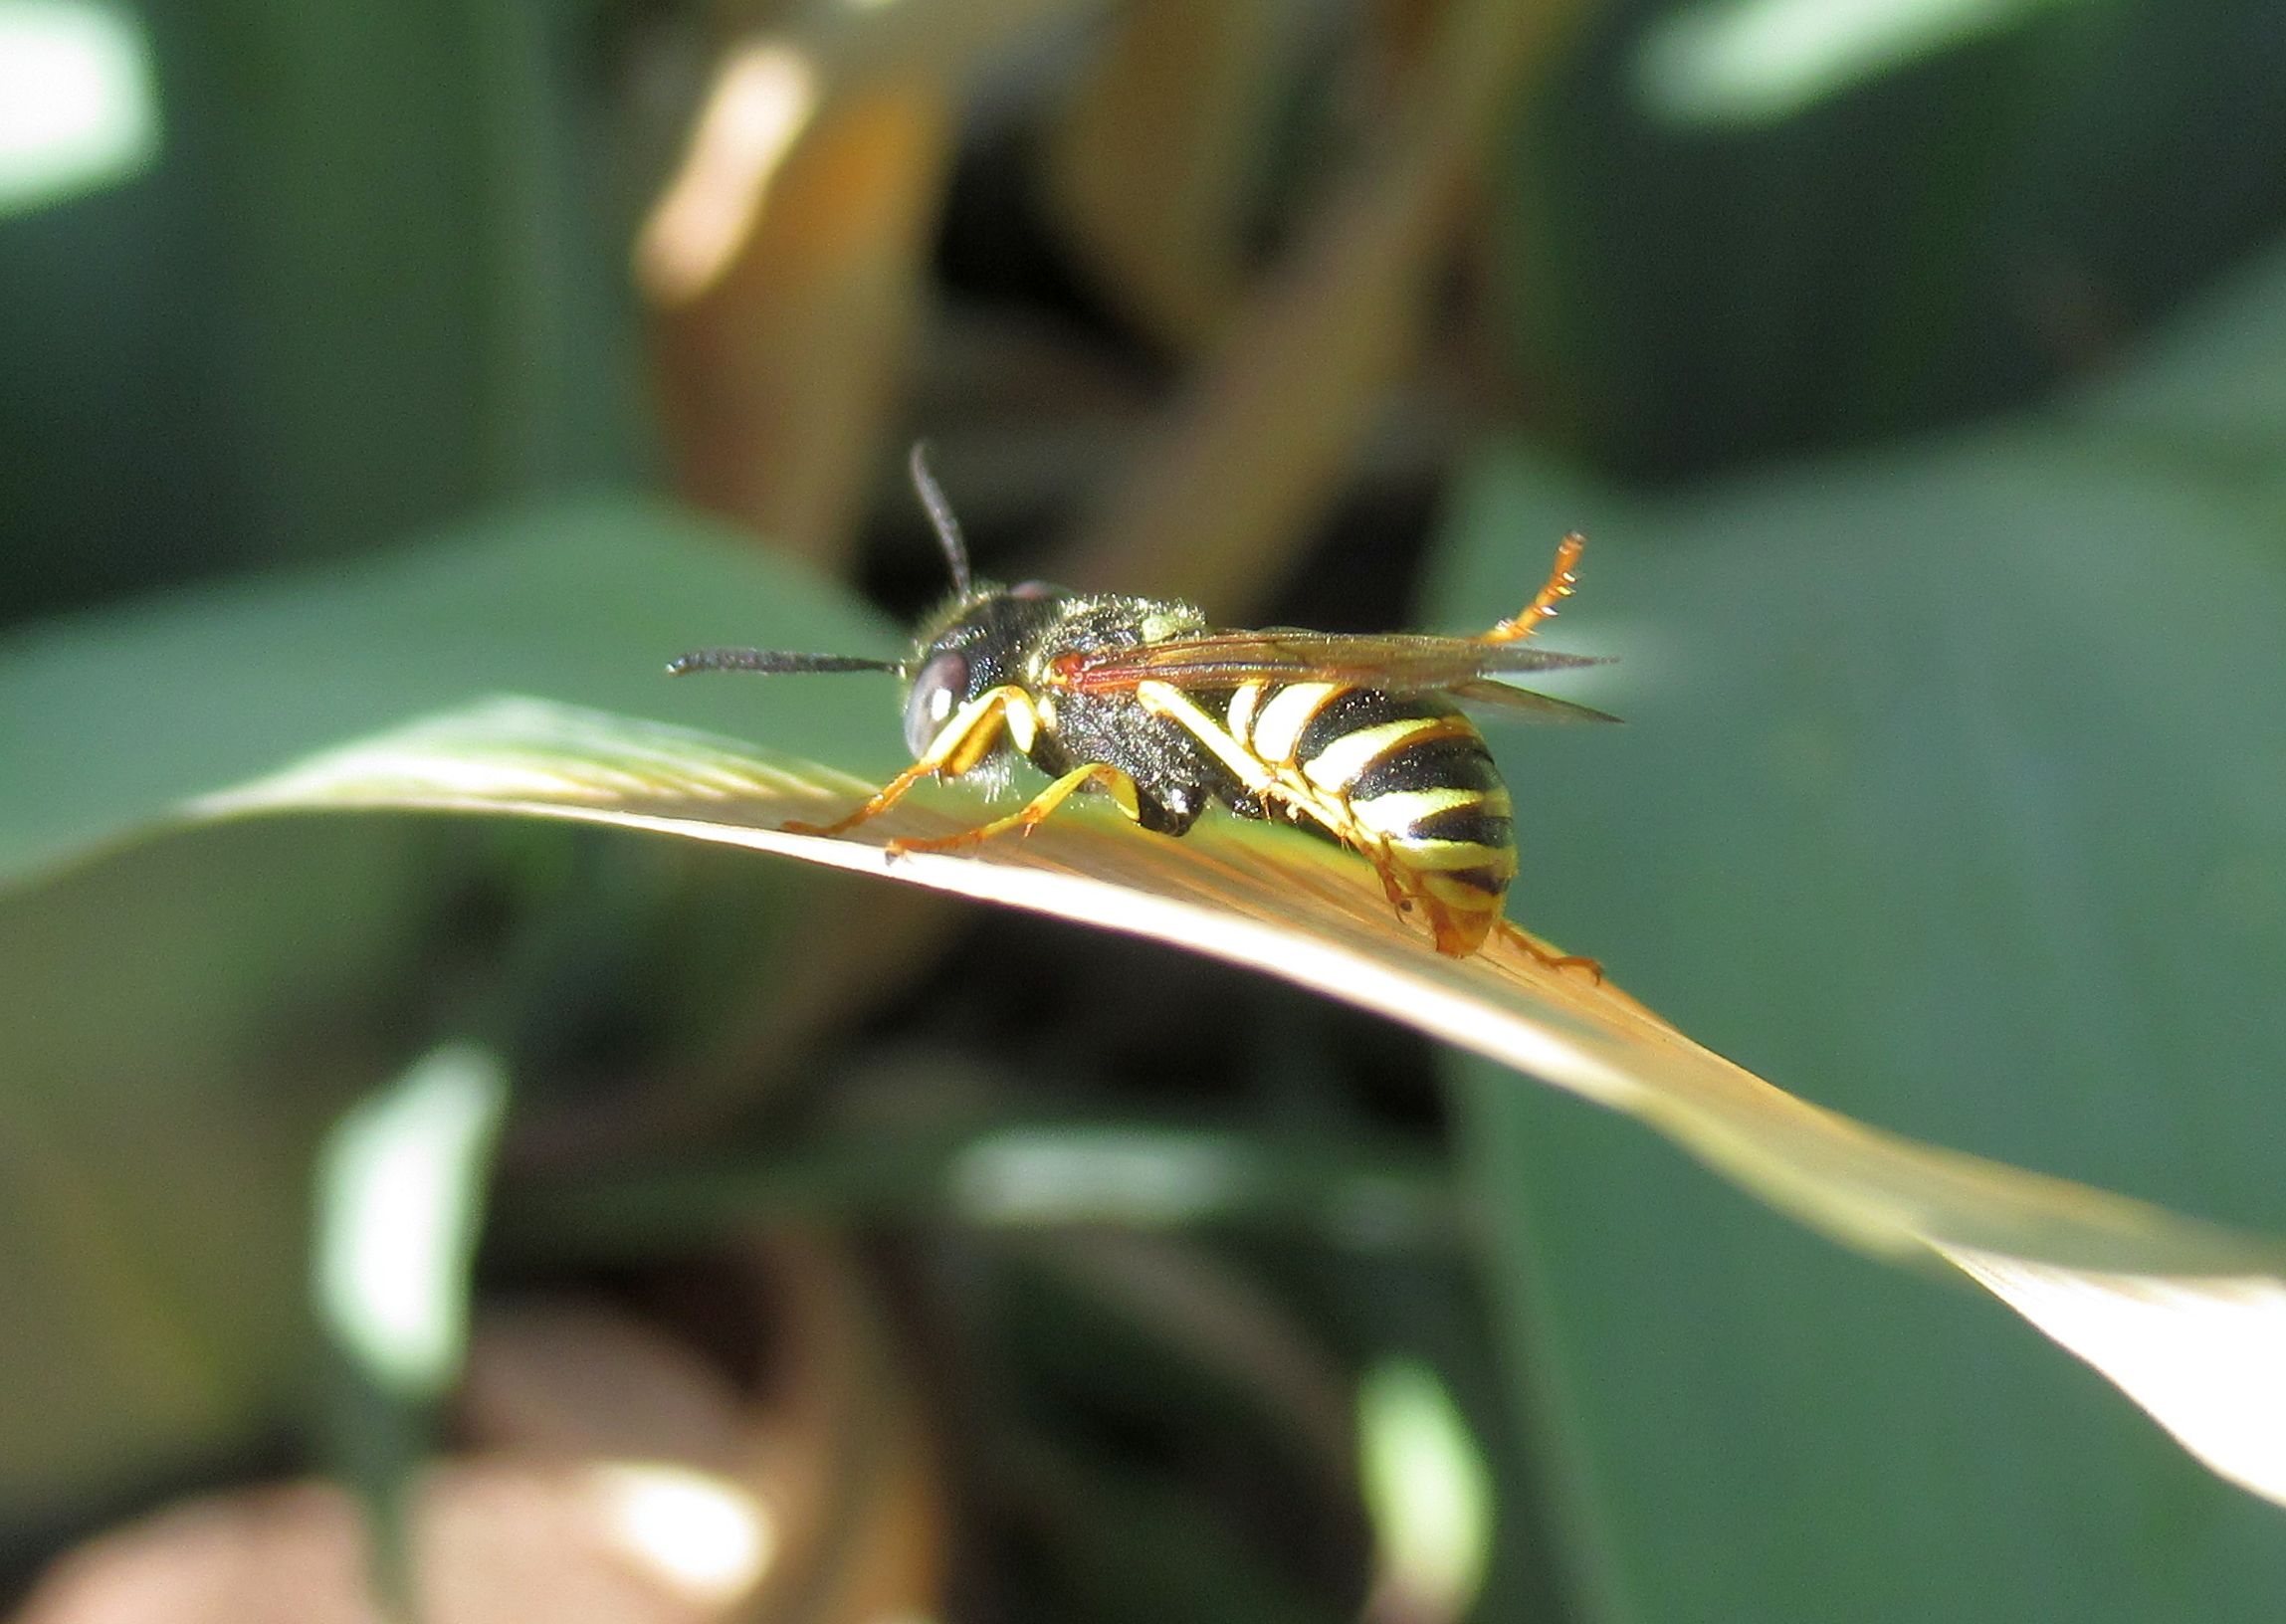
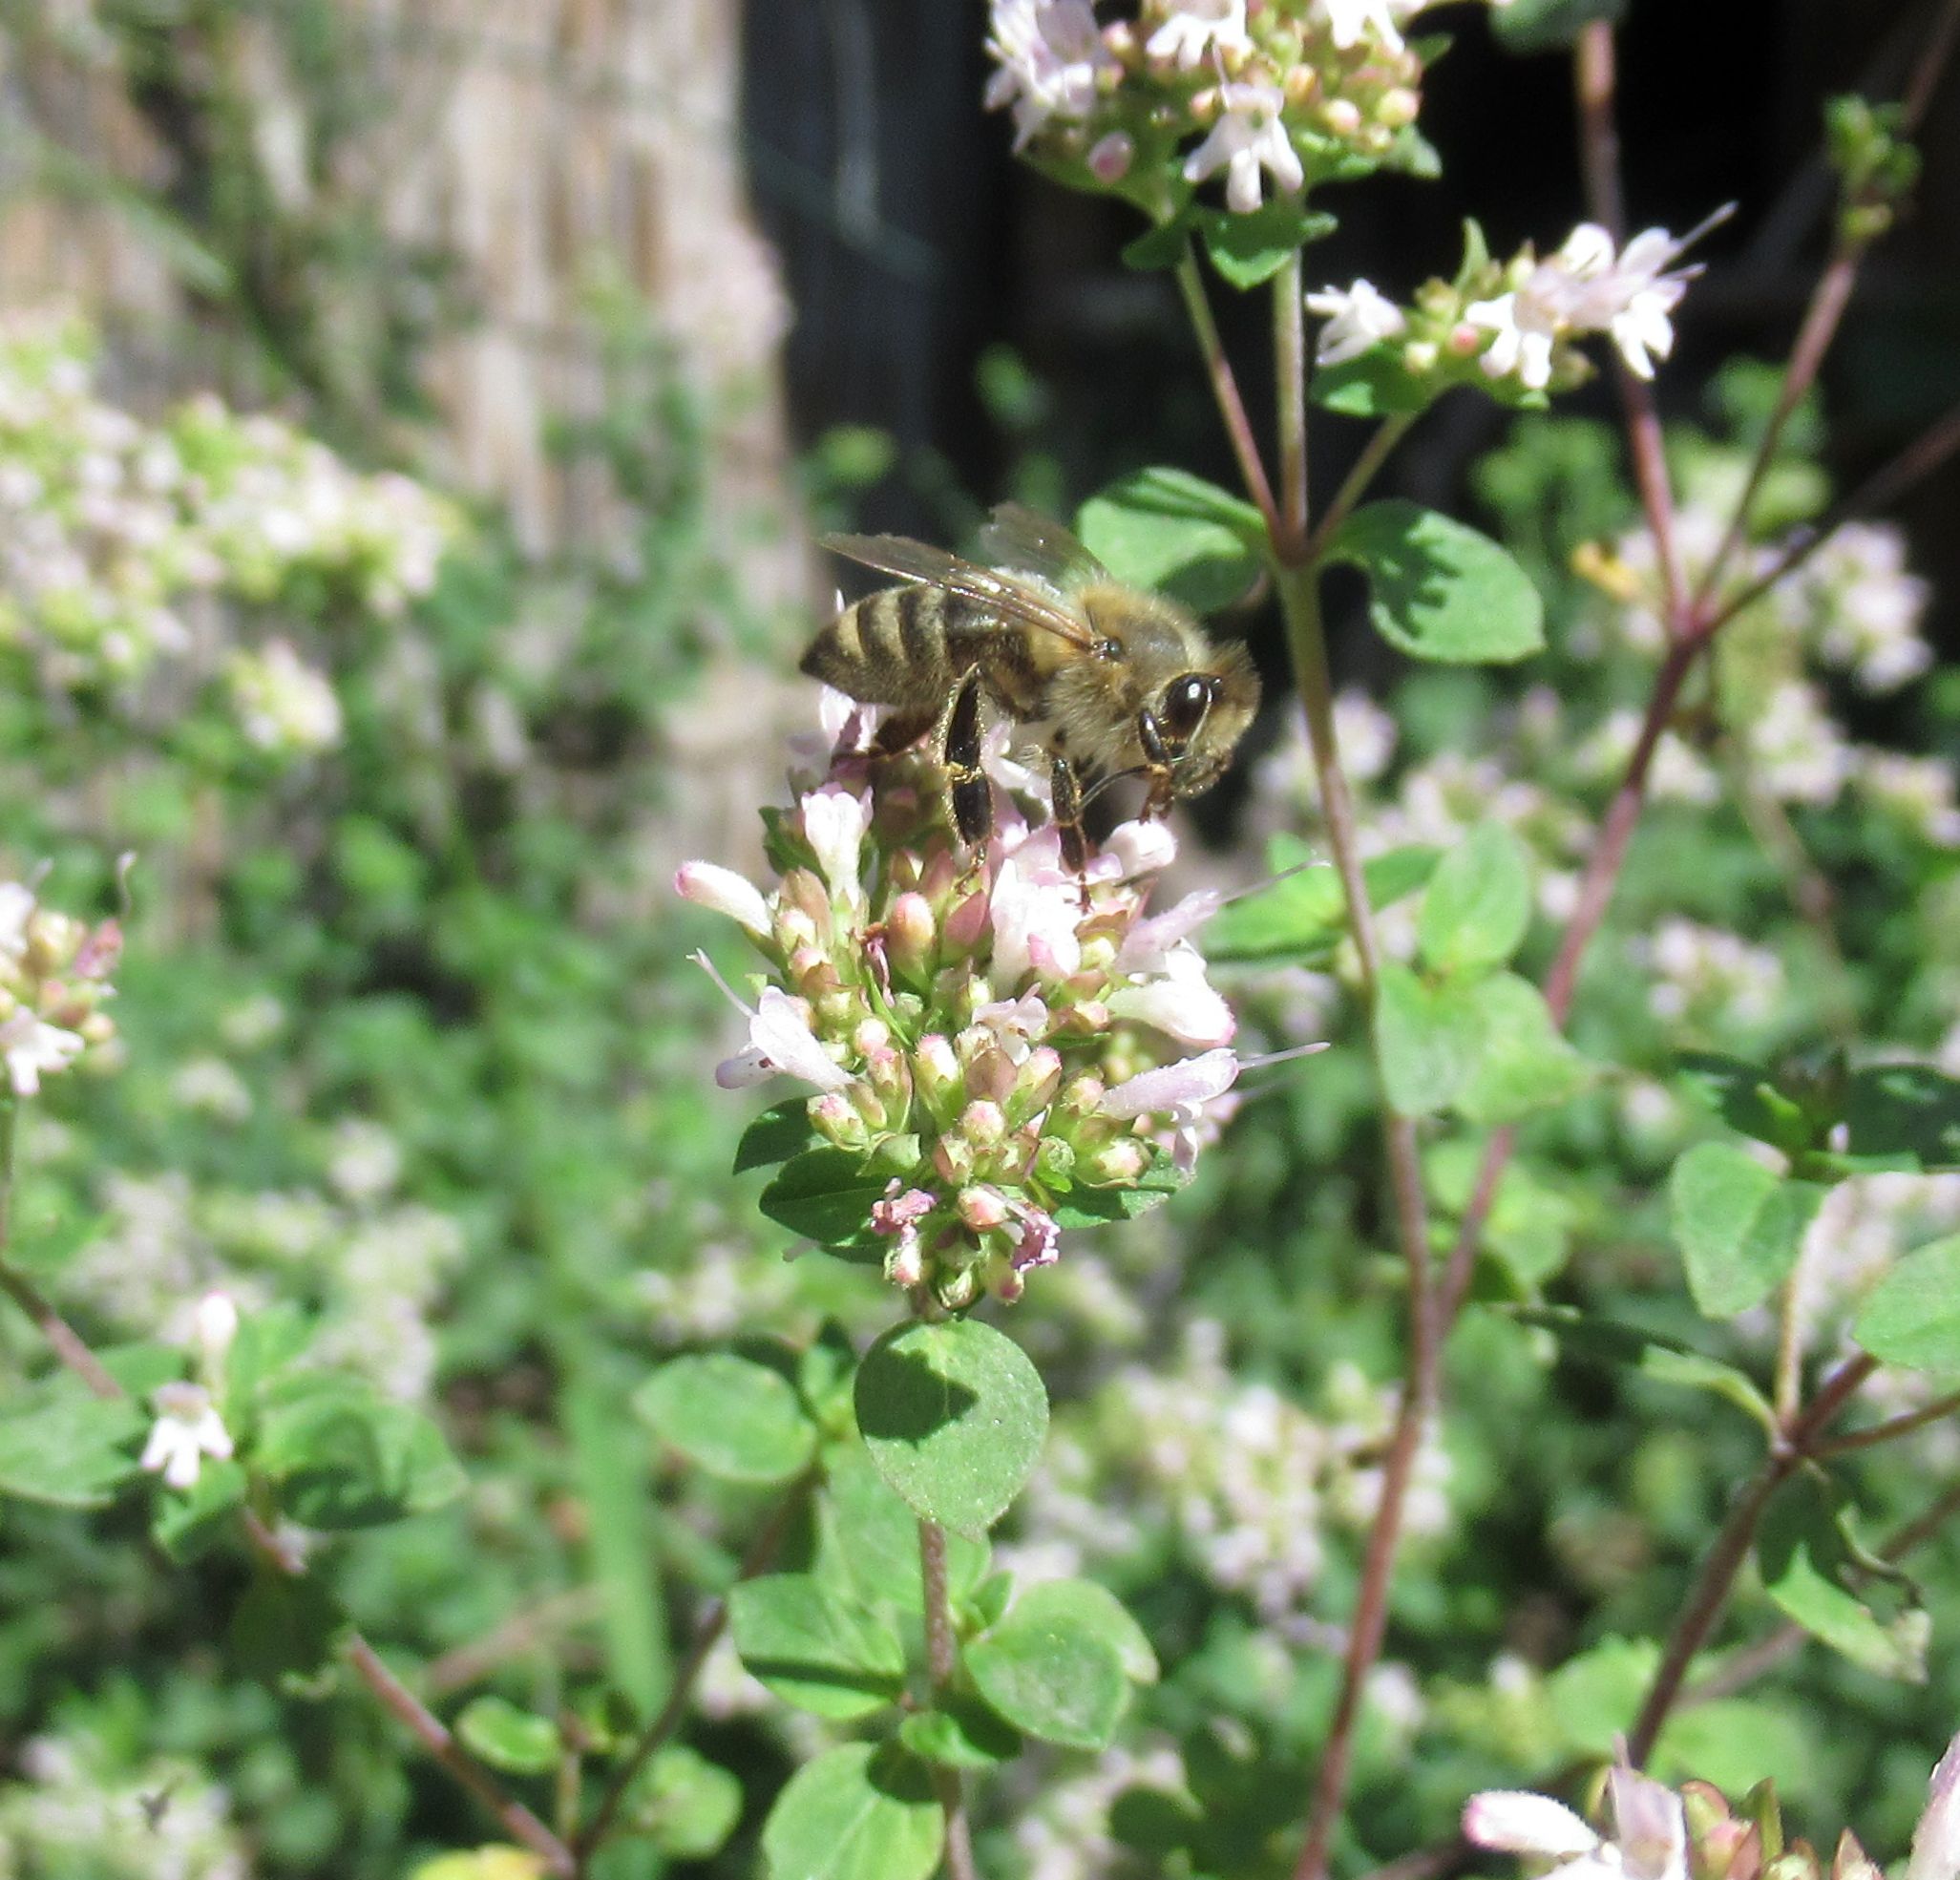
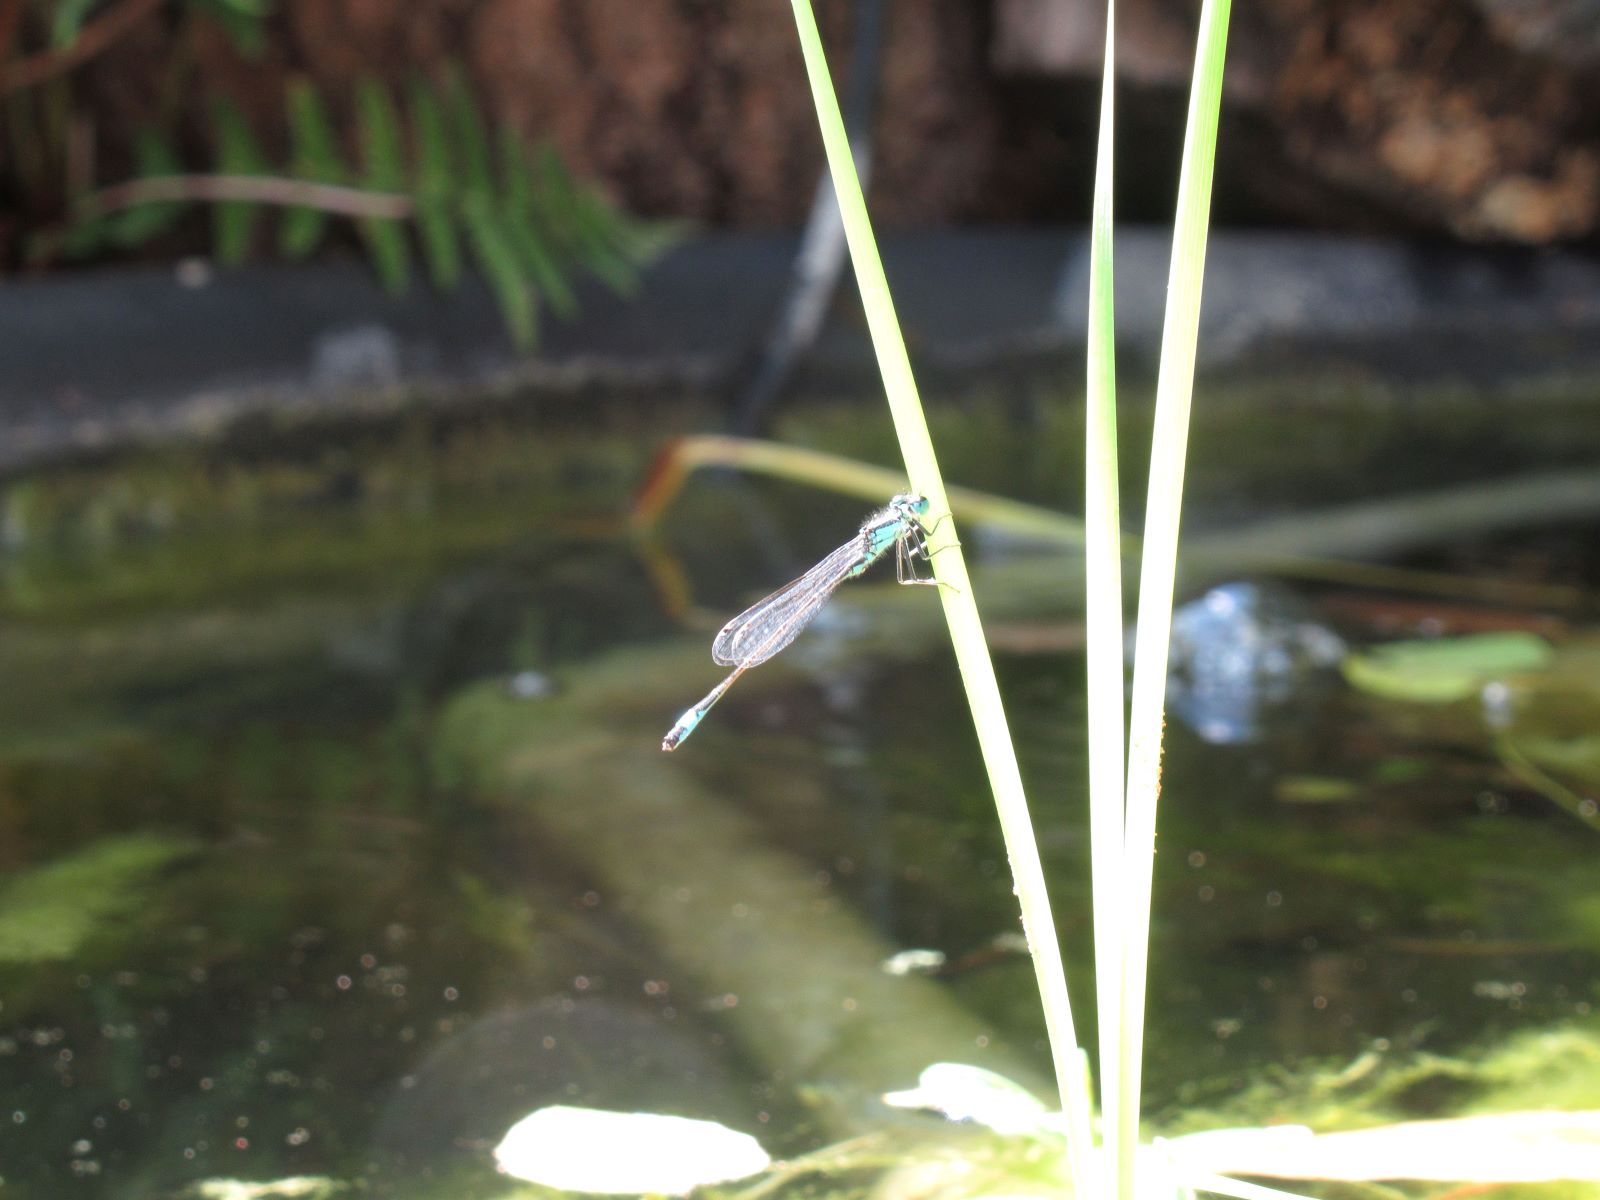
First two different hoverflies, then a wasp, cleaning herself, then an older bee, a different kind of bee, and a damselfly.
©Avalus, all rights reserved
©Avalus, all rights reserved

©Avalus, all rights reserved
©Avalus, all rights reserved
©Avalus, all rights reserved

©Avalus, all rights reserved
©Avalus, all rights reserved
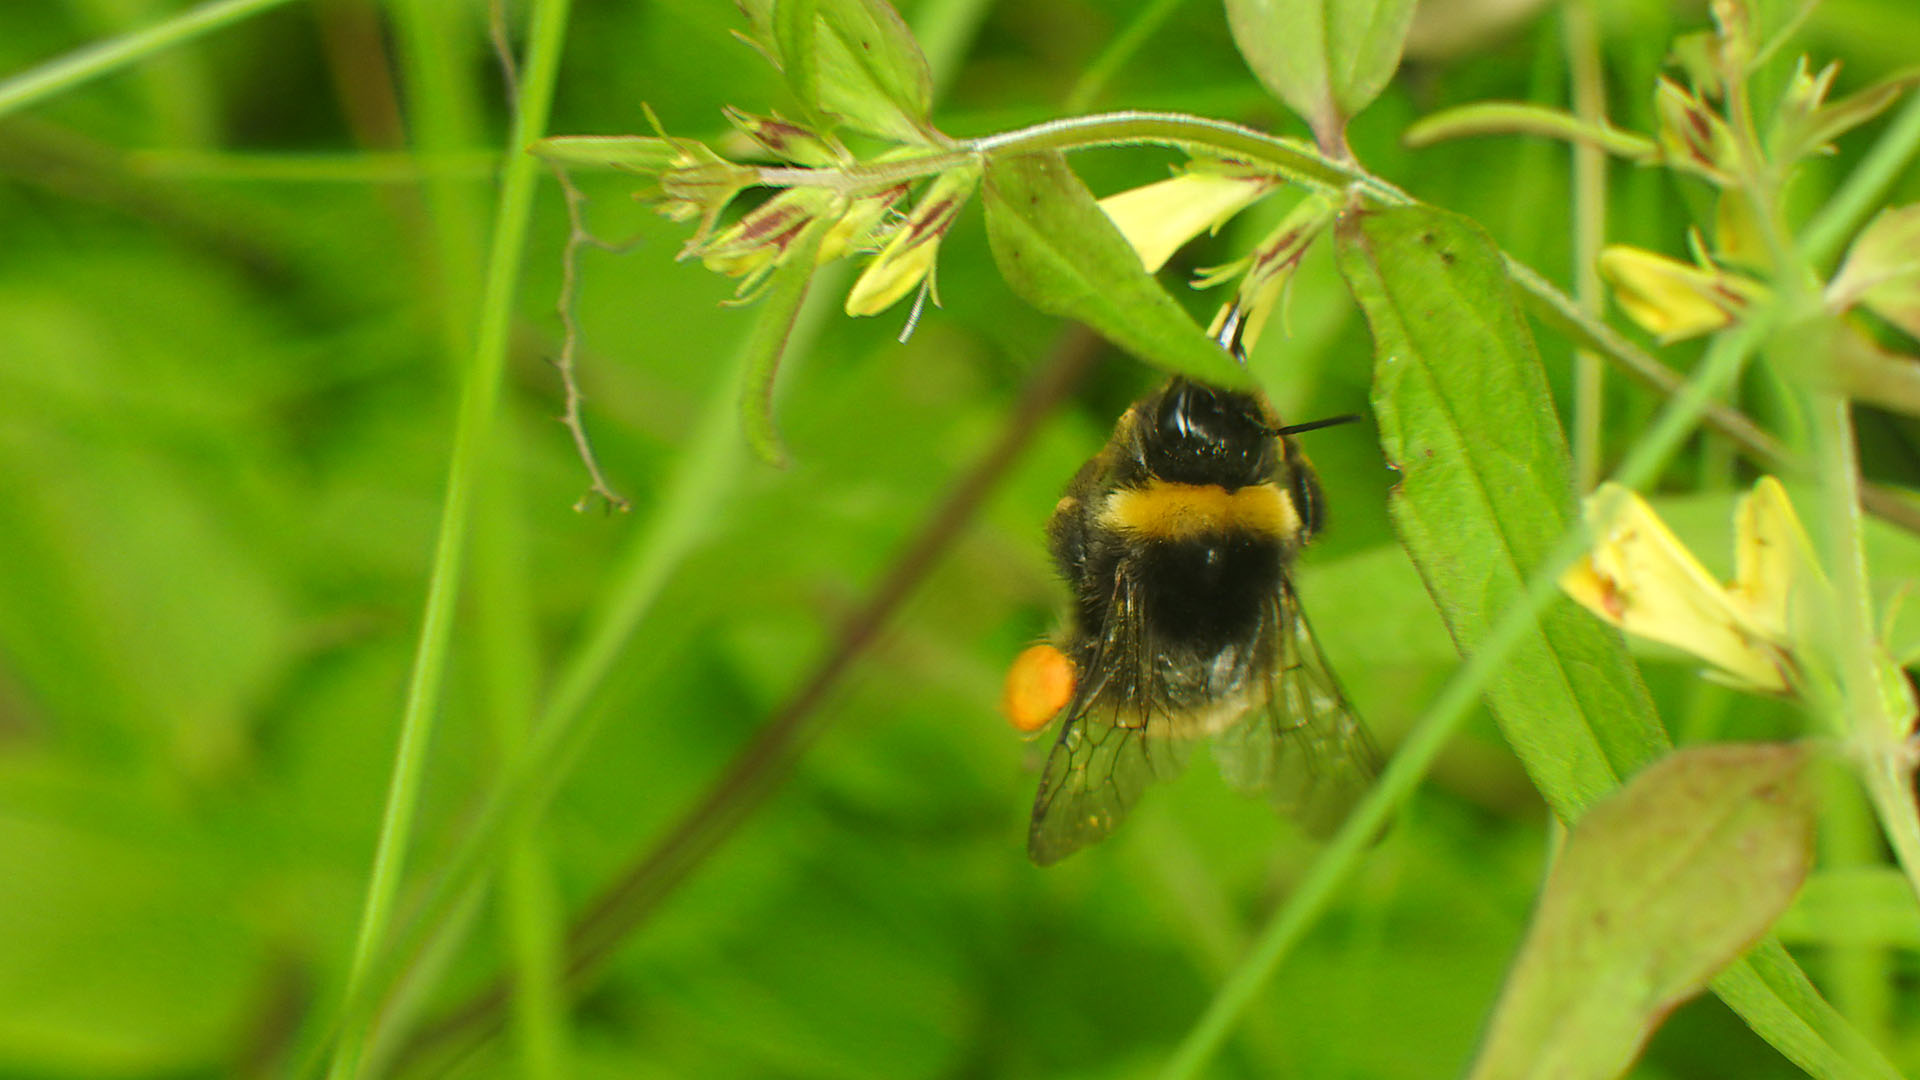
A very common on roadsides and near rail roads, but a very beautiful flower all the same. Belowed by bumblebees.

© Charly, all rights reserved. Click for full size.