This continues [stderr]
Basic shaping a blade is fairly fast. Making it all flat and smooth and shiny can take pretty much as long as you want. Usually, you get everything trued up then start walking up the sandpaper grits. I do my work on the big grinder up to about 200 grit then switch to sanding on a surface plate. For a while, you wind up going back and forth – if there’s a high spot you mark it with a sharpie then go back to the grinder, then back to the surface plate, etc. It’s a meditative process and time just swirls down the drain.
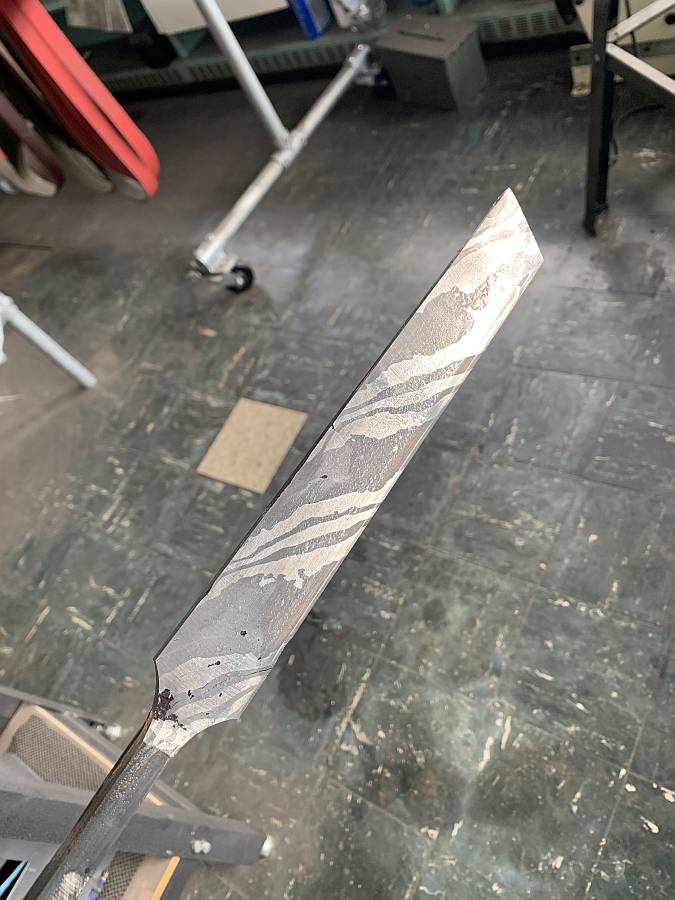
I have a couple standing tanks I made out of clear PVC and some toilet fittings, in a rack made of poly butchers’ block that is immune to ferric chloride. At this stage it’s curiousity, to see what the finished thing will look like; it’s still (as you can tell from the crusties) in need of a lot of finish grinding. At this point, since I’m removing material, I’m using a 36-grit or 80-grit belt.
You can see the twists. You can also see any bad spots where the welds aren’t perfect. (lower right side of the shoulder near the tang) – that stuff will grind out, or it doesn’t matter.
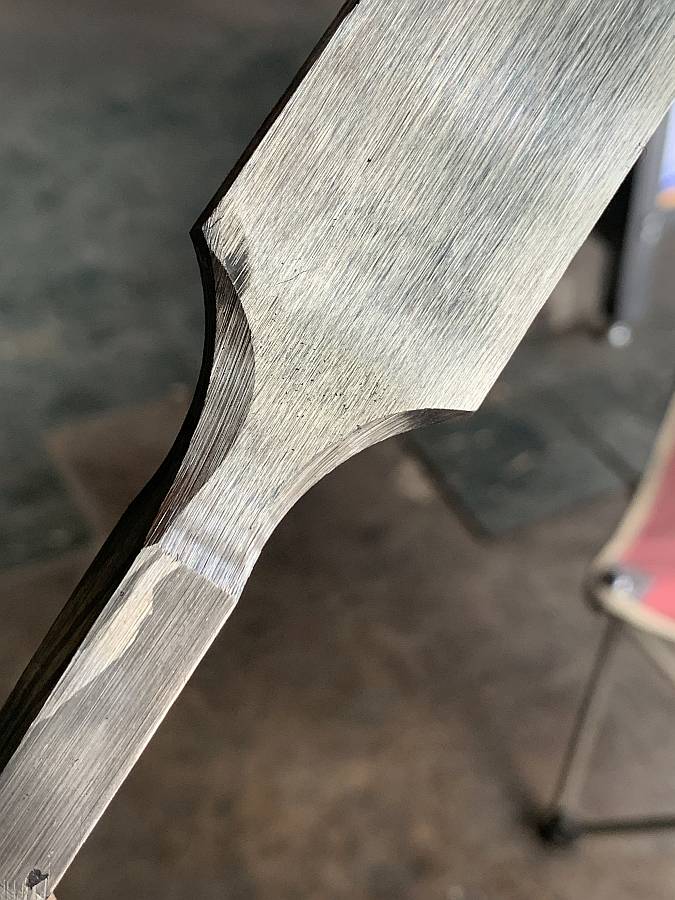
In Part 1 of this series, I mentioned how the shape of an object often carries the fingerprints of its manufacture. This is a good example. The curves of the shoulders were done using the bottom idler wheel of the grinder, with the flat on the platen to align it correctly. The chamfers were done using the same idler wheel, holding the blade at an angle. I know you’re thinking “that’s not symmetric” but it’s still early innings. It just gets more and more symmetric and smoother over time. I think this picture is also interesting because you can see what an 80-grit finish looks like. I know some smiths who do an 80-grit finish and then a mirror polish on the edge. The word for that is, alternatively, “time-saving” or “lazy.”
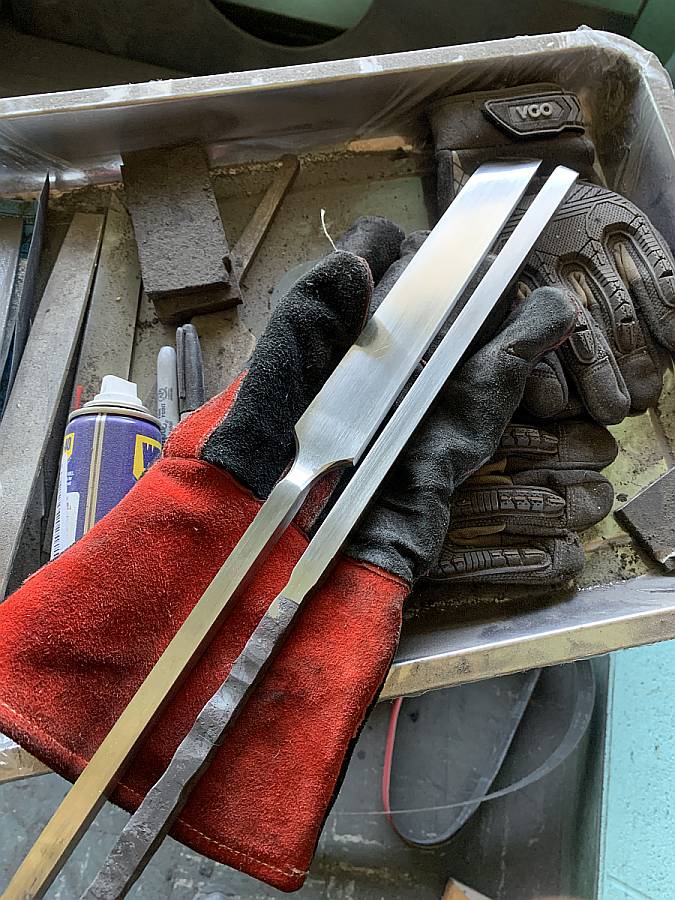
Now, it’s shiny. That’s about an 800-grit finish. Since I’m going to etch them, there’s no point in going full mirror, because the mirror polish will get lost in the etch pattern. The thing to the right of the chisel is a carbide holder. As always, I made that out of “satan’s scrotum” – layered 1095, mild steel, and 15N20, twisted. I won’t say it’s unbreakable but you need heavy machinery just to drill a little hole in that stuff. Tapping it to thread the end is a butt-clencher; a tap is hard enough to cut it, but only a little bit and very slowly. That process takes about an hour to cut 1/2″ worth of threads. But, those threads are not going to strip, short of some kind of disastrous extremity.
On to the handles! My chisels are notable for having long heavy handles to absorb shock. Instead of holding the handle in a death grip, like other lathe-workers, I hold the butt of the handle against my, uh, hip padding. Well, it absorbs vibration, or something.
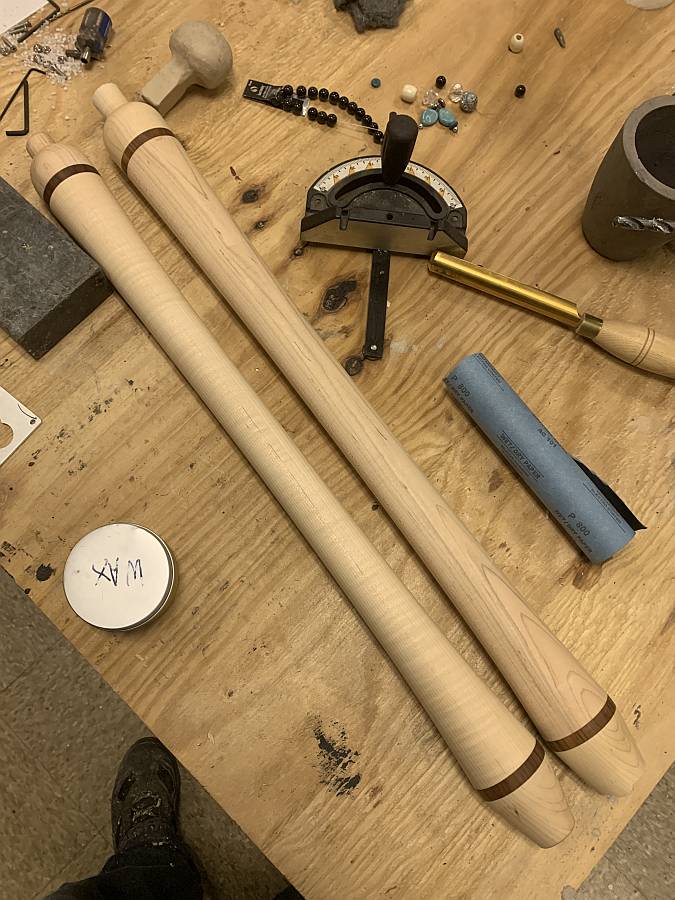
2 years ago when I was making sceptres, I bought a bundle of a dozen maple baseball bat blanks. These, I cut the ends off of, insert-drilled a 3/4″ oak dowel coated in epoxy, and layered in a piece of rosewood, then clamped it to cure. I love how maple turns, and the finish you can get.
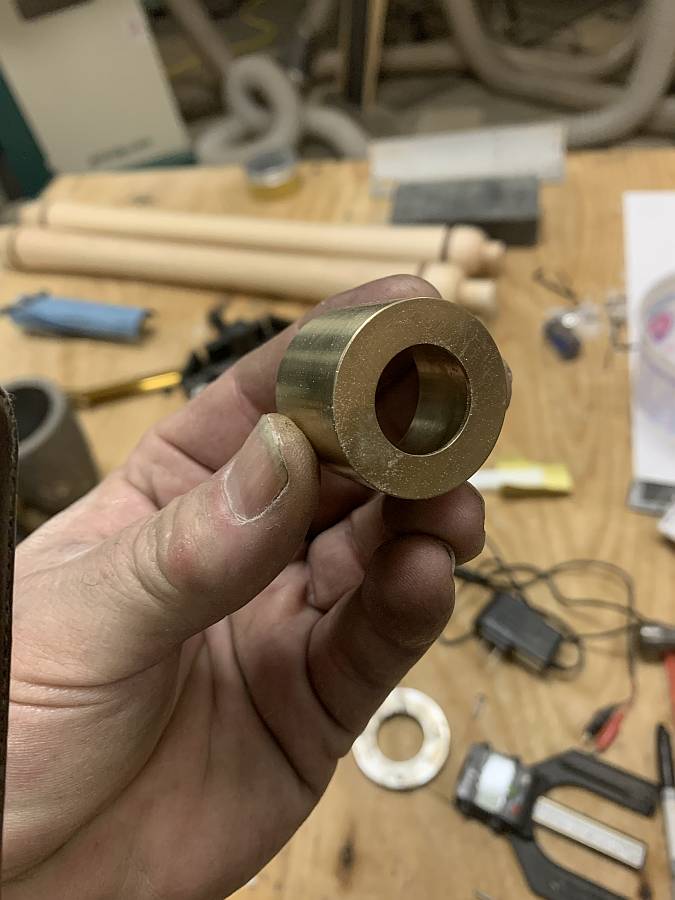
The ferrule is really important. First off, it retains the impact if the chisel catches – I suppose it’s possible that the end of the handle might disassemble and the chisel is then airborne. “Round and round she goes, and whose face she stops in, nobody knows.” I use a 1″ PEX sweat connector, with the PEX mount sawed off and ground flush. It takes a lovely finish, and cast brass is plenty tough. It also has a nice inner lip that I imagine helps significantly with the strength of the whole assembly. Also, they cost about $1.95 and it’s a lot easier than wrapping and hammering and brazing something else.
I make the tangs 1/2 -” approximately – so if I center hole the handle with a 1/2″ drill, it’ll fit neatly through the ferrule and into the wood. More about that later.
More on completing these in the next installment.
Yeah, a long handle is nice for wood lathe tools if you’re turning anything vaguely large.
Even a basic hand sanded finish looks so much better than a machine finish, i really don’t understand why people do machine finishes. It is faster, but so it buying it from a factory somewhere
Should we start calling you a chiseler?