While the next batch of dragons is drying, I built them a tower to live in, because that’s a natural dragon habitat.
©Giliell, all rights reserved
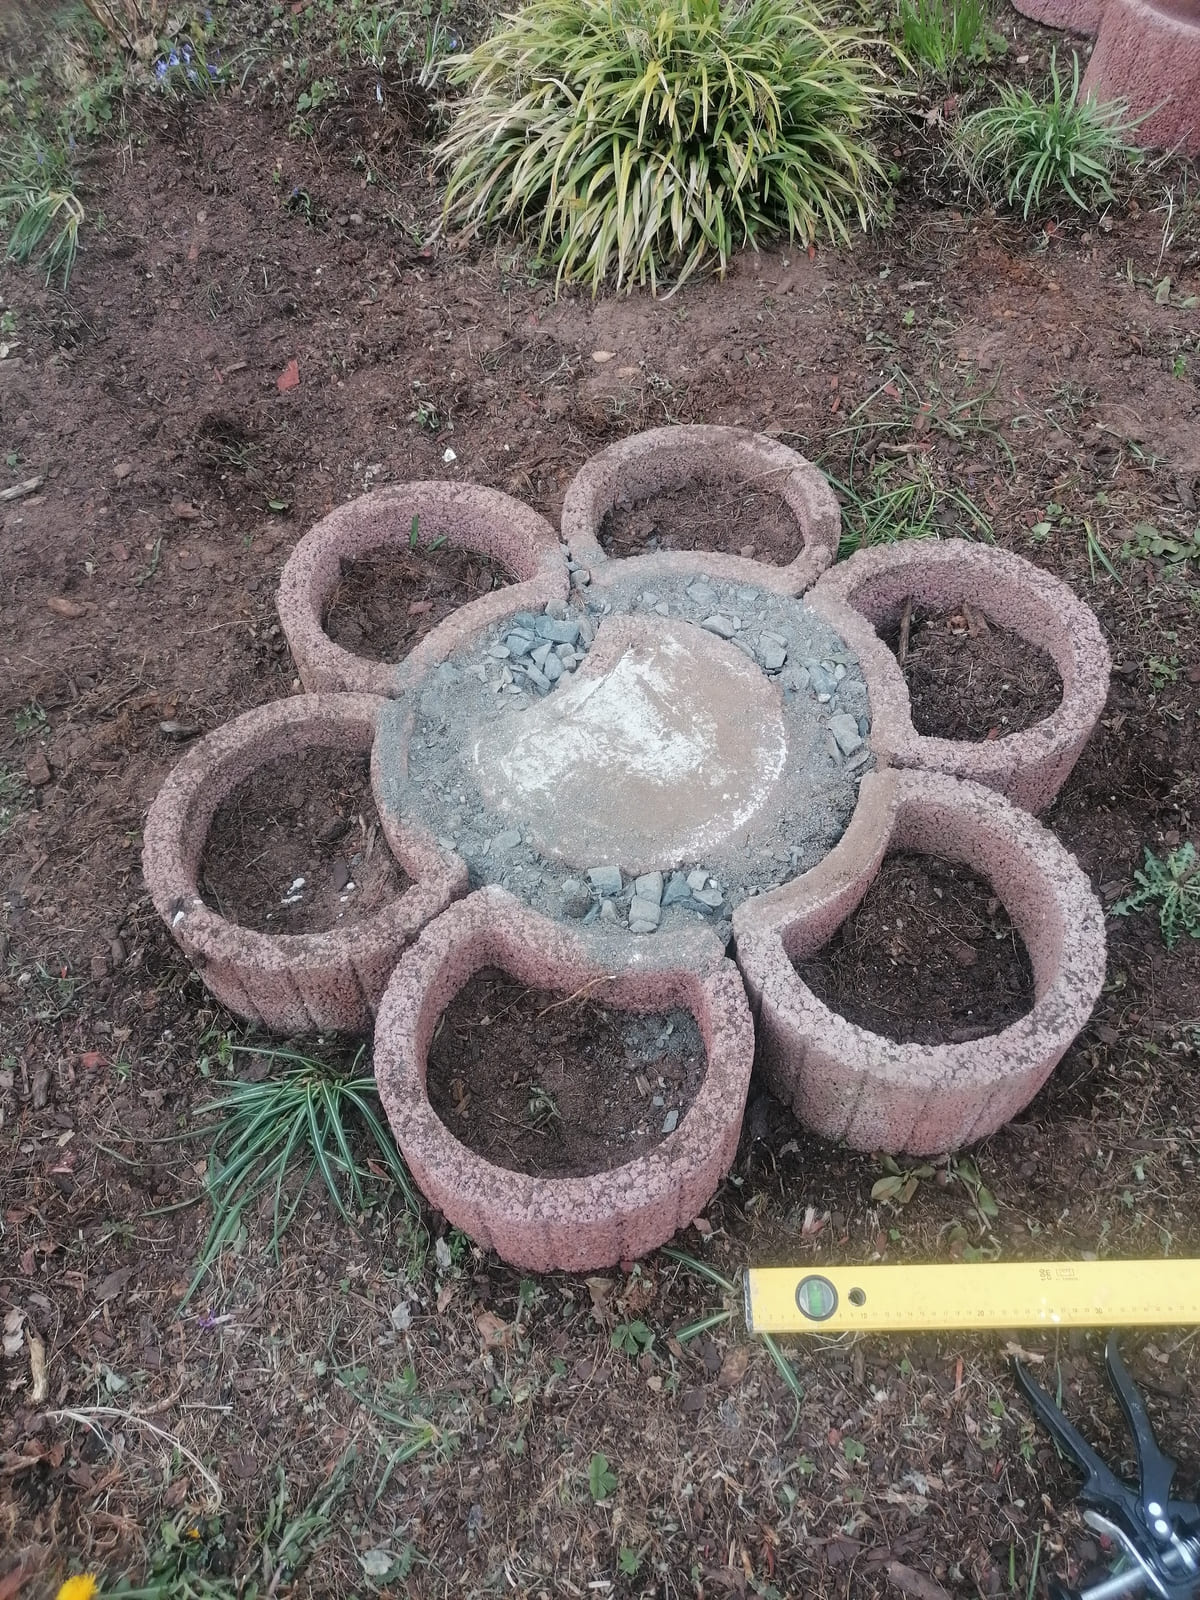
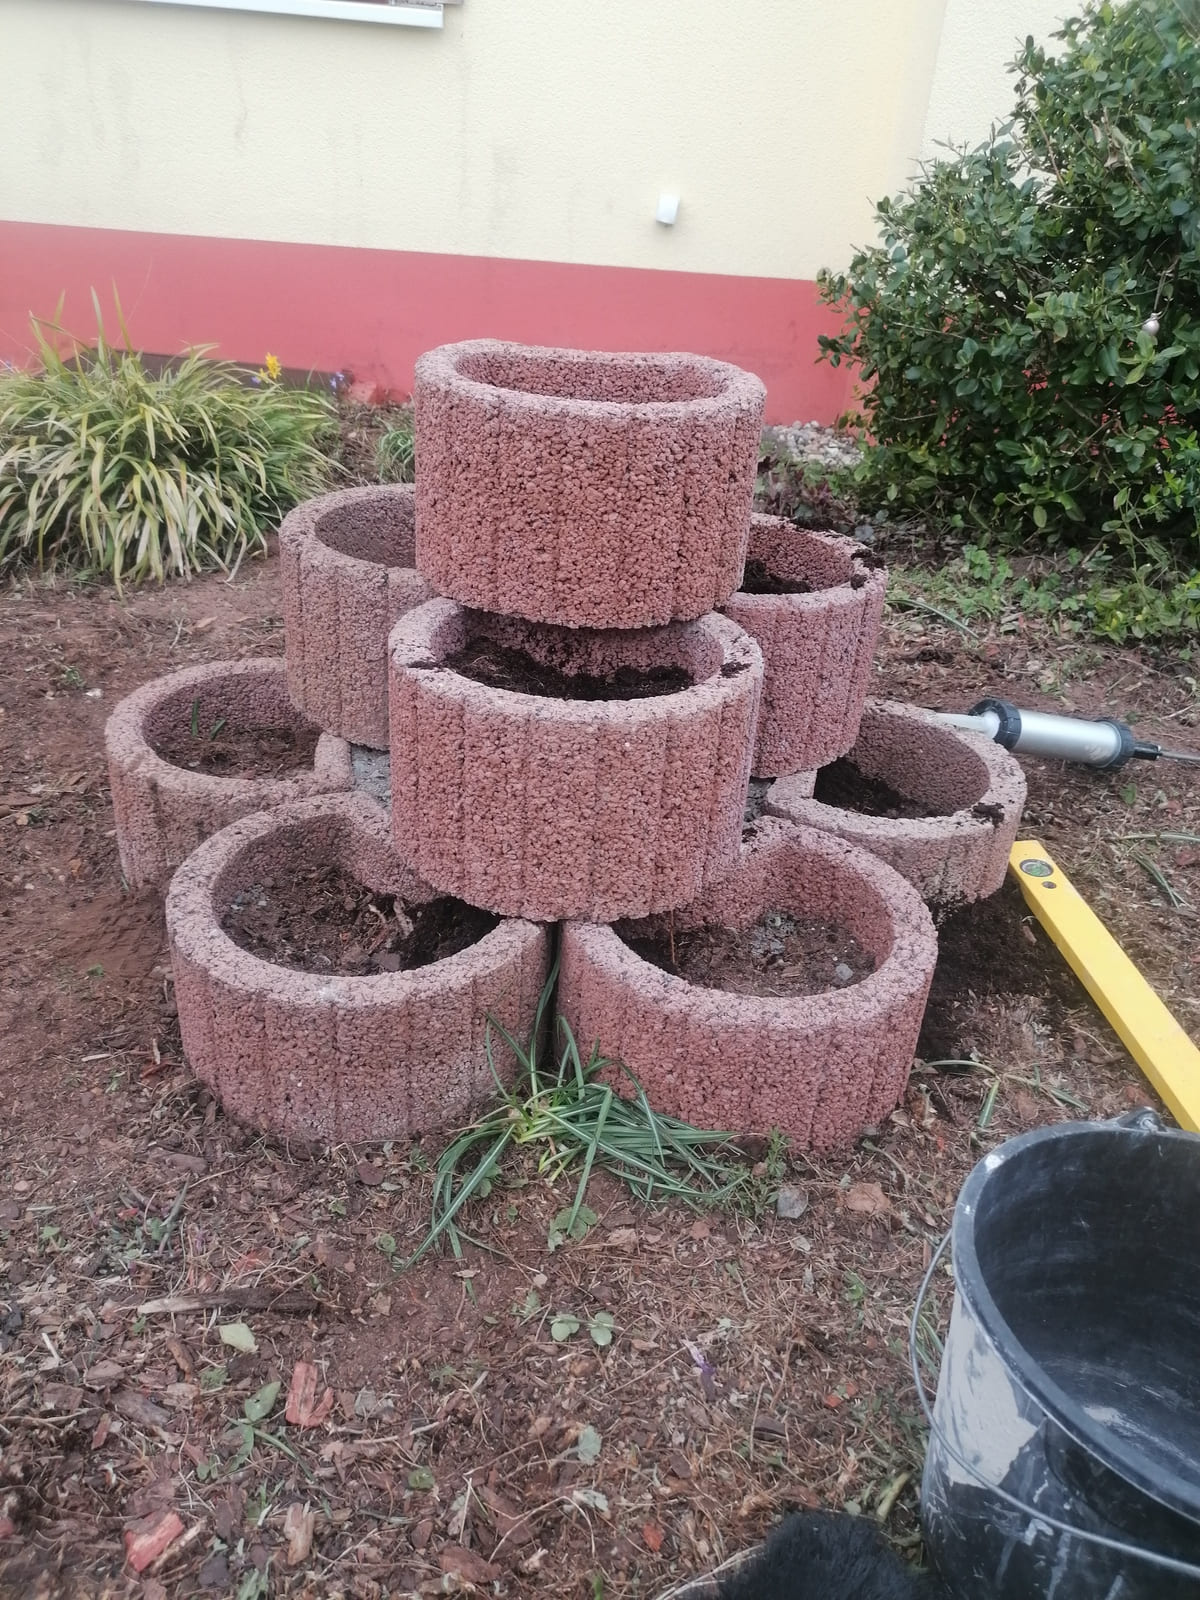
That first layer of stones needed to be absolutely even, because any differences in height would multiply by the time I got to the top. I filled the middle stone with concrete and anchored it in the ground with some construction steel, because this stone carries most of the weight of the next layers. I used up some left over gravel to fill in the gaps. The stones are set about 10cm into the ground so they aren’t pushed apart by the weight of the stones on top.
©Giliell, all rights reserved
The next two layers. The stones are glued together by construction glue, the kind you can lift a car with. I am very proud to tell you that the second level only had a two mm difference in height on one stone, which is probably due to the stone itself. I let it set over night and finally today the first inhabitants could move in.

©Giliell, all rights reserved

©Giliell, all rights reserved
There’s going to be one more on the left side. The two slightly mishap dragons also move in, lurking behind the bushes.

©Giliell, all rights reserved
I’m also happy (haha) to tell you that my mum is back in her good (haha) old shape. Yesterday I sent her a pic of the finished but unplanted tower. “You are aware that you can’t go to the hospital now if your back hurts, right?”
Today I sent her a pick of the finished tower, with grandkid! “Are you lurking around in hardware stores or what?!”
Yes, mum, I love you, too.