I do not know where and when, but I have gotten a broken and rusty file that was too small to make a usable knife, but I thought I might find a use for it. Then, somehow, somewhere, I got another, very similar one. Almost as if I CTRL+C CTRL+V it.

© Charly, all rights reserved. Click for full size.
I even nearly forgot about both, but the learning batch of kitchen knives is giving me some grief and I realized that among other things I do need a file guide for making ricassos if I am to make knives reasonably fast and comfortably (all 12 knives have mistakes now, but their whole purpose was learning and it was to be expected – these will be given out for free anyway).
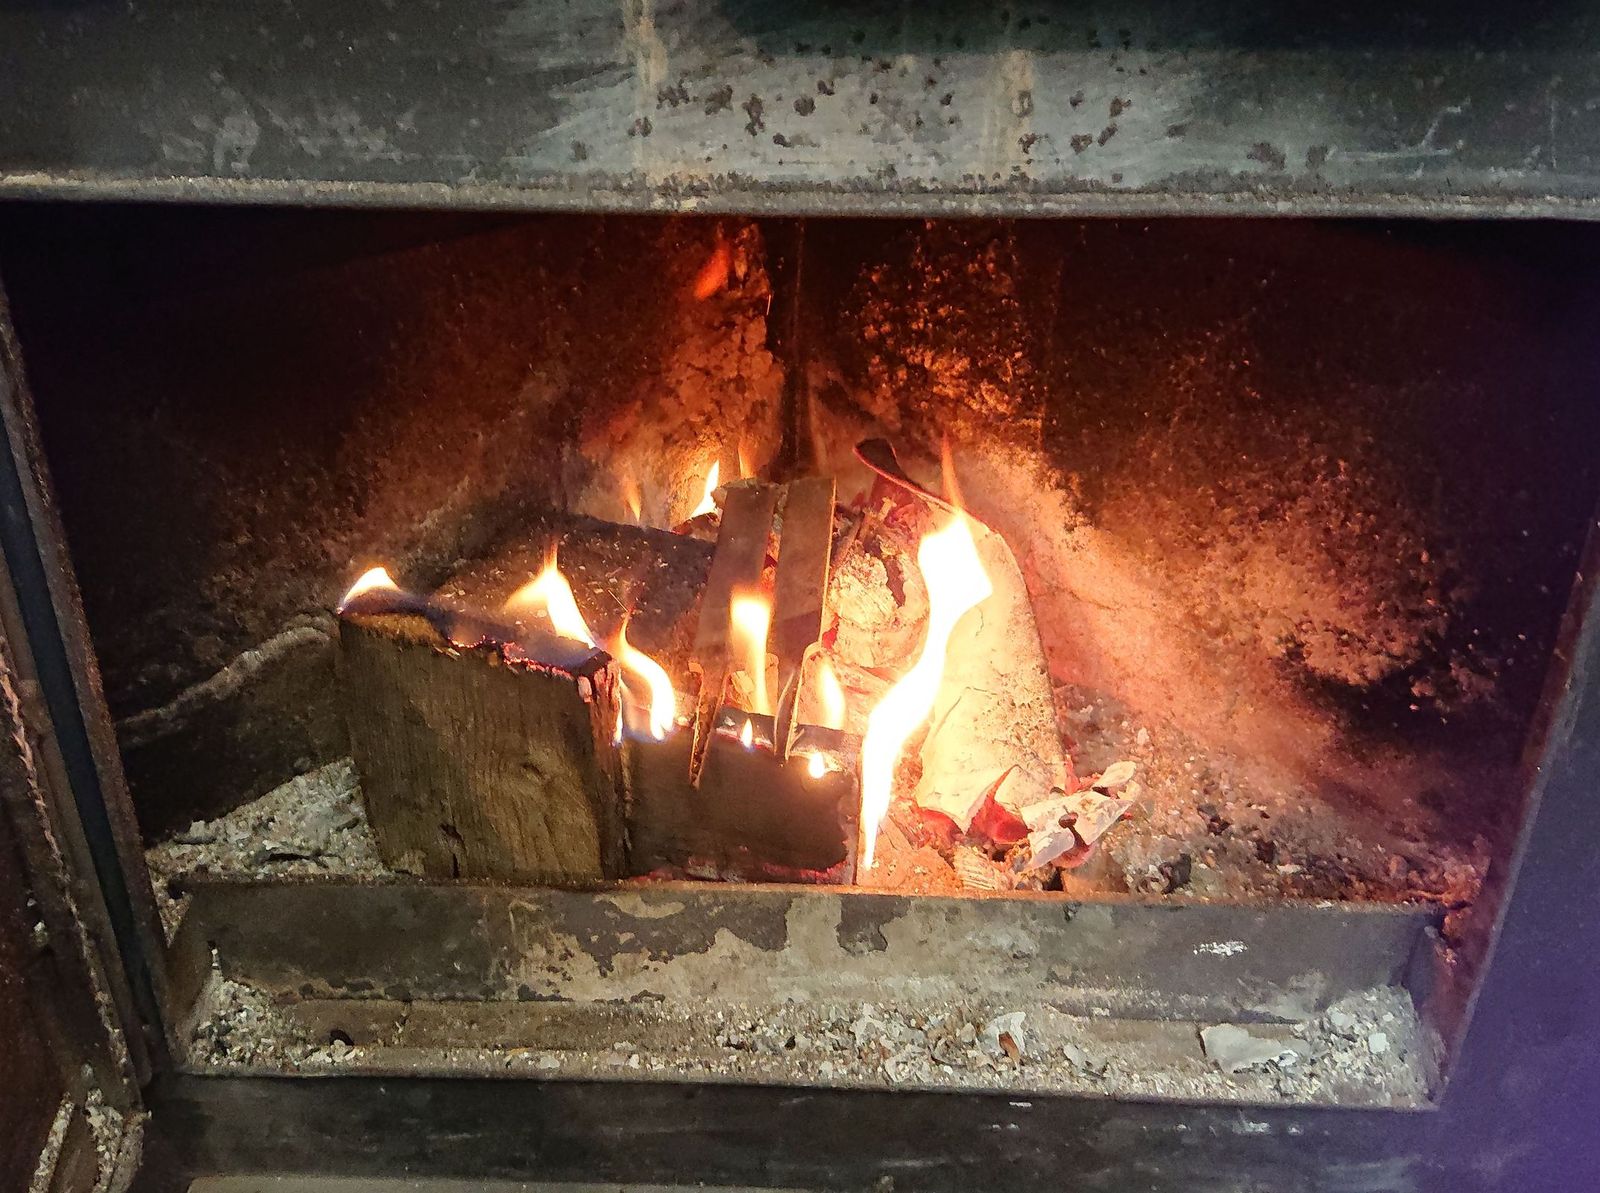
And since I have to heat my workshop nowadays to do anything, I have used that opportunity and I tossed them both into the fire. I got them nice red-glowing and I let them cool down very slowly in the stove.
© Charly, all rights reserved. Click for full size.
The next bit was pretty straightforward – I cut off the tangs with angle-grinder and I ground the rest flat-ish on the belt grinder with a pretty chewed-up 40 grid ceramics belt and nothing more. I do not have grinding attachment for flat surfaces yet, so I had to grind simply against the platen, but I have managed a flatness that I estimate about ~0,1 mm – there was a tiny bit of light coming through when I put them against each other and looked against a lightbulb – which is definitively good enough for its purpose.
Next, I have drilled two pairs of 5 mm holes down the center of one piece, 10 and 22 mm from each end, and I copied the holes into the other piece. To keep the holes reasonably aligned I have first drilled one hole, then used a 5 mm drill bit to keep the pieces aligned, drilled the opposing hole and so forth.
The four holes were not perfectly in line, but that does not matter that much and in the end, it has proven a bit of a blessing – the slight miss-positioning serves as a visible sort-of poka-yoke. However, I had to make temporary marks with a file on both pieces to keep their alignment in check without having to fumble each time I take them apart during the work.
With four 5 mm holes in both pieces, I have cut M6 threads in the inner pair on one piece and the outer pair on the other. The other four holes I have widened to 6 mm and chamfered the edges with an 8 mm bit.
I have found two M6 screws with wide-socket heads in my drawer, but I could not find any 6 mm steel stock. I thought I have one, but I thought wrong. I also could not find any M6 screws that had the non-threaded part thick enough for a good fit. So I had to make one. I started with a 6 mm thick old, bent and rusty nail and I cut out the approximately 100 mm straight part. Then I have ground it down to 5.8-5.9 mm using running slack-belt on my belt sander and spinning it with a cordless drill. And then I polished it a bit with old and used-up trizact A-65 belt.
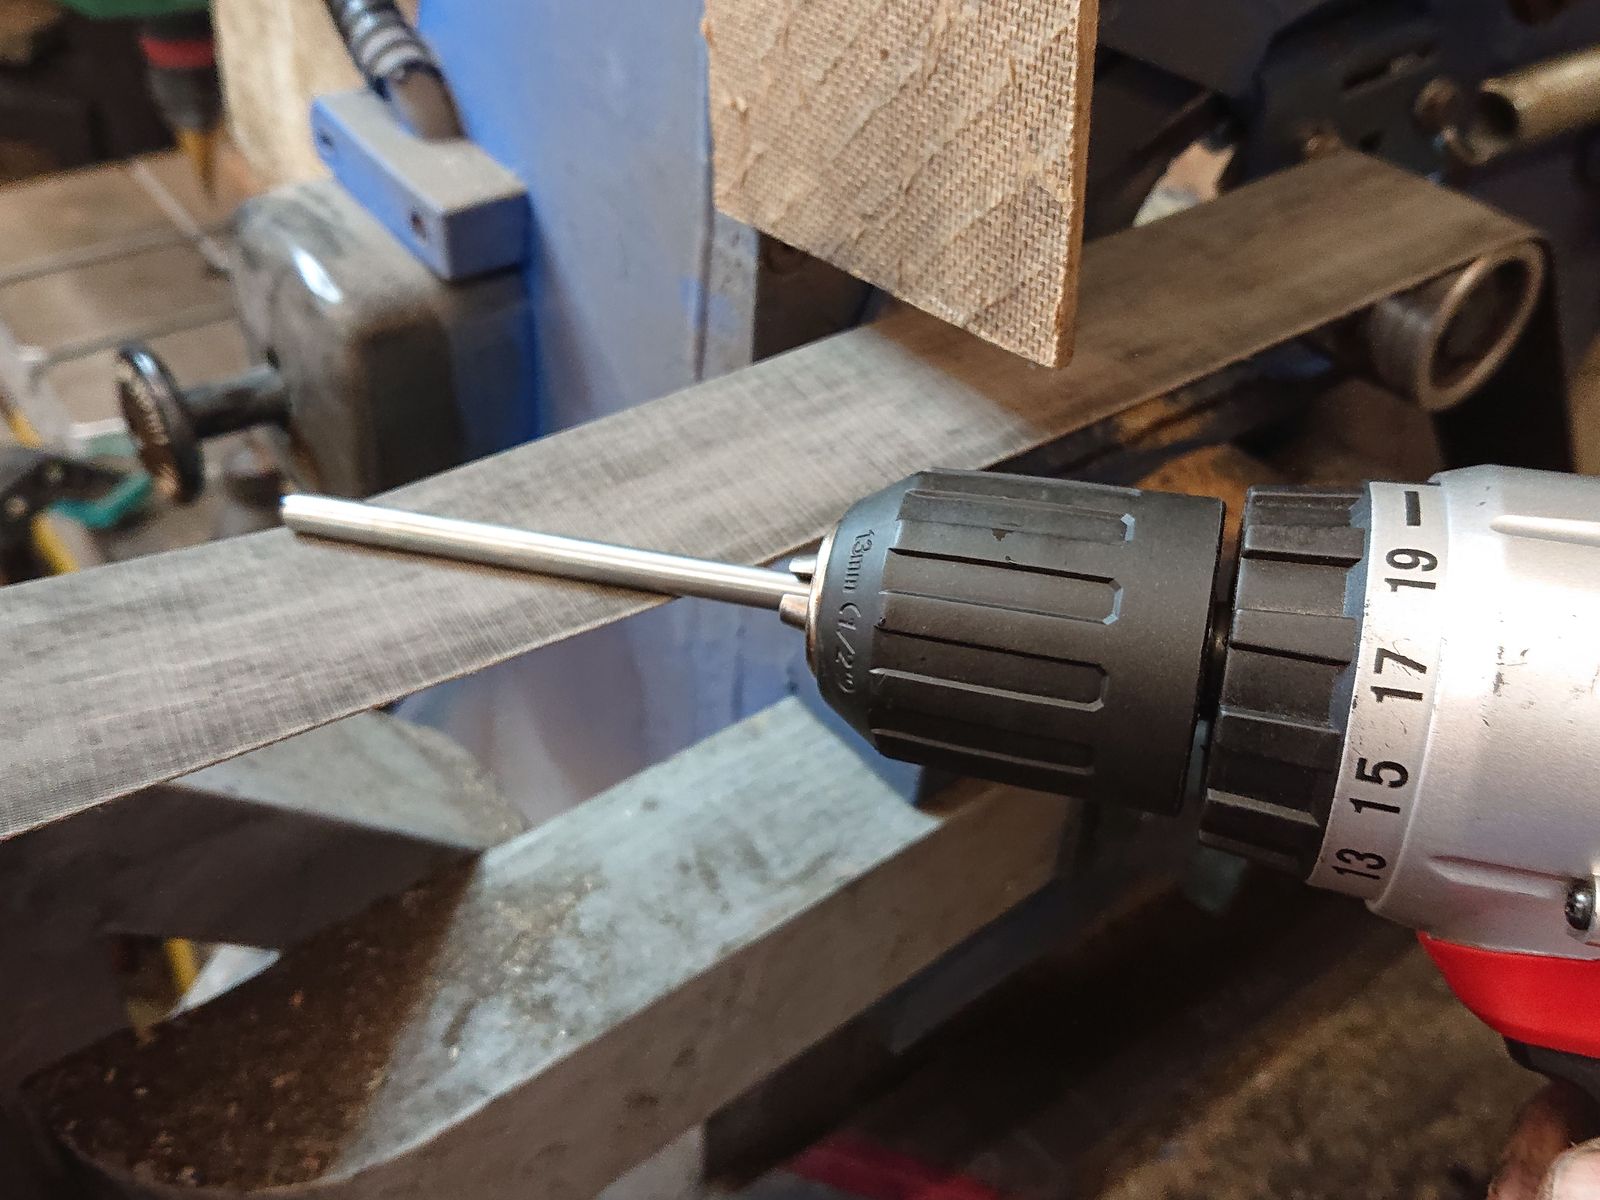
Of course, staged, neither device was running for the photo-op. © Charly, all rights reserved. Click for full size.
I cut the resulting round piece in half and then came the most challenging part – to cut about 4 mm of M6 thread into one end of each bit. I failed at this, both shafts have the thread a tiny bit at an angle. I guess one of my future projects will be making a jig for cutting precise concentric threads, cause I certainly cannot manage it by hand.
But I could assemble the whole thing after that and it worked, although I cannot fasten the leading-rods too much due to the badly cut threads. But when assembled, it had no sideway wobble and that is all I needed. So I have assembled it, tightened the screws and ground the outside-facets into perfect alignment. And here is the nearly finished thing, gleaming in my grubby hand.

© Charly, all rights reserved. Click for full size.
Now for hardening. I did not know whether the files were surface hardened or thorough-hardened, and of course, I had no knowledge of the carbon content of the nail I used for the leading rods, only that it was very, very soft. And even so, I wanted to make it as hard as I possibly can.
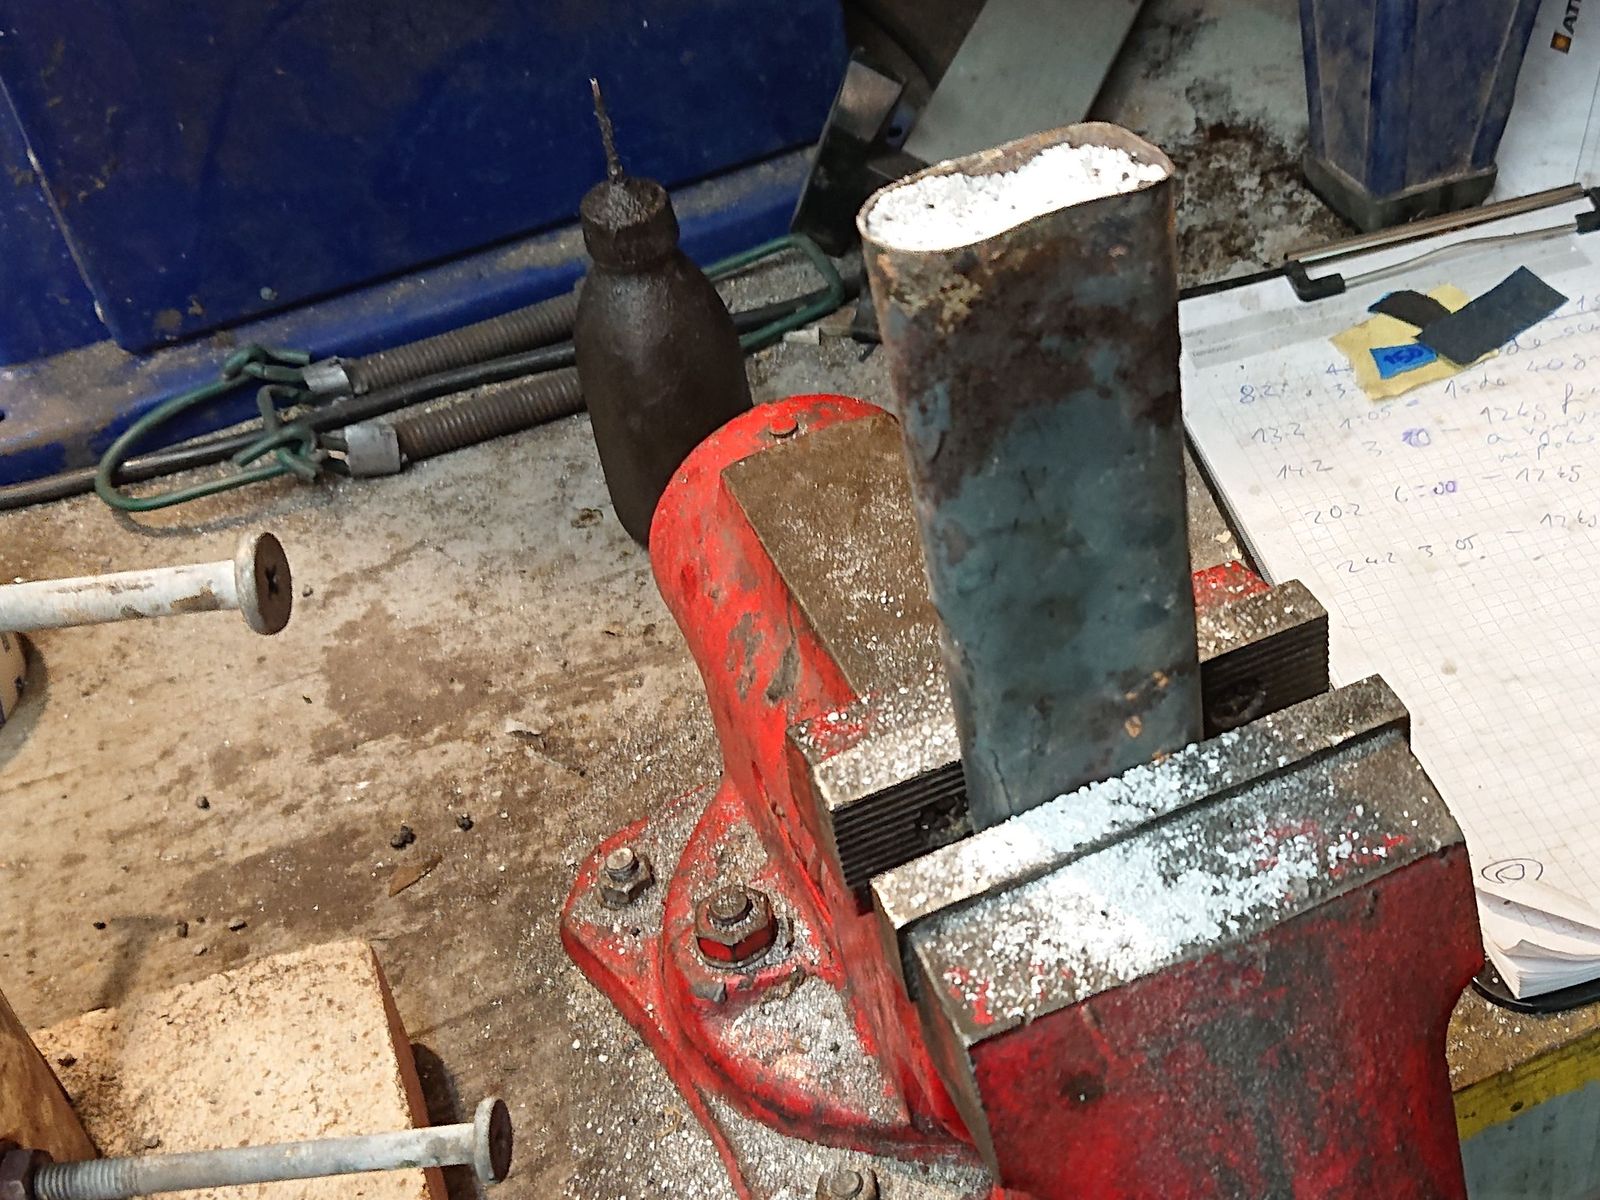
Therefore for the hardening, I did not go for simple heat-quench. I went for carbonitriding, which is the hardest I can make a steel surface in home-setting. For this, I took the whole thing apart again and I put the two flat-pieces and two rods into a steel tube together with a mixture that would, when heated, enrich the surface with both carbon and nitrogen.
Commercially this is usually done with various cyanide salts, but not only do I not have those. I don’t even want to have them. I have the training to handle cyanide properly, bot I do not have the means and the desire to do so. Luckily many ordinary things will do the same – leather scraps, bone and hoof dust, hide glue, soy flour etc. Anything organic that contains a mixture of carbon and nitrogen compounds. But I have not used any such improvised mixtures, I went for a 1:1 mixture of urea and dehydrated sodium carbonate. These two chemicals react together to produce sodium cyanate when heated. Despite the very similar name, this chemical is not nearly as toxic as sodium cyanide – its LD50 is about half of that of kitchen salt. And it works for carbonitriding.
I compacted the salt mix around the parts as well as I can.
© Charly, all rights reserved. Click for full size.
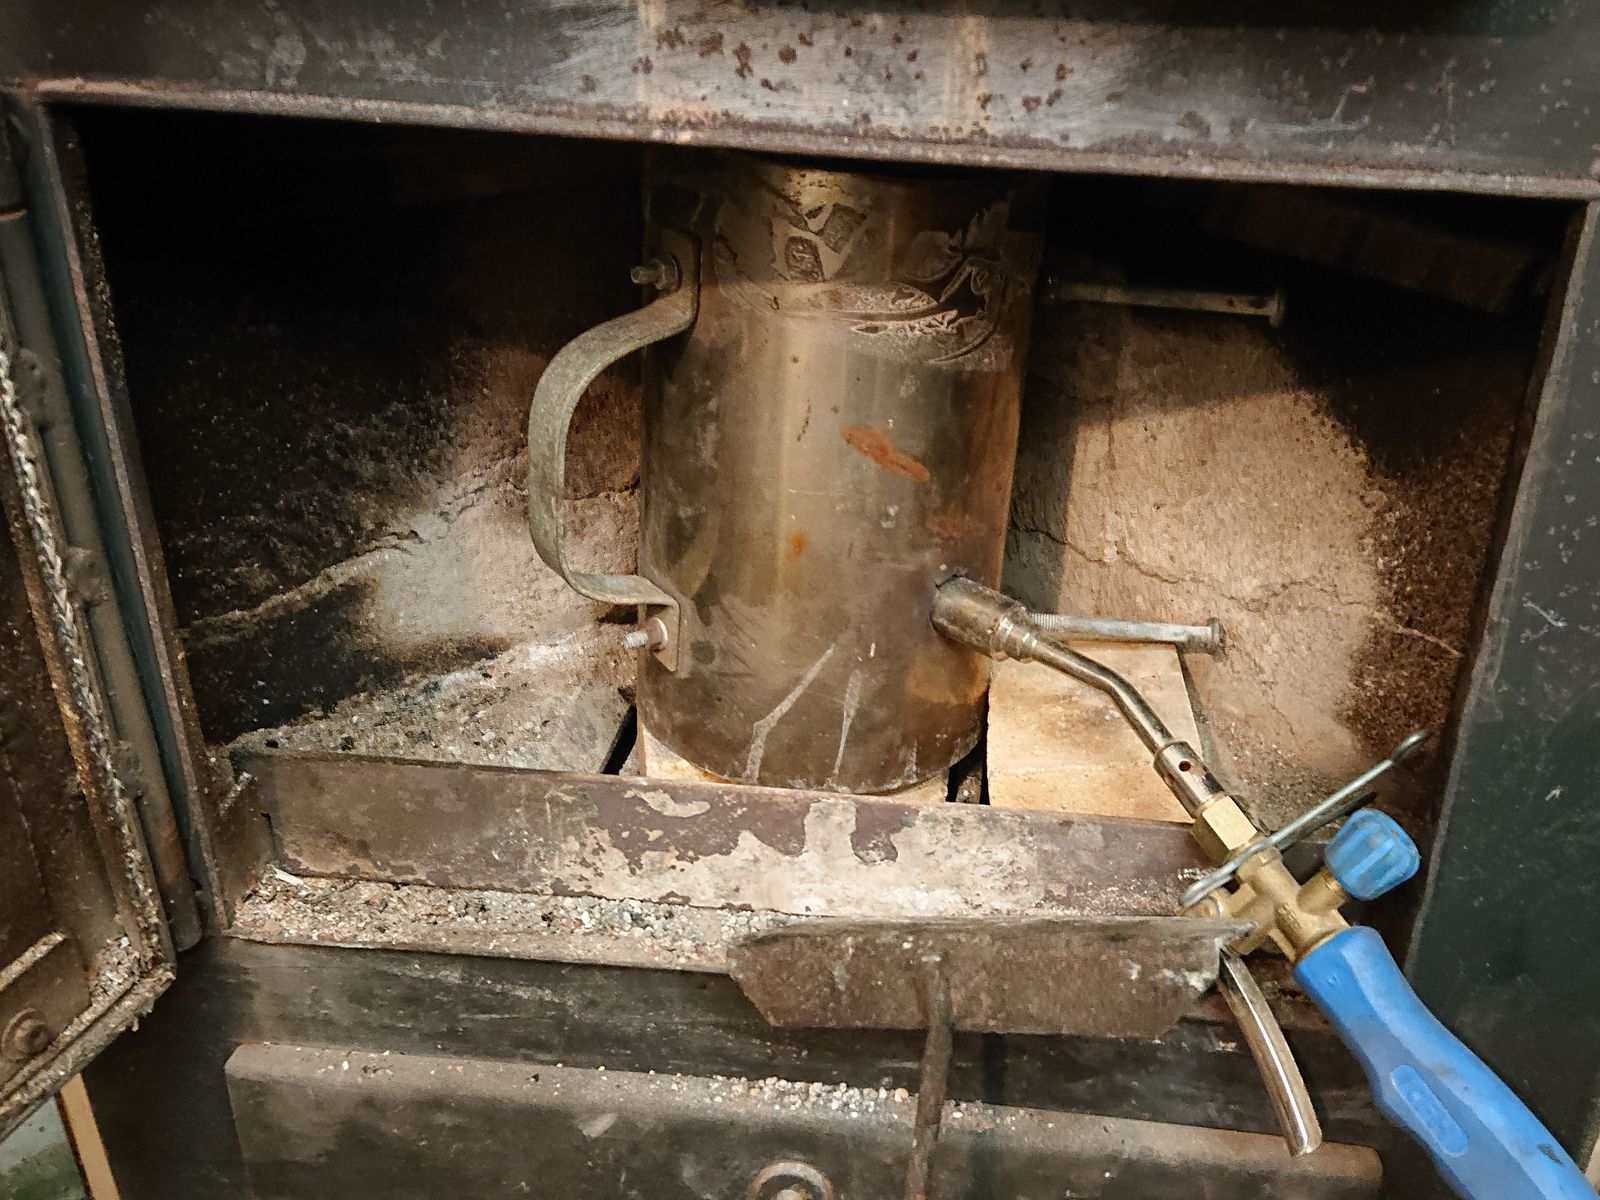
Next, I put a cap from an old pea-can on it – it need not be air-tight – put it in the forge and the whole assembly went into the fireplace, because the first circa 20 minutes it produces rather noxious smoke that I am not too keen on inhaling.
© Charly, all rights reserved. Click for full size.
It sat there for two hours with the burner on the lower setting. Temperature between 600-800 °C is enough for this and after two hours I should have a hardened layer of at least 0.2 mm.
When the time was up, I took the container out of the forge, took the lid off and dipped its contents into a bucket of cold water. A slight explosion took me a bit by surprise – either not all salt has evaporated yet or a piece of glowing hot fireclay dropped out of the forge (my forge, unfortunately, died in the process, the inner lining has finally disintegrated completely), but it was just a little bang and nothing dangerous.
All the pieces were successfully hardened, although one flat piece developed a very slight bend – a few tenths of an mm. But I could still assemble everything together, so I did that. I tightened the screws and tempered the whole thing for two half-hour cycles in boiling water – I wanted to relieve some of the stress so it is not as brittle as glass, but I also want it to retain as much hardness as possible.
A few passes with scotch-brite wheel cleaned all the crud off and buffing with abrasive pastes polished the scratches enough for a bit of protection against pitting corrosion.
And that is it, I now have a file guide. Despite my lax attitude to precision, it does not wobble but it opens/closes easily, the surfaces are hard enough for ordinary files not scratching them and it is from recycled materials, which is my favorite kind of material to use for such thing.

© Charly, all rights reserved. Click for full size
Looks good and I’m amazed at how resourceful you are.
Another trick is to make a special ricasso file that has the teeth ground off the edge and burnished. That way it can only cut the face of the blade.
I have some file guides that I epoxied small strips of pure carbide onto. You can get small carbide bars on ebay fairly cheaply.
@Marcus, I will no doubt make a few special files, jigs and rigs in due course, I am quite looking forward to doing so.
I have thought about using some hard ceramics too, and I will make such a file-guide for the belt sander if I find something usable around the house (I do have some ideas already). It is not that I have something against buying high-end materials, but I do like the challenge of making this kind of stuff from recycled and common household materials a lot more. I only buy new materials when I need to save time, or for precision, and then I often even go the full hog and buy the finished thing if possible.
And I do not buy stuff where shipping is more expensive than the thing I buy, as would be the case with many cheapo e-bay purchases in my area.
Charly says:
“but I do like the challenge of making this kind of stuff from recycled and common household materials a lot more.”
This is the part I find fascinating. I fancy that I try and do that kind of thing myself--but I’m nowhere near as successful as you.