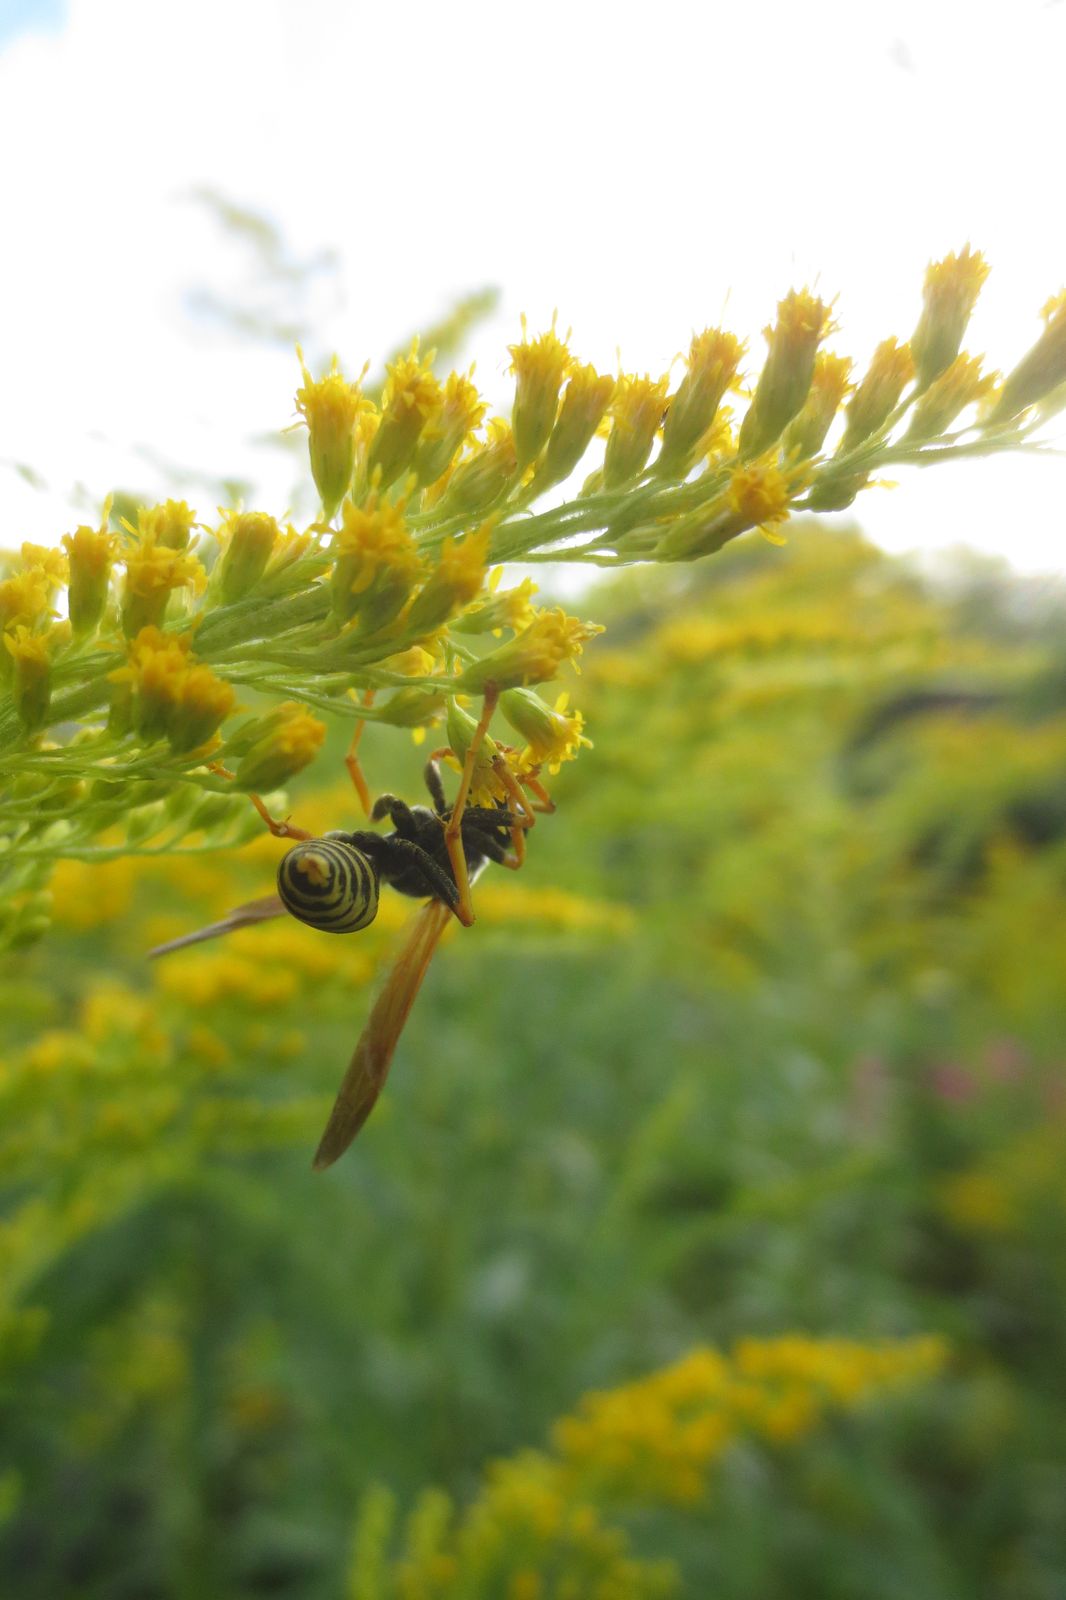
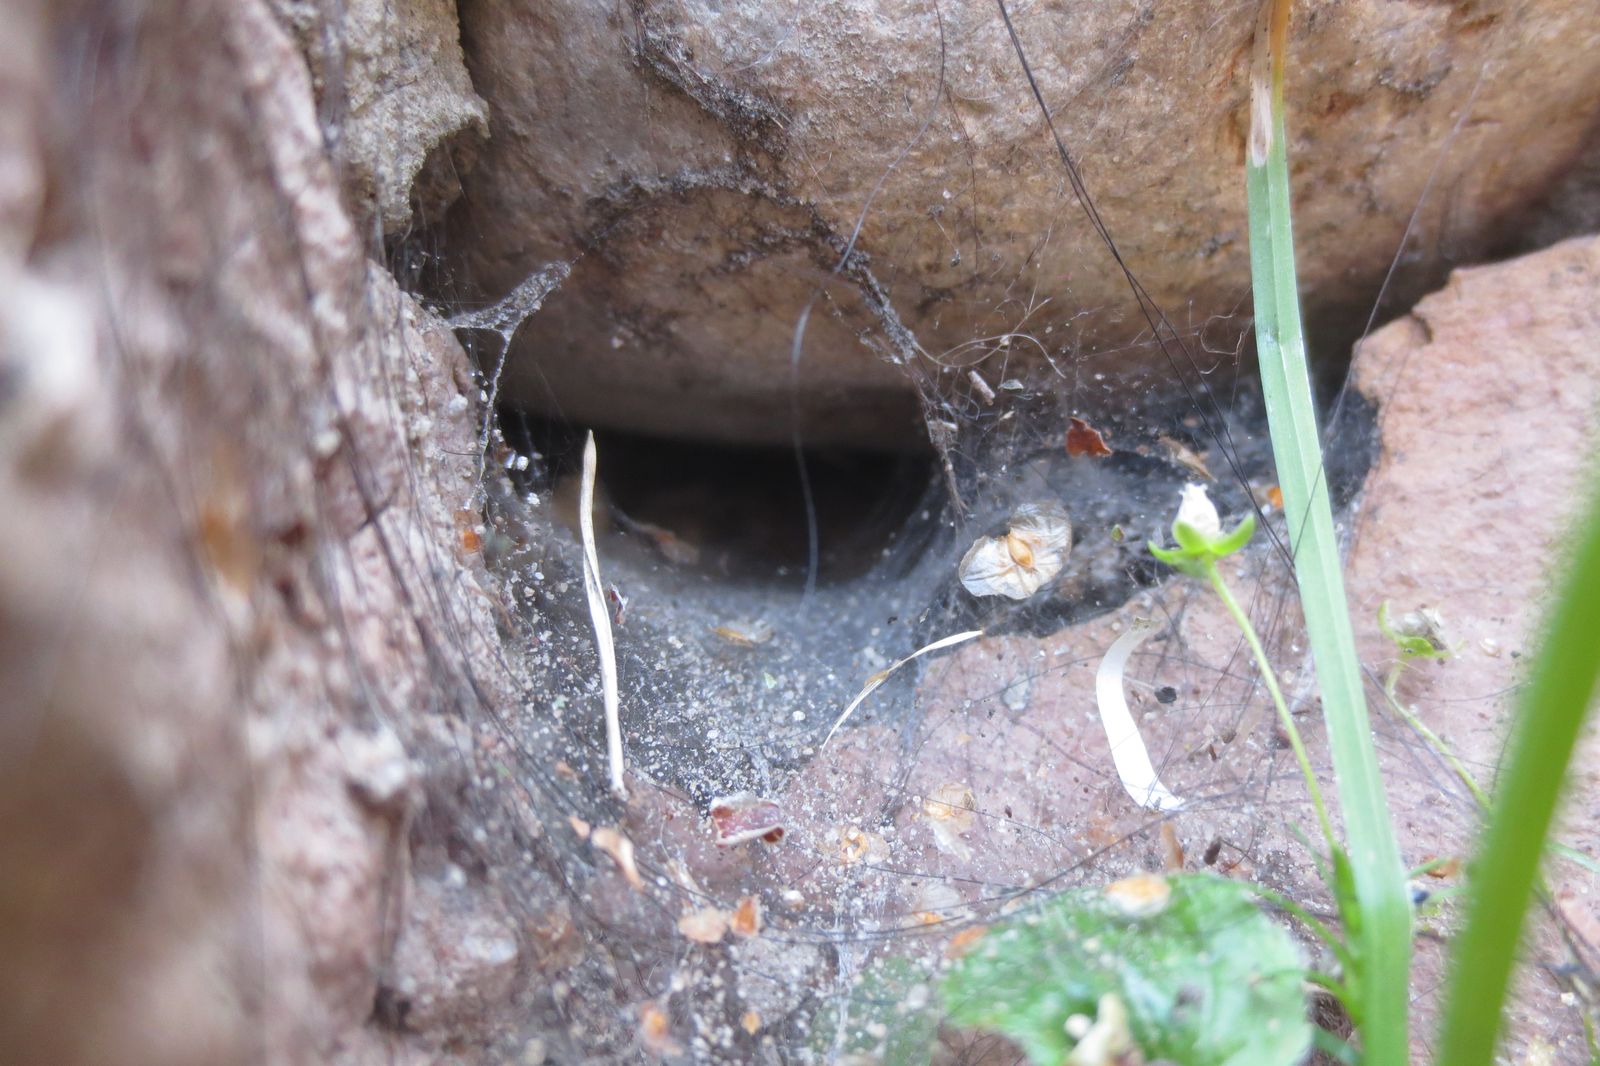
Second in this series from rq are plants growing in a bog. I hope she did not get too wet trying to get these pictures for us. They are beautiful and they do illustrate the biodiversity of an acidic bog nicely. There is even a predator here, hidden bellow the fold.
©rq, all rights reserved. Click for full size.
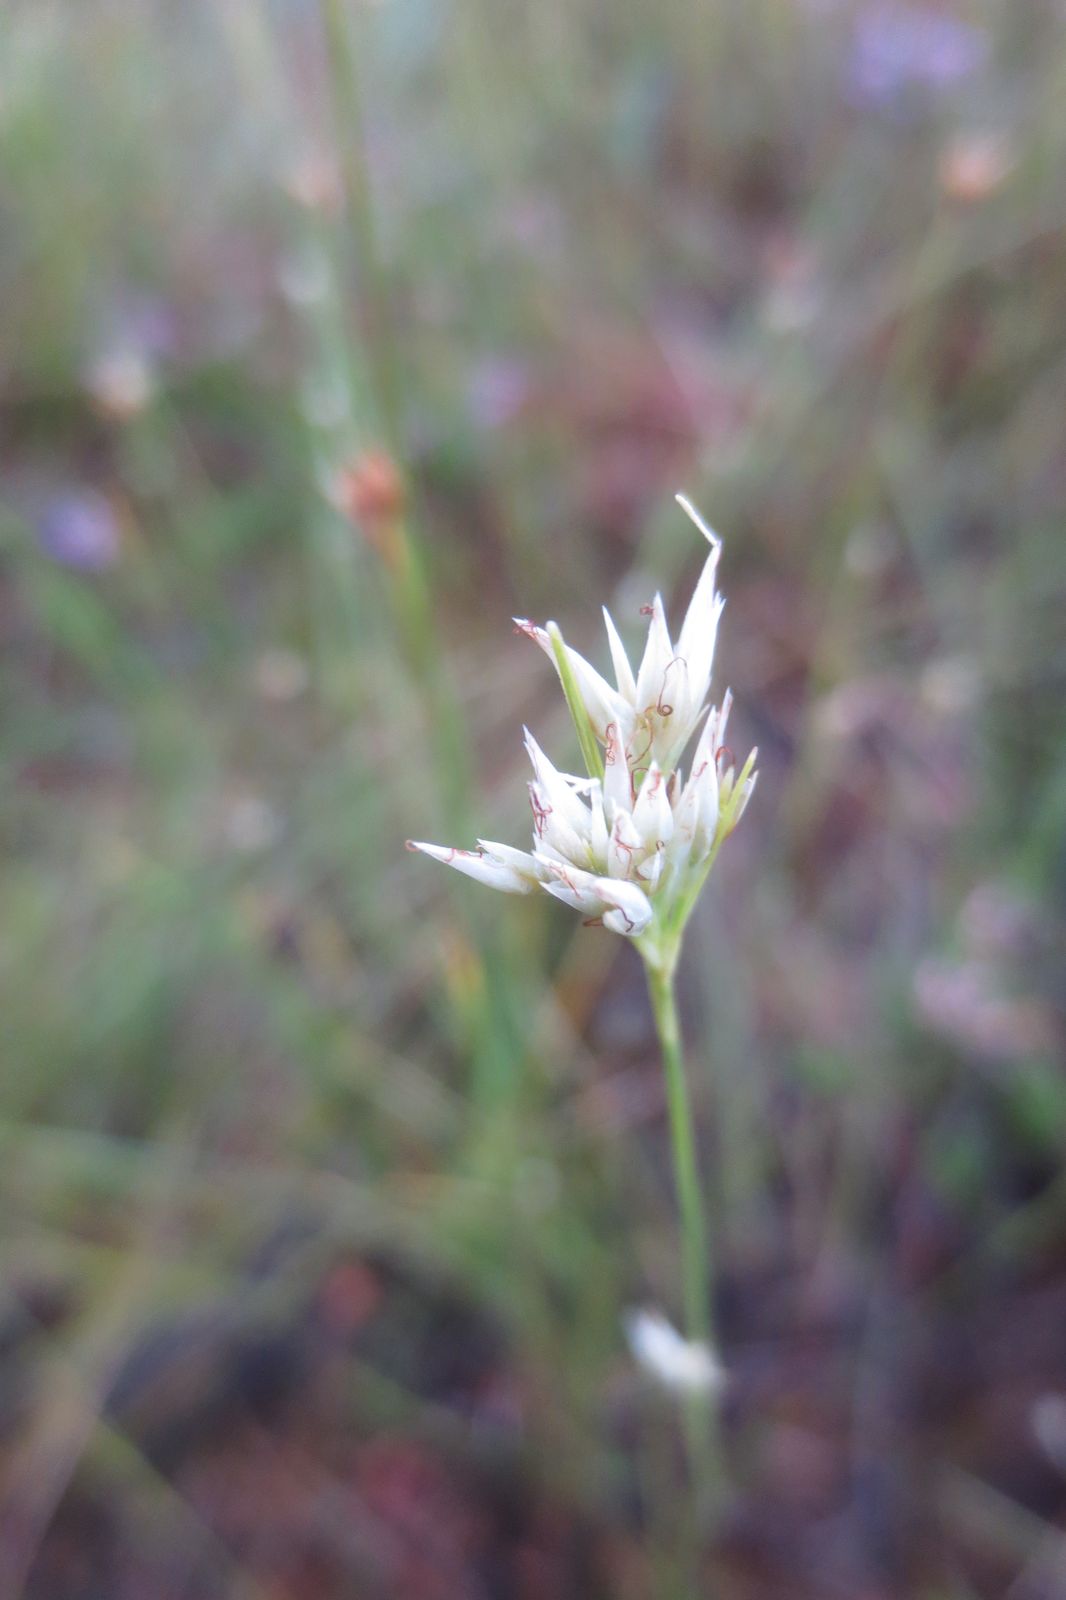
Possibly a plant from the Cyperaceae family

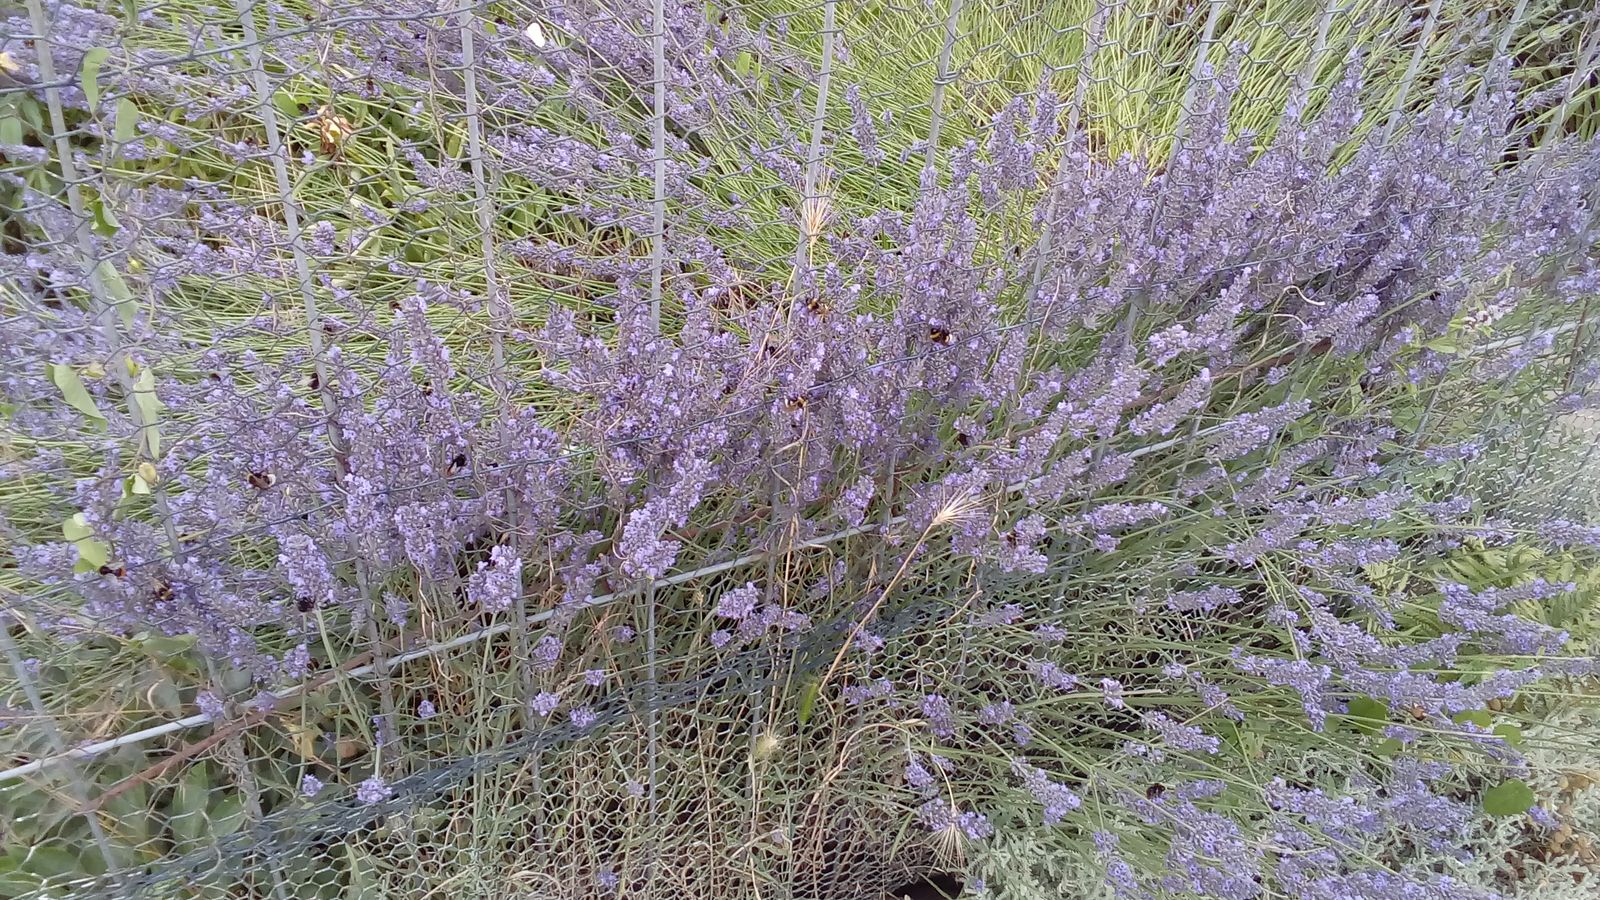
Calluna vulgaris
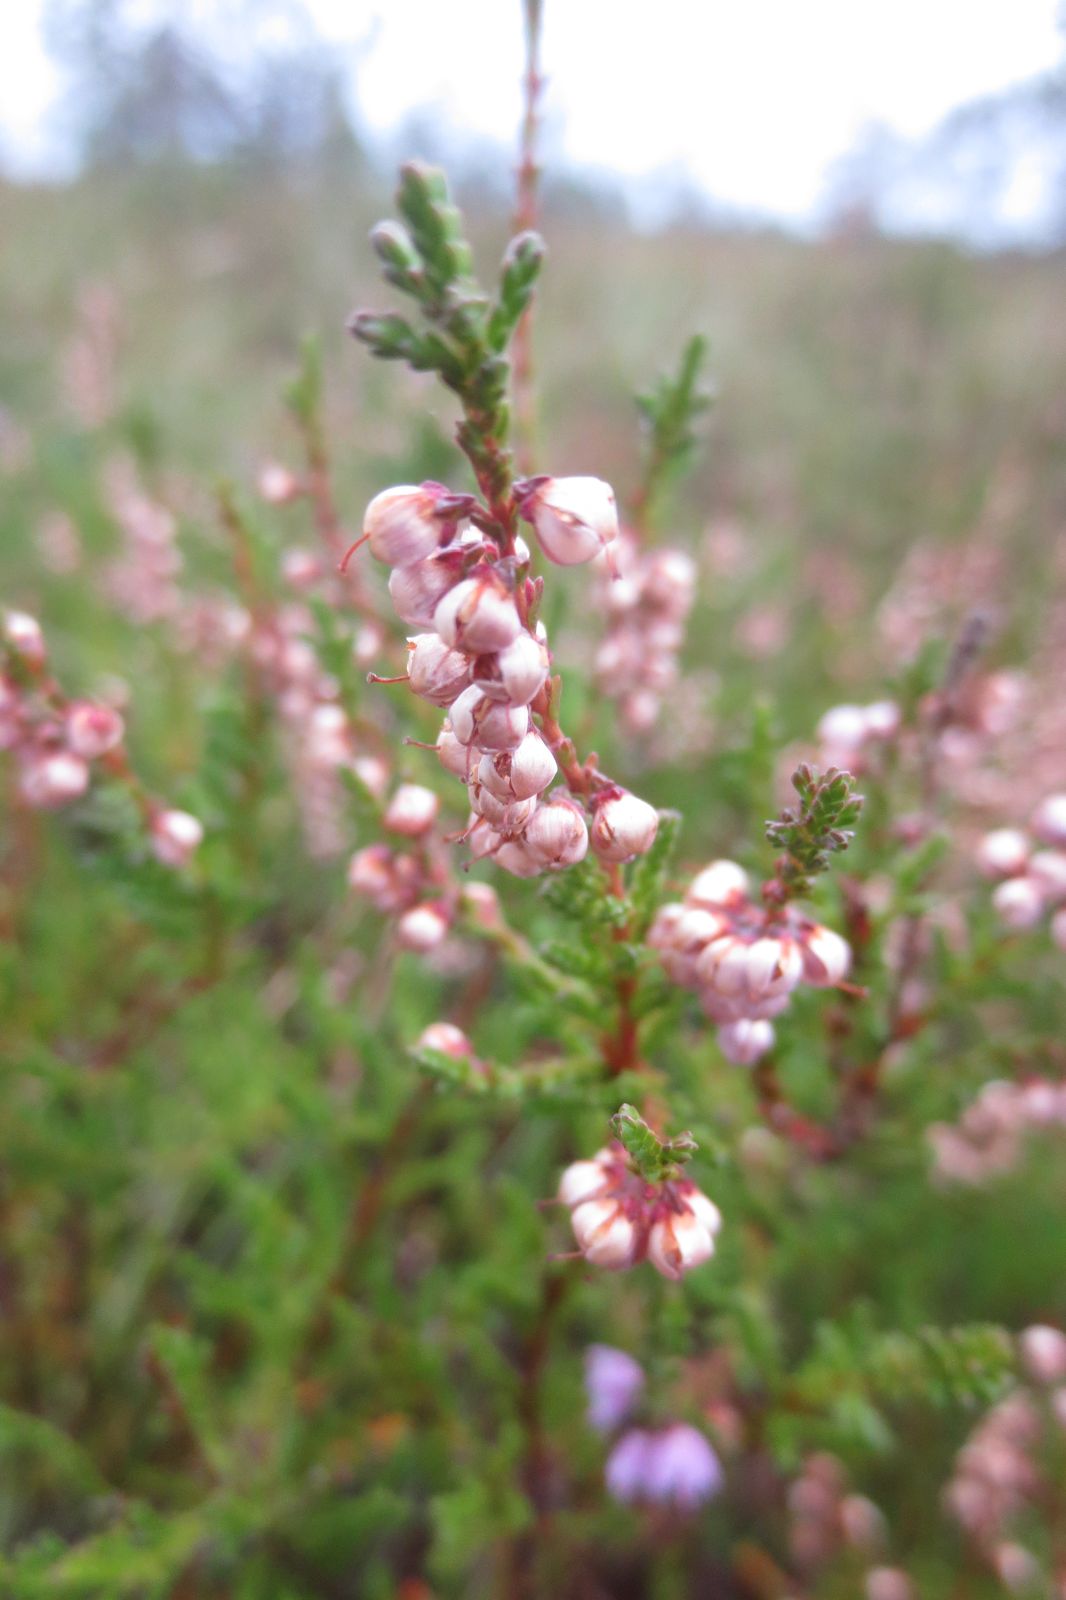
Calluna vulgaris

Vaccinium vitis-idaea L
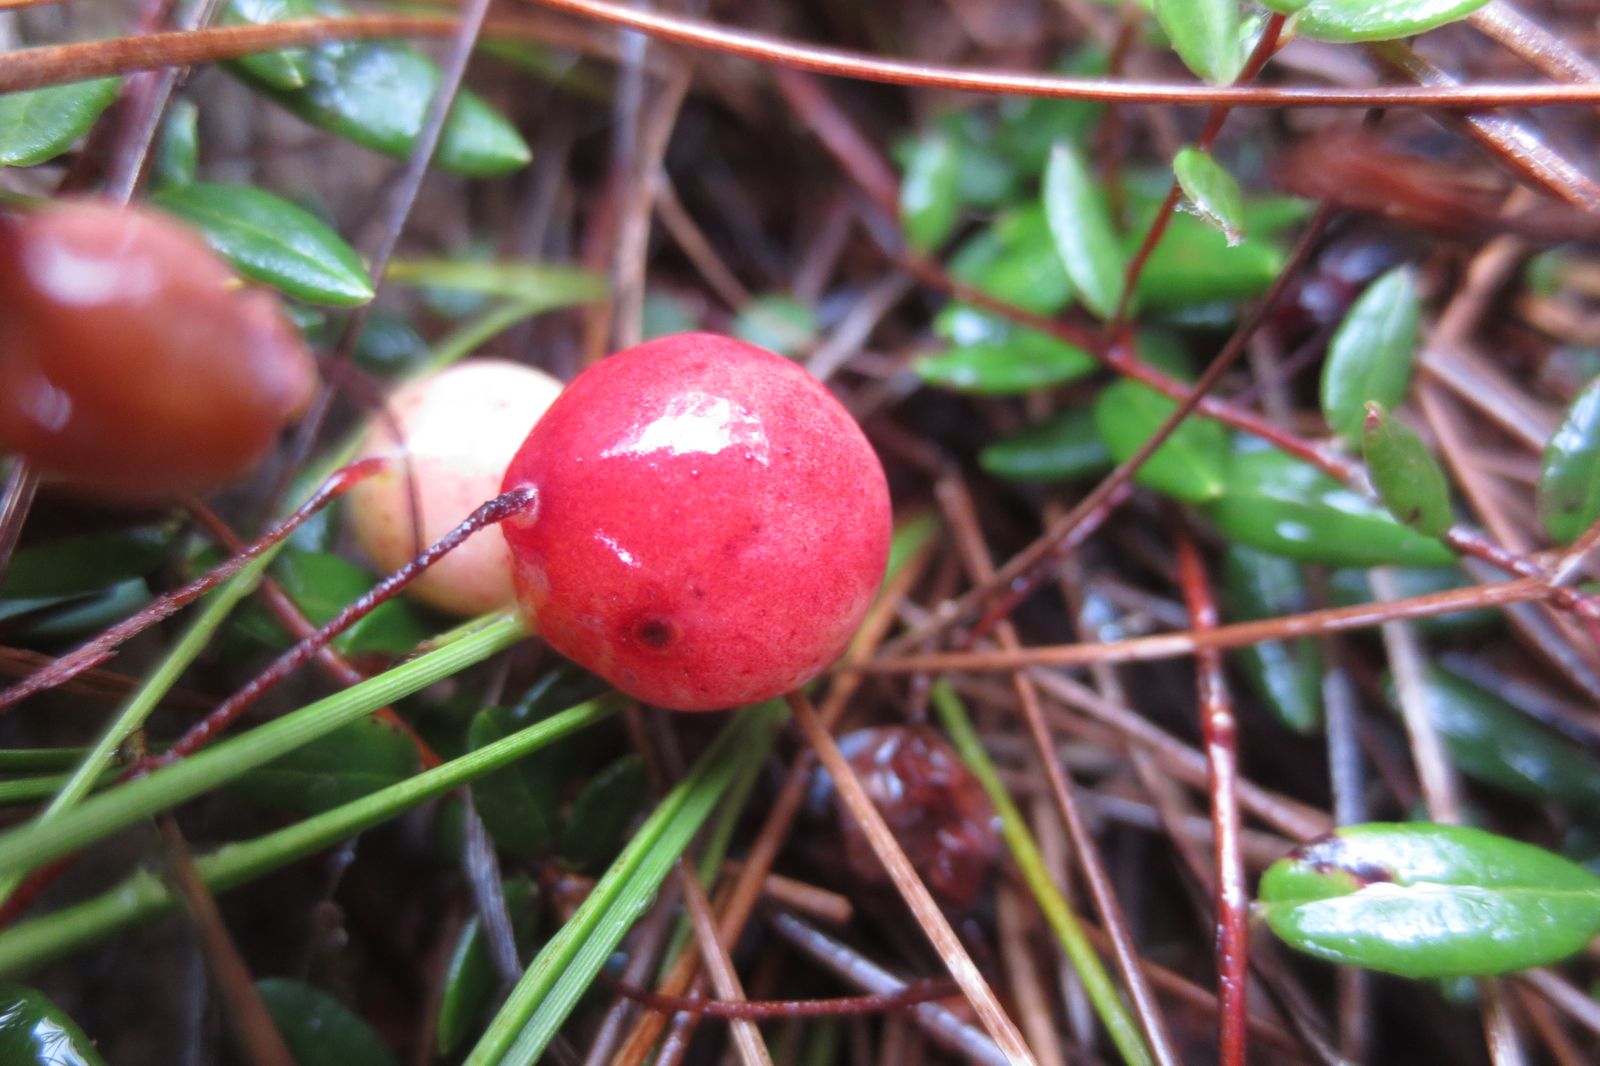
Vaccinium vitis-idaea L