© Charly, all rights reserved. Click for full size.
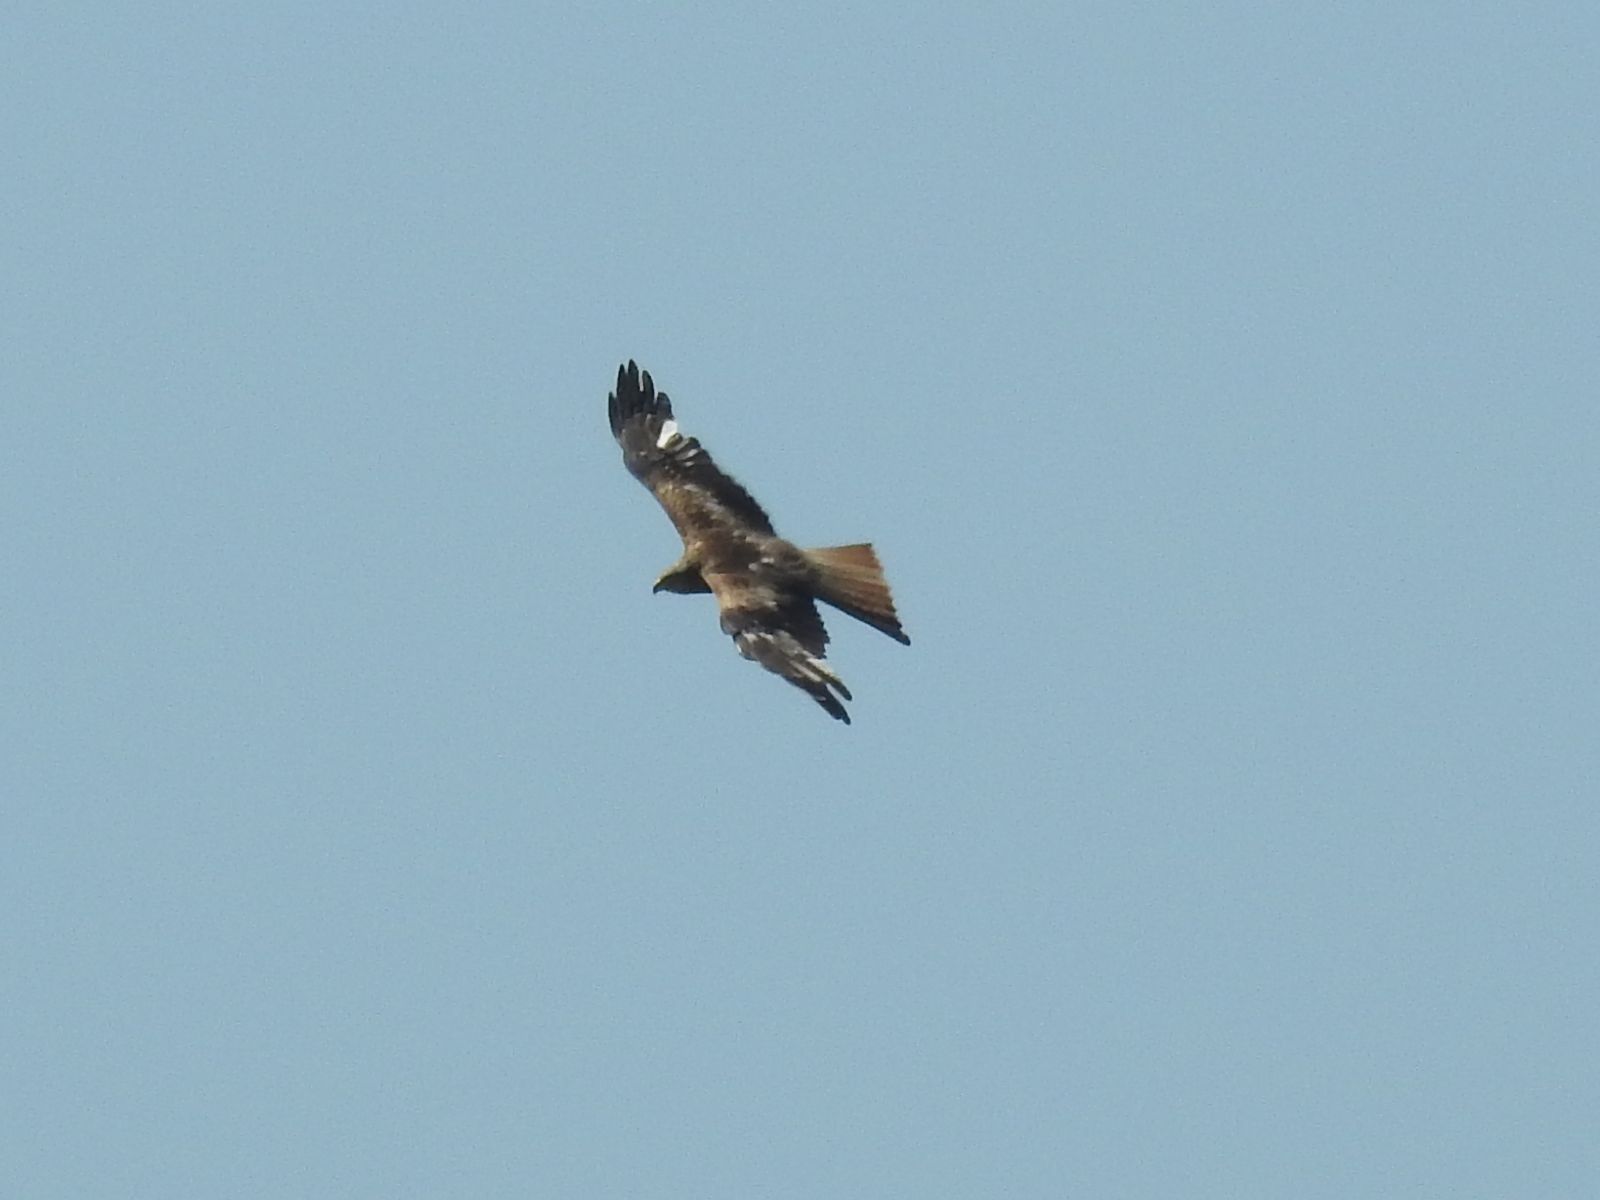
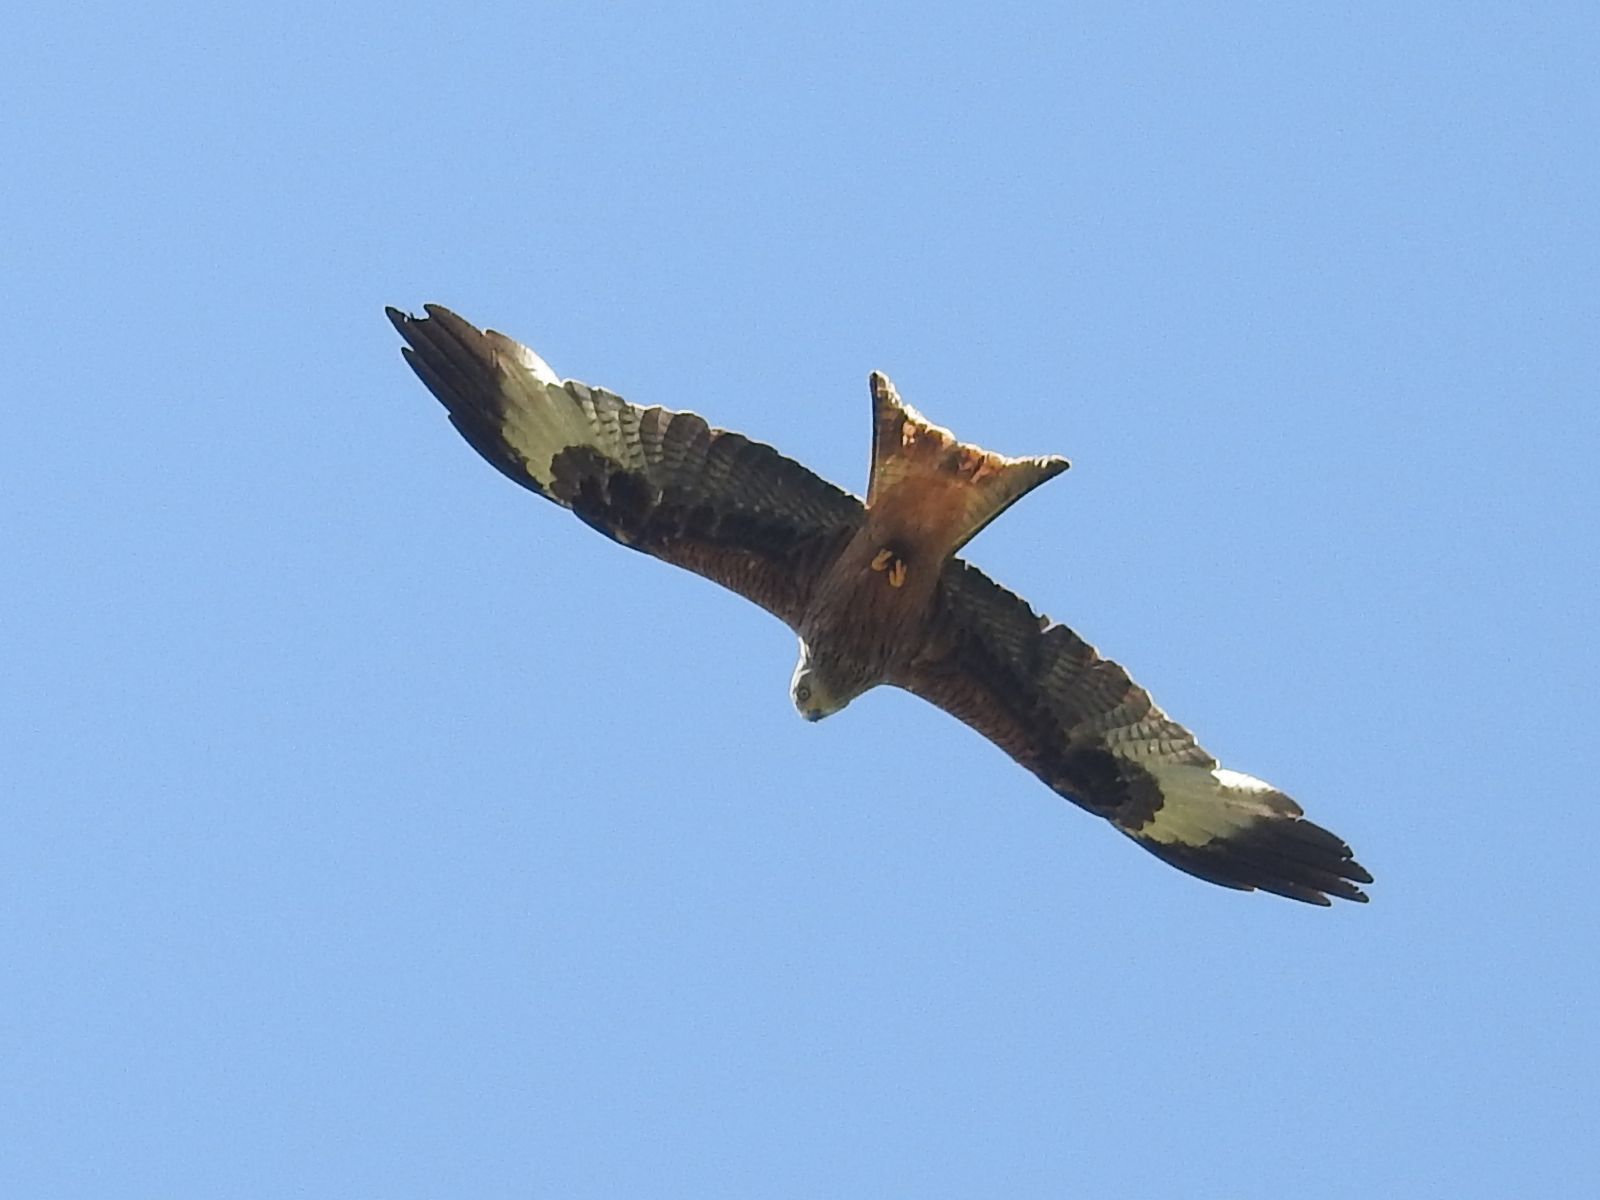
Last week this magnificent bird sat on a dead branch of a nearby ash tree. It is their favorite spot and I have gotten some pictures of kites sitting there already, but this time It was later in the day, so the sun was at a much better angle. And the bird obliged staying in one place long enough for me to actually run with the camera outside.
It is a bit of pity that there seems to be some dirt stuck to the corner of its beak. Really, no sense of style whatsoever. One would expect a model to show to a photoshoot well groomed and clean and not with bits of food stuck to the corner of their mouths.
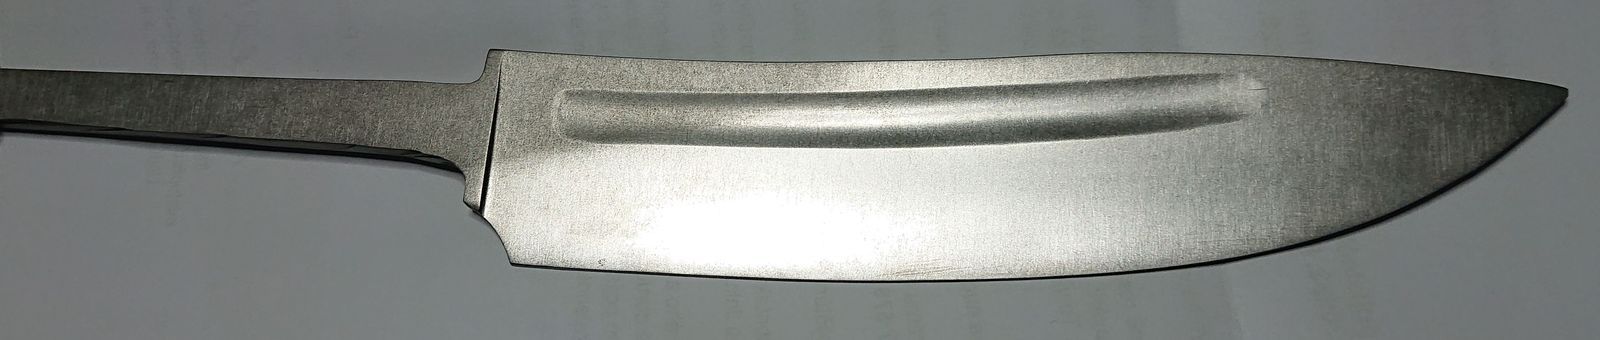
Still, what a magnificent bird. I shall definitively make a kite-themed knife. Soon.