Making Kitchen Knives – Part 6 – Basic Shaping of the Handle

I have decided to make the handle on this knife from an old piece of wood I have cut from a palette that stood outside for quite a while. I do not know what wood it is, I suspect birch. It is extremely weathered and looks kinda crap. But there is a trick to make such old wood look very fancy.

©Charly, all rights reserved. Click for full size.

©Charly, all rights reserved. Click for full size.

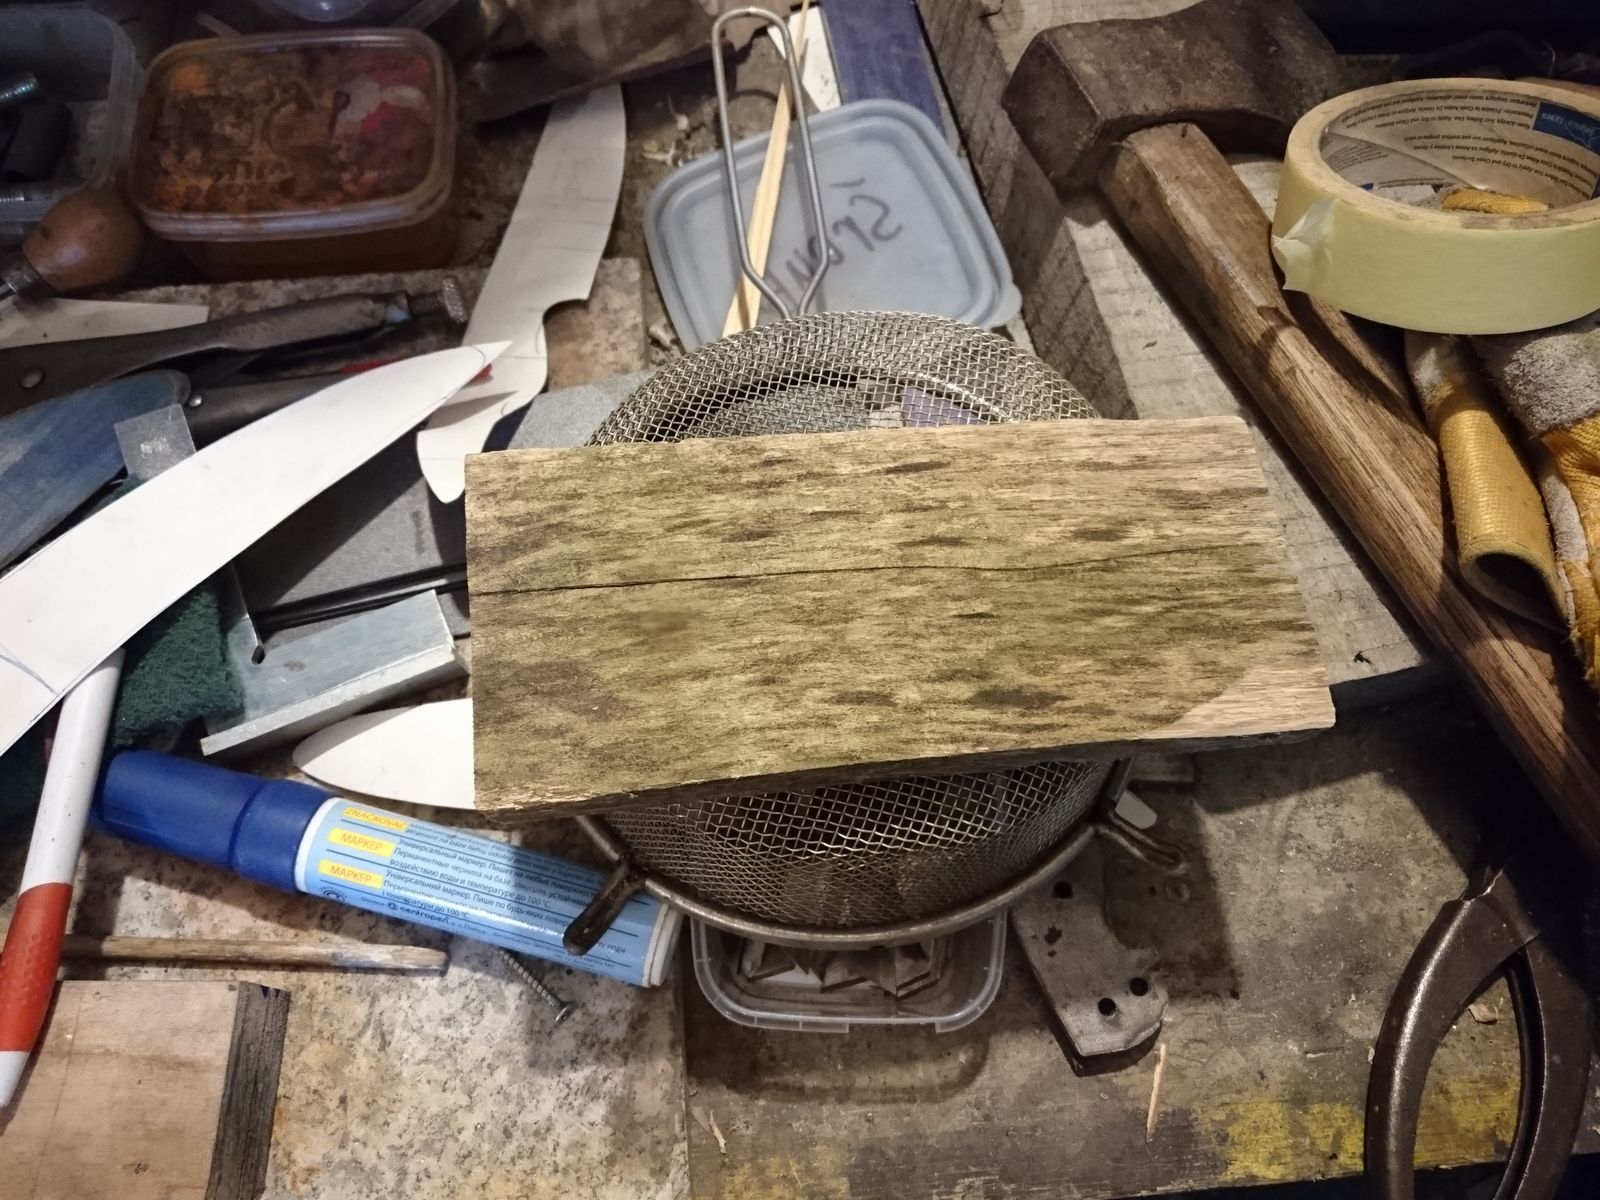
I have done most of the work per hand, first splitting the piece of wood along the visible crack, then cutting it with small hand-held saw to very roughly the final shape and drilling the holes for pins. So far this work was pretty uneventful and straightforward.

As you can see on the picture on the right, I have fixed the two halves with screws to make the final shaping. This is where things stopped being uneventful. The wood was not overly hard, but it was very tough and I could not shape it on the big belt sander because that is running too fast and the wood tended to gum up the belt and burn. So I have been stuck with using handheld tools. I thought that it is not a problem because I expected to do it quickly even so.

I was wrong. It took me 1:50, or 110 minutes, to get the handle scales into a nearly finished shape. I should have used my small belt sander, it has slower running belt and is better suited for wood.

Of course it would not be nearly as long work if I have made ordinary rectangular handle and not this ergonomically shaped one. However I consider the handle shape to be an important, even defining, component of this design. Simplifying the handle shape in the name of saving time would in my opinion strip the product of its uniqueness and I see no point in hand-made completely generic knives.

I think that I could reduce this work significantly by working on multiple knives at once, cutting the outlines with band saw and rough shaping with the small belt sander. Due to confined space in my workshop I need some time for setting those two devices up so it is not always worth for a one-off action. But should I prepare say 20 handle scales in one go, It would certainly be worth it.

©Charly, all rights reserved. Click for full size.

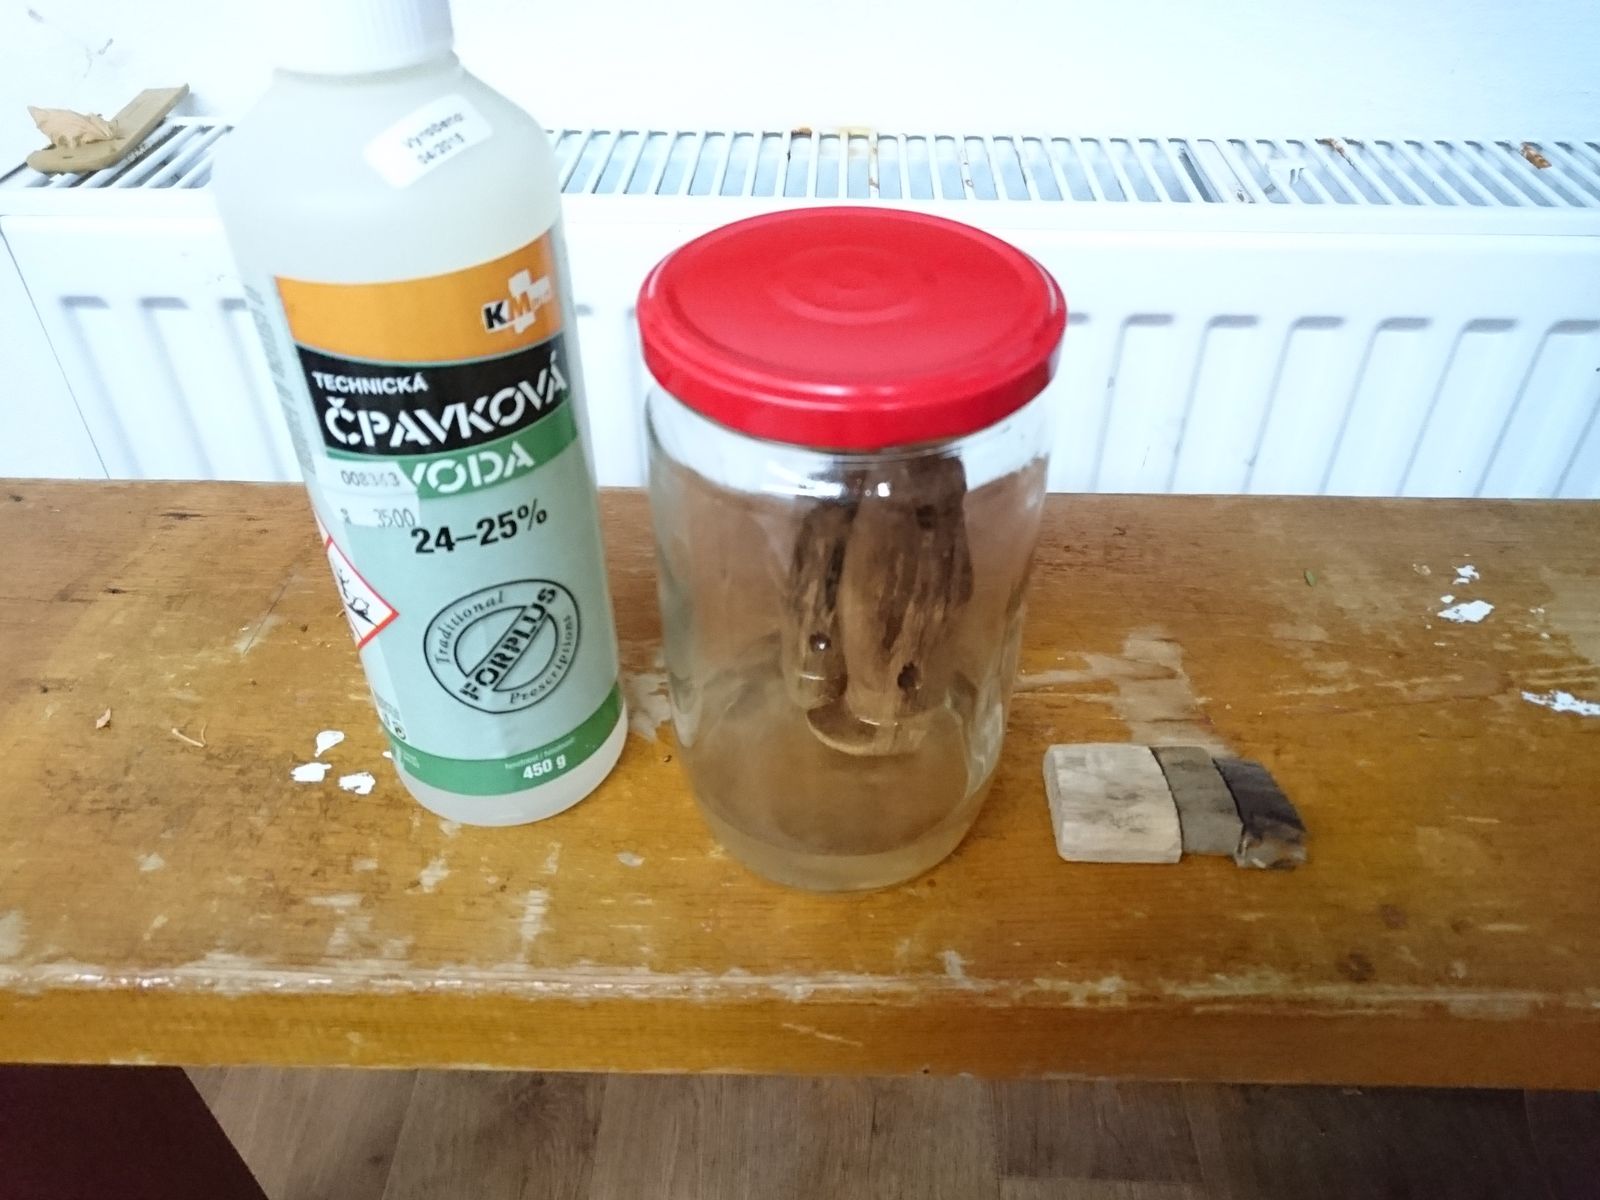
Before proceeding to finishing the handle I had to use my magic trick to improve the looks of the wood. That trick is called “ammonia fuming” and consists of putting the scales into a big jam-jar with a bit of ammonia solution and leave them in it overnight of for a few days, depending on what your goal is – the longer the wood is in the ammonia, the darker it will become.

In this specific instance I have left the wood sit directly in the ammonia solution, letting it to soak it up. It is also possible for example to only let the wood above the solution in the fumes (hence the name).

I have experimented in the past with multiple solution treatments and I have at my disposal a few such processes to alter the wood to warying degrees – from mild color change to actually making the wood compacted and a lot harder. The advantage of these methods over staining the wood with a dye is that the color change goes deep into the wood so it does not get scratched off. It also looks a lot more natural in my opinion.

However, to wrap up, this step took more time than I expected it to, but I think I can put it in “low hanging fruit” basket, because I expect working in bulk should reduce time here significantly and I already have the machinery necessary for that.

Slavic Saturday

I was actually thinking whether this would be better suited here or in the “Behind the Iron Curtain” series and I decided for putting it here.

Former Czechoslovak Socialist Republic has had a great tradition of stop-motion capture movies and one of its pinnacles was a series of short stories for children that was so succesful that it runs until today. The series started the same year I was born, and one of my favourite episodes “Tapety” (Wallpapers) is just three years younger. The series was originally named “A je to!” (It’s done!) and was aired in the evenings as a bed-time story for children.

You can enjoy this series no matter your native language since there are exactly zero words spoken. If you spend bing watching multiple episodes, feel free to blame me.

You live, you learn…

Well, my latest resin project didn’t go that well. I wanted to created little snowglobes using wooden deco elements. The idea was to pour the lower half of the moulds, wait some time until the pot time is over, push the elements into the resin, let cure, add the top half, add a wooden base, be happy.

Assorted wood deco

©Giliell, all rights reserved

As you can imagine, reality had other plans. First of all the resin was still too soft to hold up the deco elements. The right moment would probably have been 5 minutes in the middle of the night.

I tried to stabilize them with bamboo skewers, but it was less than optimal.

half poured resin

©Giliell, all rights reserved

The next day I added the top half. The hole is pretty small so I needed a syringe to put in the resin. Usually the two half separated a few times during the process and were a pain to put together again.

First of all, that introduced way too much air, second of all, I added too much glitter.

The results are sad. Very sad.

failed snowglobes

©Giliell, all rights reserved

But I’m not giving up just yet. For the next trial I’ll do the following: I’ll cut off part of the top half so I get a bigger opening. I will then glue the halves together so they won’t separate. And I already glued the deco to the wooden platforms. I’ll pour the globes in one go (with less glitter) and then push in the elements and just let the base close the mould.


But in the meantime I had fun with the kids and my friends and we made many nice things.

Selection of resin objects

©Giliell, all rights reserved

My favourite one is the under water scenery, which I promptly turned into a necklace:

resin necklace with seashell and plants

©Giliell, all rights reserved

The plants are some fern which I collected and dried last week.

Jack’s Walk

©voyager, all rights reserved

Well, the sun did try to shine earlier this morning, but by the time Jack and I got ourselves outdoors it had clouded over. We went to the woods anyway and had a pleasant autumn walk in the autumn air. It wasn’t the bright colours that caught my eye today, though. It was a bit of fluffy white fungus that looked just like wet teddy bear fur. Hmmm…maybe it was wet teddy bear fur. Maybe today was the day the teddy bears had their picnic.

Friday Feathers

I think we’ve had these images before, but since naturalcynic expressed dismay at the lack of close ups of the condor, here’s the next smaller bird I have to offer: Norbert, a European griffin vulture. According to one of the falconers he takes a much more direct approach to food than “waiting until you drop dead”.

Griffin vulture

©Giliell, all rights reserved

Griffin vulture

©Giliell, all rights reserved

griffin vulture

©Giliell, all rights reserved
I personally think his feather collar is just so posh.

Was There a Mosh Pit, Too?

Classical music has long been associated with heightened emotions, violent premieres, and composers escaping from disappointed audiences through windows and the like. But I thought those days were over, at least for classical music, until this headline caught my eye: Malmö performance of Mahler’s Fifth ends in brawl.

I leave you with the tension of the introductory paragraphs:

The conflict began shortly after the renowned Latvian conductor Andris Nelsons brought the bombastic introduction to the fourth movement to a shuddering halt, leading his Leipzig Gewandhaus Orchestra deftly into the movement’s slow, atmospheric adagietto, wrote the Sydsvenskan newspaper.
At this point that the rustling on the second balcony became apparent, ruining the effect of the gently soaring strings and softly plucked harp for all sitting nearby.


Macedonia 2 – A Glorious Three-fer

I present a triune of lizards for your eyes. For some of you, a lizard may be no big deal, but I come from a land where lizards are rare, and the only ones we have are tiny and brown (but very cute!).

Lizard number 1 was hiding out in bright sunlight on some flat rocks, when I nearly stepped on it.

See if you can spot it:

I am invisible…

The dramatic reveal below the fold…

[Read more…]

Jack’s Walk

More fun than fungus, ©voyager, all rights reserved

Jack and I haven’t really wandered too far from home this week because fibromyalgia and damp weather don’t get along, but that just gives us a chance to check out the changes in our own neighbourhood.  These mushrooms for example weren’t here earlier this week. Must be all the rain we’ve had. I’m not familiar with this variety of fungus, but they look to me like more fun than fungus.

Glorious Shoes

Opus has sent us another colourful treat. This time it’s shoes and they are wonderful. It’s no secret that I love shoes, but I could never hope to have shoes quite this wonderful. They’re bright, bold and such interesting designs. Opus says,

More pictures, this time from Reykjavik.  Shooting through glass is tough, but I think they worked out well.  More of the sights that one sees when traveling with fabric artists.  I might never have noticed if not for them.

Well, Opus, I think traveling with fabric artists is definitely a good thing, but your camera skills are what makes it all come alive in photos. Thanks so much for sharing.

©Opus, all rights reserved

[Read more…]