I’m pretty sure everyone makes that joke, when they are talking about a boring bar.
A couple of weeks ago, I replaced the valve body on the hot water side of my shower. It was a big mess, because the screws down the center, that hold the levers on, had corroded badly and I had to drill the head of the screw and fit a little bitty screw extractor down in there. [a screw extractor is a hardened steel bit with a reverse thread cut into it: you drill a hole in the screw that is about to die, put the extractor in, and crank it out. If you are lucky the head of the screw does not spontaneously disassemble]
Stainless steel hex-cap 10/32 bolts cost about $0.15 in quantity; too expensive for the manufacturers of fine plumbing. I ran a tap down the threads and now there are nice stainless bolts in there.
When I got the valve escutcheons off I discovered that the steel was really rusty and – something that has escaped my notice for 14 years – they didn’t match. I started looking online for replacements, when I realized something: the shower cabinet has these nice extruded aluminum frame pieces with a brushed finish, what if I made my own brushed finish aluminum escutcheons? I have a nice 2 1/2″ piece of aluminum round stock, and a lathe. What could possibly go wrong? Besides, it’s about a perfect beginner level 0 project.
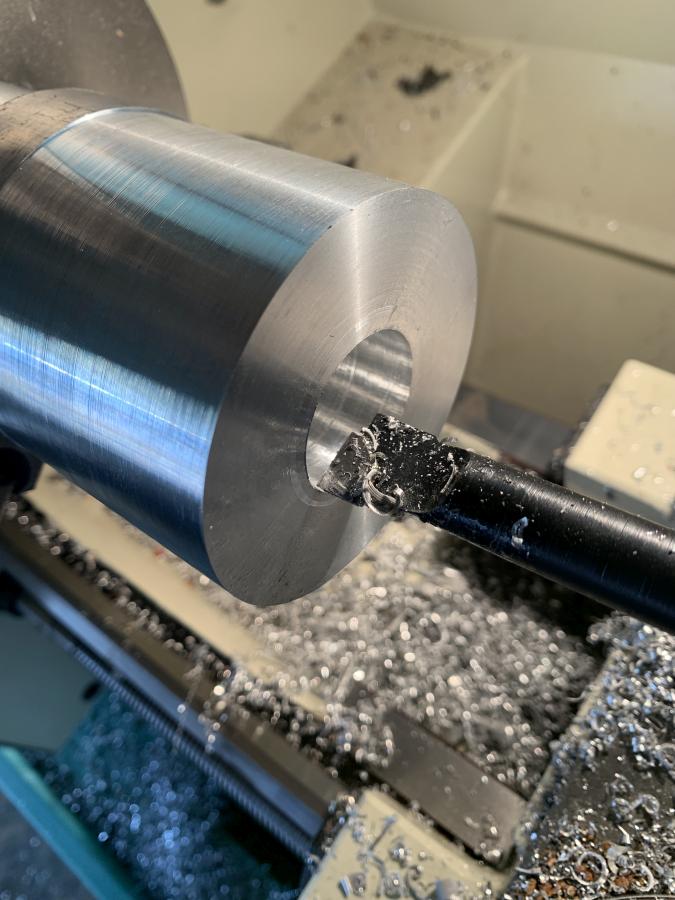
So, I chucked up the chunk of aluminum round, did a surface pass to make it concentric, then applied a series of drills (1/4, 3/8, 1/2, 1″) to make a big hole in the center, then used a boring bar/carbide carrier to enlarge the opening. I admit I felt a bit silly measuring the hole in the old escutcheon with a caliper so I could exactly duplicate (“exactly” within woodworkers’ tolerance) the opening.
Since I was making 2, I made the opening 1″ deep, which offered plenty of length for the pieces and the kerf [what do machinists call it?] for the parting tool.
Mostly I had fun watching the little curlicues [“swarf”] peeling off the metal, and experimenting with the effect that various rotational speeds had on the way it cut. It’s a meditative process because you really can’t just hog material away; you’re shaving a bit with every pass but it’s a bunch of passes.
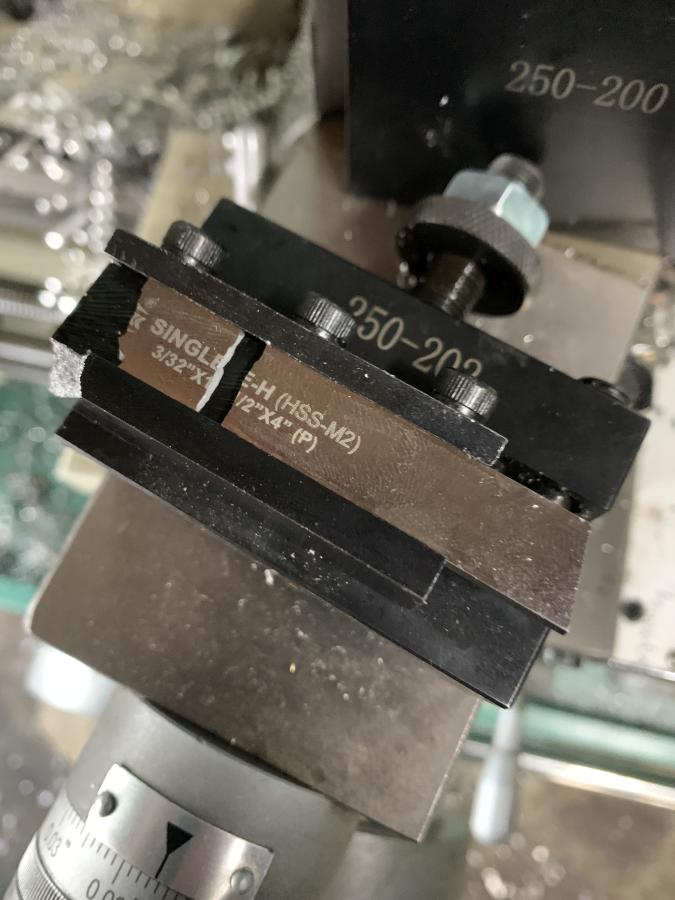
That’s what’s left of my parting tool, after it caught and the machine ripped it apart. You can see at the lower left where the corner just popped right off. And the steel of the tool crumbled.
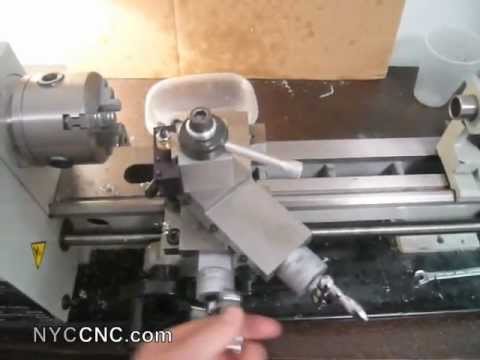
cross-slide with compound (some other guy’s lathe) [To make the bevel on the escutcheon, I had the compound swung around to the left of the cross-slide. Keep it clear of the chuck! Always keep everything clear of the chuck!]
I also didn’t get a picture of the set-up with the compound, which is a bummer and blogging malpractice. A compound on a lathe has a lot of purposes, one of which is cutting at an angle from the cross-slide – you can do tapers and bevels and stuff like that with it.

I set my compound at 7 degrees off the cross-slide, which is the traditional bevel-angle for shower escutcheons. One neat thing about using the compound is you set it up, tighten it down, and go ahead with the cross-slide until you want the angled cut. Then, when you do the next piece, it’s still set up where you want it and you can exactly match the cut.
Another thing you can see is a fairly typical oopsie – the curls of swarf coming off, at some point or another, made marks in the face of the work-piece. I’m not sure what I should have done, there. I’m not getting any part of myself near the machine to grab the swarf away and I don’t think it seems like a good idea to be spinning the machine up and down a lot, just to clear the ribbons off the cutting tool.
After blowing my parting tool apart, I didn’t have a great option for removing the work-piece so I just put it on Mr Happy Dancing Bandsaw:

I was careful to be prepared to catch it when the saw completed the cut, since I didn’t want the aluminum to hit the concrete floor and ruin those nice, crisp, edges. Edges that can cut you. Just what you want in a shower. (I de-burred them with a file later) my knife-grinding belt sander made short work of cleaning up the backs where the bandsaw did its thing.
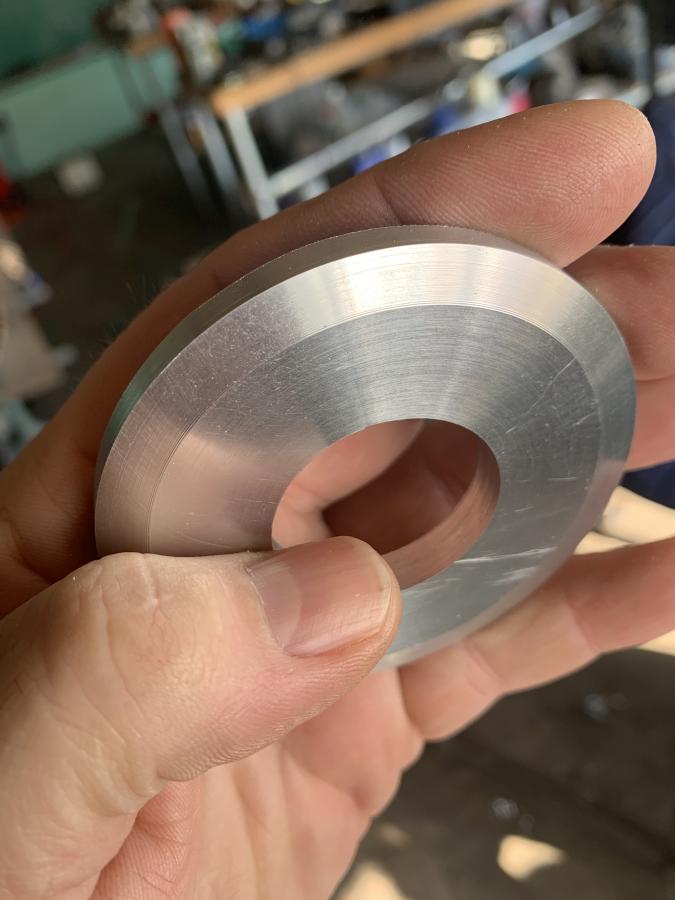
Since I took the stock out of the lathe, I had to skim a bit off the surface to get it concentric again, which means that one of the escutcheons is 2/1000th smaller than the other.
Very nice, and I imagine they are solid unlike most of the escutcheons you can purchase these days which are of stamped steel and feel pretty cheap.
“If you are lucky the head of the screw does not spontaneously disassemble”
Don’t you mean “If you are lucky the extractor doesn’t snap just below the surface the screw’s screwed into, leaving you with a hardened lump with a ragged top that’s nigh impossible to drill out without destroying both the original screw and the usually soft aluminium casting from which you’re trying to extract the screw.”?
Stainless screws in aluminium motorcycle crank cases = galvanic corrosion.
INteresting. I’ve never had a parting tool break that way. When I goof it always leaves the parting tool intact and the work ruined.
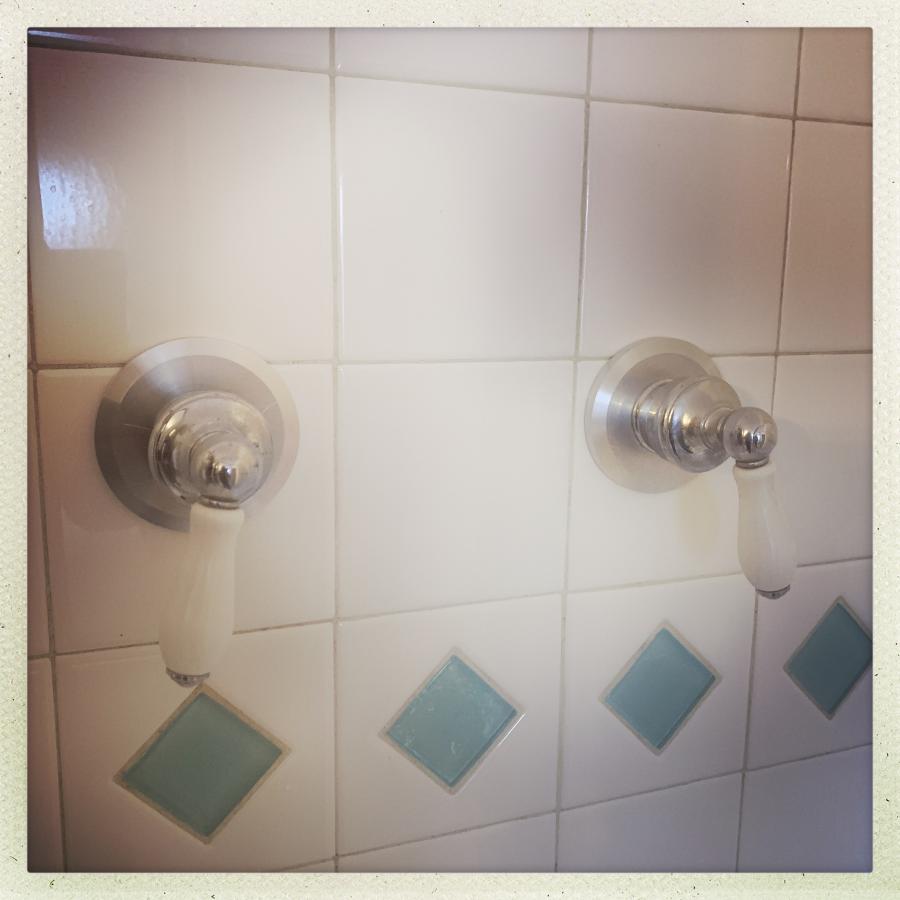
Those taps look just like the ones in my bathroom, except for the material on the handles. Nasty things when they corrode.
The Brain: “Pinky, are you thinking what I’m thinking?”
Pinky: “Swarf!”
Leaving that aside, very nice job, Marcus!
Unacceptable! It’s scrap, start again.
very nice
Ha! I just googled “parting tool” and got 1 youtube video from a wood guy saying “parting tools are great, you can use them for anything, just ram them in there” and he must have made about 20 cuts in the the 9 minutes, and one from a metal guy that was 12 solid minutes of “oh, and you have to do *this* just right or it’ll bind” with a “and that’s all there is to it!” at the end by which time he’d made a single cut.
flex@#1:
Very nice, and I imagine they are solid unlike most of the escutcheons you can purchase these days which are of stamped steel and feel pretty cheap.
6mm of solid aluminum. They’re going to outlast me pretty handily.
markp8703@#2:
Don’t you mean “If you are lucky the extractor doesn’t snap just below the surface the screw’s screwed into, leaving you with a hardened lump with a ragged top that’s nigh impossible to drill out without destroying both the original screw and the usually soft aluminium casting from which you’re trying to extract the screw.”?
Actually, my usual failure mode is for the drill to break off in the head and then I’ve got to extract that before I can put the extractor in. Such fun!
Matthew Currie@#3:
Interesting. I’ve never had a parting tool break that way. When I goof it always leaves the parting tool intact and the work ruined.
I’m going to credit my having it correctly aligned for not binding against the edge, but since the cutting point was too high, it bit and the tool went out through the bottom of the holder. I think the holder was pretty cheap stuff. On the other hand, the pressure on the tool is pretty mind-blowing.
Those taps look just like the ones in my bathroom, except for the material on the handles. Nasty things when they corrode.
Yeah. Pro tip is when I buy a house I buy spare valve cores for everything in the house, and store them away in baggies in the basement. I guess I’m paranoid.
@ Marcus Ranum:
“Actually, my usual failure mode is for the drill to break off in the head and then I’ve got to extract that before I can put the extractor in.”
Yeah.. I have that t-shirt too.
Marcus Ranum@9
You could say it chattered. Once. ;-)
OT, for your tactical files:
Tactical Peeps
For removing chips while your work piece is turning use long nosed needle nosed pliers. Just grab the chip long enough to get it to break. You can use scotch bright to polish the piece while it is chucked up and turning slowly.
OT – knife making:
King Tut’s Meteorite Dagger Has a Mystery Origin Story
Reginald Selkirk@#14:
King Tut’s Meteorite Dagger Has a Mystery Origin Story
That’s really interesting!
There are a lot of legends of blades made from meteorite but they almost certainly would have been alloyed with other iron and steel. I’ve actually tried to forge weld meteorite and it’s pretty crumbly, nasty stuff. When you smelt it in with other iron, it can be a valuable source of manganese, vanadium, and other trace materials that metallurgists of the time really didn’t understand.
StonedRanger@#13:
For removing chips while your work piece is turning use long nosed needle nosed pliers.
Perfect.
I immediately thought of the medical forceps that I have, but remembered those have stainless steel finger-rings, just right for catching and ripping off a thumb or index finger. So I think it’ll be pliers as you suggest.
@16 the word “degloving” is one that since I first heard it has always made me squeeze my legs together and curl into a ball.