Avalus has a penchant for finding interesting things to photograph on his way to work. Here are a few colourful birds, and he says,
… a flock of birds I encountered on my way to work. Again, I have no idea what kind of bird they are.
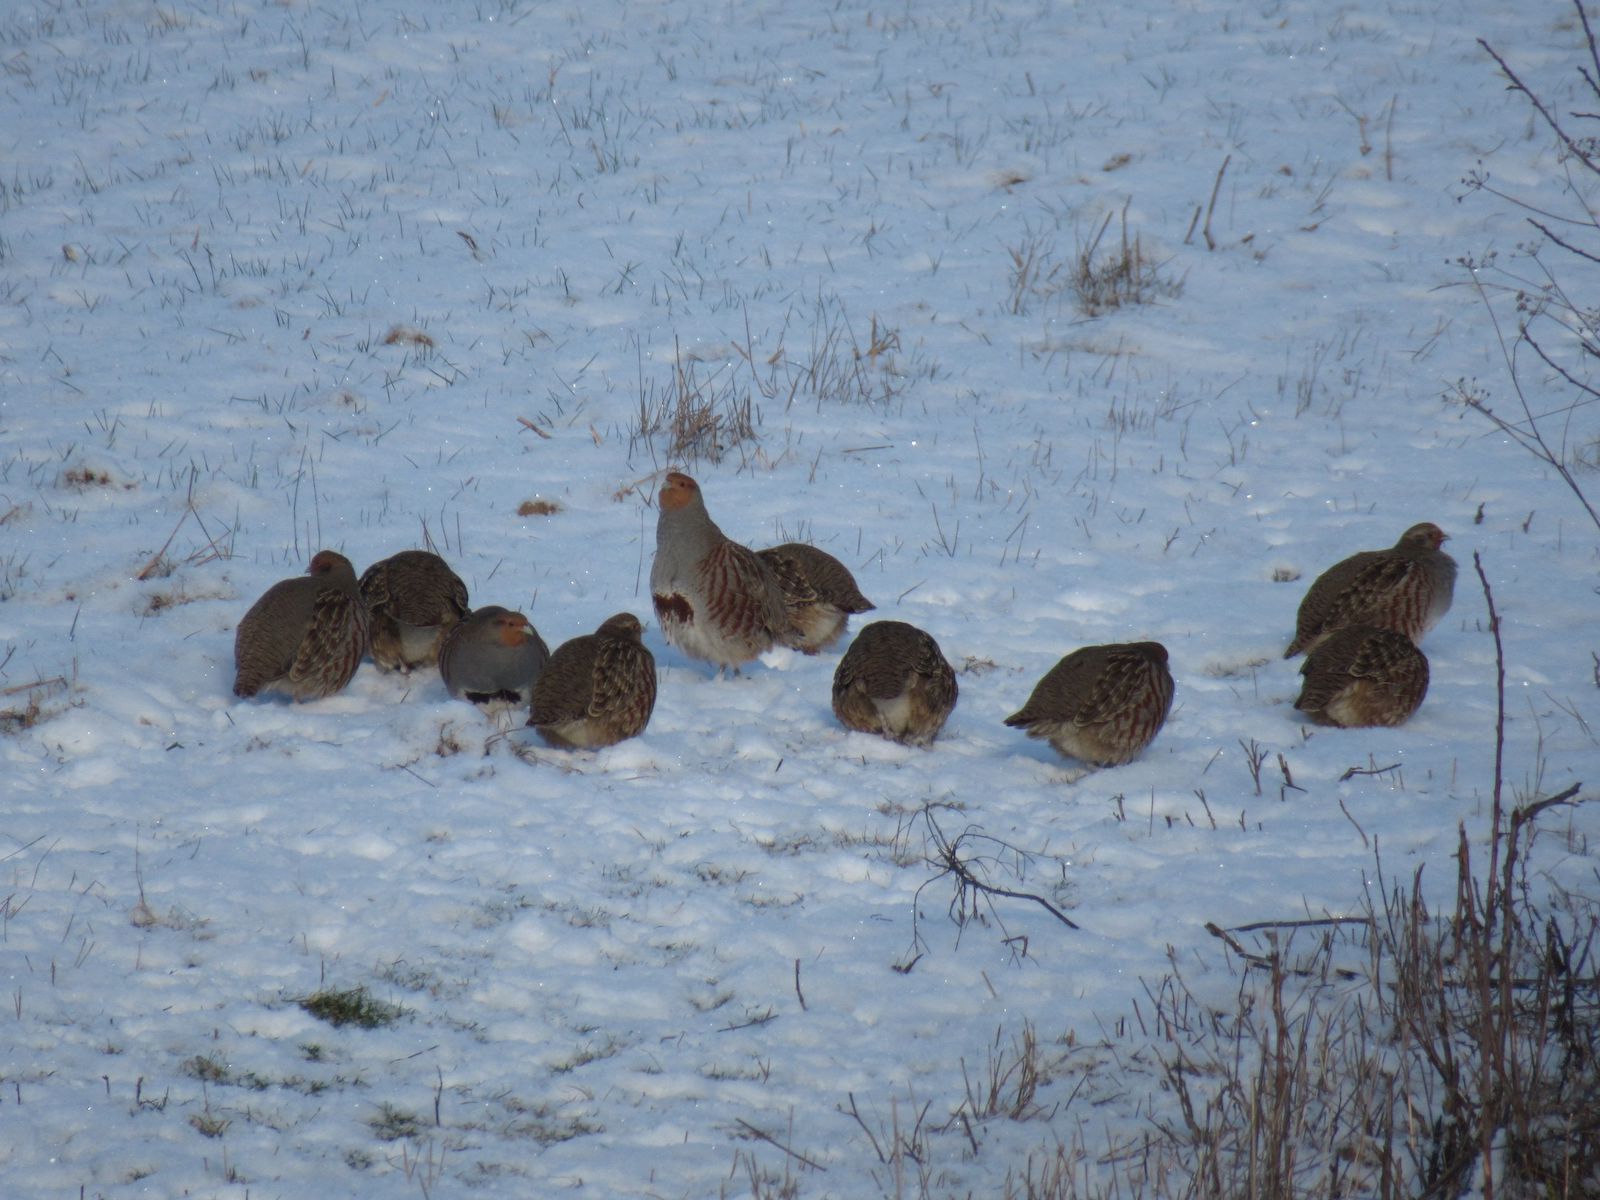
©Avalus, all rights reserved