More images from the birds of prey at Amnéville. I must say they got the optics down to a T, puuting the black guy on the white horse and the blond white woman on the black one.

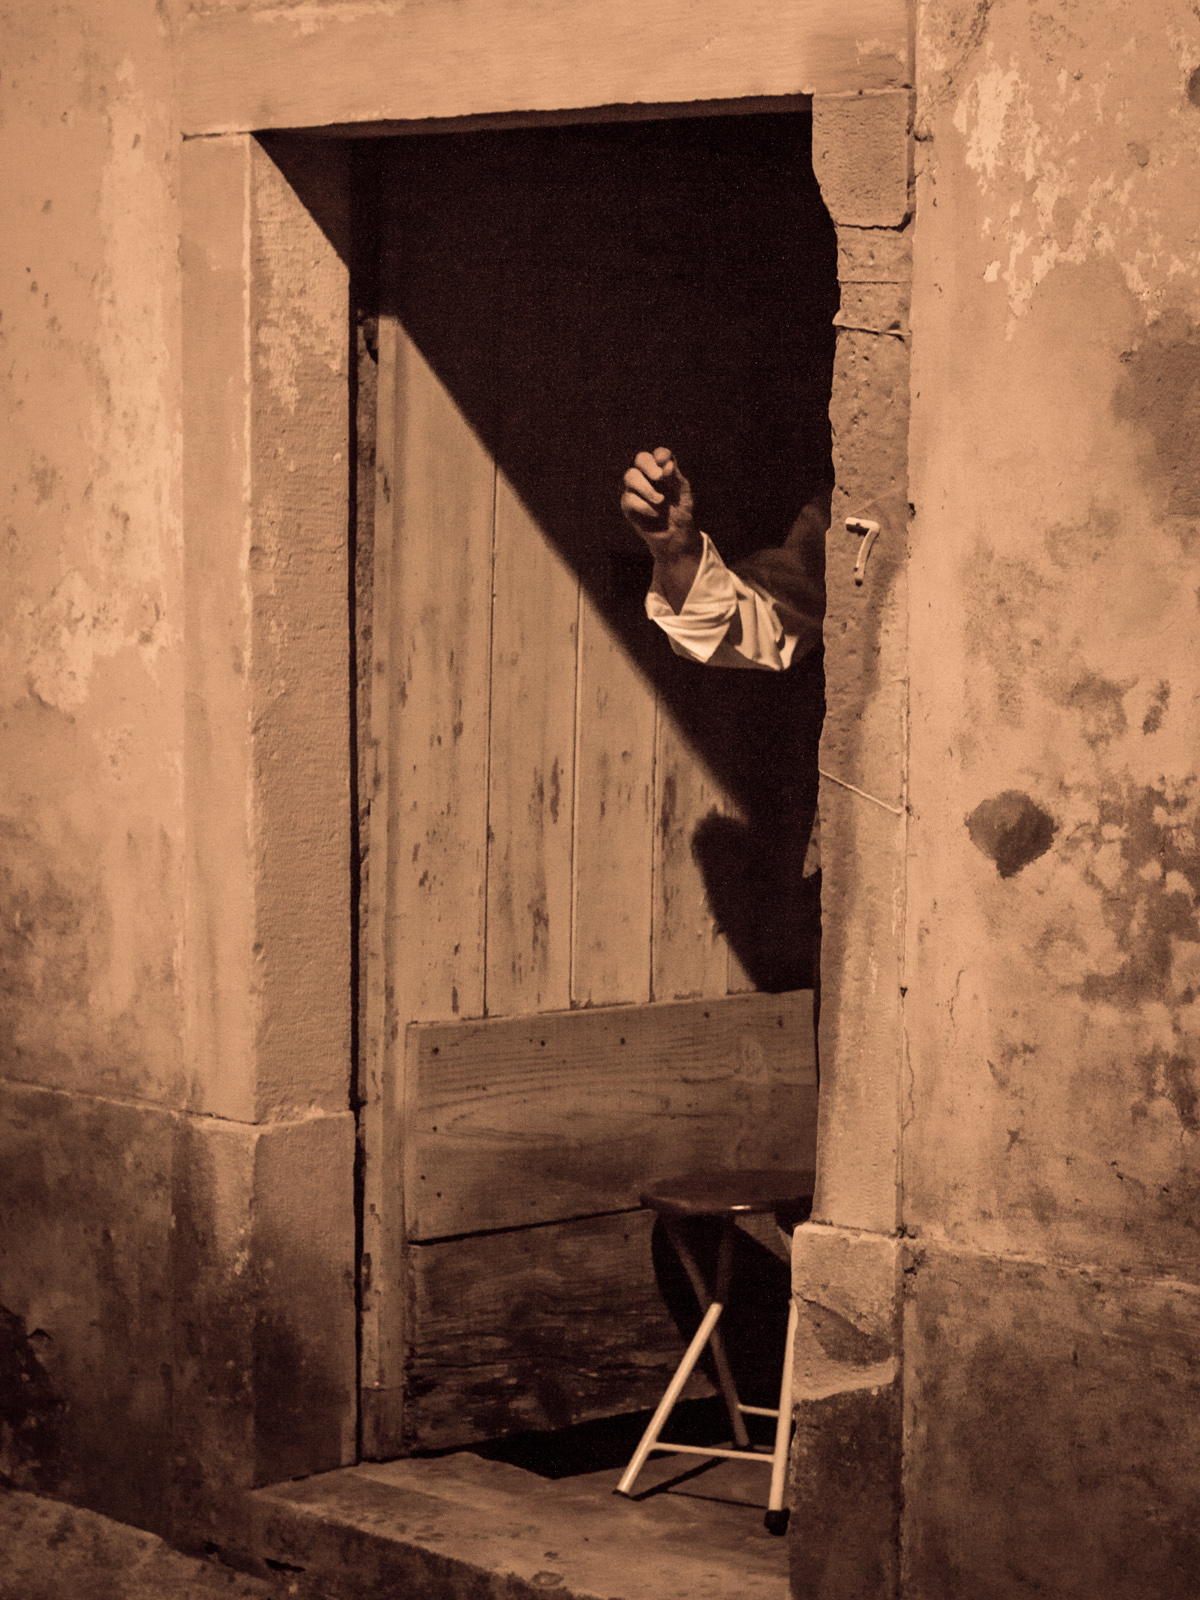
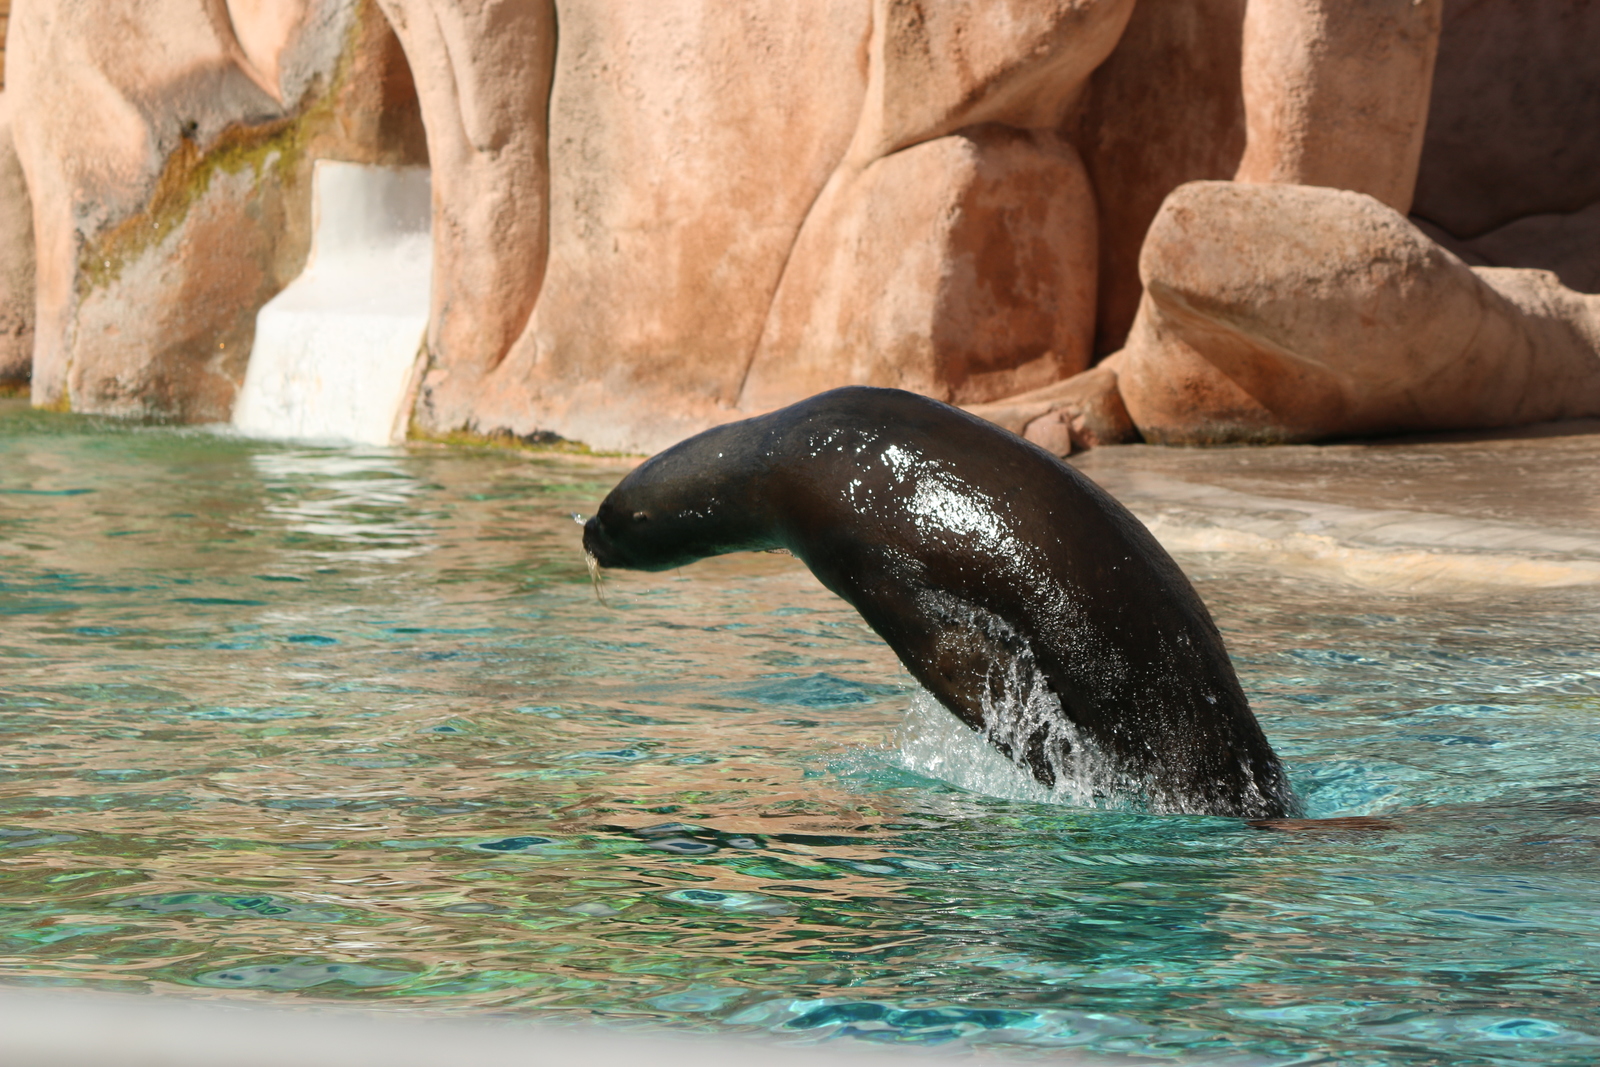
©Giliell, all rights reserved

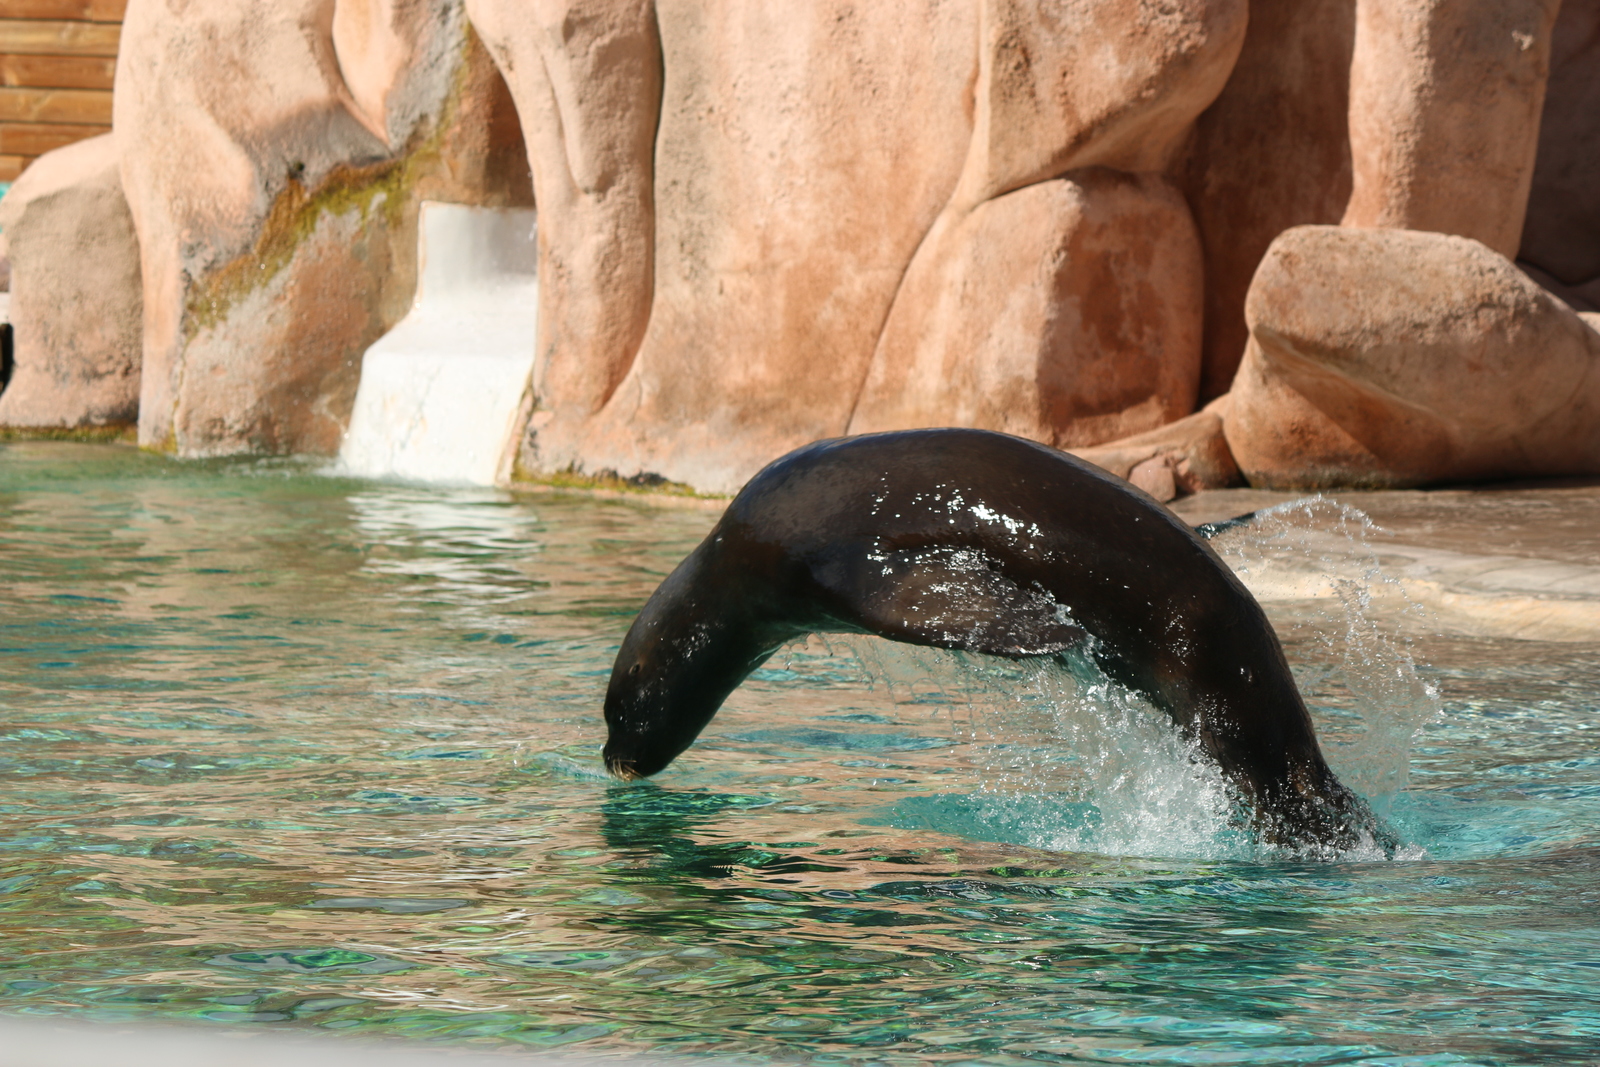
©Giliell, all rights reserved

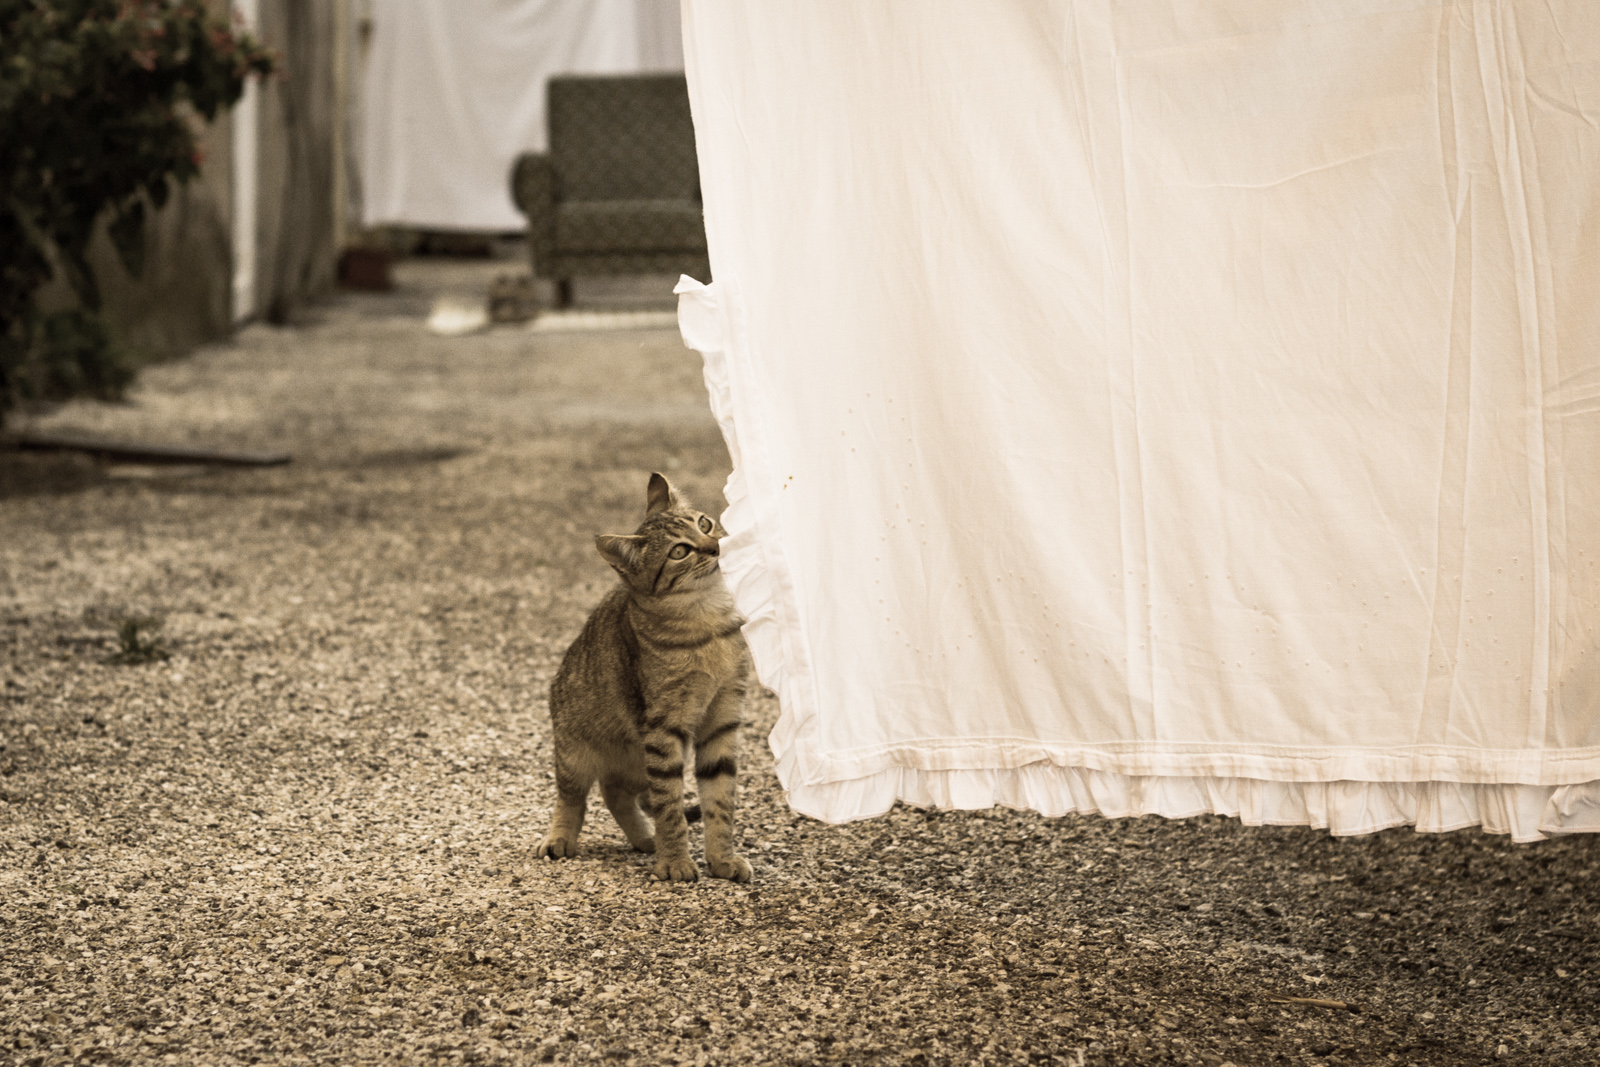
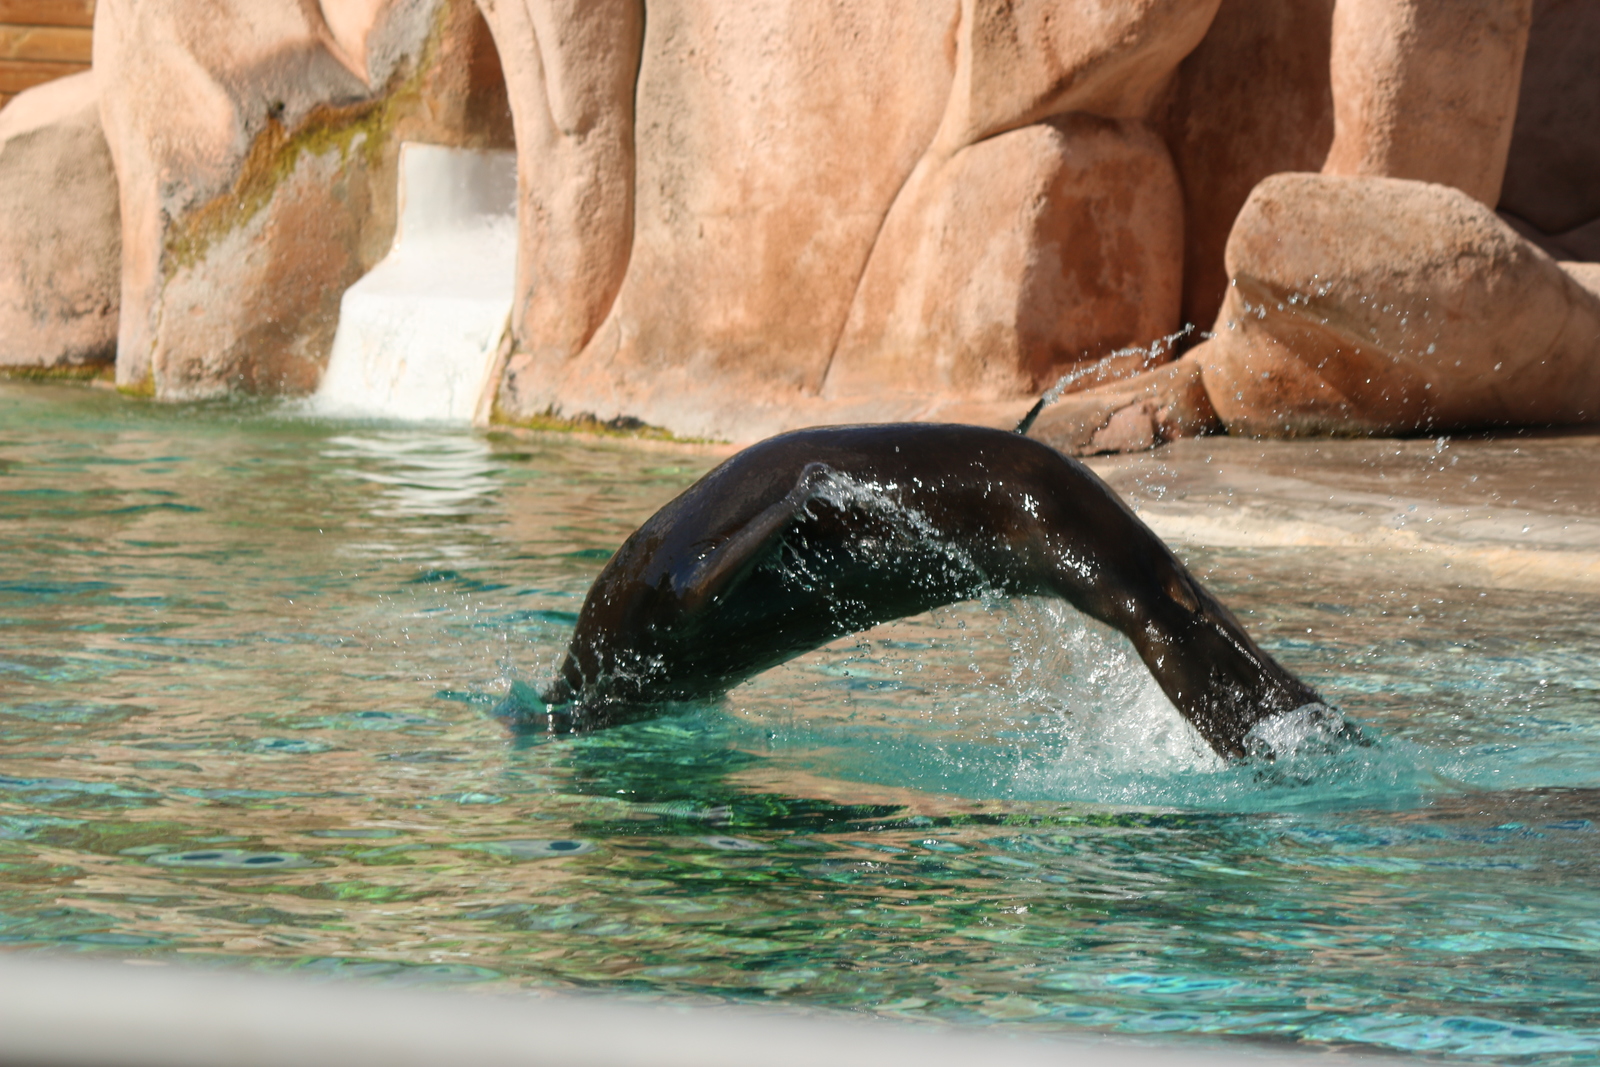
©Giliell, all rights reserved

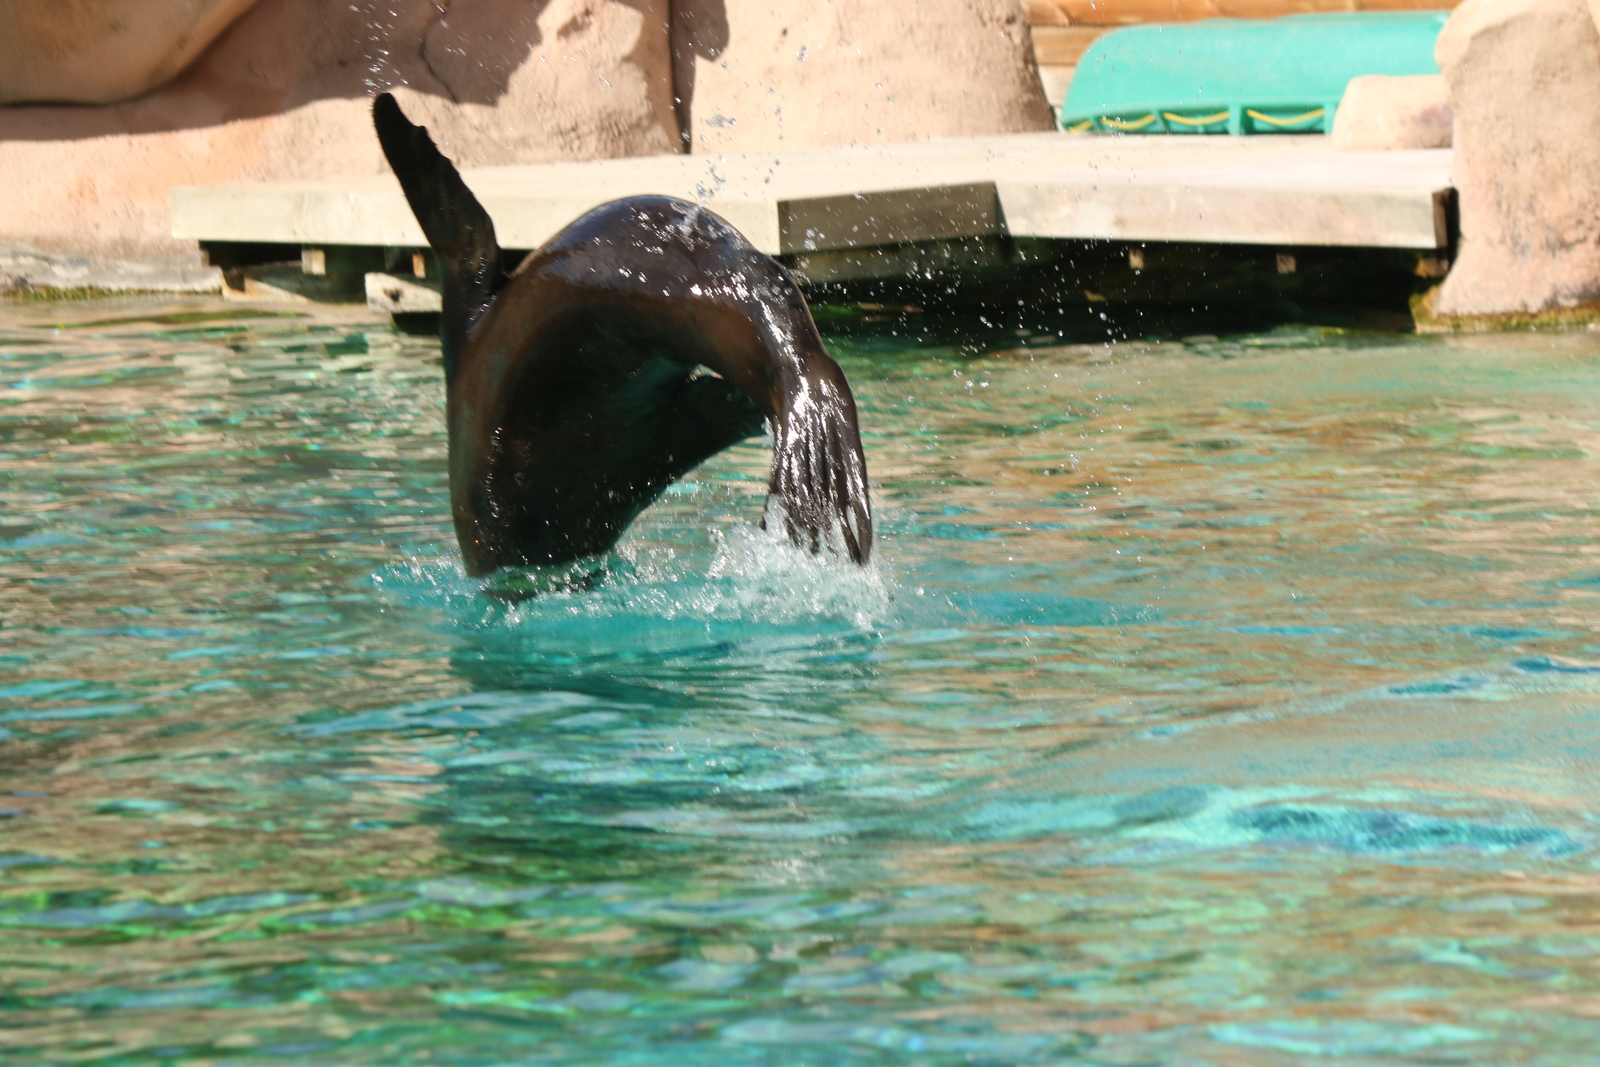
©Giliell, all rights reserved

©Giliell, all rights reserved

©Giliell, all rights reserved