Back in Macedonia, having taken the ropeway to the top of the mountain, I decided to walk down – there’s a paved road, and I was told it only takes about 45 minutes to 1 hour. I suppose that’s 45 minutes if you don’t stop for photos along the way, which I did. A couple of times. It’s a nice walk with several gorgeous views and a lot of hairpin turns before the bottom, very quiet and isolated and, that time of year, with few people to meet along the way, except for the random cyclist coasting at speed. Along the way, which is the story I wanted to tell, I came upon a group of 5 or 6 inebriated young men. Not that there’s much to tell, because I did my best to walk past them without bringing undue attention to myself.
Of course, this was not possible – I don’t speak much Macedonian, but I’m pretty sure the things they yelled after me were not particularly polite. As soon as I’d turned the first bend with them out of sight, I took it upon myself to jog the next few turns, and carried a stack of prickles down my spine the rest of the way (more than half). At least they were going up the mountain.
In any case, I haven’t run through so many escape scenarios in my head for a long, long time. It was hard to go back to just enjoying the scenery and surrounding nature. But because I did enjoy it, you can, too.

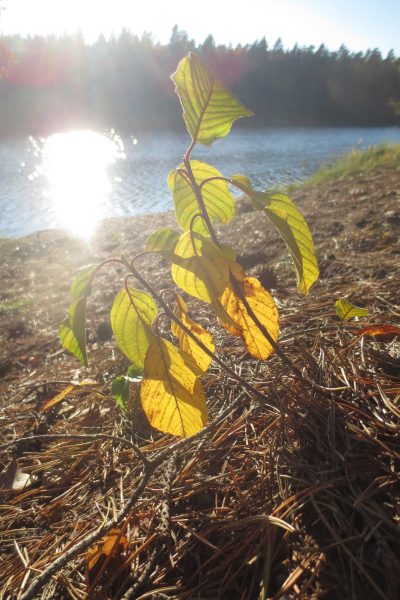
Yellow flower.
©rq, all rights reserved. Click for full size.

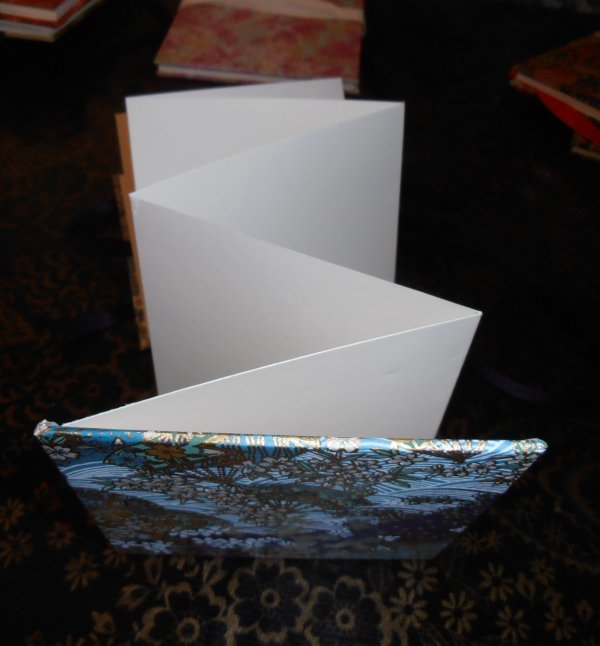
It was a sign.
©rq, all rights reserved. Click for full size.

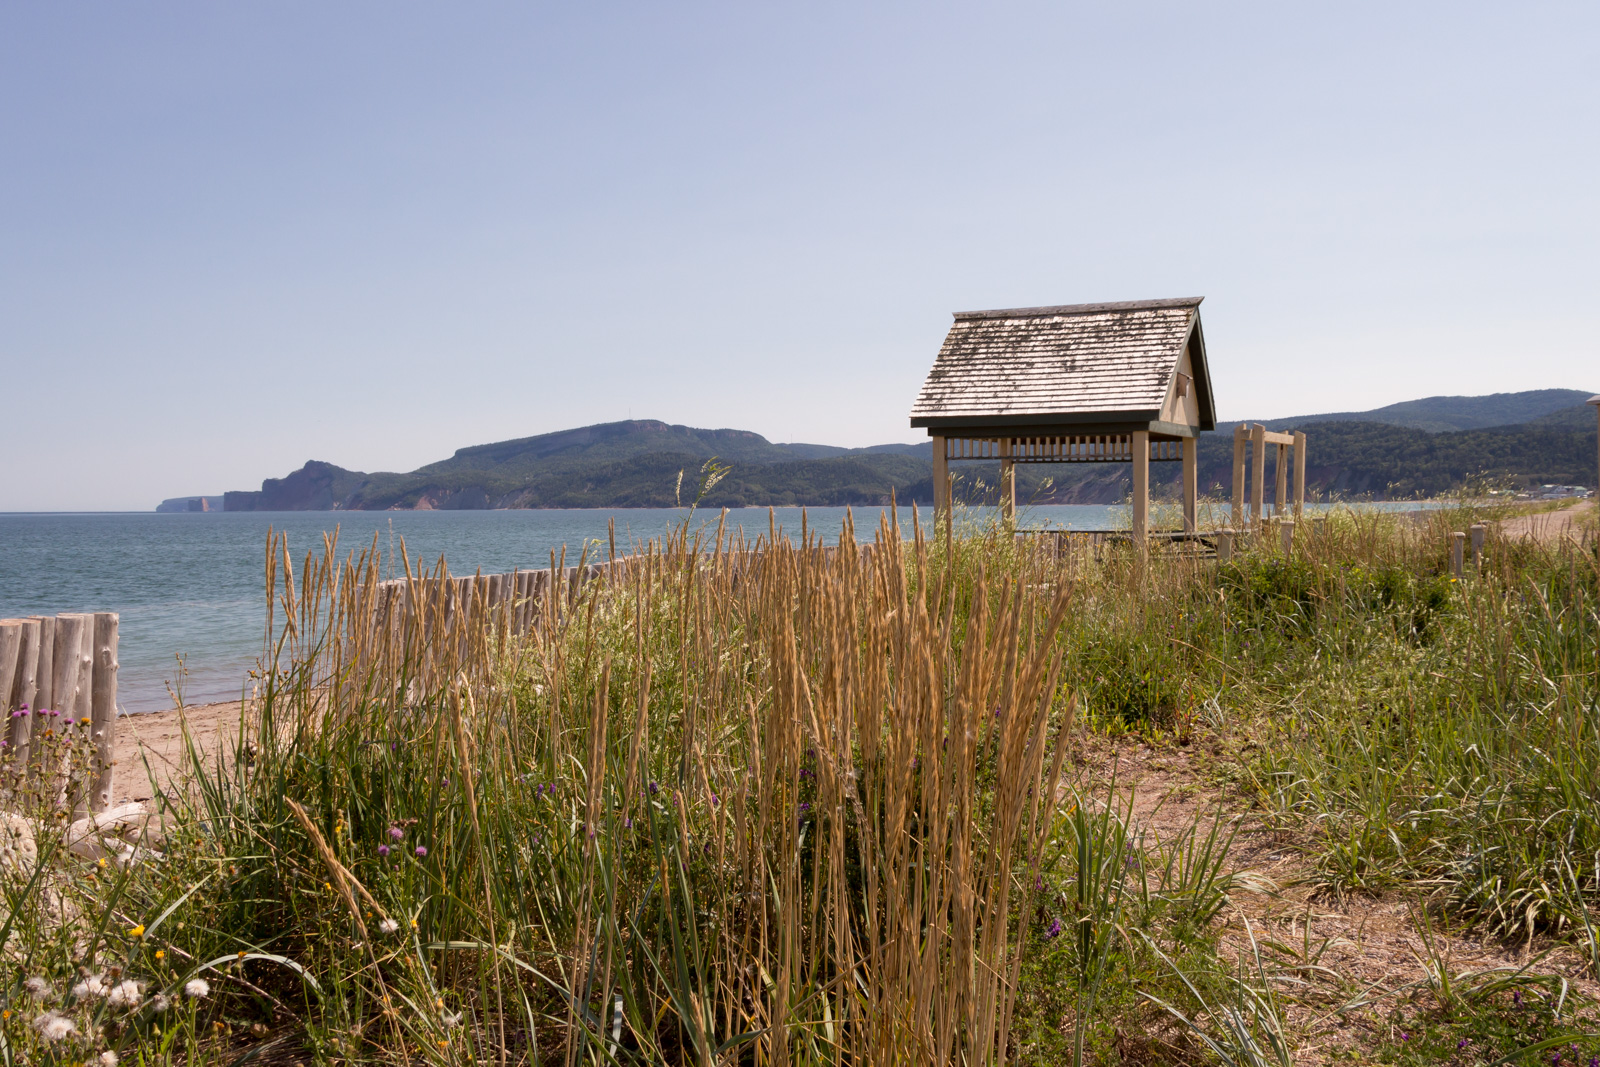
Nice paved roads.
©rq, all rights reserved. Click for full size.