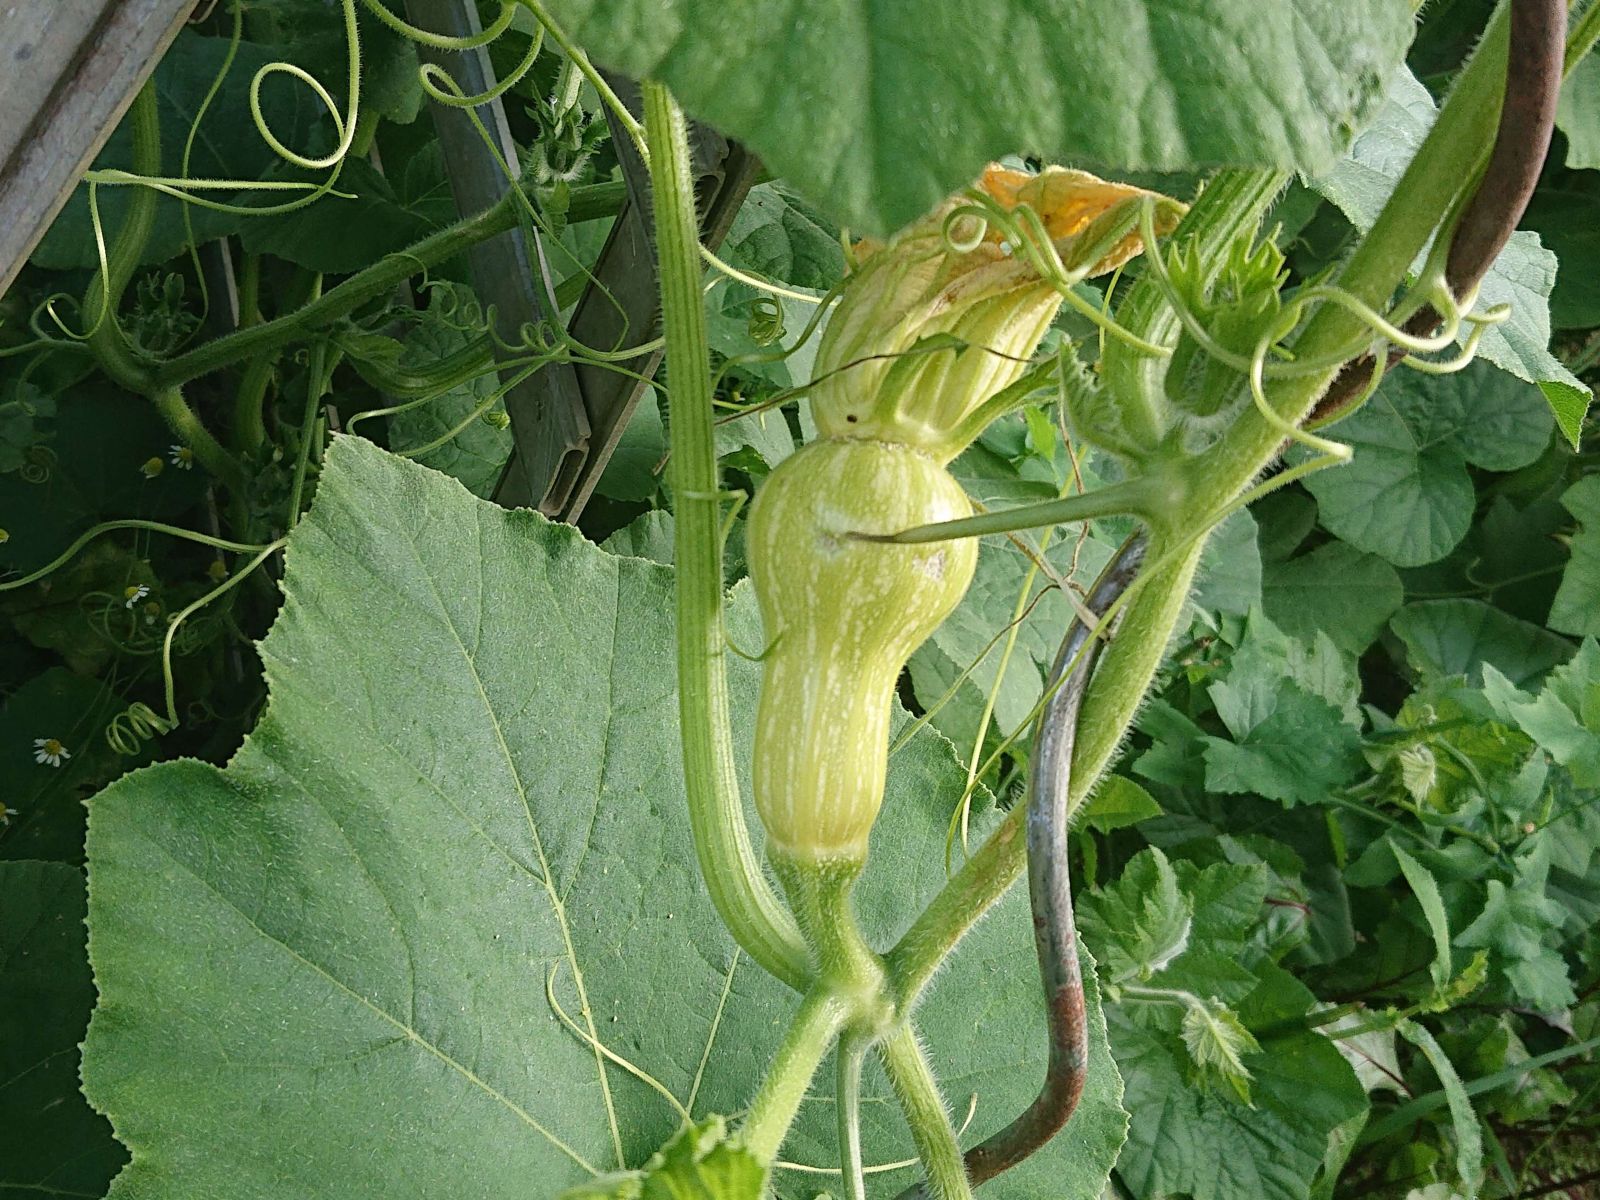
This was the first time I was trying to grow butternut pumpkins, so I did not know exactly what to expect. I assumed they would behave similarly to the Hokkaido pumpkins. They did not. They started blooming late, and the first female flower showed up in the last week of August.

© Charly, all rights reserved. Click for full size.
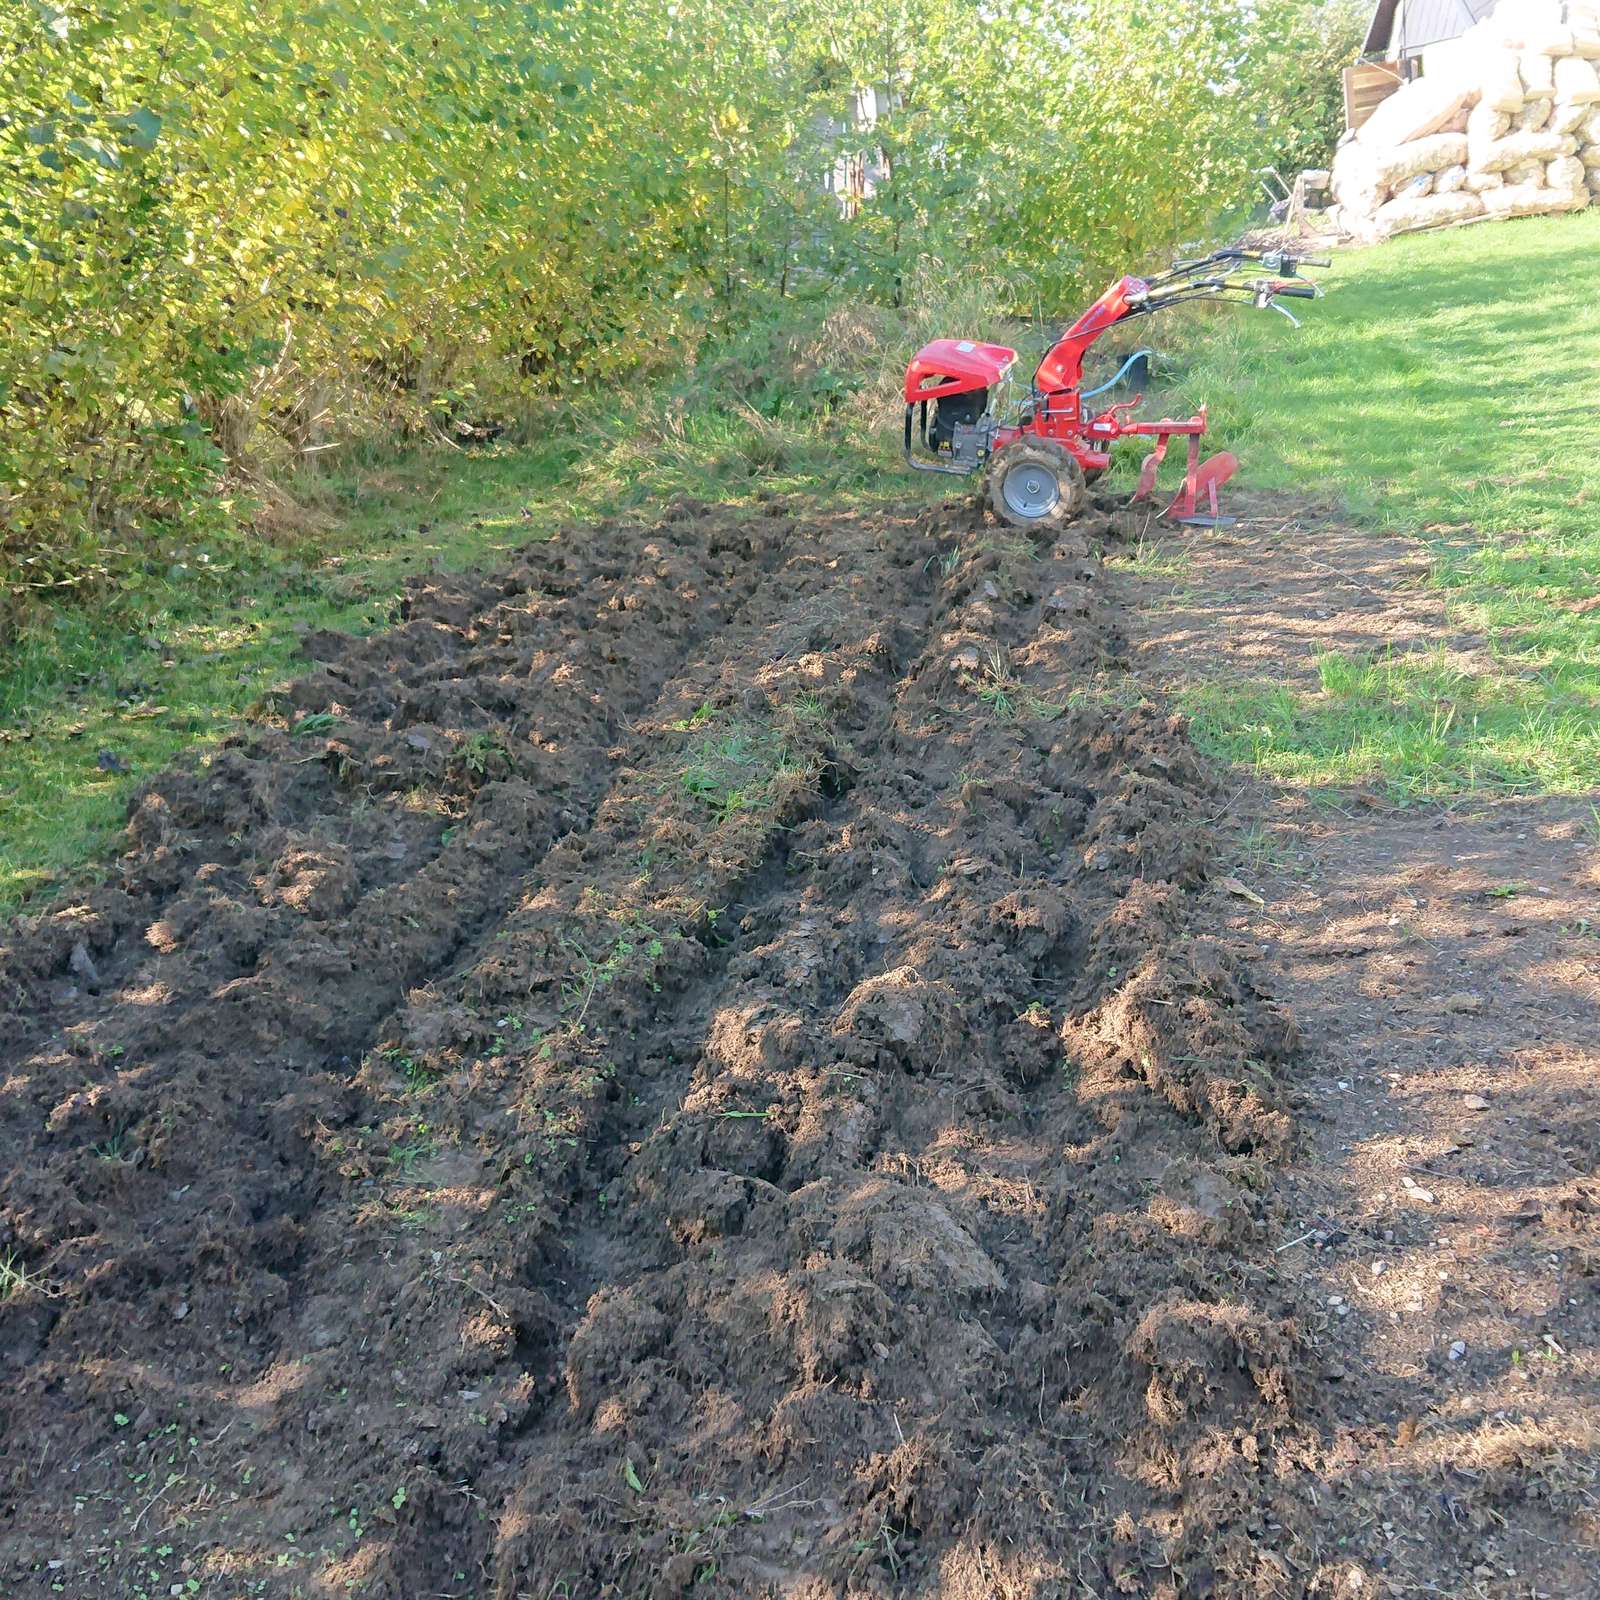
I did not want to leave anything to chance, so I pollinated it myself. As I did with all subsequent female flowers that showed up. There were several, all but one in the pumpkin & beetroot patch opposite my greenhouse. The plants in the three sisters system remained stunted, just like corn and Hokkaido pumpkin did. Which leads me to believe that not only weather, but also the compacted soil contributed to those crops failing.
© Charly, all rights reserved. Click for full size.
With the plants blooming this late in the summer, I was prepared to write this crop completely off, but the fruits grew reasonably well, despite the weather getting colder.

© Charly, all rights reserved. Click for full size.
Just a few days ago, the plants were still going strong. There was slight yellowing of the leaves, but the leaves on top were still fresh green.
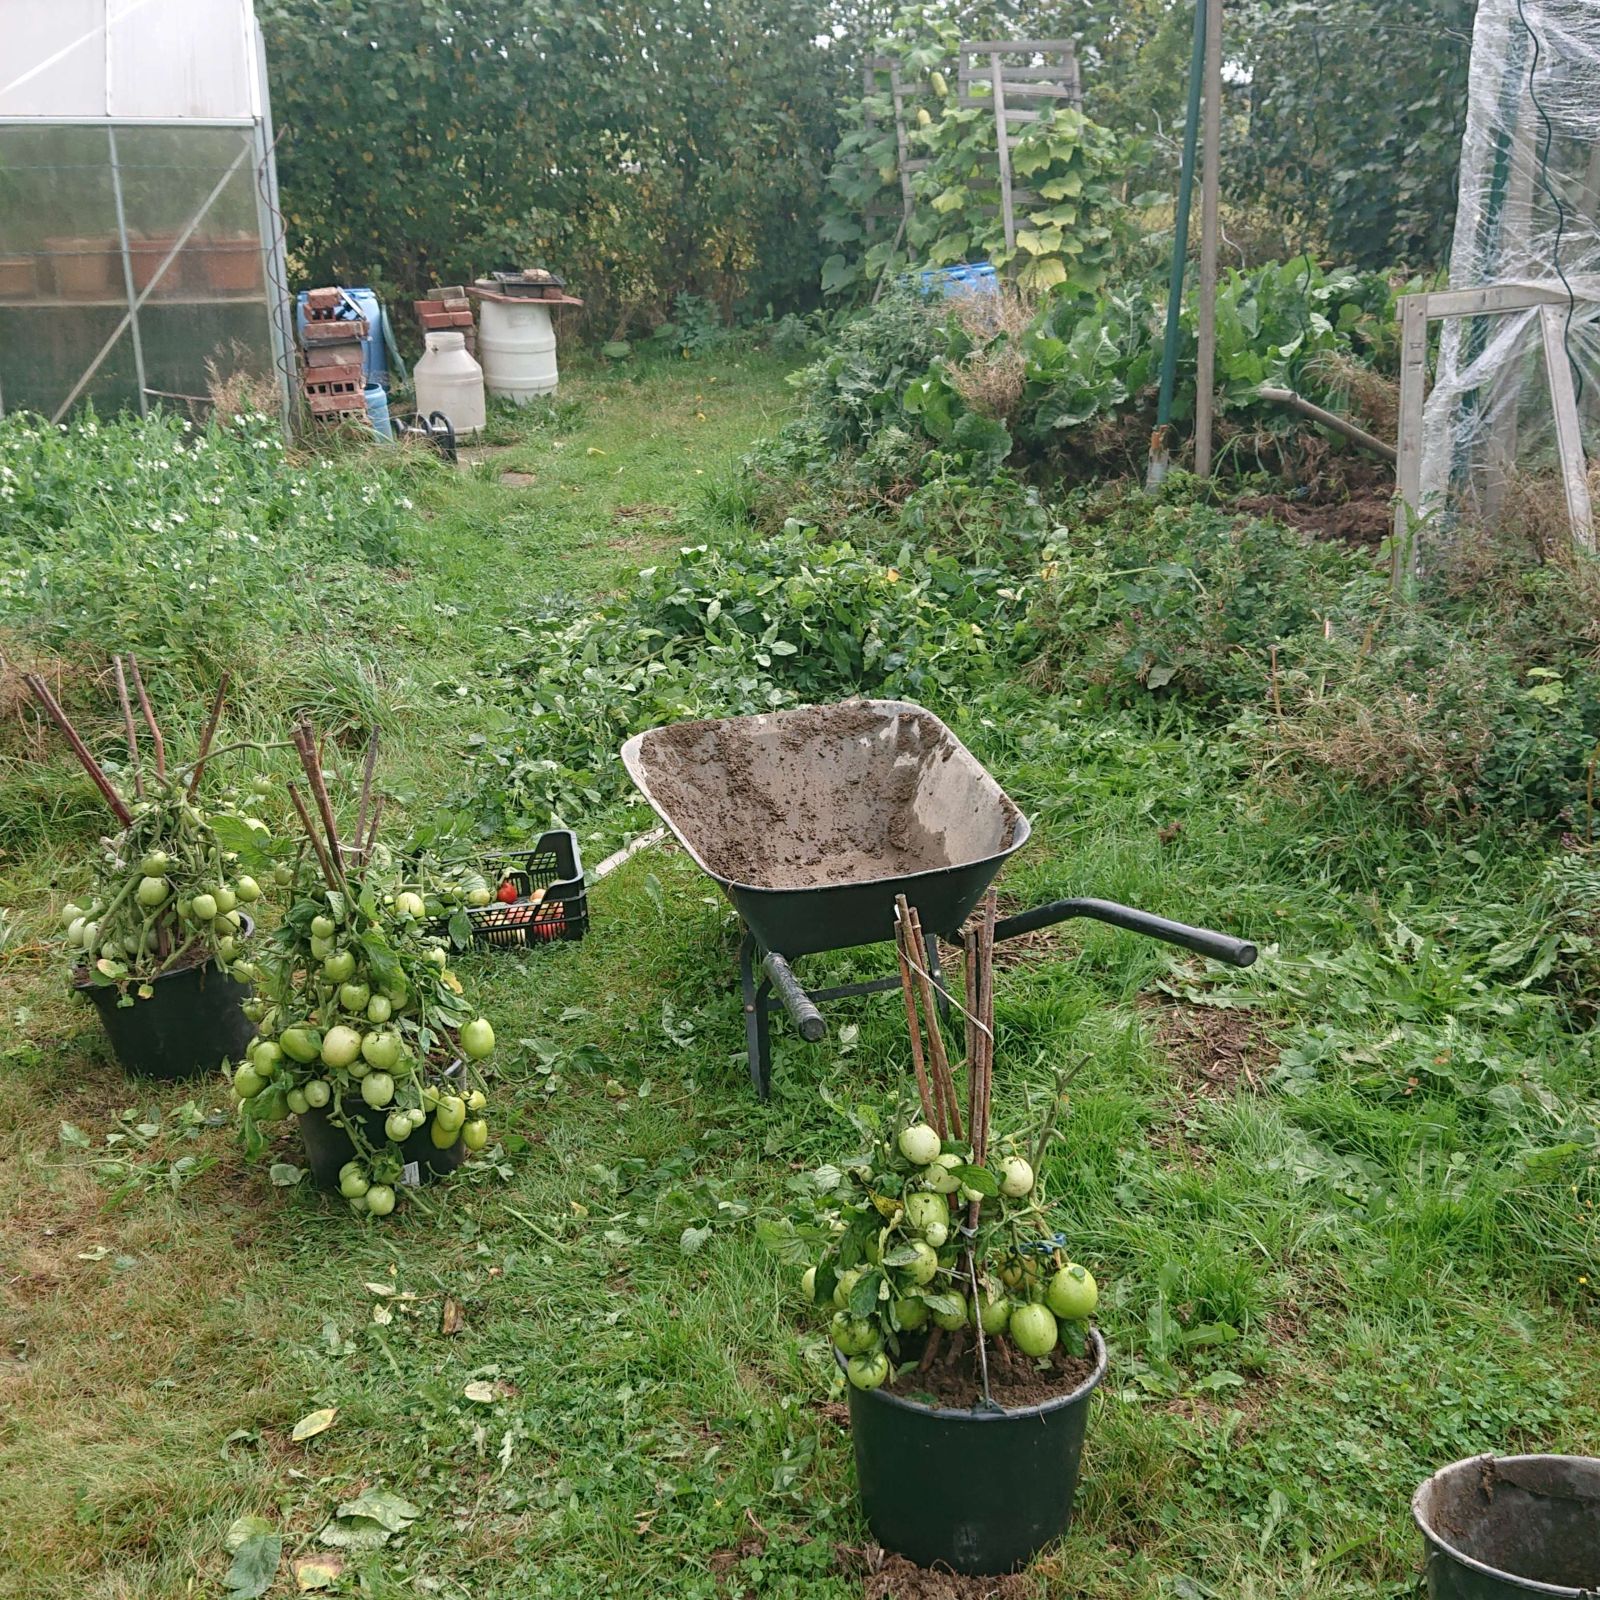
The improvised trellis worked well, so I will use that in the future too. However, the plants grew more vigorously than I expected and completely overshadowed the beets. I will have some beets, but it won’t be much. I think that had I planted the three sisters system on this piece of land, it would be successful.

© Charly, all rights reserved. Click for full size.
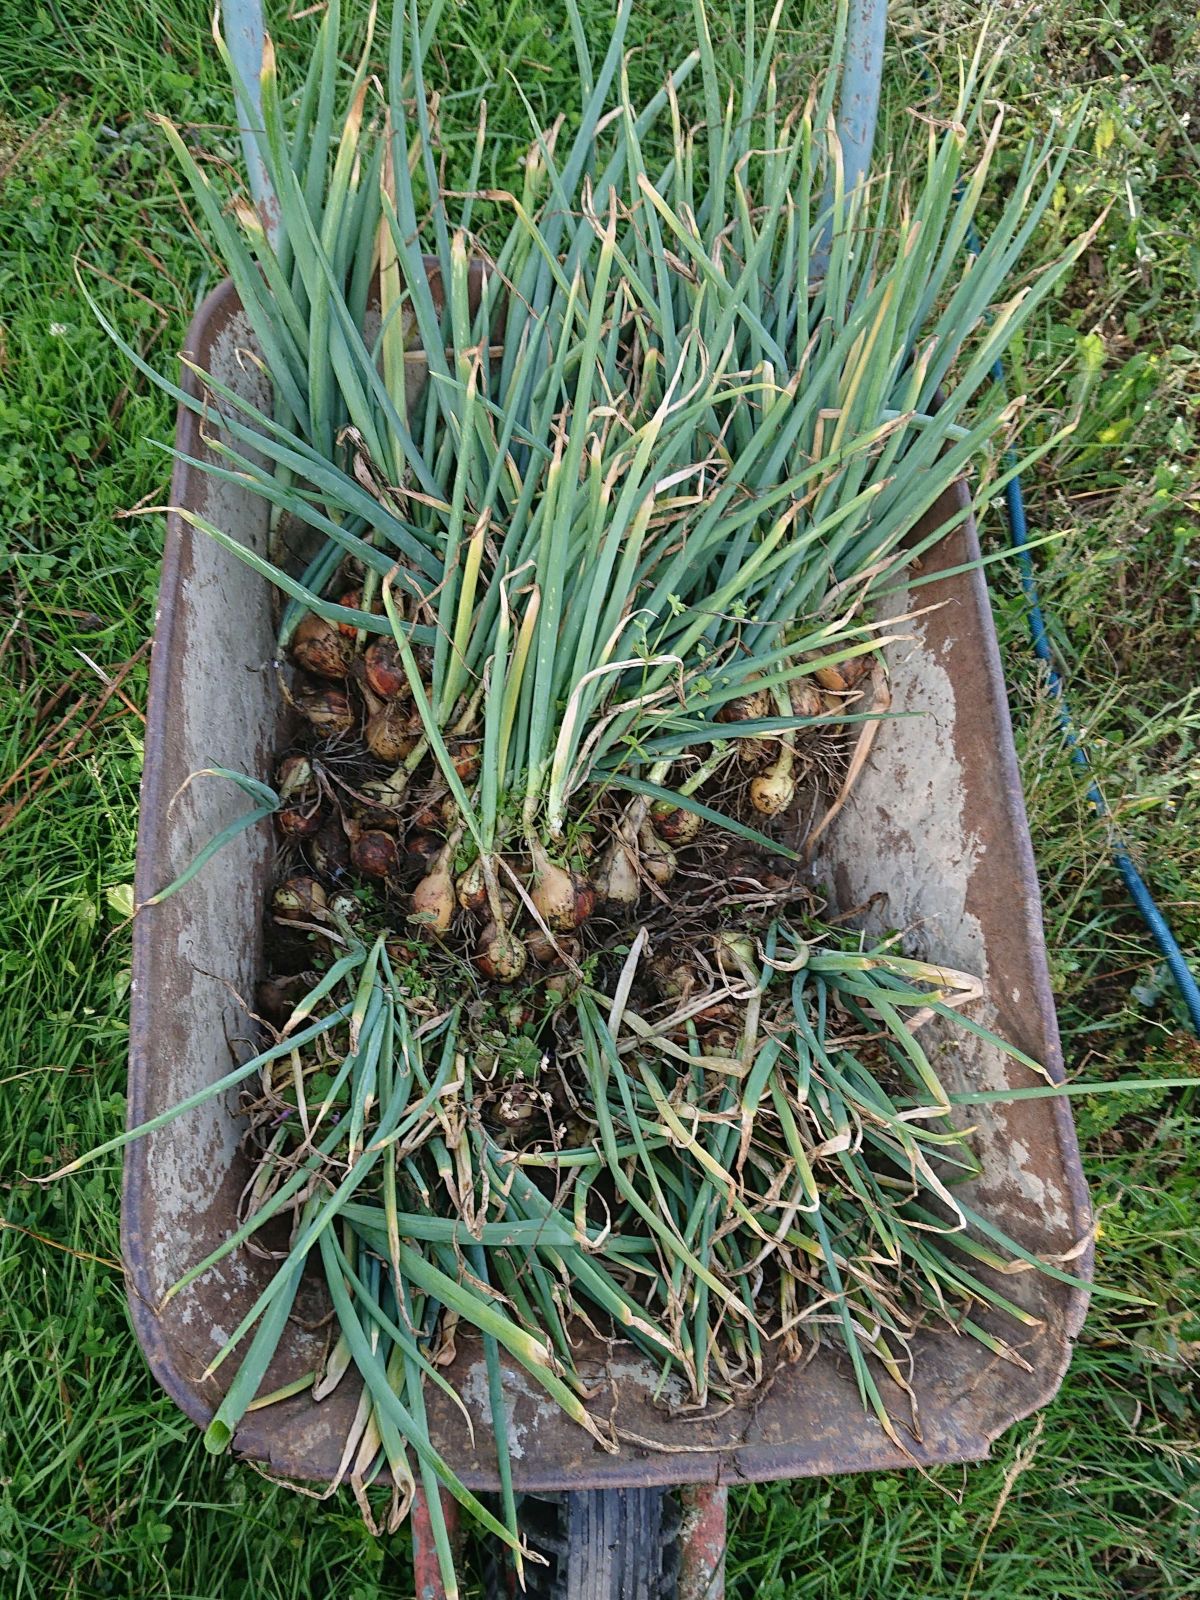
These last two nights we had the first autumn frost. Yesterday morning, the leaves of all the pumpkins wilted, and the plants were completely dead. I have harvested all the fruits at once.

© Charly, all rights reserved. Click for full size.
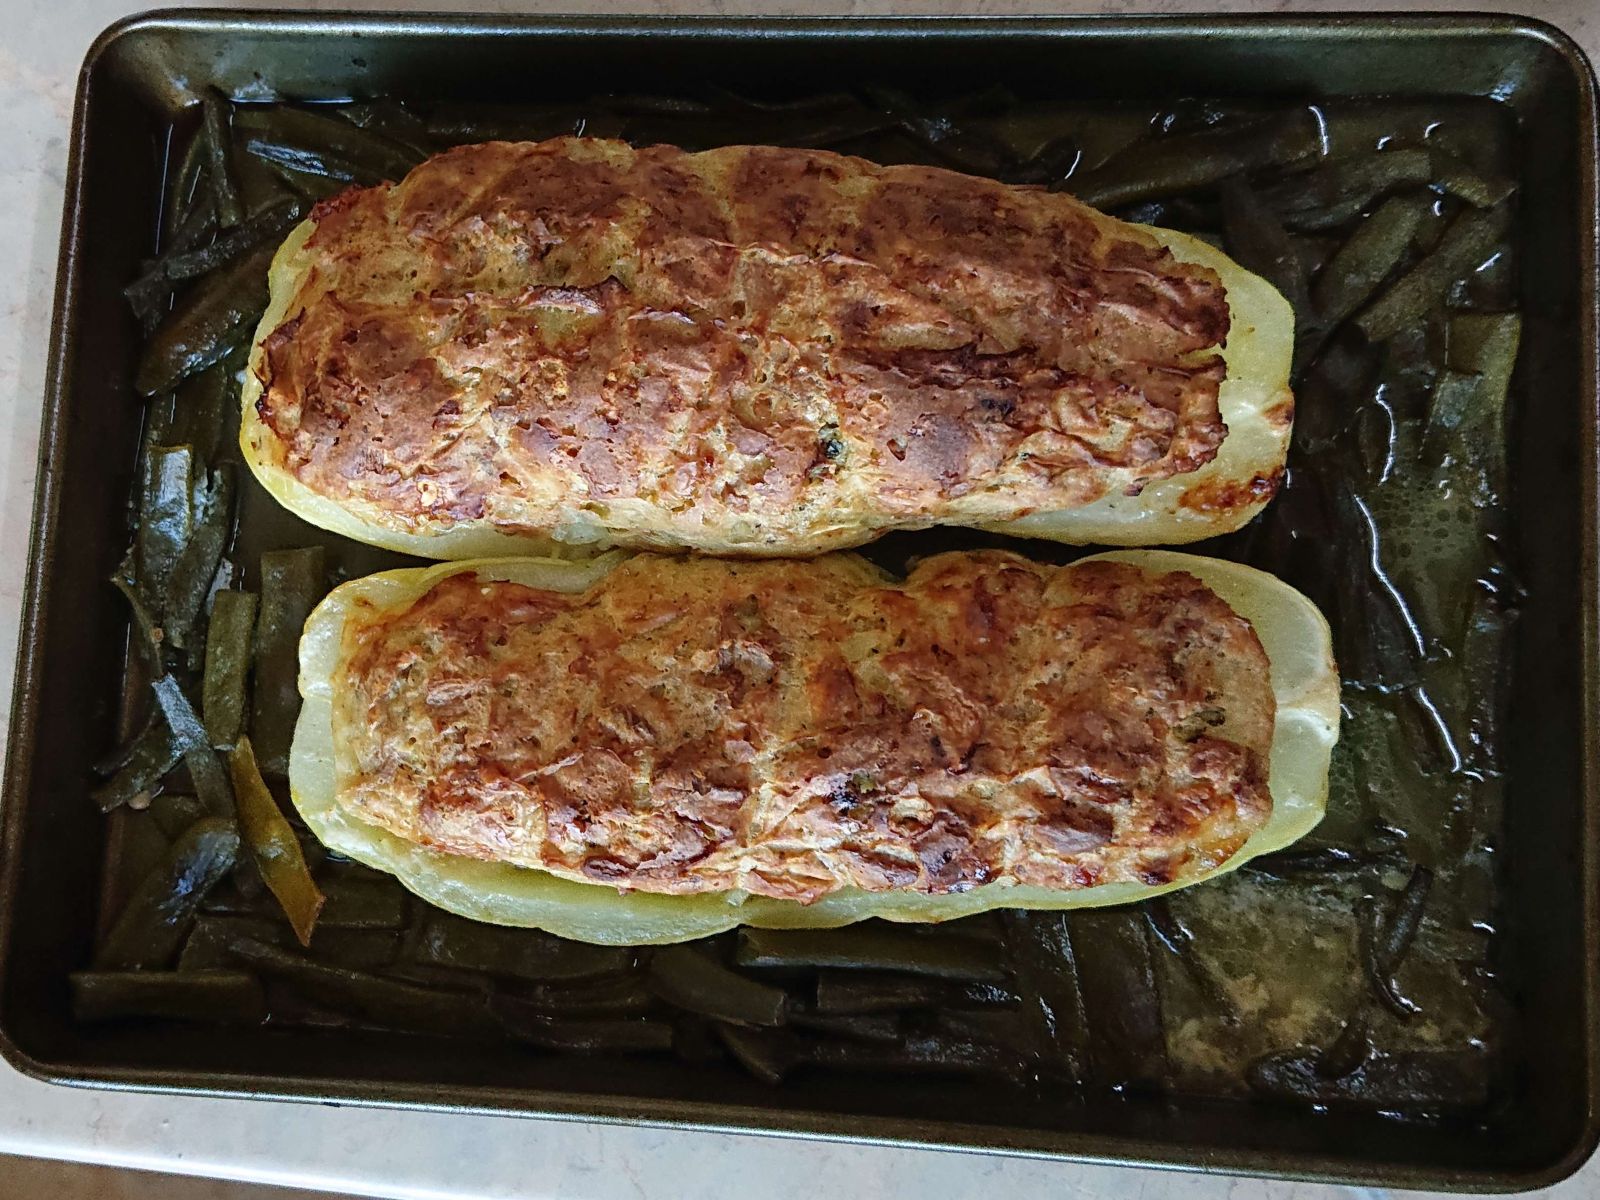
Overall, it was circa 7,5 kg of fruit, with two fruits having circa 1,5 kg each. Those two will probably keep for at least a few days and ripen further indoors. The rest needs to be used up asap. We used 1,5 kg to make tomato-pumpkin sauce, 1 kg to make soup for immediate consumption, and for the rest, we will think of something. I would like to try pumpkin purée à la mashed potatoes.
What did I learn? I need to do my best to get the seeds to germinate earlier. The germination was delayed almost a month, and that made all the difference. I shall try to plant the seeds earlier in the year and use bigger containers, so the plants can grow more freely before I can plant them outdoors. I can try for the three sisters system, but I must do so on my prime soil. I will probably make and write down plans for next year once this season is over.