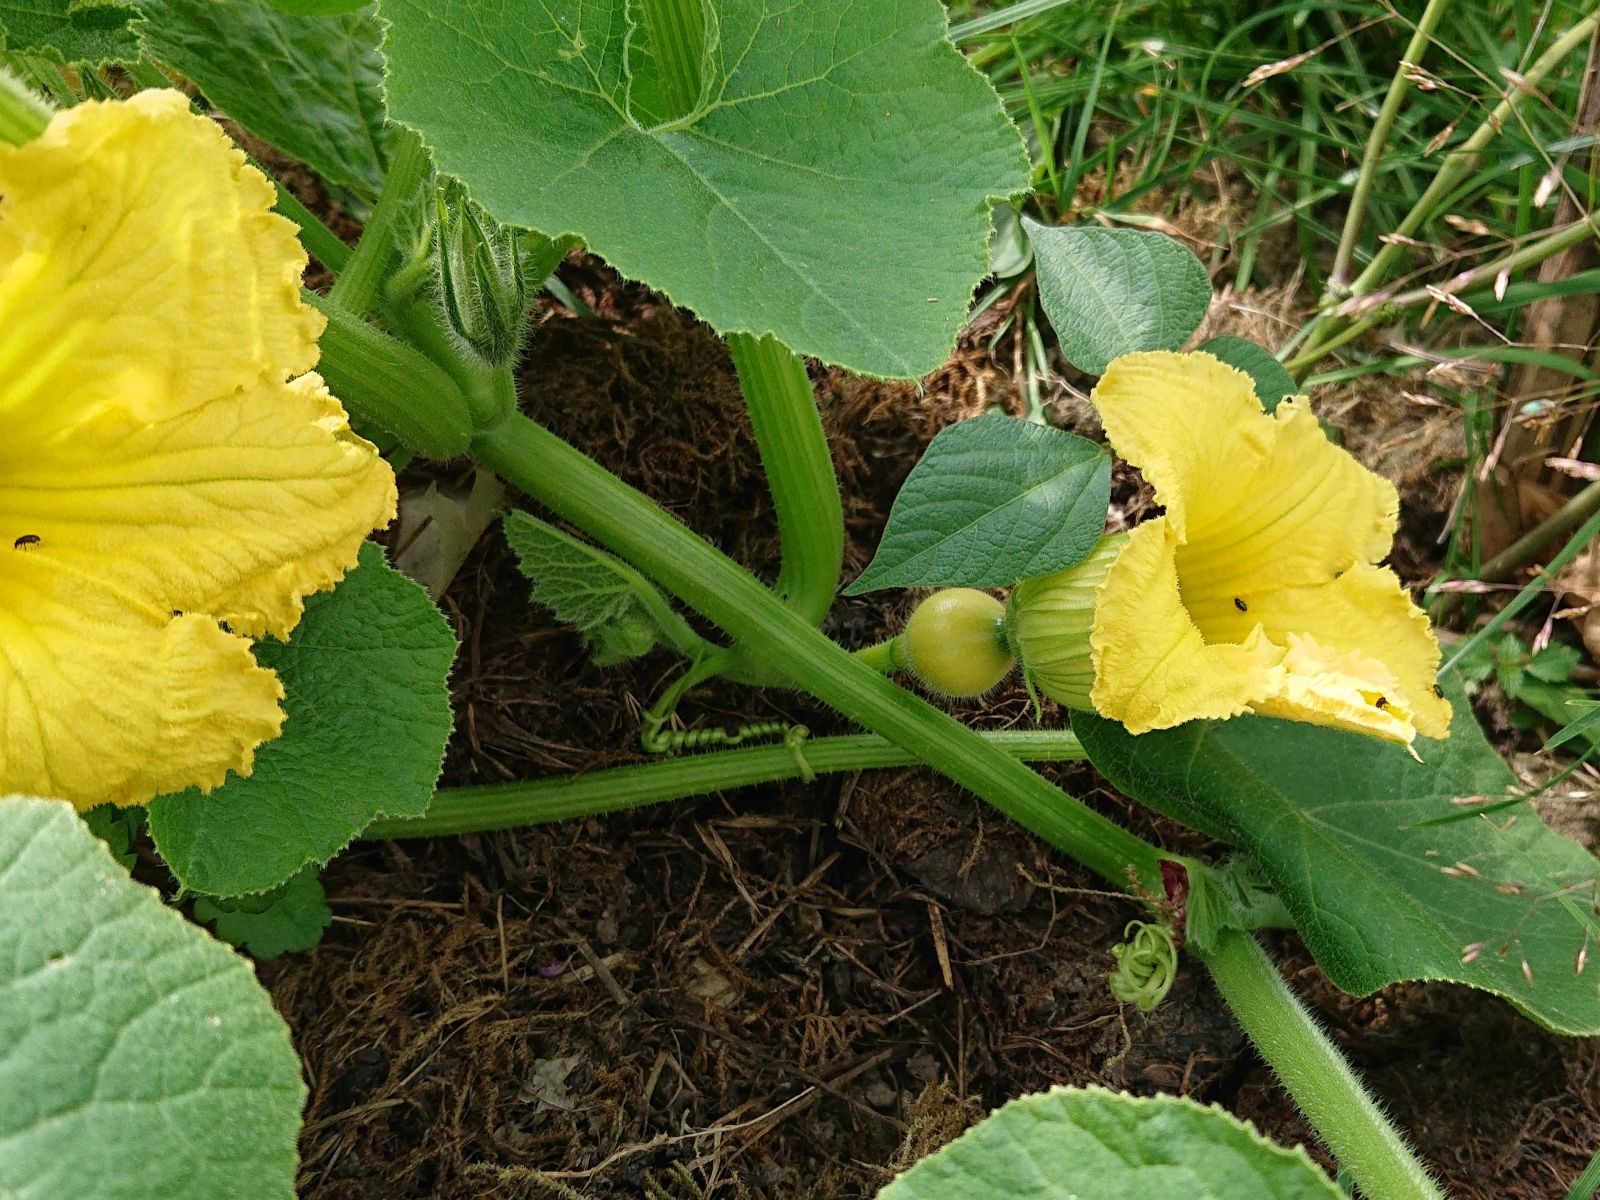
Last year, we had such an overabundance of squash that we had trouble utilizing them all. This is one of the recipes we used to do it. The generic idea for the stuffing was mine; my mother then polished the culinary details. The goal was to prepare the squash in such a way that the finished meal is complete with no side-dishes or accompaniments.
The ingredients:
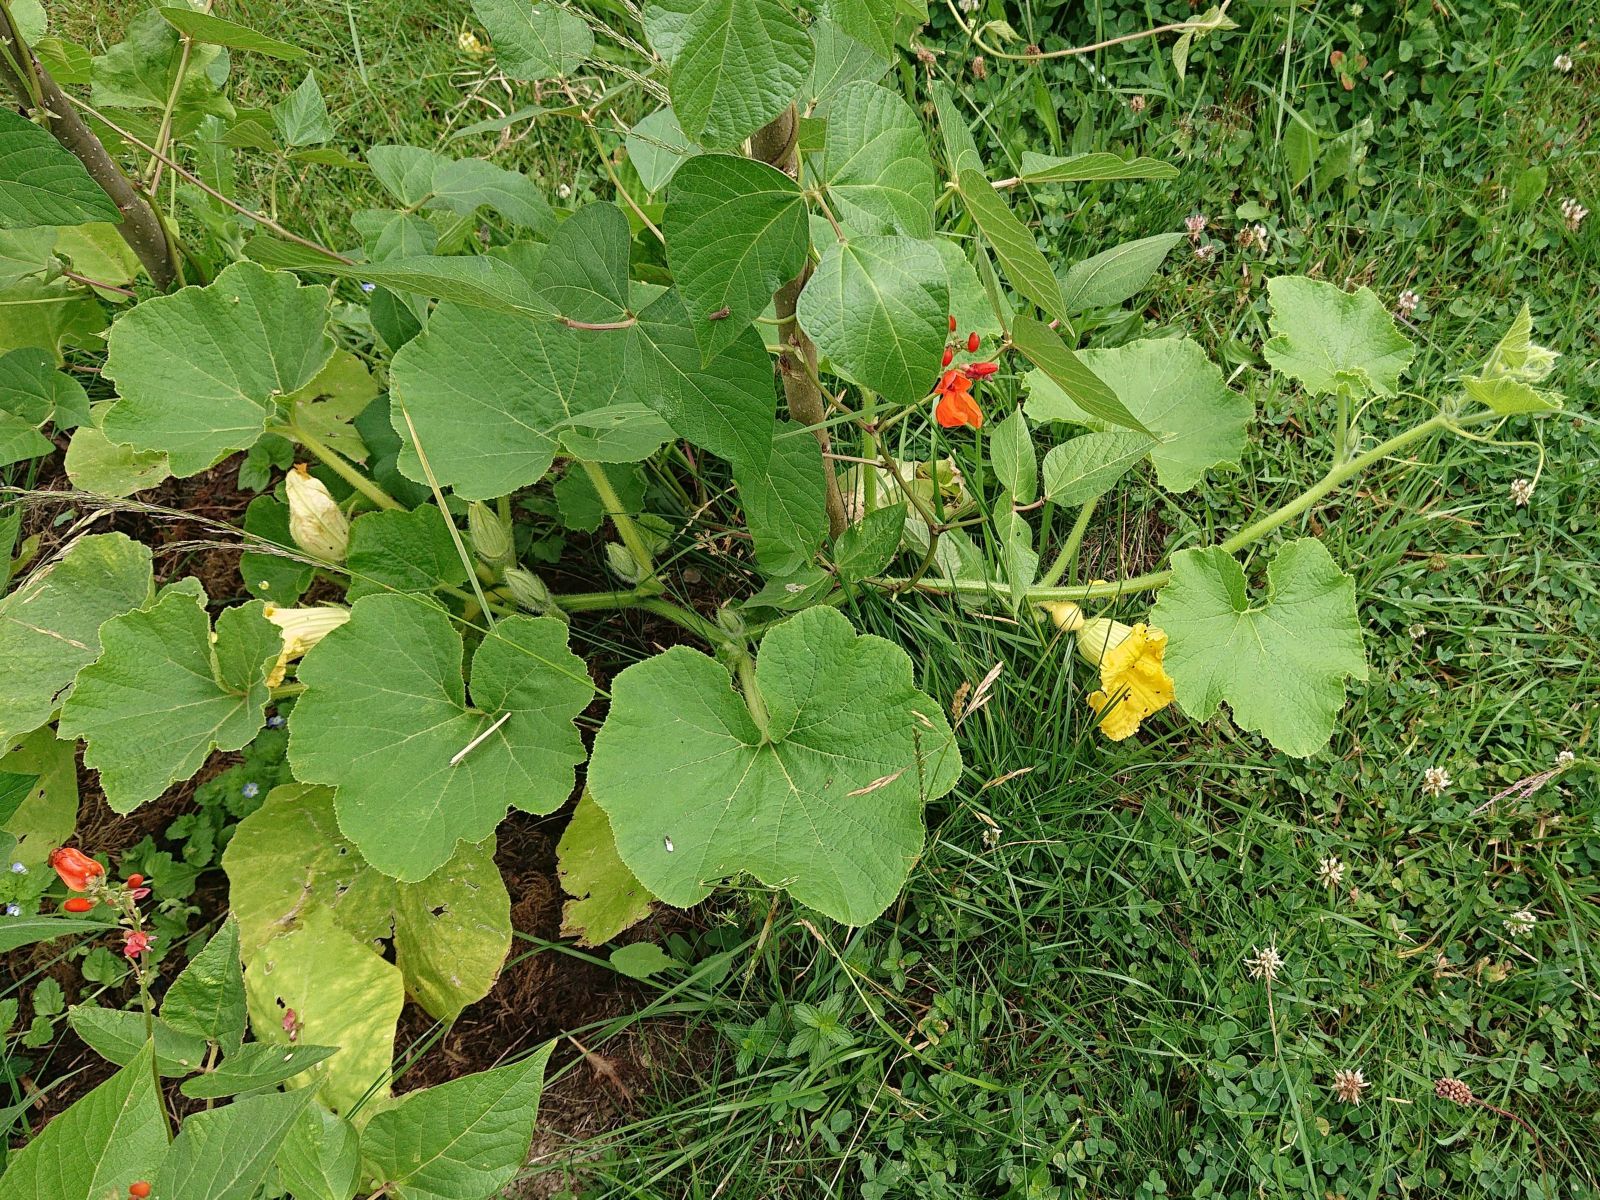
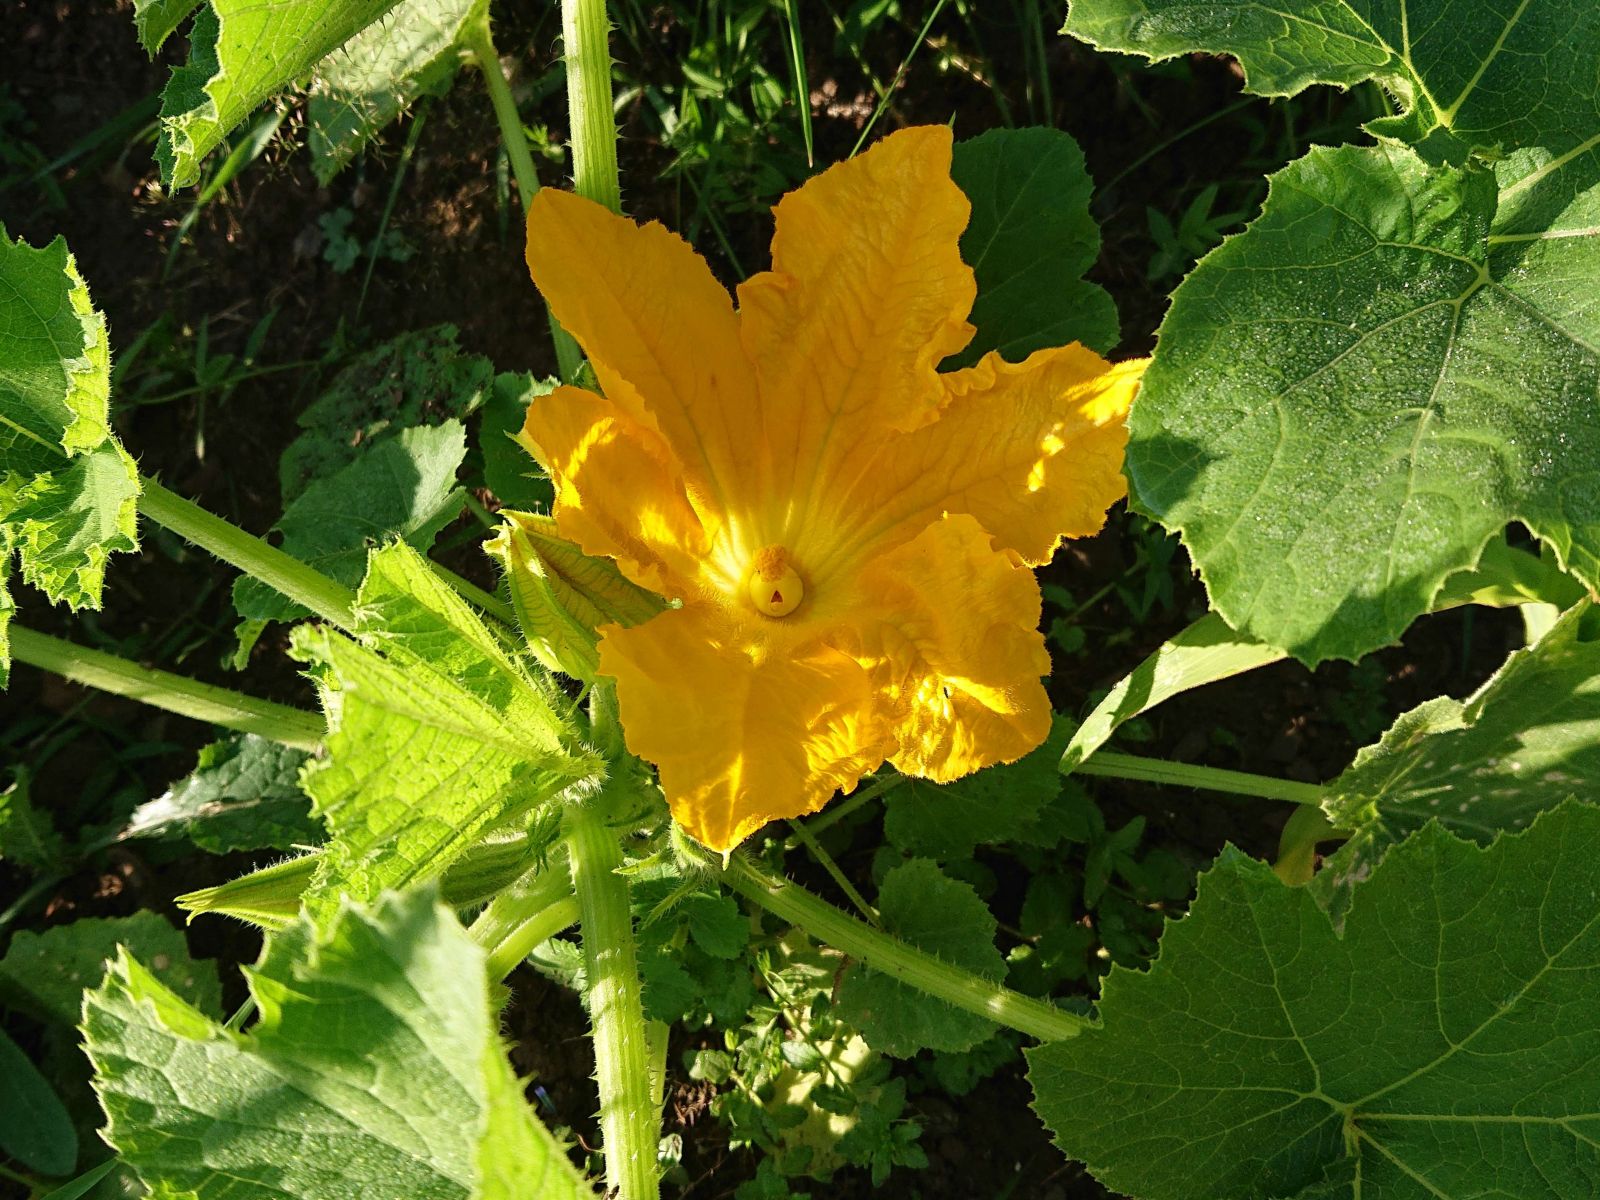
Any type of pumpkin/squash of a size that fits into a baking tray (pattypan, marrow, courgette, etc.), circa 1500 g.
Boullion cubes
200 g of protein – here we use dry soy meat and cheese 1:1, but it can be replaced with tofu, ham, smoked meat, hotdogs, or salami if you prefer, at any ratio to your liking.
5 eggs
2 White bread buns
2 cl of cream
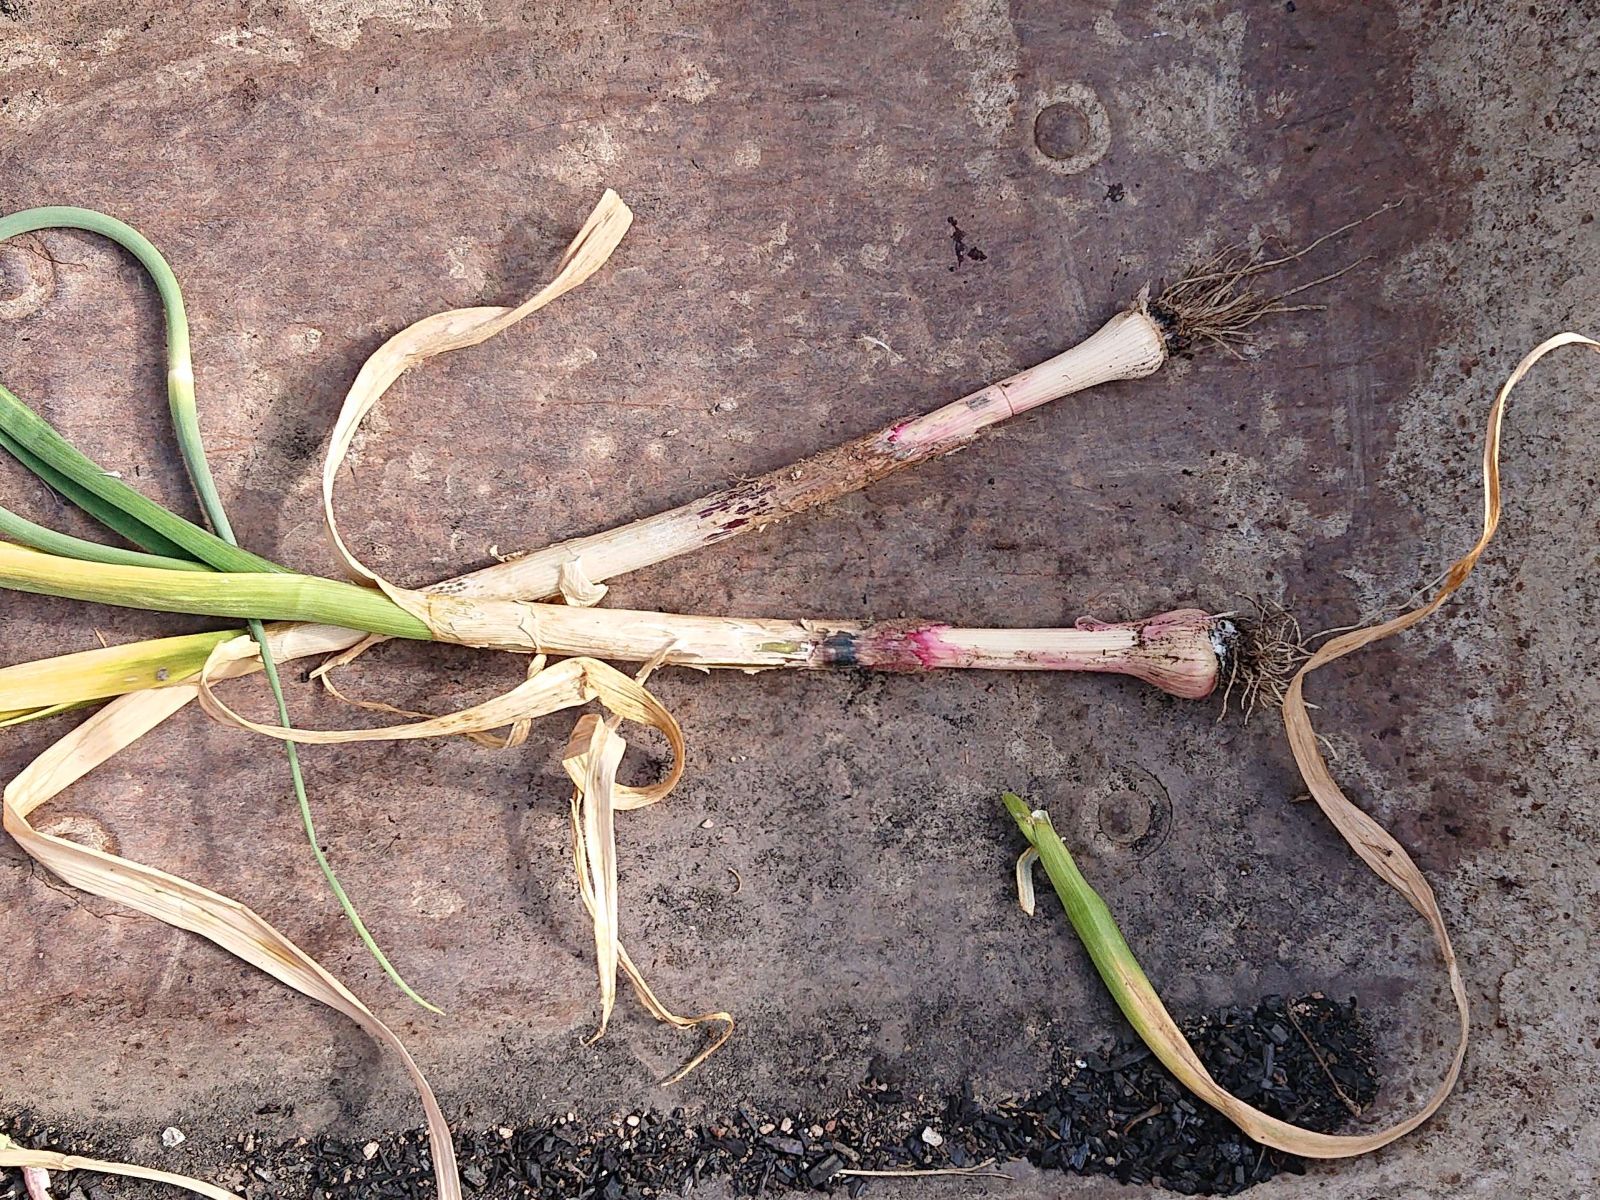
3 medium-sized onions
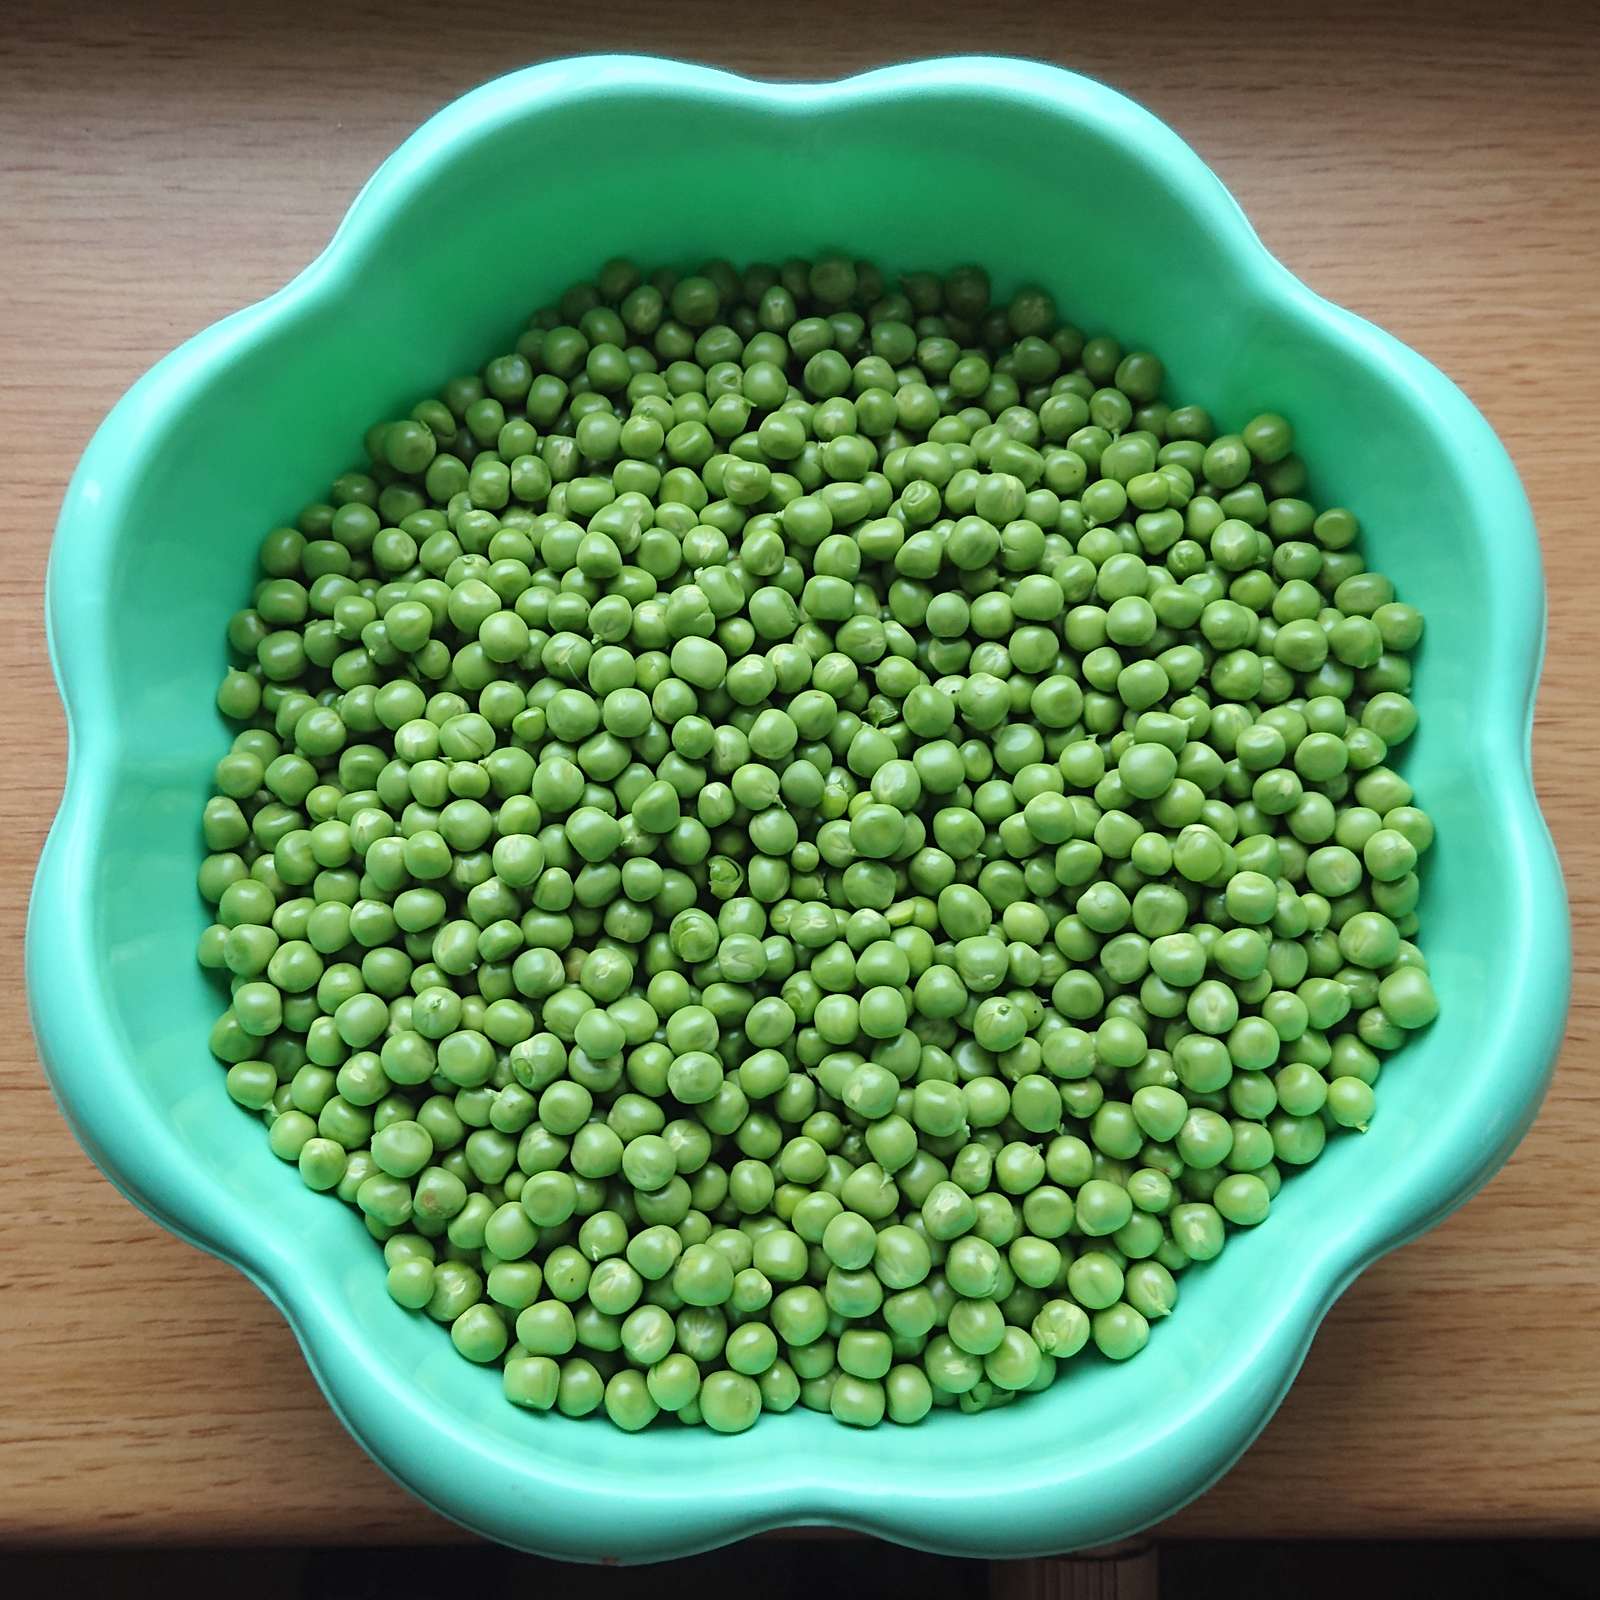
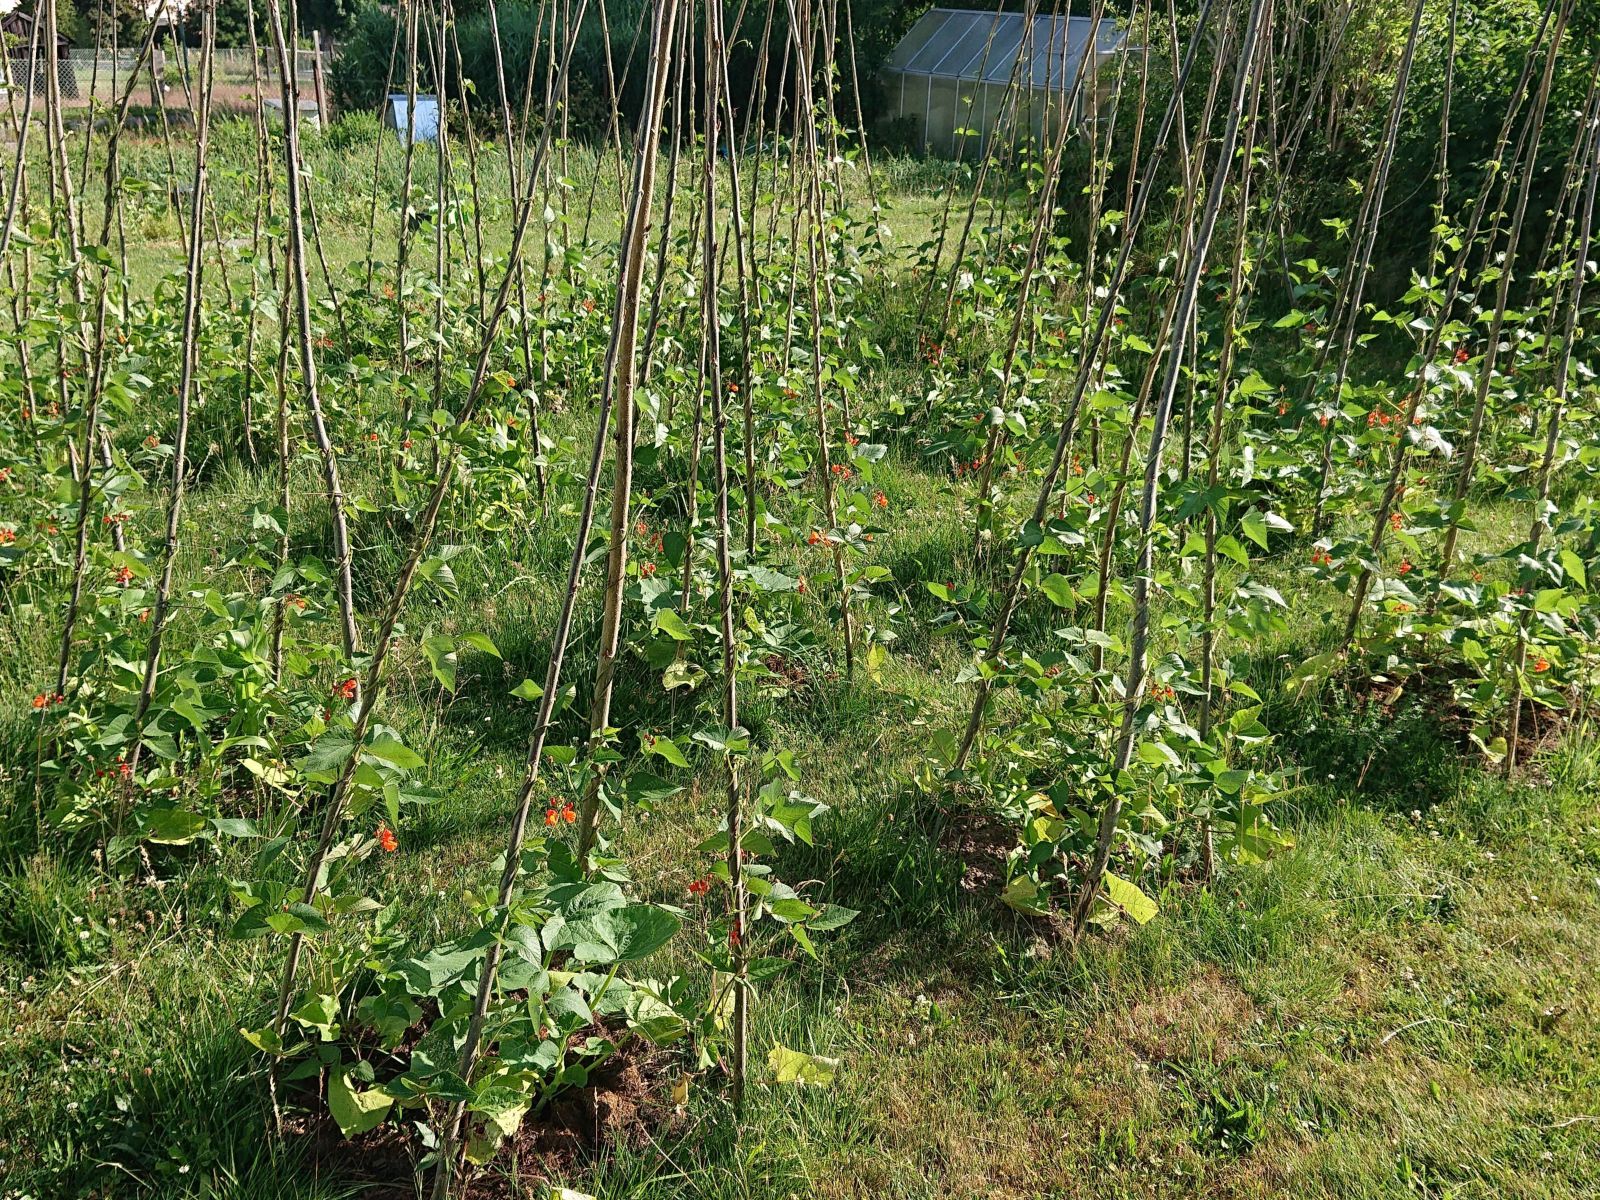
~250-500 g Green bean pods, canned or fresh
butter or vegetable fat
Spices to taste
The process:
Cut the squash in half and scoop out the insides. If the seeds are not formed yet, the content can be mixed into bouillon with other vegetables (peas, lentils) to make a delicious soup. Ripe seeds can be roasted. Unripe seeds with hard shells but still filled with liquid need to be discarded.
Prepare the dry soy meat according to taste. We prefer to cook it in a chicken bouillon or in water with sugar, salt, and soy sauce for 20 minutes, then let it drain.
To make the stuffing, cut the buns into small cubes and wet them with cream. Add in the spices, finely minced onions, eggs, soy meat, and cheese cut into small pieces, and mix everything thoroughly. If necessary, it is possible to make the mass firmer by adding bread crumbs.
Put the squash in the oven at 180°C for 10 minutes. It releases some water that needs to be scooped out; otherwise, the food will be too soggy.
Fill the squash with the stuffing, roll it in baking paper secured with a string to keep moisture in, and bake for 30 minutes at 190°C. Tinfoil can also be used.
Cut the string and remove the baking paper.
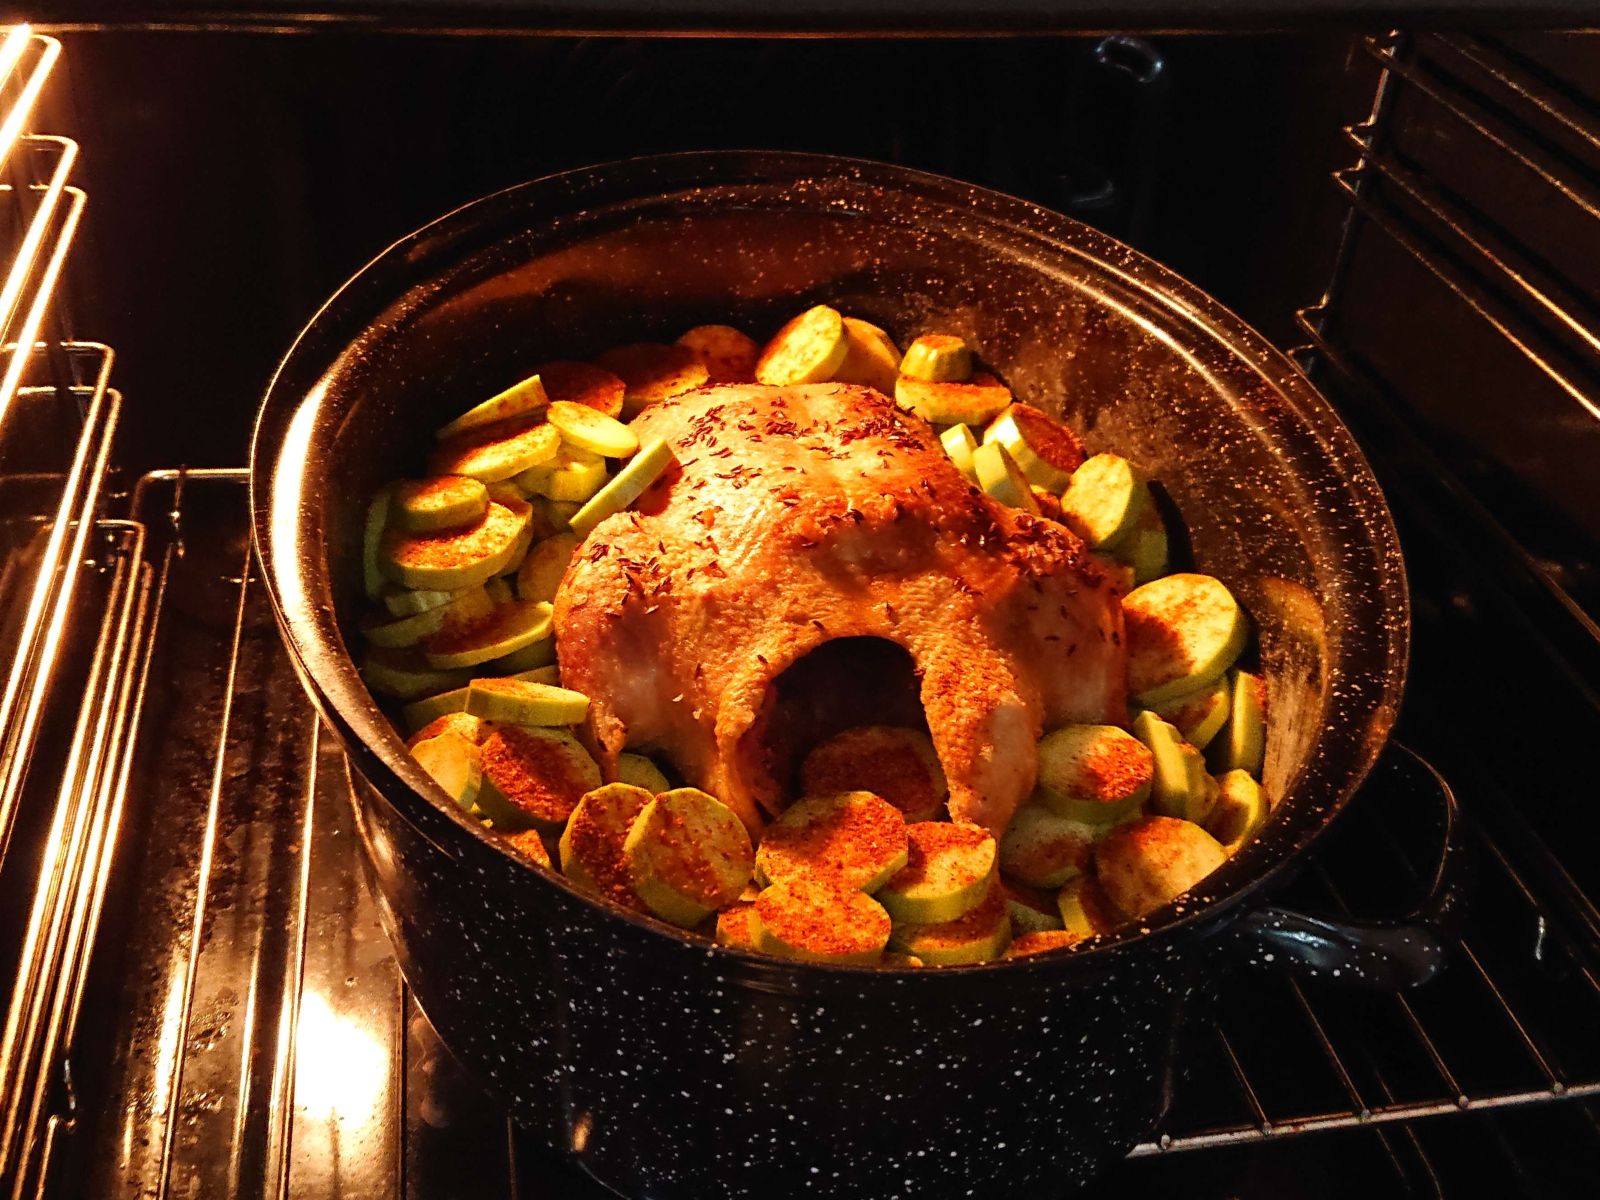
Add bean pods around the pumpkin, with some water (if needed) and a spoon of butter. Bake uncovered for a further 30 minutes at 190°C until the stuffing develops a nice, firm browned crust and the beans are cooked.
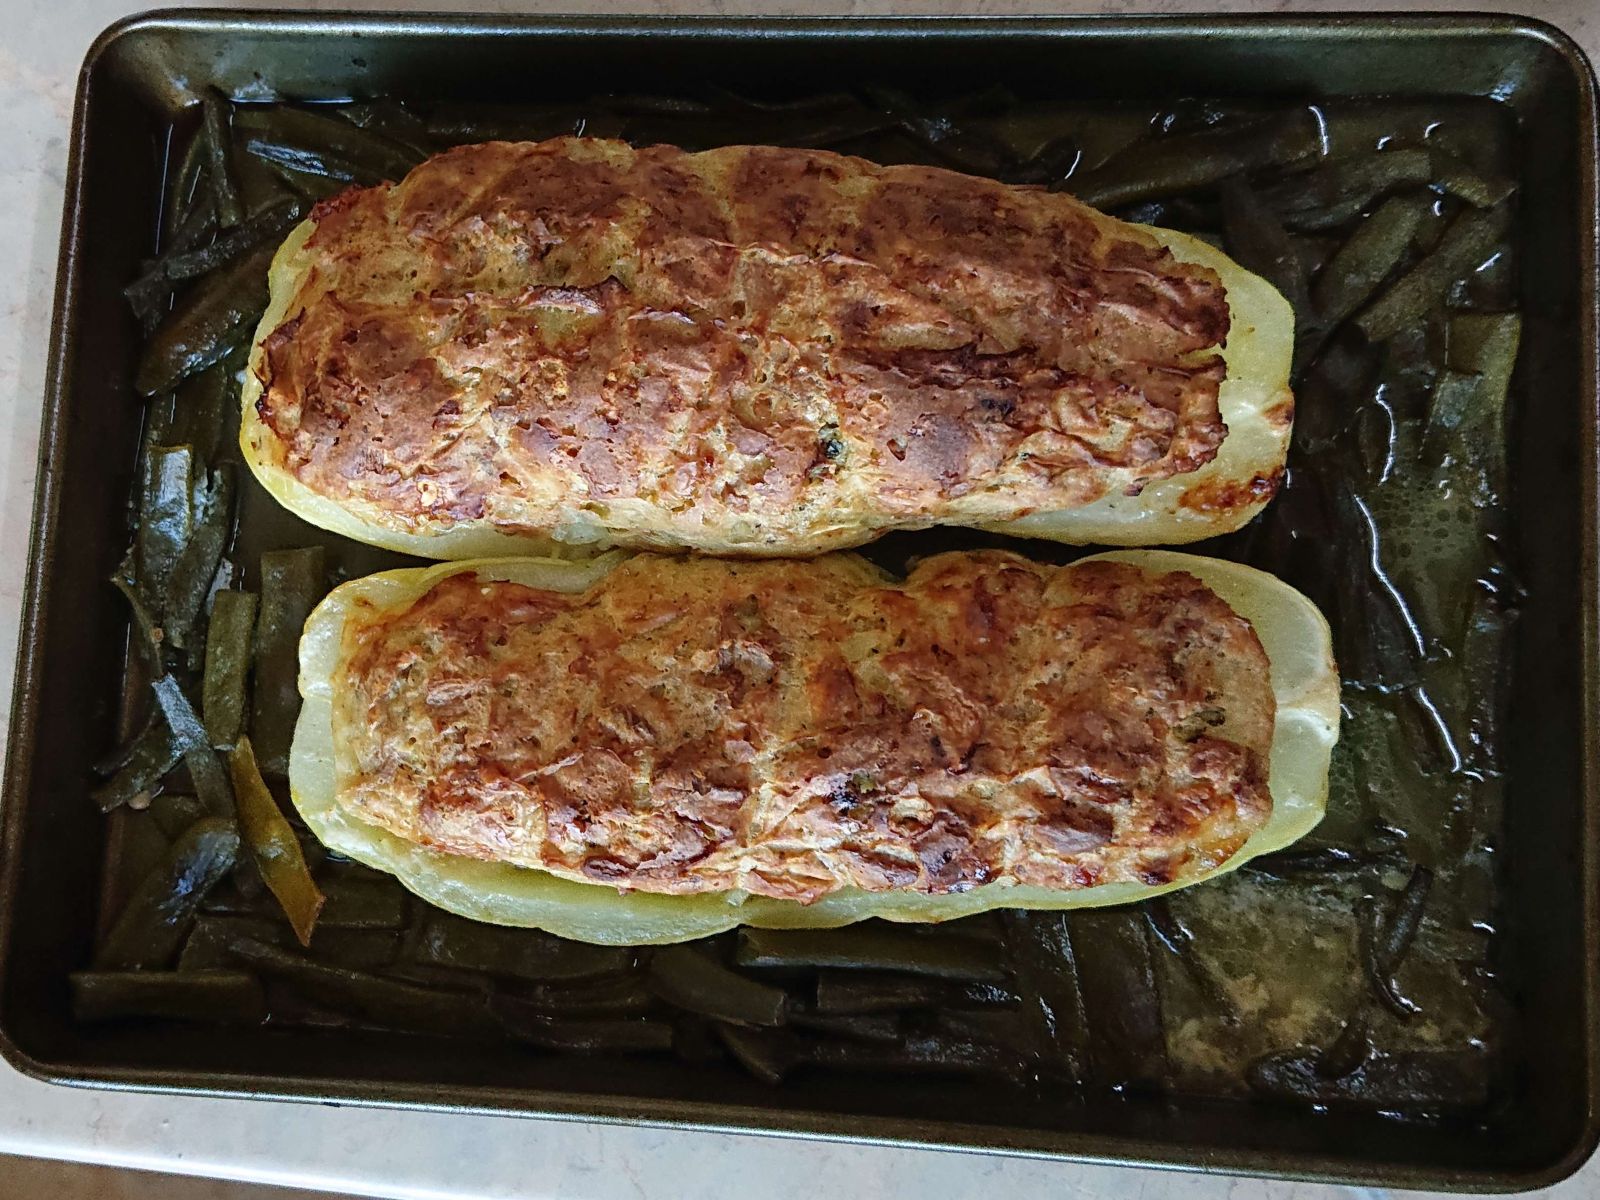
© Charly, all rights reserved. Click for full size.
Three people had three lunches from this one squash, so one person could have lunches the whole week.
The nice thing about this recipe is, it can easily be modified to make it vegan. One can easily change the spices too; instead of the bean pods, any vegetable can be used to fill the tray to mix things up, including mushrooms, potatoes, carrots, or frozen vegetable mix. The variations are limitless to prevent becoming oversated and bored with it.