Even When Not in Doubt Marcus Knows

Yesterday Giliell posted about the wonderful gift of acrylic casting supplies that she received from Marcus, noting that she’d been considering trying this art form.  Well, I received the same gift from Marcus last week and I wasn’t even thinking about trying resin casting. Marcus just knows. He knows that I have a large collection of seaglass and that this is the perfect medium to pair with them. I can’t wait to try it, but I’ve been rearranging my cabinets and my work table is buried under a ton of paper crafting crap right now so I haven’t gotten past the gazing in wonder at it all yet. Well, I have watched a few how-to videos (link below) that have given me lots of ideas for using seaglass and more. I love the bracelet Giliell made and it’s made me even more anxious to try it. Alrighty then…time to clean up the mess and play. Tune in over the weekend to see if I can make something as pretty as Giliell did. Thanks, Marcus. You definitely spread sunshine.

Resin Obsession (a very good site)

Wow, Thank you Marcus

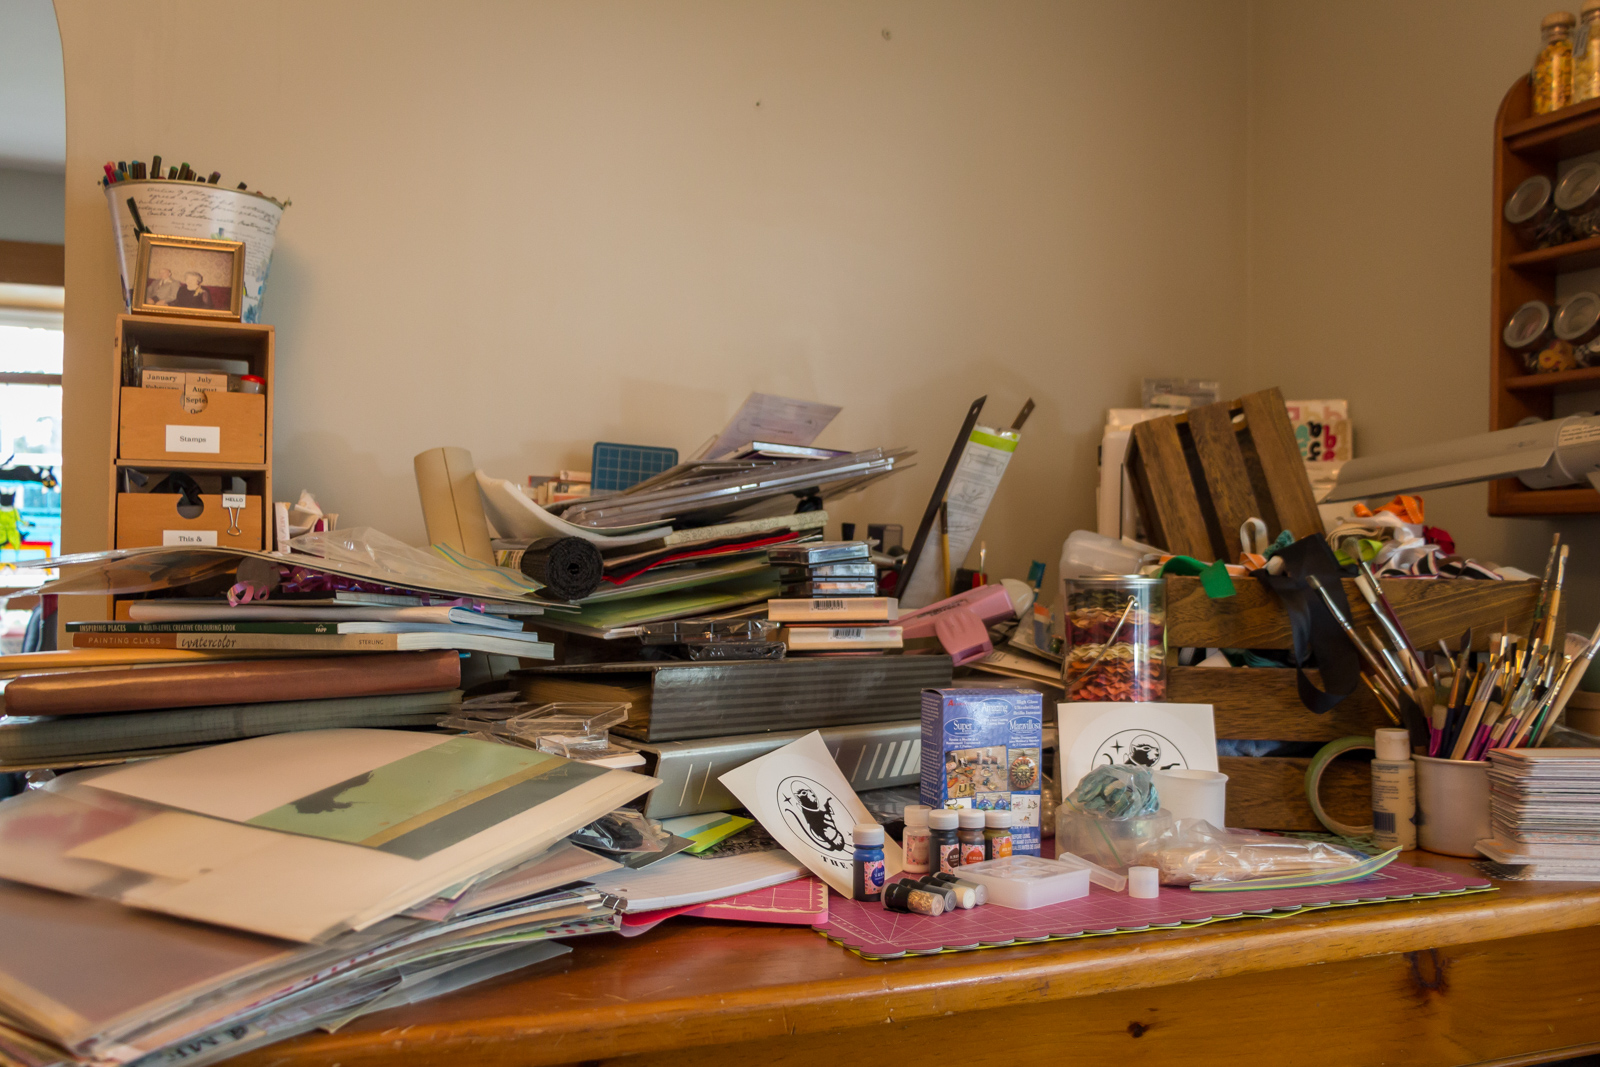
Yikes! The bigger picture (my work table is under there somewhere)


Making Kitchen Knives – Part 1 – In the Beginning…

… there was a bar of steel.


After a short break due to harvest I have started two knife making projects and I will share the progress on them as I go along.

The first one is about developing a viable process for making small-batches of kitchen knives.

The knife that I have given my mother for Christmas has proven itself to be an excellent cutter. It held an edge for half a year and still shaved hair when my mother requested honing the edge because it had a few blunt-ish spots. The handle does not show any sign of deterioration too. And it is used daily, by at least two people, on everything from fine chopping veggies to de-boning chicken. So I think that with some adjustments (mostly making it look prettier) it might be a saleable product.

I reckon (I will not bother you with the math and reasoning, some of it has solid rational basis, some of it I pulled out of my nether regions) that in order to be able to eventually barely survive whilst making knives, I would have to be able to make a passable kitchen knife in under five hours spending with the fun work, i.e. manual labor. The lower the better. Rest of the working day would in such a case be eaten by the unfunny part of the job, the actual business of business.

But developing a viable production process is something I have a professional experience with and so I want to have a go at it, even though right now making knives is just a hobby. And I will be sharing with you all the failures as well as the improvements in trying to achieve my time goal.

The first step is straightening the steel. For this project I am using N690 steel 1,8x50x500 mm and all the steel bars had a slight bend to them that had to be corrected. Currently the only way for me to do this is to use a vice and three thick screws. Had the plates had a kink, I would place the middle screw straight on that kink and bend it with ever-increasing pressure until after taking the steel out of the vice it would be straight-ish. However these did not have a kink, they were nearly universally bent in a very slight regular arc.  To straighten that, I first tried to bend the bars slightly at multiple points. It worked, but it was time-consuming and unreliable. Later I have tried to close the vice only slightly on the steel bar and then pulling it through the screws – essentially using it as an improvised roll bender. That worked much faster and reasonably well.

Even soo, all in all it took me less than 1 hour to straighten 12 knives worth of steel. That is less than 5 minutes per knife. I think that building a small roll bender specifically for straightening these thin long bars should not be difficult and it could potentially shave off quite a reasonable chunk off of that too. But right now, I am putting this into the “high hanging fruit” basket, since despite the clearly impromptu setting it takes only about 2% of my time goal. That means, I will ignore this step in the process for now and not bother about improving it.

For the first knife made let’s write down 5 minutes for this step and move on to the next.

When in doubt rely on Marcus

I’ve been in a bit of personal debate recently about whether or not to get me some sort of starter kit to cast things in resin, with the arguments in pro being that you can create beautiful stuff, and those in contra being that I already have half a house full of crafting supplies.

The argument was resolved nicely when one of Marcus’ boxes of wonder arrived this week which included everything you need to get started, including the proper gloves (not pictured).

Crafting supplies to cast things in resin

Oooohhhhhhh…

You can see the resin, moulds, colours, glitter, some of Marcus’ gorgeous abalone shells, some dried and coloured flowers and even gold leaf, which peasant me almost spilled on the floor because peasant me had no idea what it was. I’m not sure about those rectangles, I guess they are a work surface for mixing small amounts with colour.

Of course I couldn’t wait to get started. I thought that this would be a great way to use our “mermaid tears” that we collected at the beach.

resin bracelet with colourful driftglass

Very first bracelet

As you can see it’s not perfect yet. I think I didn’t stir the mixture for long enough and my ratio was probably a bit off. Also the pieces all sunk to the bottom. I think I need to cast something like this is two or three sittings, which will probably test my patience a lot.  But I’ve also got a lot of ideas already.

Thank you very much, Marcus. You’re definitely at least as crazy as me, but I love you all the more for it.

Masterclass Horsehair Braiding

I don’t think I would have the patience or the dexterity to do this type of art, but Kestrel has it in spades. She’s sent us a gorgeous example of the horsehair braiding that she does and I’m in awe. Thanks so much for sharing, Kestrel.


Years ago a lady had me braid a horsehair bracelet for her from her horse. She told me she was really having trouble with a watch that she truly loved: an Ecclissi watch that was just simply falling apart. She told me she had bought it over 30 years ago but loved to wear it. This is how it started out:

©kestrel, all rights reserved

You can see the chains were falling apart. The lady asked me if I could possibly repair it with braided horsehair. She said she would really like it if it looked like twill. I set to work counting hair and working out how to perform this repair.

©kestrel, all rights reserved

The finished watch had 4 bands of 8-strand braiding on each side of the watch. Because I used two different colors I got the twill effect.

©kestrel, all rights reserved


Youtube Video: Forging a Viking Dane Axe – With Tord of Thor’s Forge (part 1)

I enjoyed this video immensely. Tord of Thor’s Forge in Sweden shows a process of making a two-handed Dane Axe blade the traditional way – from recycled wrought iron and carbon steel, both refined by bending and forge-welding. As close to a Viking-era technology as possible.

I learned a lot just by watching and I hope that some day I will have a chance to try out some of those things myself.

Video is 40 minutes long and there is about 4 min introduction by Matt Easton. Take that into account if you decide to watch.

Chinese Fabric Art

Opus has sent us a special treat… a few pictures taken while he was visiting China. The photos are full of energy and bright, bold colour and I can’t help but think that it must have been very special to see this art with people who understand its true value. Thanks so much for sharing, Opus.

 Pictures from Lijiang in southern China.  I visited with a couple of fabric artists who wanted to see the work done by local women. We were not disappointed!  The woman with the elaborately embroidered headwear is Naxi, best I can remember.  Lijiang is on an ancient trade route, the Tea-Horse road, which was used to trade tea from southern China for Tibetan horses.

©Opus, all rights reserved

©Opus, all rights reserved

©Opus, all rights reserved

Making a Rondel Dagger – Part 17 – Finale

When I have made my first, very crude, knife some twenty years ago, my friend’s father commented:

Charly, people want it to be handmade, but they do not want it to be immediately apparent that it is handmade.

That advice stuck in my mind so when I have read Feet of Clay from Terry Prattchett much later, following line resonated with me:

The thing looked like the kind of pots Igneous despised, the ones made by people who thought that because it was hand-made it was supposed to look as if was hand-made, and that thumbprints baked in the clay were a sign of integrity.

It is not impossible to get a handmade thing to look just perfect, but it takes great skill and experience and I am not there yet, although I might be heading in the right direction. The pictures hide some of the mistakes and imperfections that were not intended and are apparent – for example the blade is not symmetrical against the handle and the hand guard, so when it is in the scabbard the upper part of the guard sticks out more than the lower, and it is visible. Despite my best efforts the blade got a scratch from a grain that got somehow into the scabbard, and the handle got scratched too in the meantime. Which was inevitable if ever the knife were used, and I do intend to use it at least somehow, to see how it fares.


But enough of that, let me present to you the dagger of one of the most kickass characters in fantasy literature known to me, Cirilla Fiona Elen Riannon, aka the Lion Cub of Cintra, granddaughter of queen  Calanthe Fiona Riannon of Cintra, aka the Lioness of Cintra and daughter of Pavetta Fiona Elen and Emhyr var Emreis, Deithwen Addan yn Carn aep Morvudd the Emperor of Nilfgaard. This is my interpretation of the dagger worn by her as a sidearm in the computer game Witcher 3 – I noticed that dagger right on my first encoutner with her in my gameplay and I immediately wanted to make one. I photographed it on a bobbin lace doily that my mother has just made for her sister’s birthday. Bobbin lace is period/theme appropriate and I think it provides nice contrast and improves the quality content of these pictures by no small amount.


©Charly, all rights reserved. Click for full size.

I tried to tie the leather strap as close to how it is done on the in-game model as I could manage. The only significant difference from the game model is the red leather on the scabbard, instead of brown.


If you look closely, here you can see that the hand guard does not stick out symmetrically on both sides of the scabbard.


Overall length ca. 395 mm, blade ca. 257 mm long, 23 mm wide at the guard, single-edged. Good cutting ability although not as good as a dedicated cutting blade would have. It is still a stabbing weapon.


Handle is turned out of maple wood. Rings are allingend perpendicularily to the blade so the shiny lignin spots are symmetricaly with it on both sides of the handle.


Rondel has ten hammered grooves giving it a daisy like look. All metal parts are polished to mirror finish and buffed with jeweler’s rouge.


Although the handle looks massive, the knife is weighed towards the tip when put on a flat surface. I guess it could be thrown, but I do not intend to try it for fear of the blade breaking.


My signature for knives from now on – my initials in Glagolitic script. This is also the writing used in the Witcher games, so it also thematically appropriate.

Making a Rondel Dagger – Interlude 3 – Dubbin

With the work done, I have to protect both the leather covering of the scabbard and the iron fittings against the elements and medieval appropriate medium for that is so-called dubbin or leather food. Google does yield some recipes, but I did not bother searching for or following an exact recipe much – once I have known the rough composition, I plunged right into it as is my wont.

Ingredients in the mug.

So I took a stainless steel mug, put in it a piece of lard, about the same amount of unrefined beeswax (twenty years old, btw.) and I poured an “adequate” amount of olive oil on top of it. Then I lit the fire and stirred until it all melted together. It was quite interesting to watch – the pig fat dissolved of course first and the big beeswax piece last, but it did not take too long. In fact, it was over in mere minutes. I have measured the temperature and when it all was blended together the liquid had about 80°C. High enough to be dangerous, but not so high as to melt plastic or hiss in contact with water. It remained liquid long enough to touch with bare hand.

Finished dubbin in a plastic container.

Even so when pouring it into a plastic container for keeping, I have put said container in an even bigger one and poured cold water around it just to be sure. As you can see, the liquid has had a honey-like colour that I have found rather pleasing to the eye. It does not smell too bad either and when the product cooled enough to be touched by bare hands, I have simply dipped my fingers in it and applied it to the scabbard in no small amount. In fact I sloshed liberally all over it, making an uneven layer that was in parts over 1 mm thick.

Dubbin applied to the scabbard.

That of course does not look very pretty, so I took a heat gun and melted it all until it sunk into the surface. I was careful however to not heat it too much – just about to melt it and no more. Leather does not respond too well to heat and I did not want to damage it.

When that was done I rubbed the scabbard first with a paper towel which took off some of the excess dubbin, then simply by hand. The dubbin is actually relatively pleasant to touch – not unlike a hand lotion in fact, although it is more solid.

The leather strap tied around the scabbard unfortunately did not survive this – it was made from recycled leather of poor quality and tore off. I have cut a new one and this time I plied it with dubbin before tying it around – and that seemed to have worked rather well. The dubbin made the old leather soft and pliable and also sleek, so it was much easier to pull it through the holes and tie the knots than in my previous attempts.

I intend to buy a soft bristle brush at nearest opportunity that will be used for this substance exclusively. It has hardened into a yellow mass that looks like refined beeswax but is much softer to the touch – but not creamy as a hand lotion. I have labeled the lid of the plastic box and I have stored it in my workshop for future use. I think I got carried away a little here and made possibly a life’s worth supply.

If it goes rancid I will let you know. I hope not. And next time you see the “Rondel Dagger” title, there will be pictures, I promise.

Dubbin.

Youtube Video: Nurgle Plague Sword Build

Michael Cthulu is not a smith, he is a welder. And he does not make historically accurate replicas, he makes ridiculous, humongous swords from computer games that have no chance whatsoever to being actually functional in the real world.

But he is entertaining to watch and he has shown some tricks in his videos that are valuable to me in my workshop – like his unique working goggles with replaceable glasses.

He also seems to be a genuinely nice person, at least judging by the ammount of his products he auctions for charity ever since he makes enough money for comfortable living.

Mild content warning – the video takes almost an hour and contains half-naked and very hairy dude in his fifties doing dangerous things with fire, electricity and fast spinning machinery.

Tummy Thursday

Today’s post is less a recipe than a post about cake making.

I love making cakes. I especially love making the “big cakes” where you can go wild. Chances are that if you invite me to an event above “kiddie birthday” and ask to bring a cake, I will use it as an excuse to turn approximately 100.000 calories into a cake.

The excuse for the following cake was my friend’s kids holy communion (the family’s catholicism has been puzzling to us for generations. Girl, I know what you did in your 20s and 30s).

The cake base was a red velvet cake with cherry filling, which I frosted with chocolate ganache. This was pretty not spectacular although already delicious. I went for two layers, though. If you do, use a cakeboard or a wrapped piece of cardboard supported by some sticks because otherwise the very heavy second layer will sink into the soft first layer.

Choclate frosted cake

It didn’t have to be very even because there’s a second frosting to come. I always wanted to do an Italian meringue buttercream, but I never tried because my old kitchen machine was designed by an engineer who put the motor below the bowl and the gears into the middle of the bowl. Don’t ask. Regular buttercream regularly ended in a disaster because everything just melted, so after a particularly annoying instance I decided to get a new one and Mr convinced me (I’m using that word in a very loose sense here) to get something decent and I went for a Kitchen Aid. I never looked back. The only problem was that I could have done with a second one to keep whipping the meringue while I was creaming the butter, but that was possible to do by hand. In the video, Yolanda just adds the butter, but I was following a different recipe.

Since communions are in spring I went with green, first a light one to cover the whole cake and then a darker one for the grass.

cake covered in green buttercream

But that’s only about 80.000 calories, so the next step was to break out the fondant and go crazy. I love that silicone forms have become quite affordable. The trick is to dust them with starch, as well as the finger you use to push the sugar into the form.

I was quite pleased with the result.

Finished cake