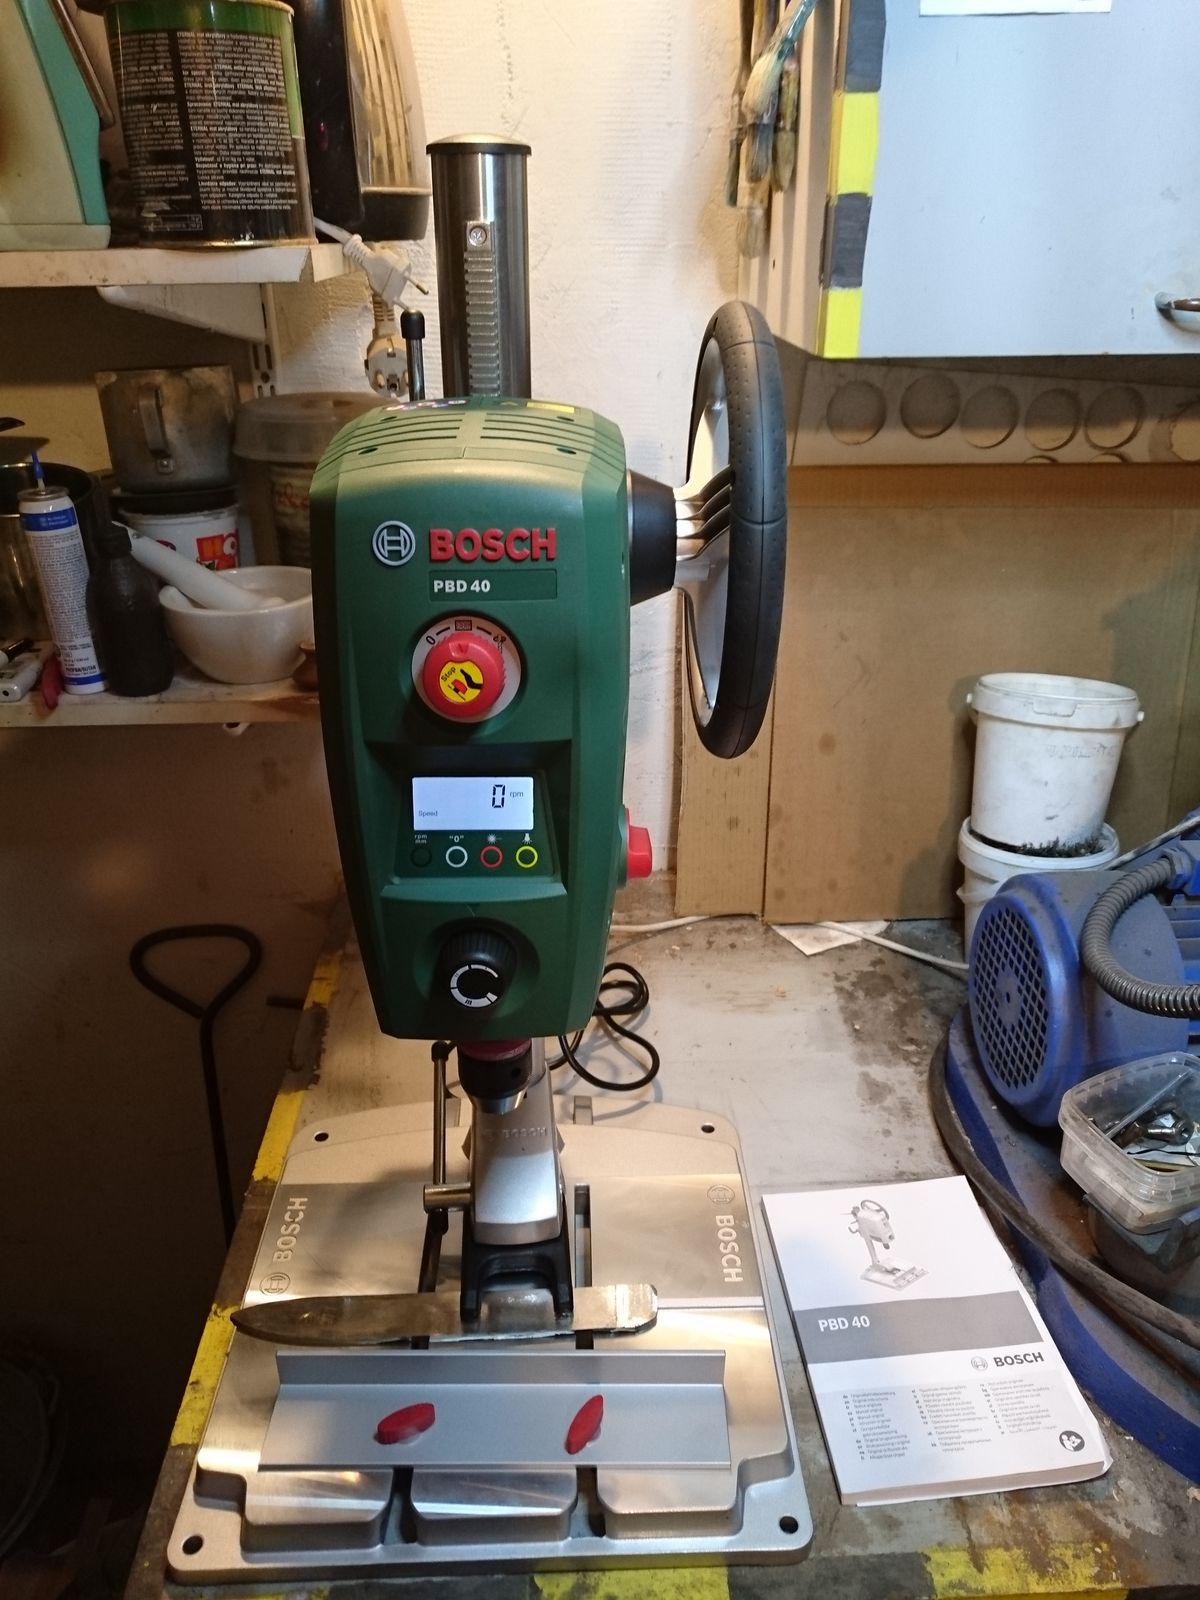
©Charly, all rights reserved. Click for full size.
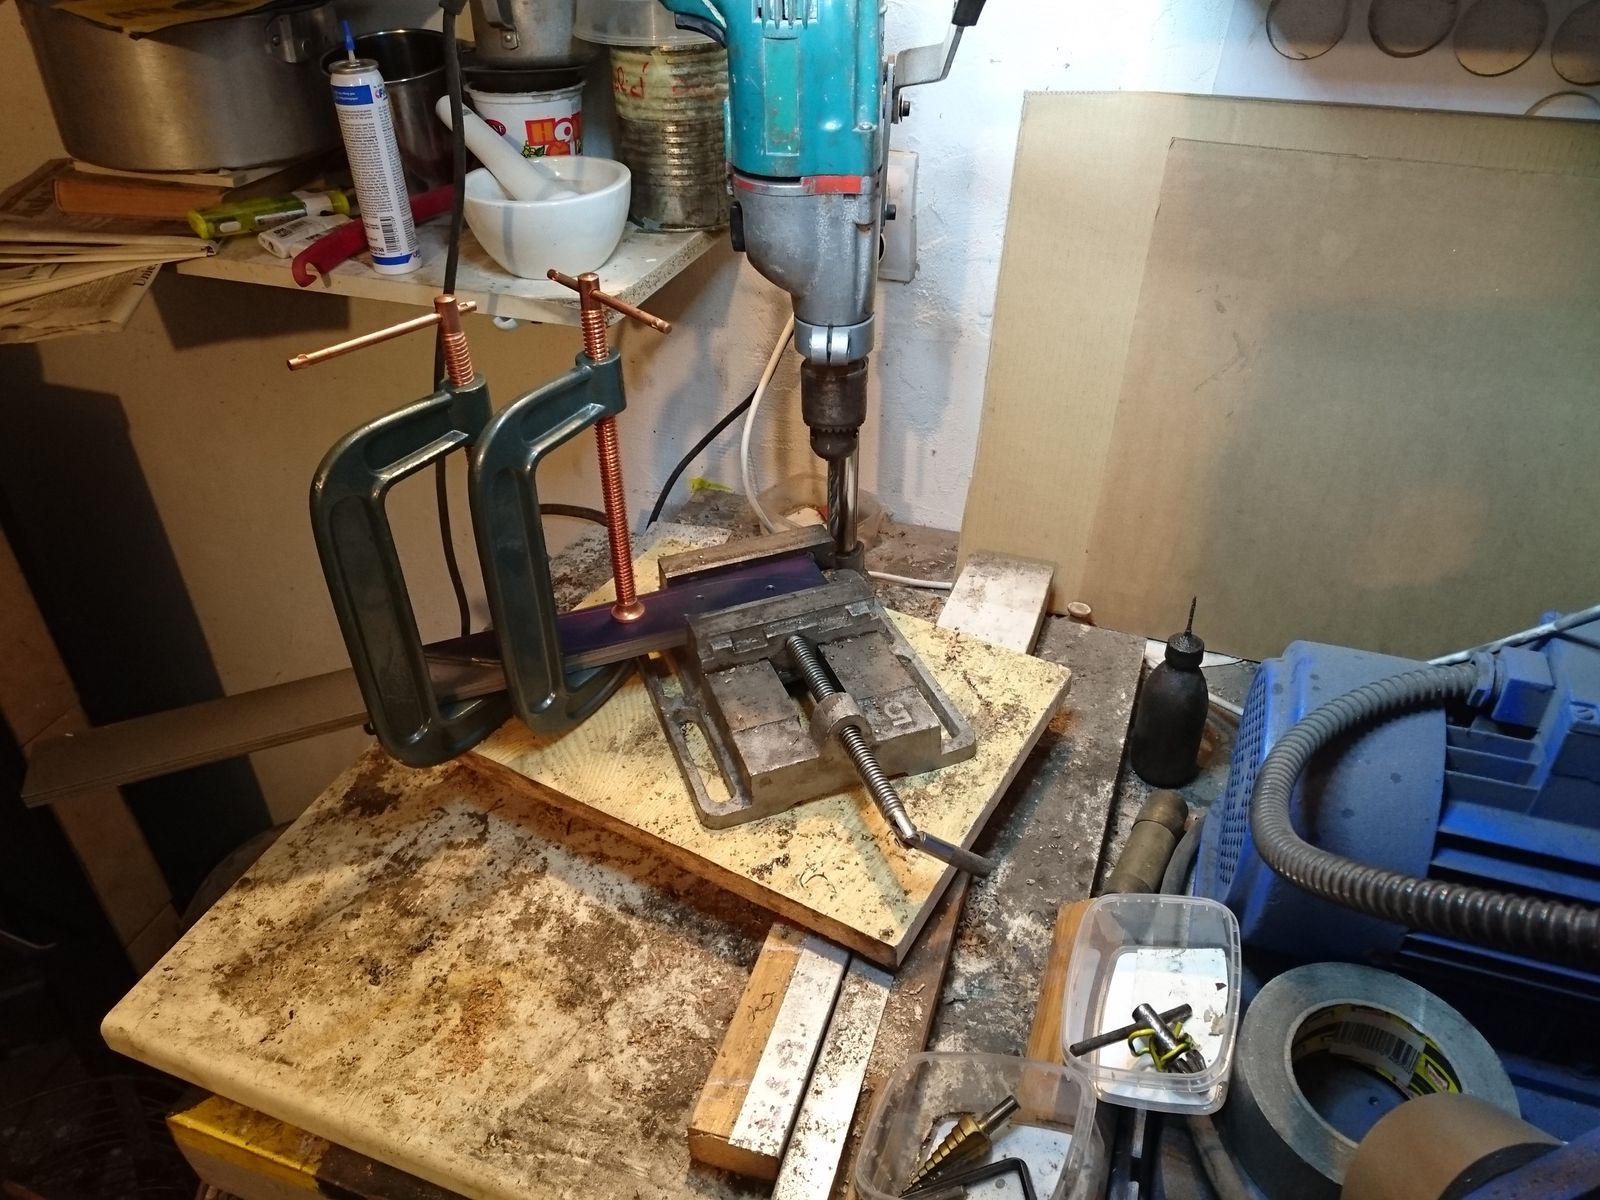
My new drill press arrived yesterday evening and I just installed it instead of the old cheapo one in my workshop. I must say that my first impression is absolutely great. I cannot definitively say whether it was a good investment or not – ask me again in a few years, because new devices tend to have some crucial mechanical parts (like gears etc.) out of plastic that wears out rather quickly and subsequently the whole machine has to be tossed – but on the surface the machine looks really great. Someone has actually thought about the design and, a rare occurrence in today’s world, the design is very functional and sensible. Use is very intuitive and all levers and settings are easily accessible. I worry a bit that the wheel might be too small to provide adequate leverage for drilling steel, but we will see. That is the only worry I have on first sight though.
The drill has a digital display that actually shows the rpm, which is very nifty – I will not have to guess by the sound. It has two main gearing settings and a continuous rpm regulator, so it covers very wide range of rpm on a nearly continuous scale without me having to flip v-belts. That is probably at the cost of some efficiency, but the max power (710 W) is higher than on other drill presses that I could choose from, so that might not be a problem for actual use, although it might be a problem regarding power consumption. But it is not a device that will run more than a few minutes at a time, so slight inefficiency is not as big of a deal as it woudl be for, say, bench belt sander.

©Charly, all rights reserved. Click for full size.
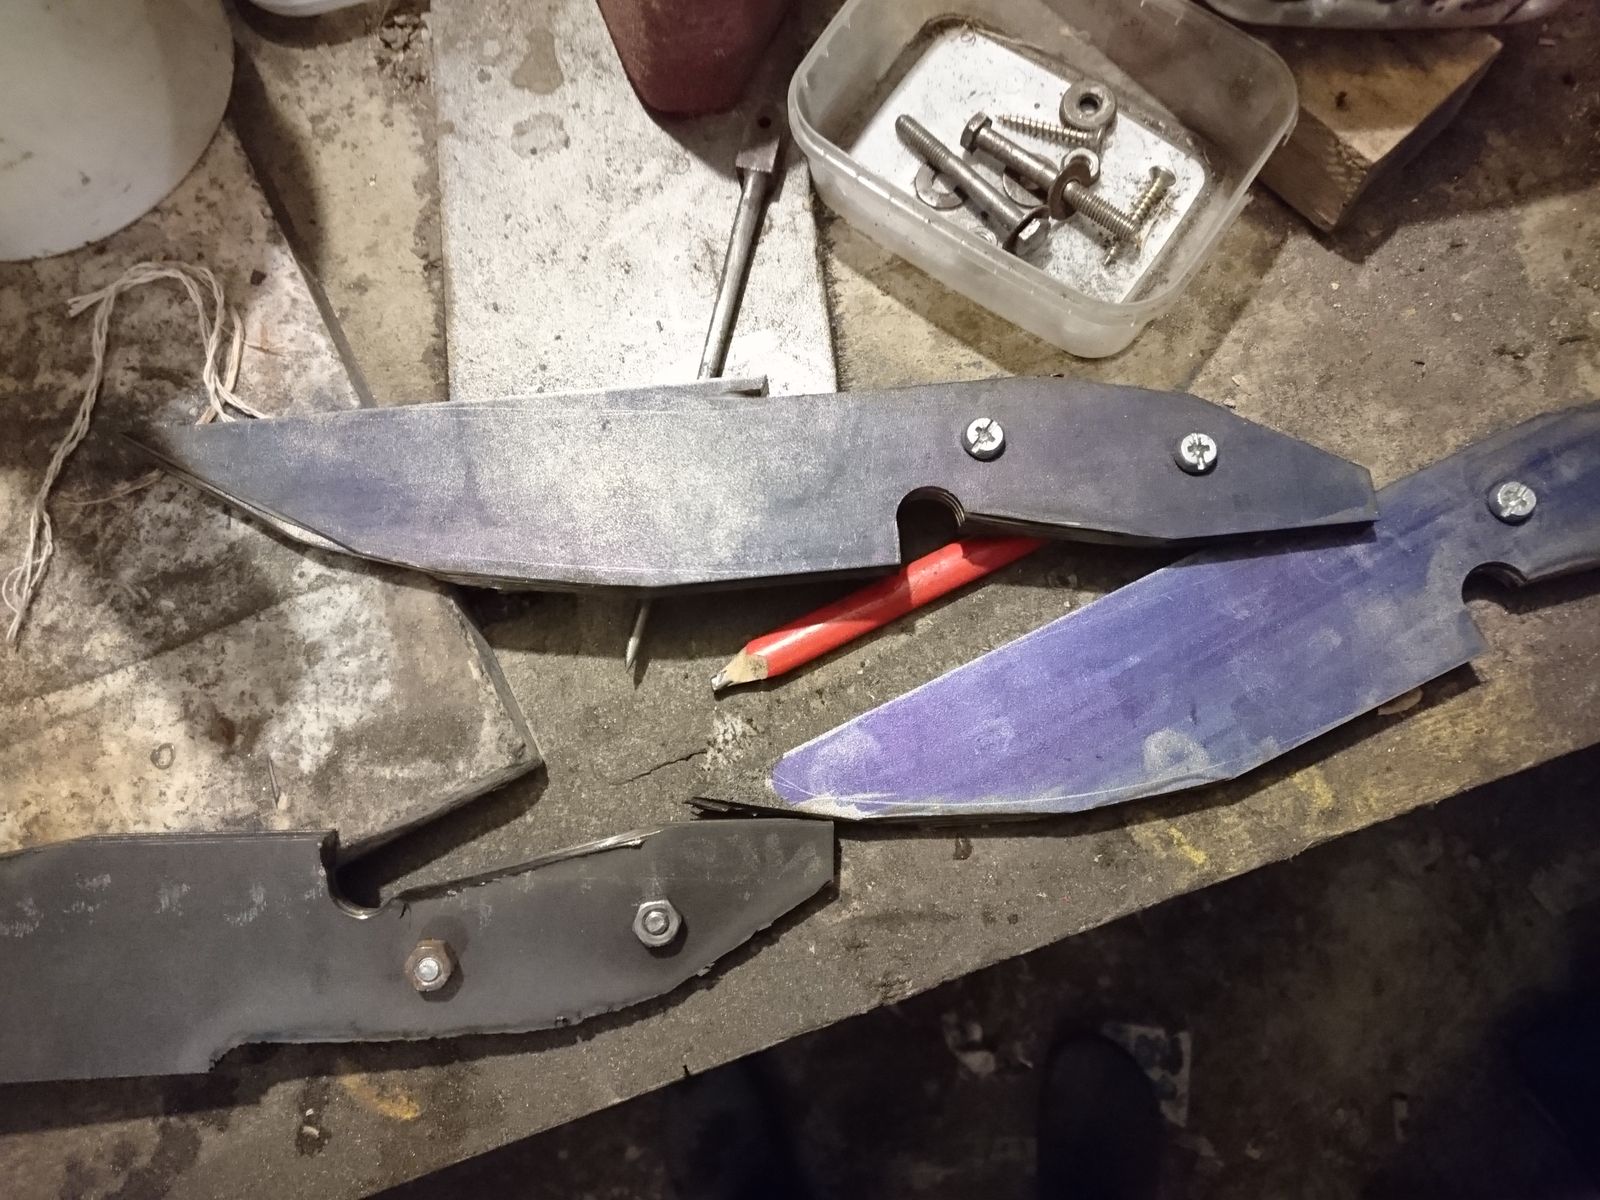
As a knife maker I fell instantly in love with the quick-span/release chuck that is standard attachment. The chuck is simply ideal for holding down flat stock, something very obviously crucial for a knife maker.
And the laser cross! A LED light illuminating the worked area was just a final bonus on top of that. It was always a bugger to find and hit the tiny black dot on black piece of steel – now those troubles are, hopefully, over.
And of course it does not wobble in all directions so I hope I need not fear anymore drilling tiny holes and breaking two drill bits per each.
All in all right now I have no regrets for spending the non-trivial amount of money for it. I think it is money sensibly spent and I look forward to trying it out as soon as possible. I might indeed regret a bit not spending that money sooner.