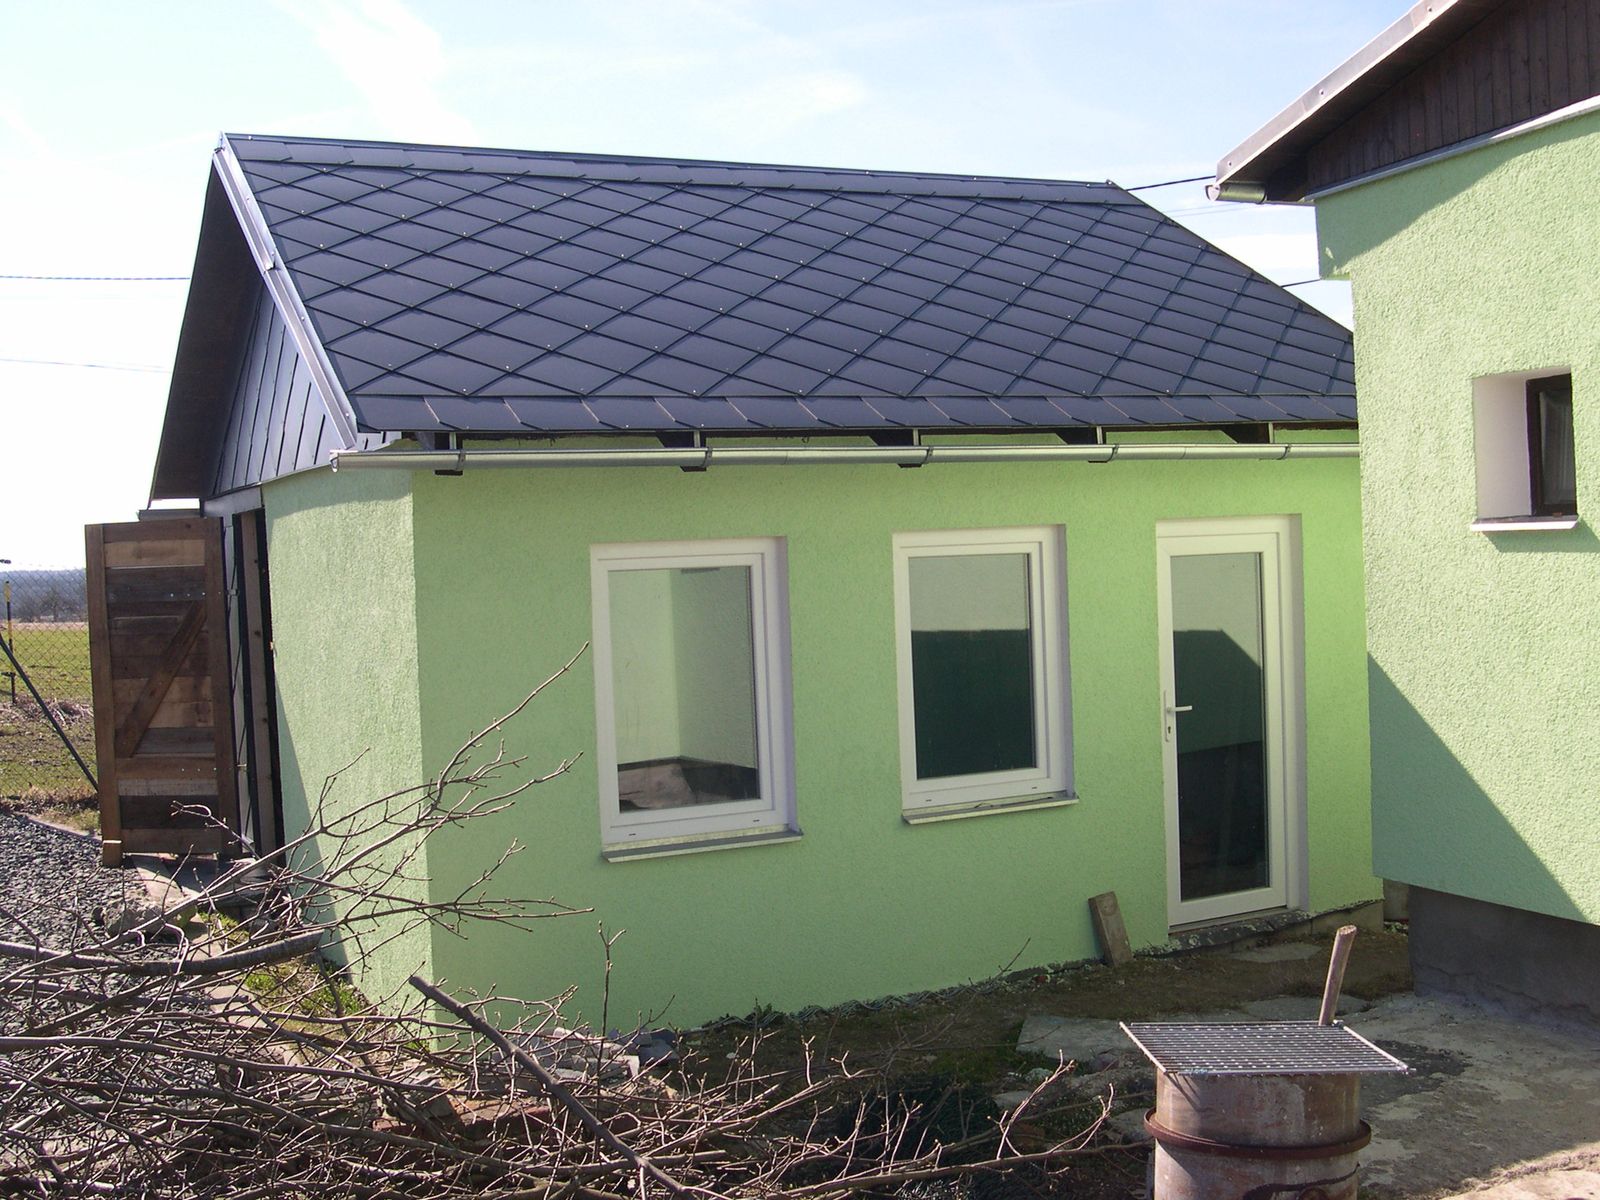
When I have started building my workshop in 2009, I did not seek a building permit and I had no project. I was just winging it.
For a building of this size (25 square meters, single story), that was perfectly OK and legal, especially since it was build in place of the previous much bigger wooden barn that I have torn down because it was becoming unsafe. The new workshop is not a workshop per see, it has two rooms, one half is made from bricks and is the workshop and one half is just a storage of gardening tools and materials. It is a combination of a small workshop, garden shed, and whatever.
I was quite happy with it for a few years, but when I decided last year to start a business and went to the business registration bureau, a problem arose. I was told that since I intend to do at least some work in my new workshop, I have to register the building in the land register/cadaster. For which I needed a project and some other paperwork.
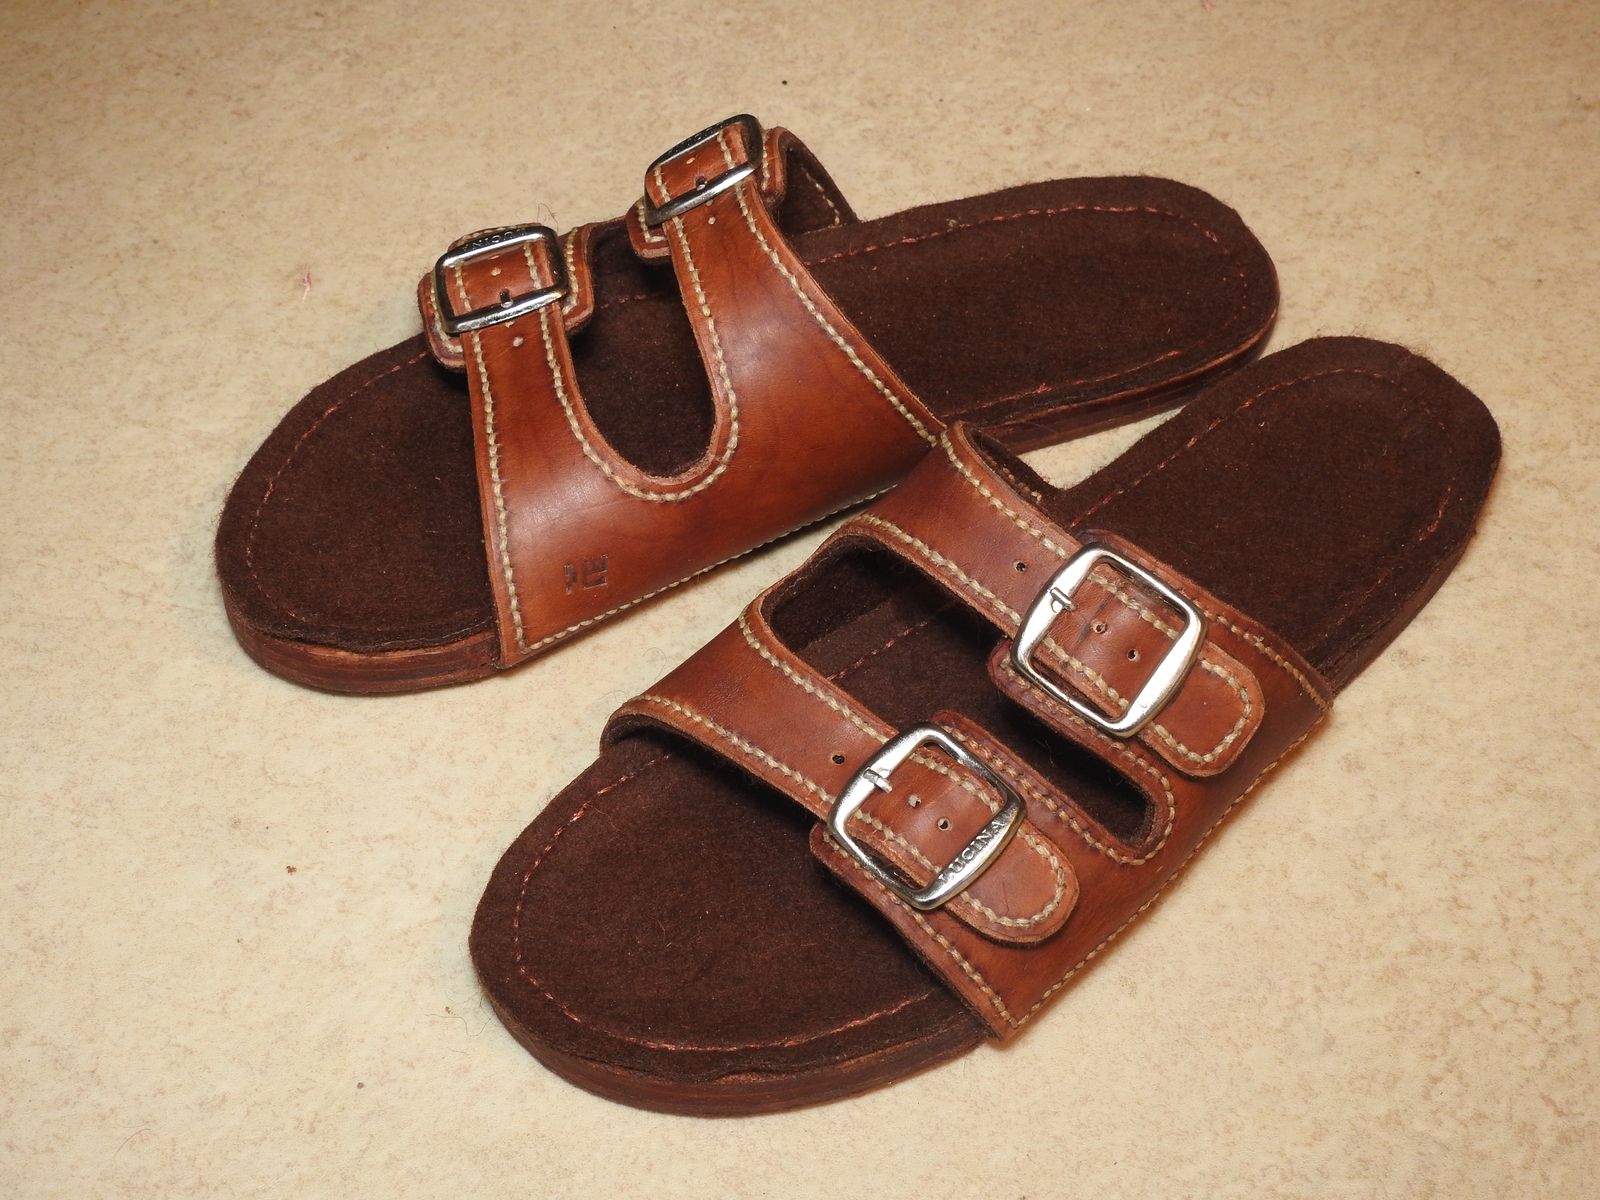
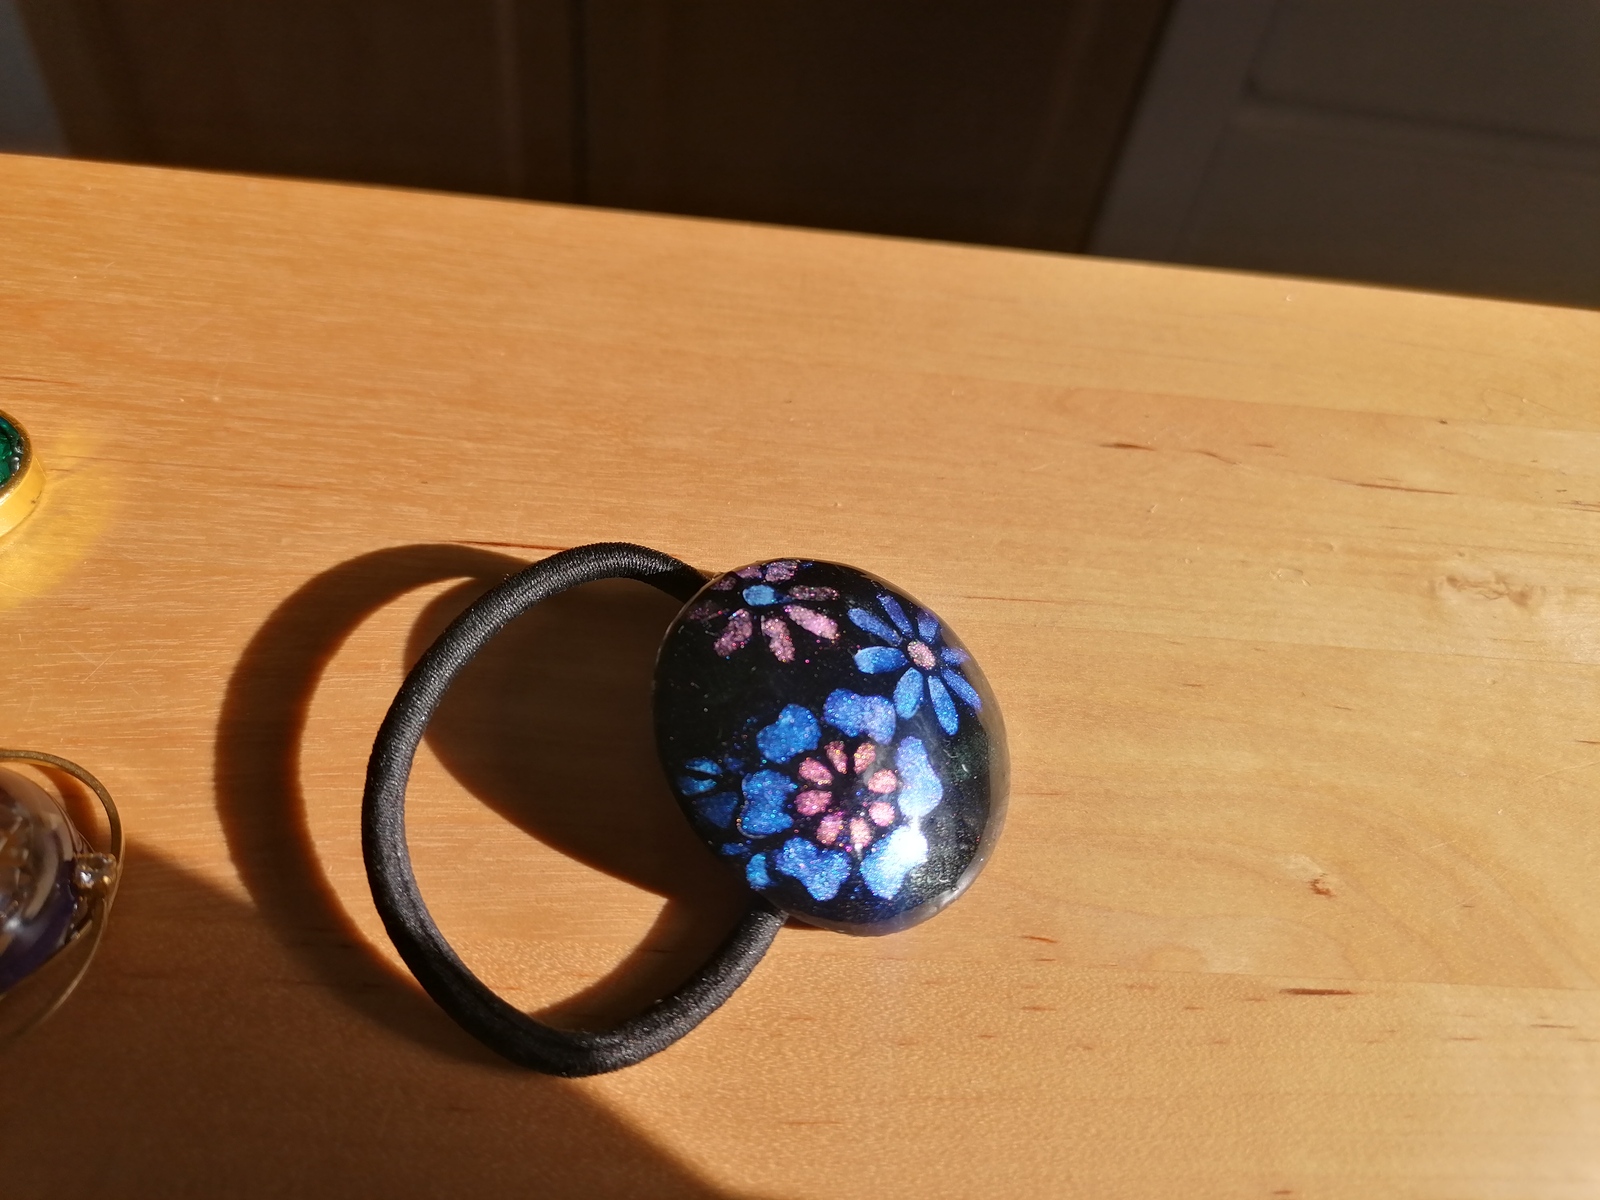
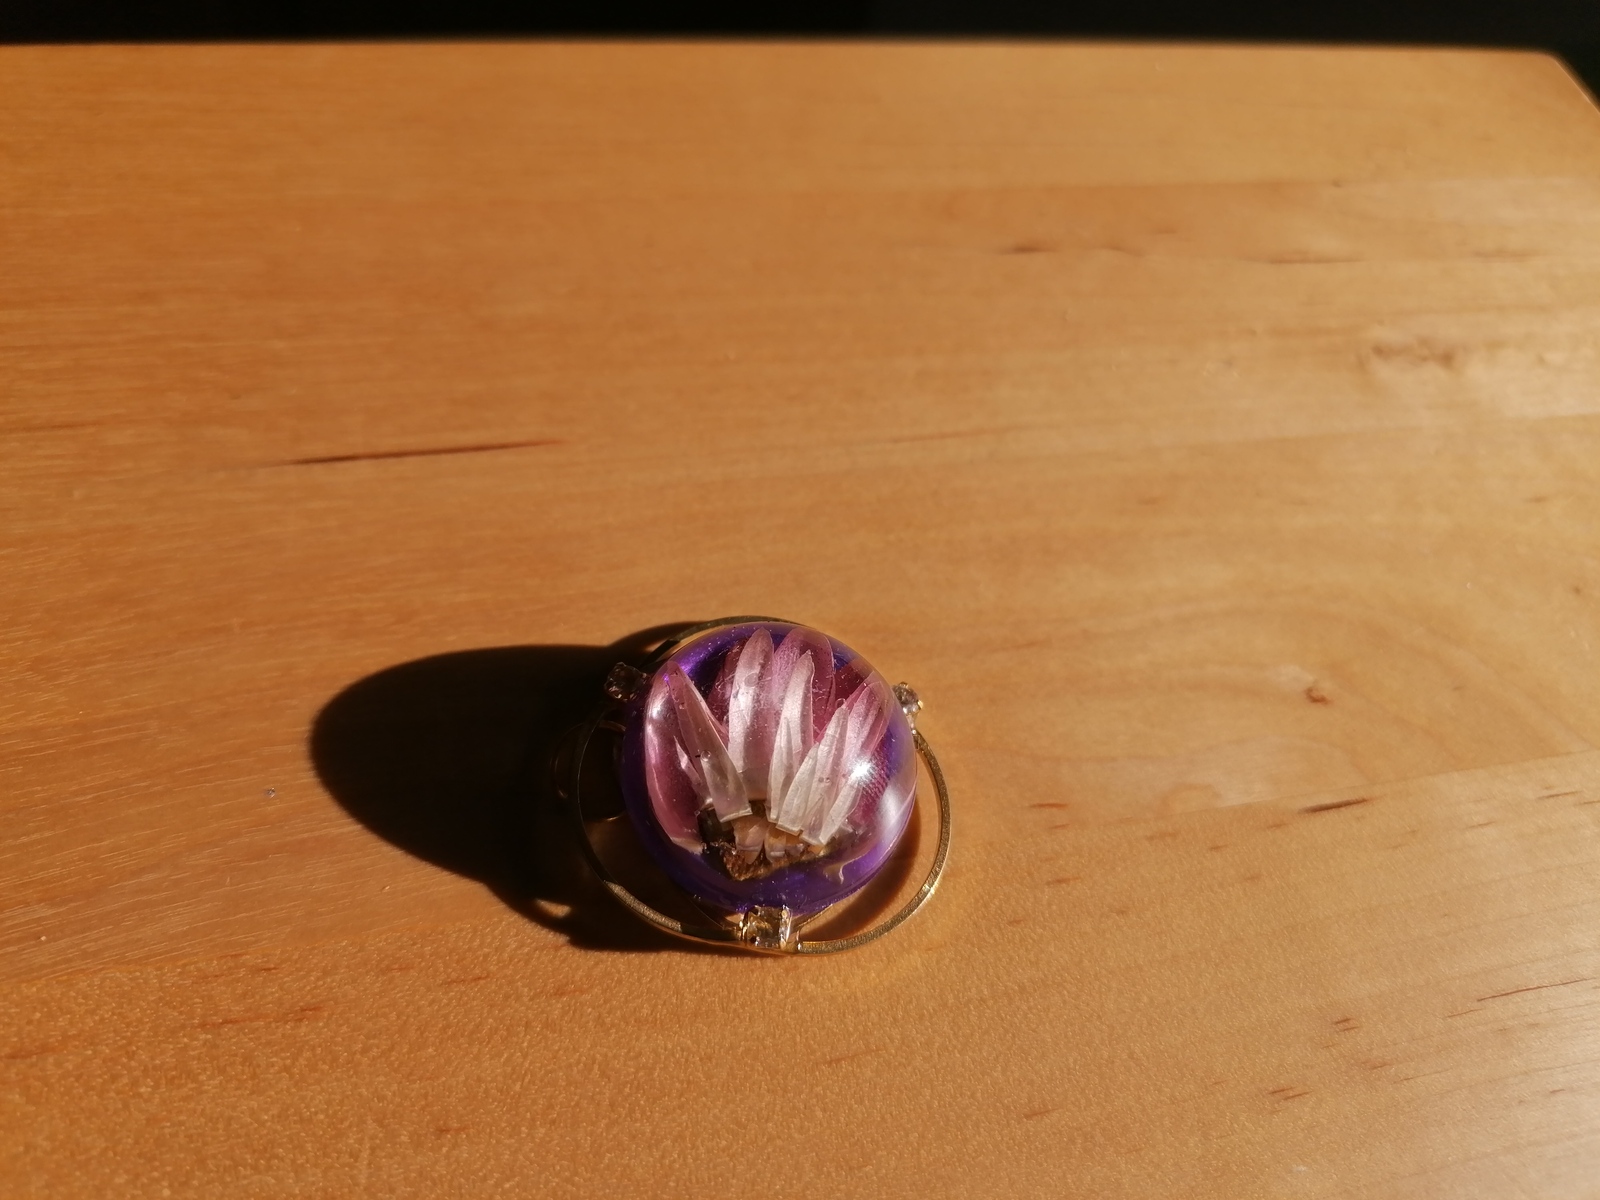
© Charly, all rights reserved. Click for full size.
So I had to pay a surveyor and a project architect to get the building surveyed, measured and a proper drawing made. Which I did. And then pandemics started. That has delayed the rest of the paperwork quite significantly. The whole summer and fall of 2020 I got an answer every month that “maybe next month it will be done”.
And then the bad news came. To register the building in the category “production and storage” It would need to have running water. No matter that the house with running water is literally two meters away. The office worker who issued the decision knew the law is stupid, he even said so. But his hands were tied, the law is written for corporate buildings and does not differentiate between a one-man small workshop and an airplane-building workshop. And the law says that every workshop in a production and storage building must have running water (period).
After some back-and-forth I have decided (on advice) to let the building register as a hobby workshop and garden shed within the category “building with other purposes” with the reasoning that the purpose of the building before during and after I run a knife making and leatherwork as a business will remain the same, it will always be a part small workshop, part garden shed and part whatever. Now the only requirements were that I have to have a fire extinguisher and certified revision of electric installation, which I both had because unlike running water these both make sense and I was expecting them.
That went through at the cadaster this spring, but at the same time the pandemic was roaring in CZ, the offices had limited hours and the country was in lockdown again. It was only last week after my mother had both doses of the vaccine and both my father and I were two weeks after the first shot that I felt safe enough to visit the business registration bureau in person again and apply for the license.
And it went well. The type of building the workshop is registered as was not seen as a problem for intended purposes and today I got my official papers. So as of this month, I am officially allowed to charge people for my work – and I have to pay taxes accordingly of course. I have to contact a tax consultant and research some things that I have neglected to do while the whole thing was in limbo, but that is not a legal problem anymore, that is just learning the ropes of a new business.
In other good news, today was also the day that I got my second shot of the Pfizer vaccine. My shoulder hurts like hell, I cannot use my left arm, but I feel quite happy nevertheless.