I want to stress up front, that none of these failures is Marcus’s fault.
So, what went wrong this time, I don’t hear you ask? Well, a lot, I am down one blade out of three.
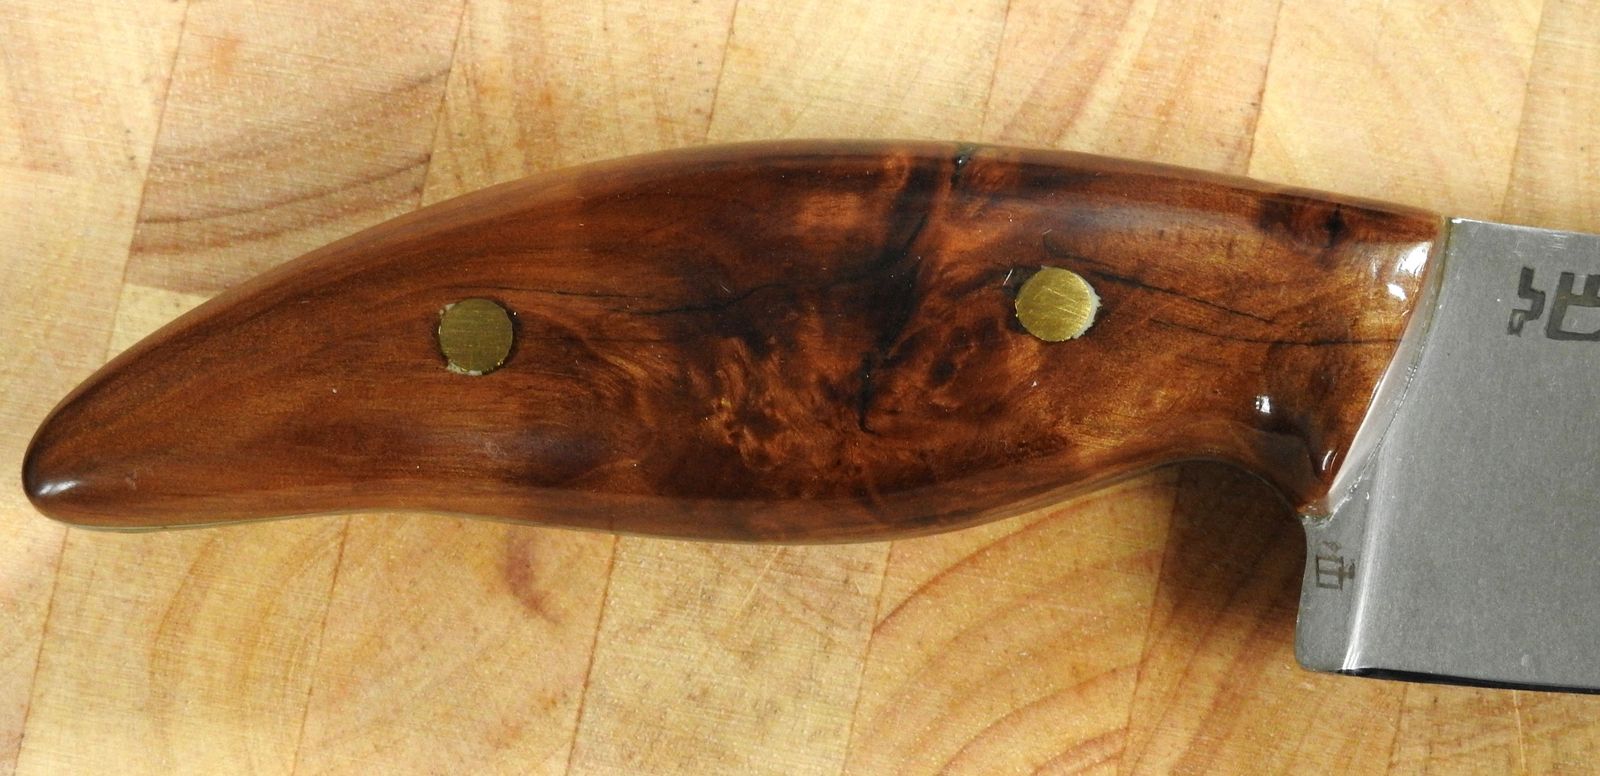
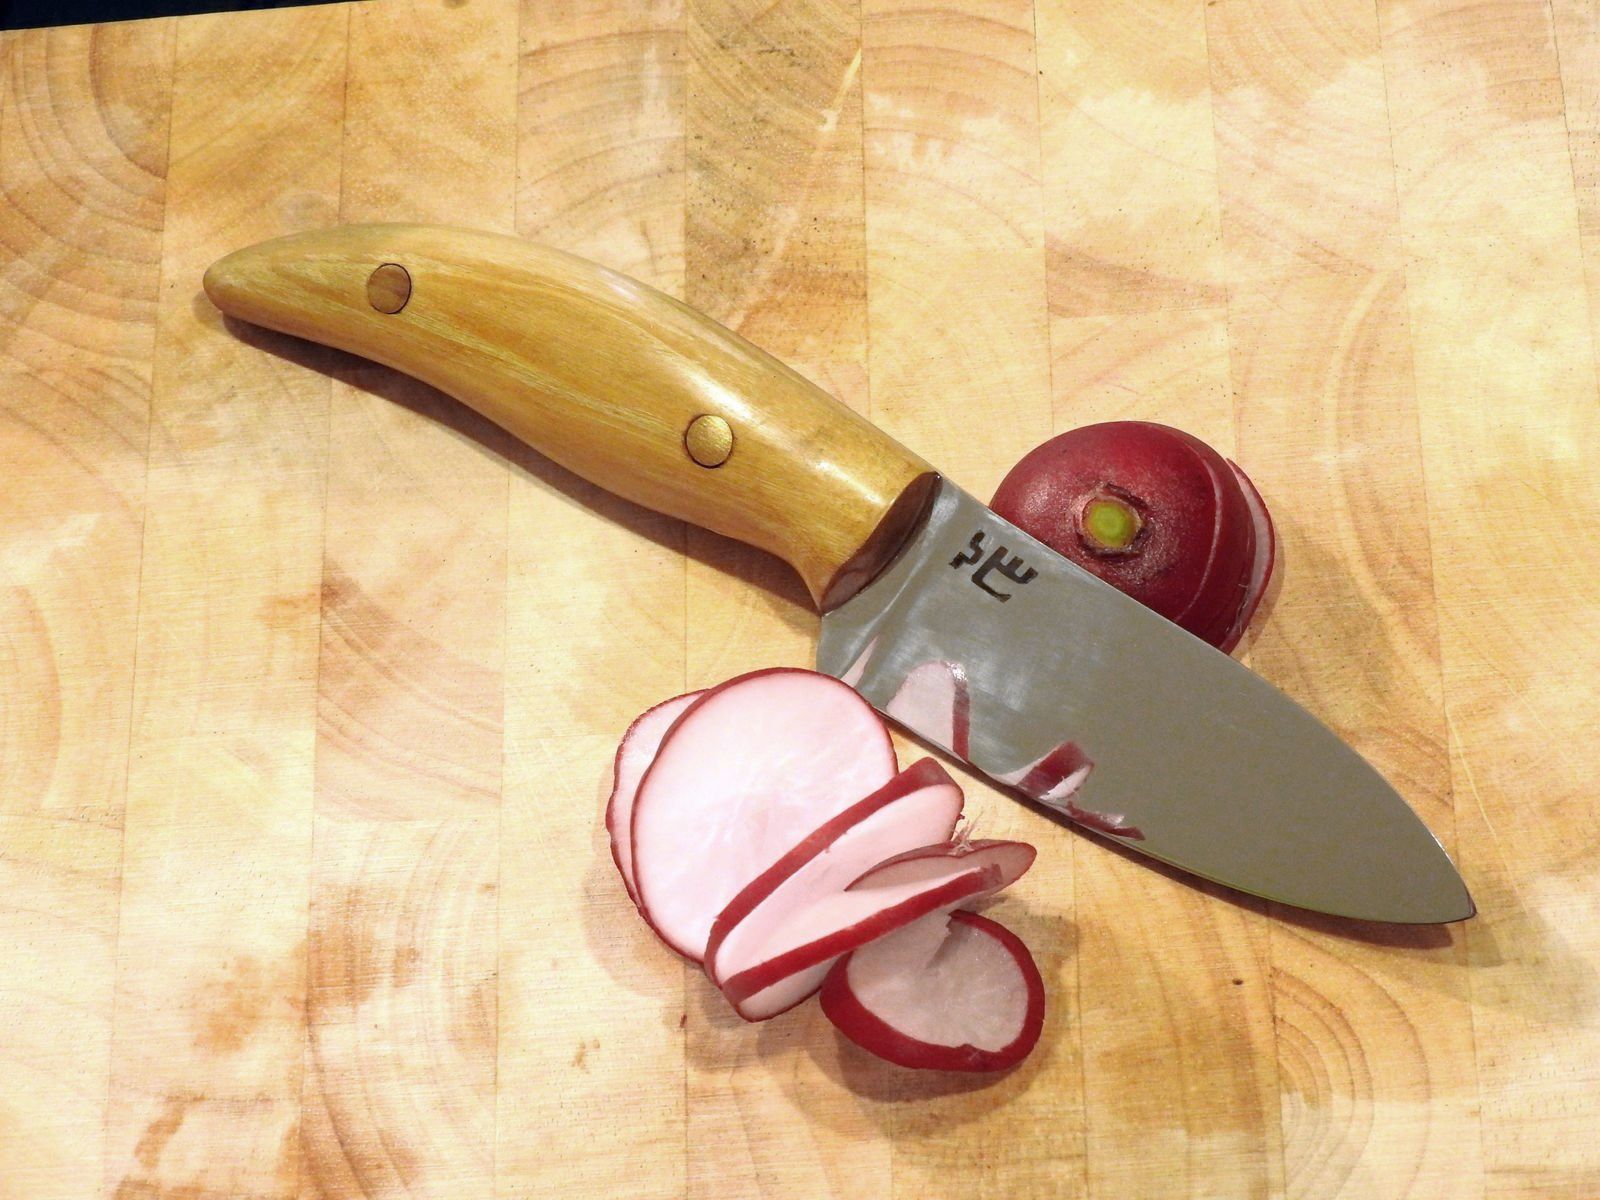
I thought the pairing knife goes on really well, until 320 grit when I noticed a little perpendicular line on the spine. And It was not a line in the damascus pattern – those become visible during polishing, and that is very cool – it is a crack. I do not know when it happened. It might be there from the start, it might have happened when I was straightening the blade, it might have cracked due to the stresses involved during polishing – it is a very thin piece of steel after all. There are also some imperfect welds with inclusions in the piece, but this is not one of them, this is a crack.

Cracked spine. There is one more crack on the other side of the blade too. © Charly, all rights reserved. Click for full size.
No matter the cause, this blade is now irredeemable garbage, the only thing it could be reworked to is an awl,
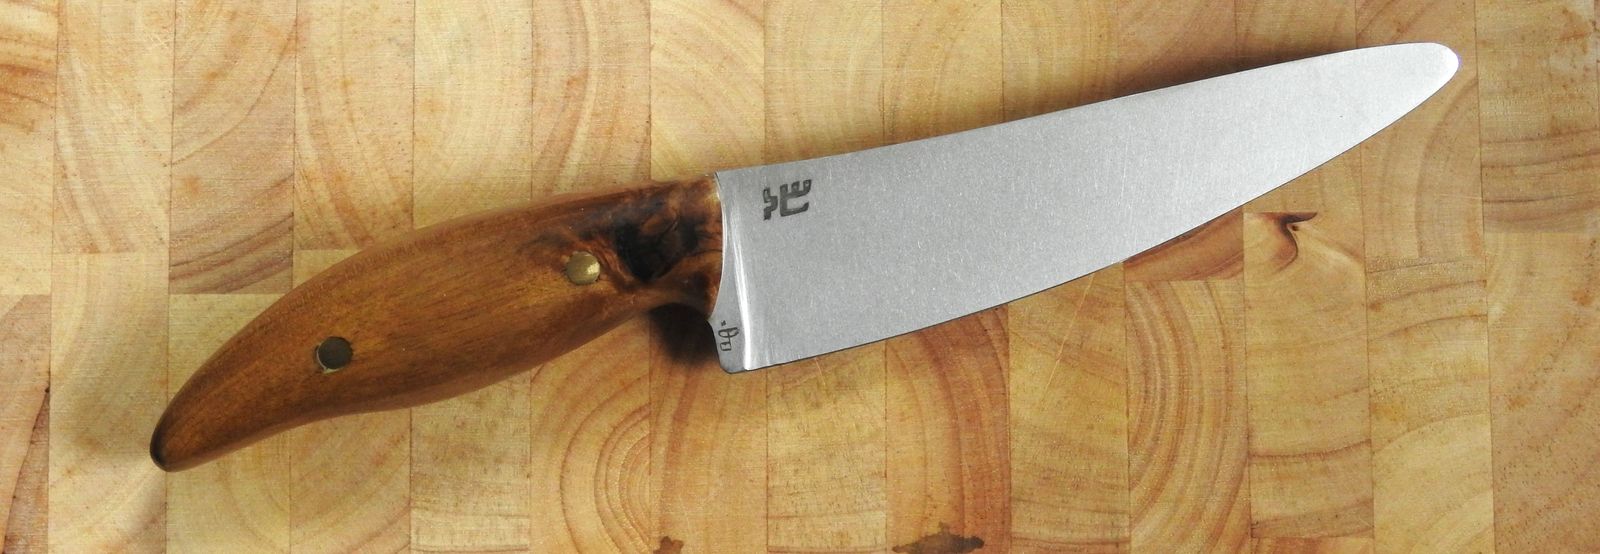
I am going to finish the piece only as a show of what it could have been, but I am definitively not using any fancy materials for the handle. I planned on using stabilized maple burl (also a gift from Marcus), but now it will probably be just some random piece of birch or oak.
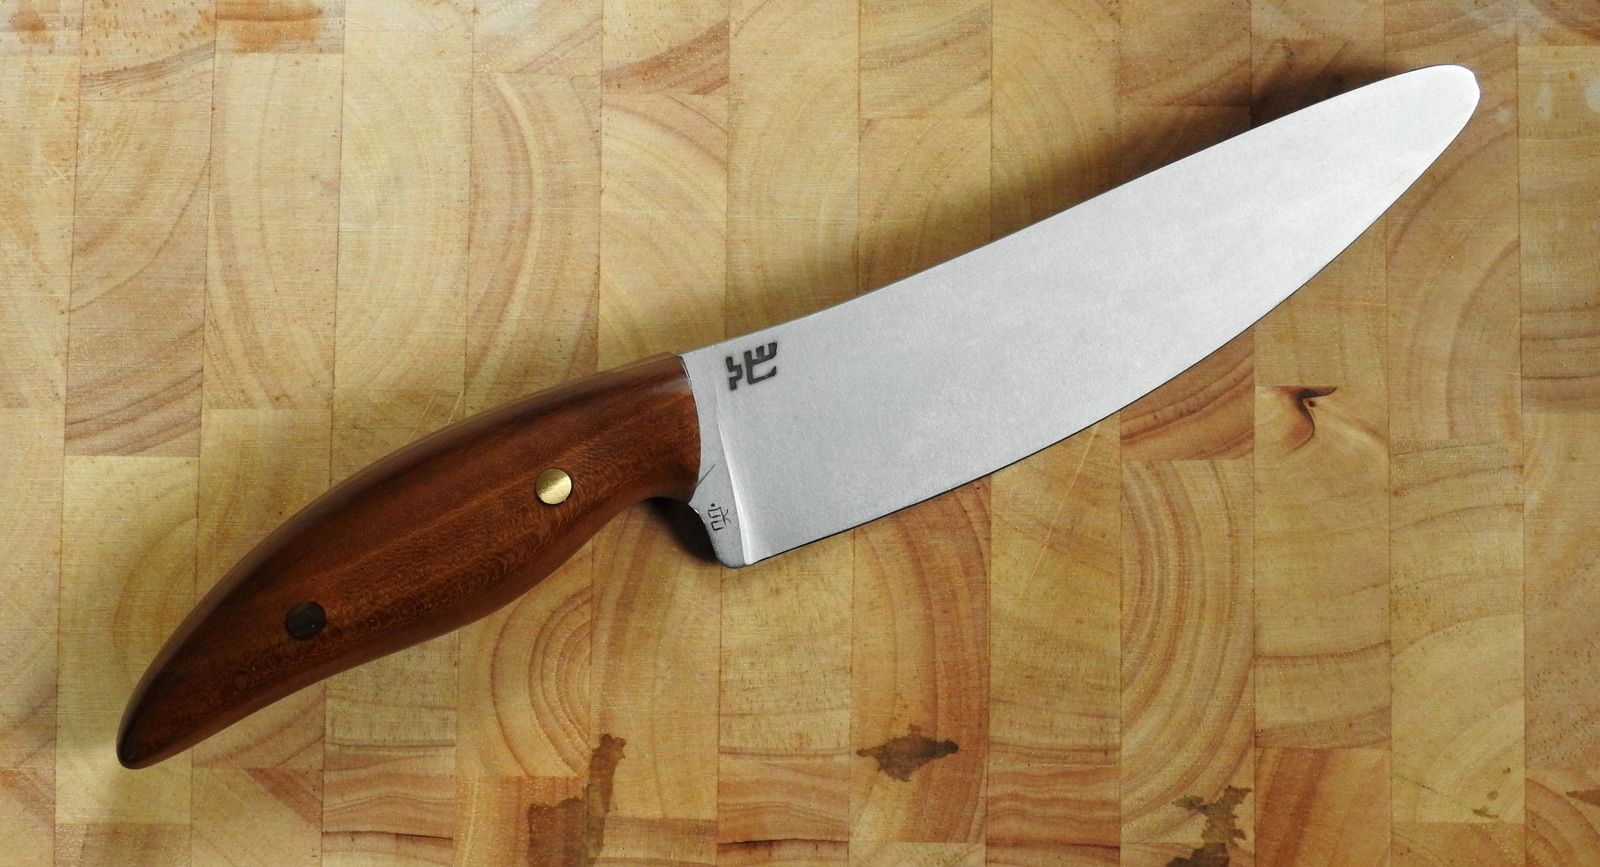
Works on the boot knife also did not go well. First I messed up the grind, bigly, but that was not the problem, that was still repairable, there was enough material that needed thinning out anyway. What was not repairable was the position of the cutting edge towards the blade’s tip. It turns out that I did not hit the 1095 at the center of the blank quite well. My grind was straigth, but the the 1095 in the center of the san mai damascus was bending ever so slightly to the left in this area. Had I positioned my grind just about 0.25 mm to the left, this would not have happened.
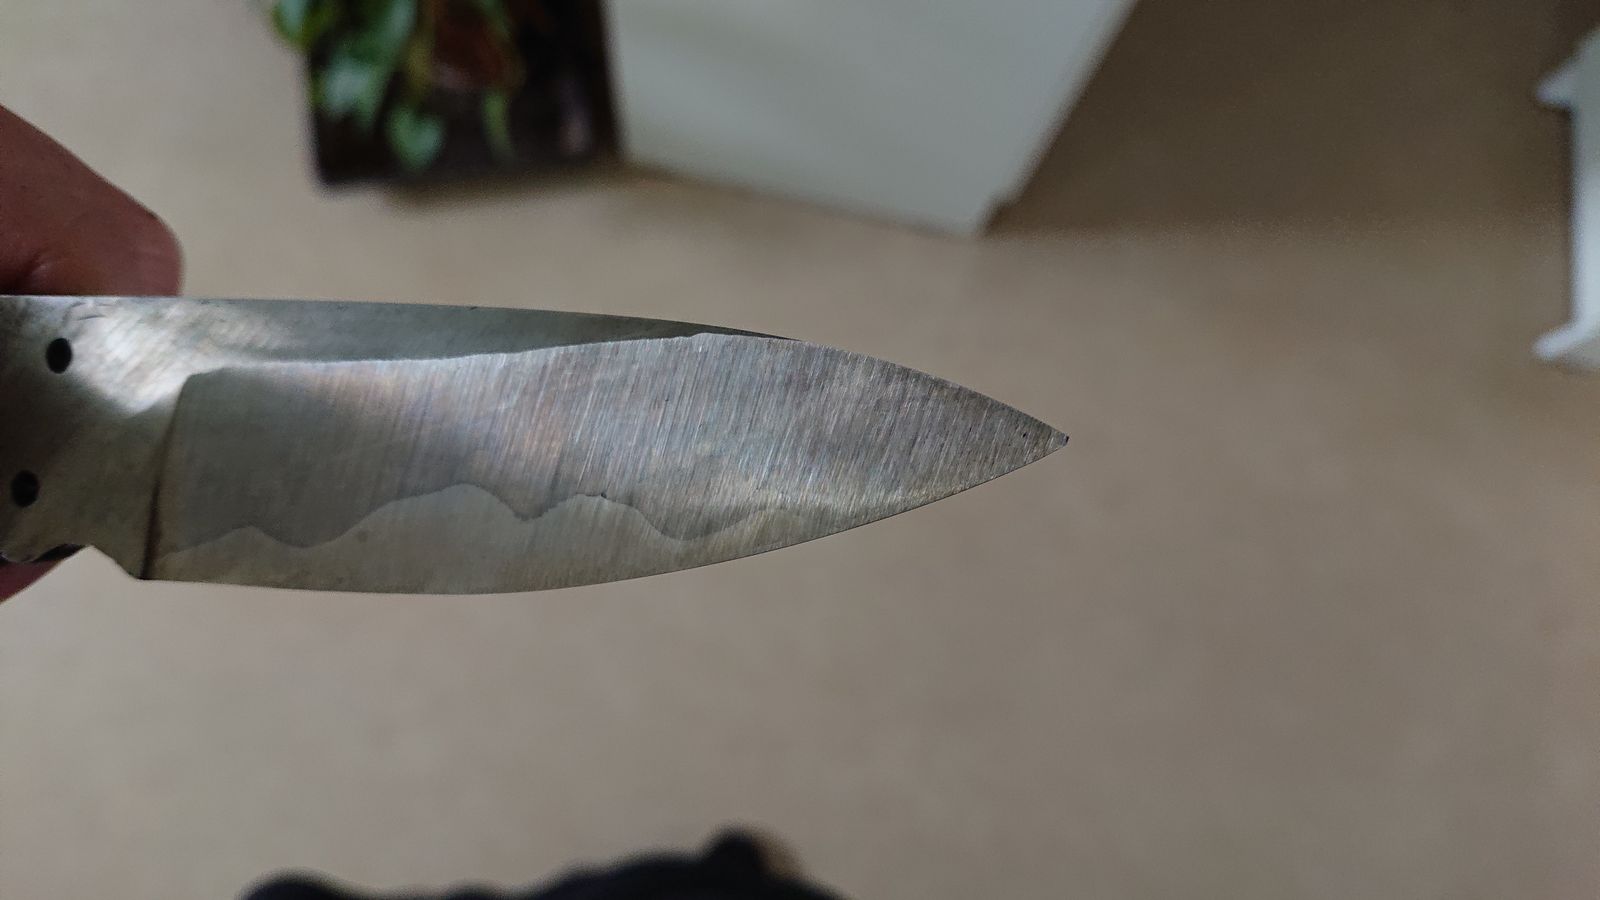
The darker cable damascus is reaching all the way to the cutting edge near the tip, where only the shiny 1095 should be.
© Charly, all rights reserved. Click for full size.
I have tried to re-grind the blade, but for that, I had to make it about 1 cm shorter and I do not think it looks as well as it did before, it is too short and stubby. It should become a usable little knife, but I am not happy with it, and I am not finished yet.
Next time I will work with san mai damascus, I will probably first polish and etch the edge to see exactly where the cutting steel is. Too bad I did not think of that before.
All in all, so far this project has made me nearly cry several times and to want to quit knife-making because I am no good at it. When one spends several days with some work only then for all that effort to be for nothing, it has quite an influence on one’s mood.


