I took both blades to work and measured the hardness on the tang and near the spine. On one blade I have measured 52 HRC, which is actually good and is the value that I was aiming for this area. The second blade however only measured 47 which gave me a pause, because it just did not feel right (it is still perfectly OK value for the spine though). Scratching with an ordinary file has shown that both blades are softer at the spine than at the cutting edge, which is too desired and that it came out that way straight out of tempering means that I do not need to temper the spine extra with a propane torch, which was my original plan.
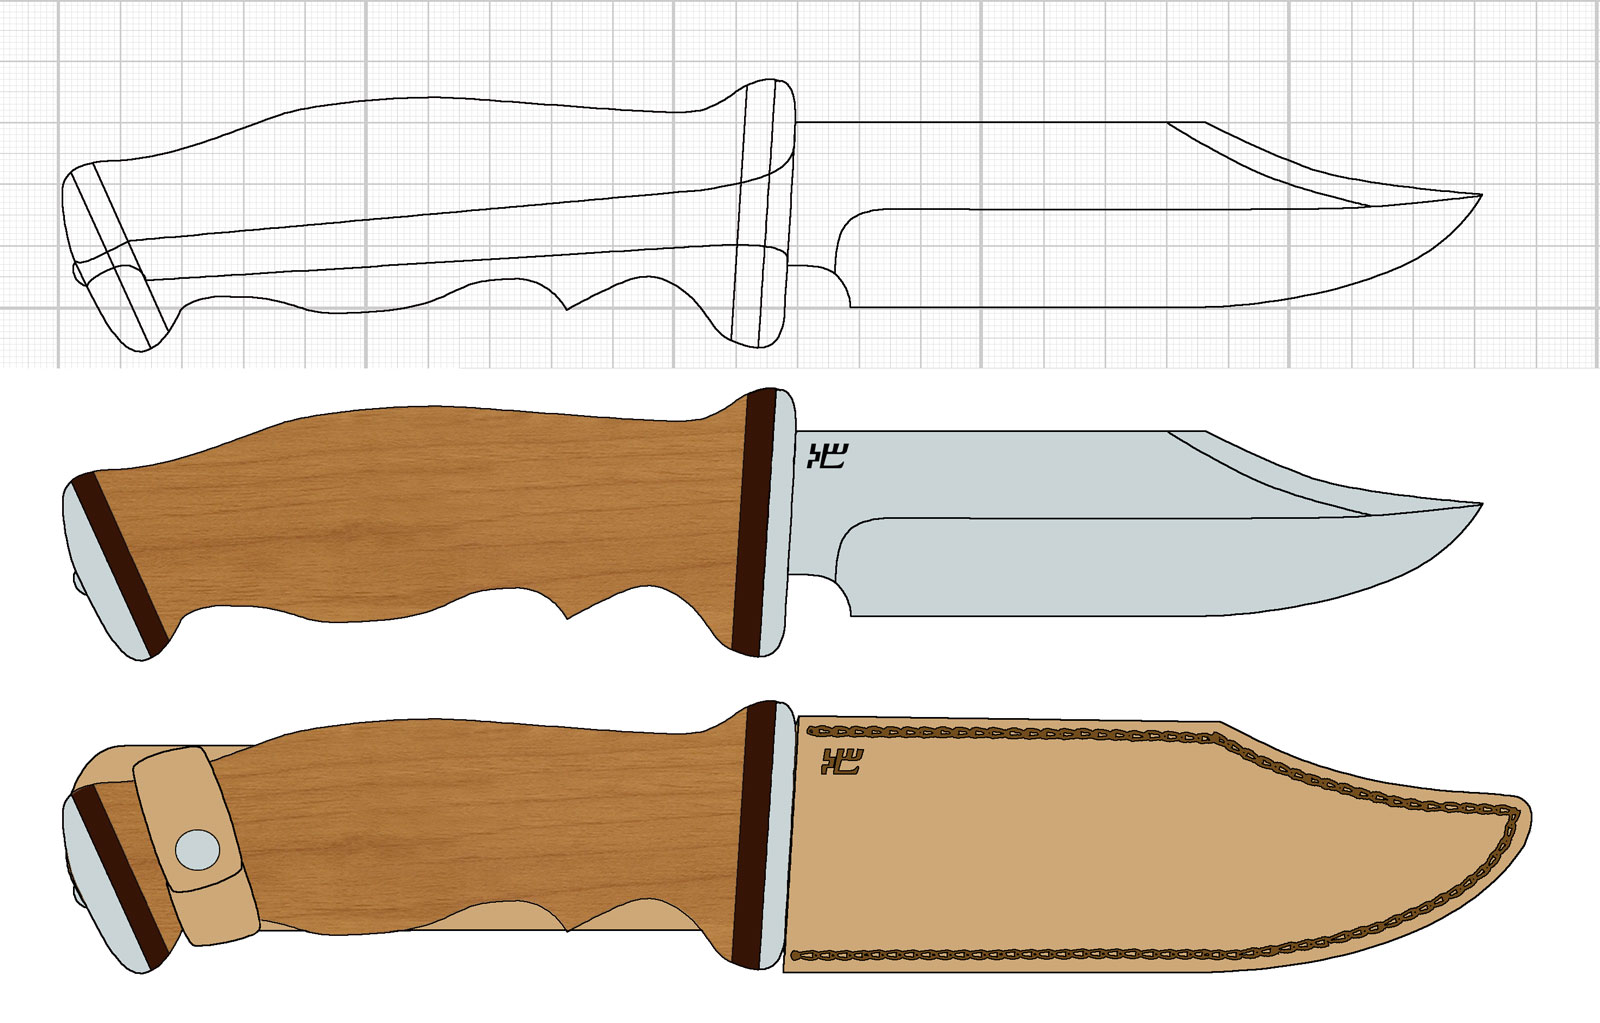
The “better” blade looks now like this.
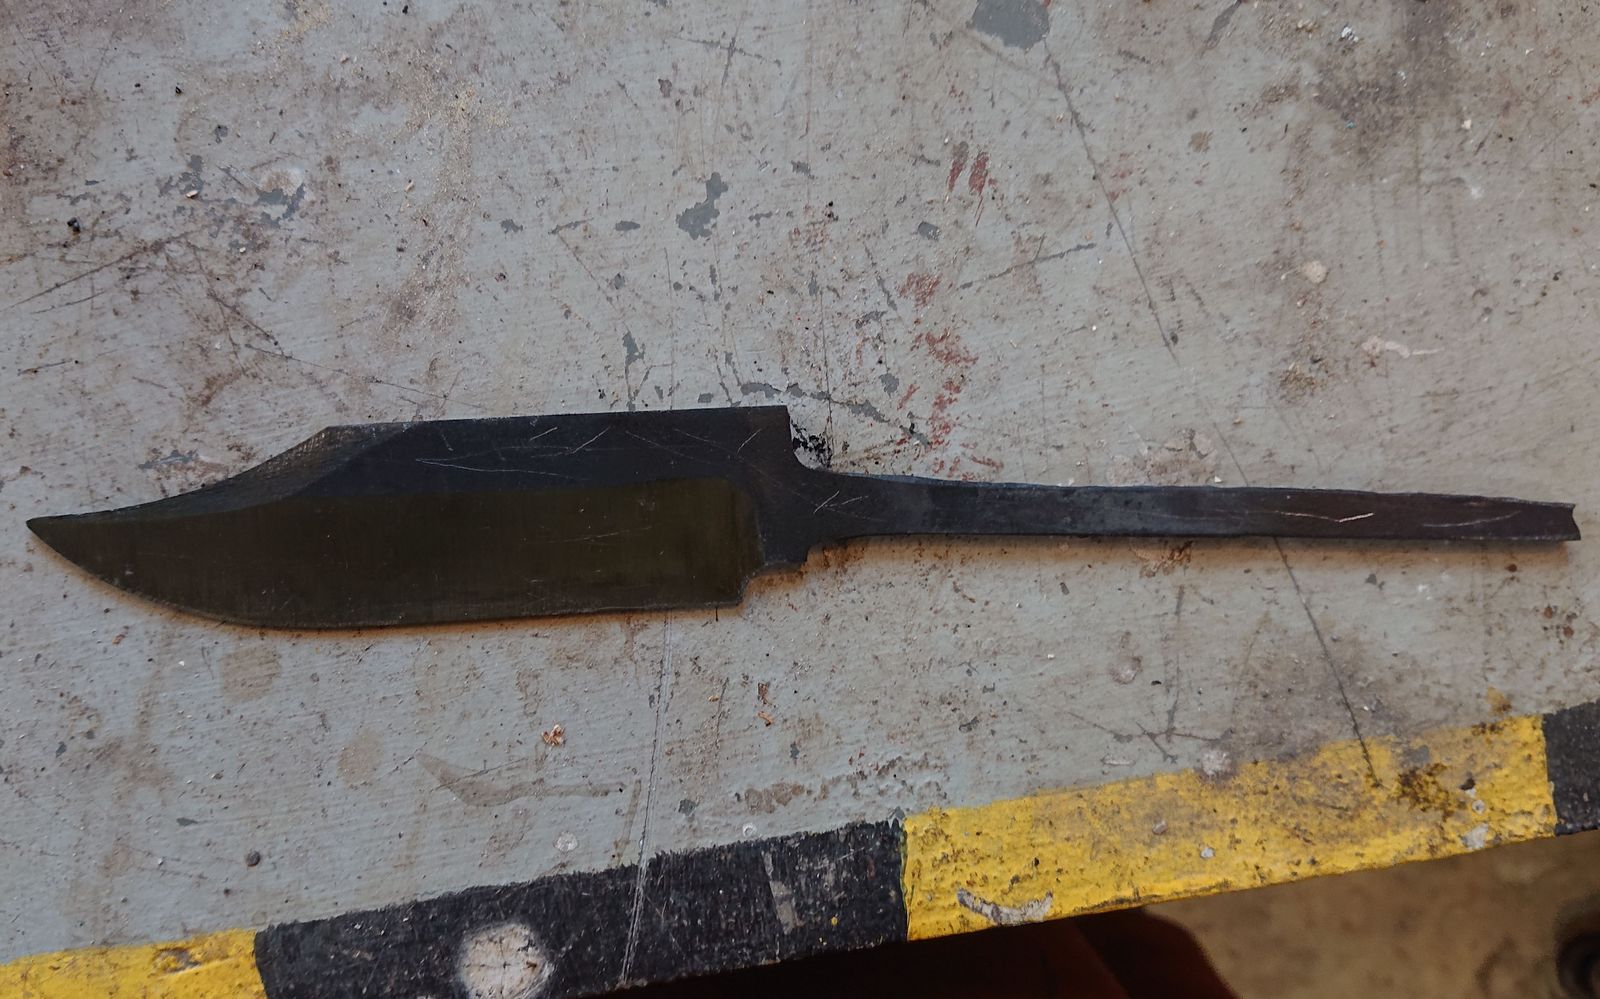
Tempered blade © Charly, all rights reserved. Click for full size.
You can see the scratches from further testing at home, where I have indeed established that both blades are approximately identical – both hardened through, but harder at the edge, both probably 52 HRC and more. So how came about the difference in measurement? I got an idea how that could happen and it turned out to be correct – the blade with lower measured value is ever so slightly bent, it is not visible with the bare eye, only when I put a straightedge alongside it and looked against the light. And I have measured it on the convex side, which means it was behaving a bit like a spring thus lowering the measured value. That is the reason why these measurements are supposed to be done on clean and flat-ground things with parallel surfaces.
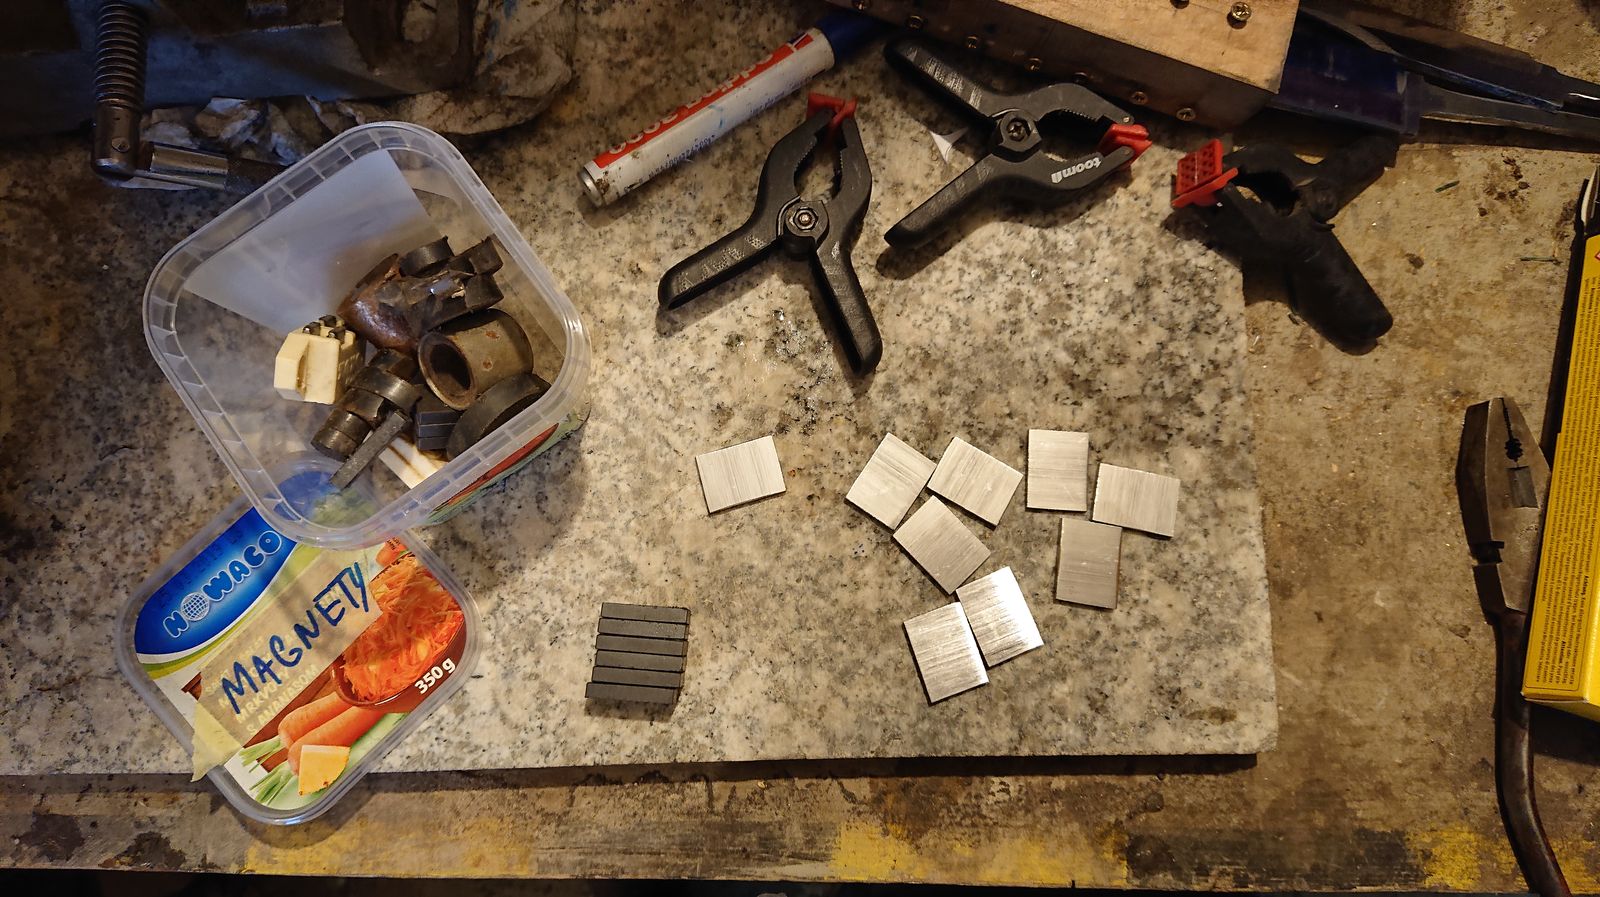
And how did I establish, that both blades are nearly identical? With these.

Gages for estimating hardness. © Charly, all rights reserved. Click for full size.
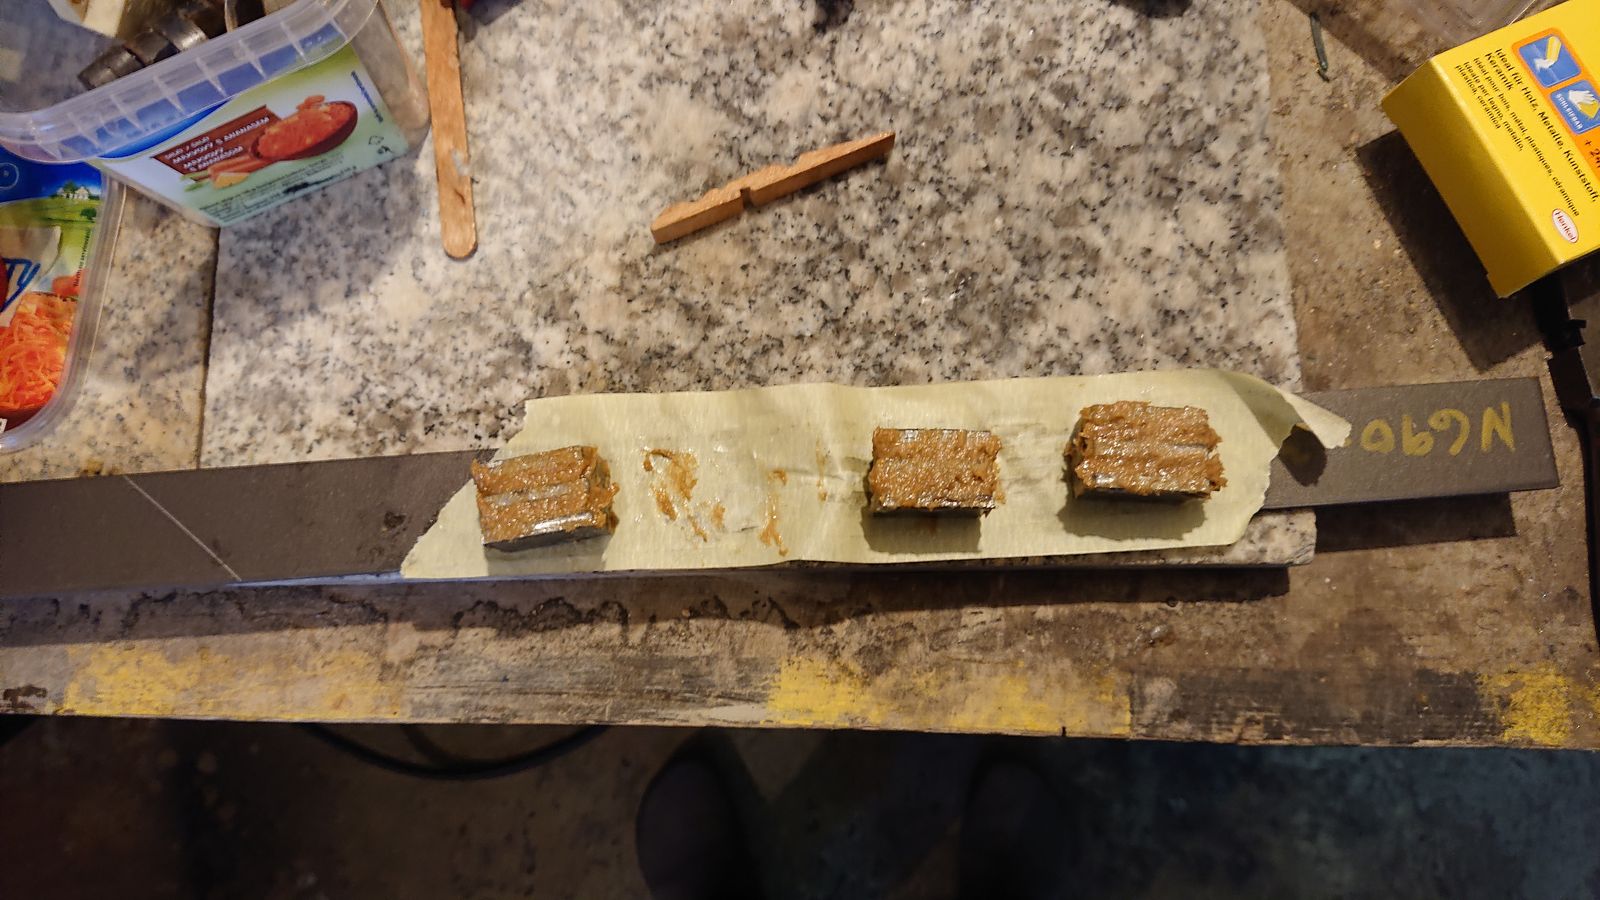
I have made these miniature chisels in the winter and I measured them at work. I used nearly the same process as when McGyvering the precursors for these last year. Then it got put on hold until yesterday and today when I finally got to etching their HRC hardness onto the blades and inserting them in handles.
They are not perfect, for some reason the hardness can wary within one blade so the higher one does not always reliably scratch the lower one, but they do give me an estimate. For example, I have also tested the tempered blades for kitchen knives. One blade got scratched with the 53 gauge, but none got scratched with the 51. From the rest, none got scratched with the 57 gauge, and the 62 scratched all blades but three. And all gauges can scratch the unhardened tang.
That is a far better result than I expected – no blade seems to be under 52 HRC, which is the lowest limit I have set to myself for knives. I did not pull this value out of a hat – it is the lower tolerance limit used for combat knives in former Czechoslovak People’s Army, and I reckon if it is good enough for the army of a paranoid totalitarian state, it is good enough for me. And since 62 HRC is nearly the upper limit for the steel I used for these knives, it seems that despite still a bit improvised setup, I have indeed hardened some blades as well as it is possible.
Although there is no reason to really think one of the two blades is really worse than the other, still the blade where I measured 52 goes to the customer, and the blade where I measured 47 goes into auction here (provided I do not destroy one in due course).