Ever since getting my camera I’ve been expanding on my lens arsenal. After getting the tele last year, I wanted a wide angle one. With a little bit of unexpected money I finally got myself one and took it out for a stroll. Sadly the day was overcast and the light faded too early, but I like what you can do with it.

©Giliell, all rights reserved. Click for full size.
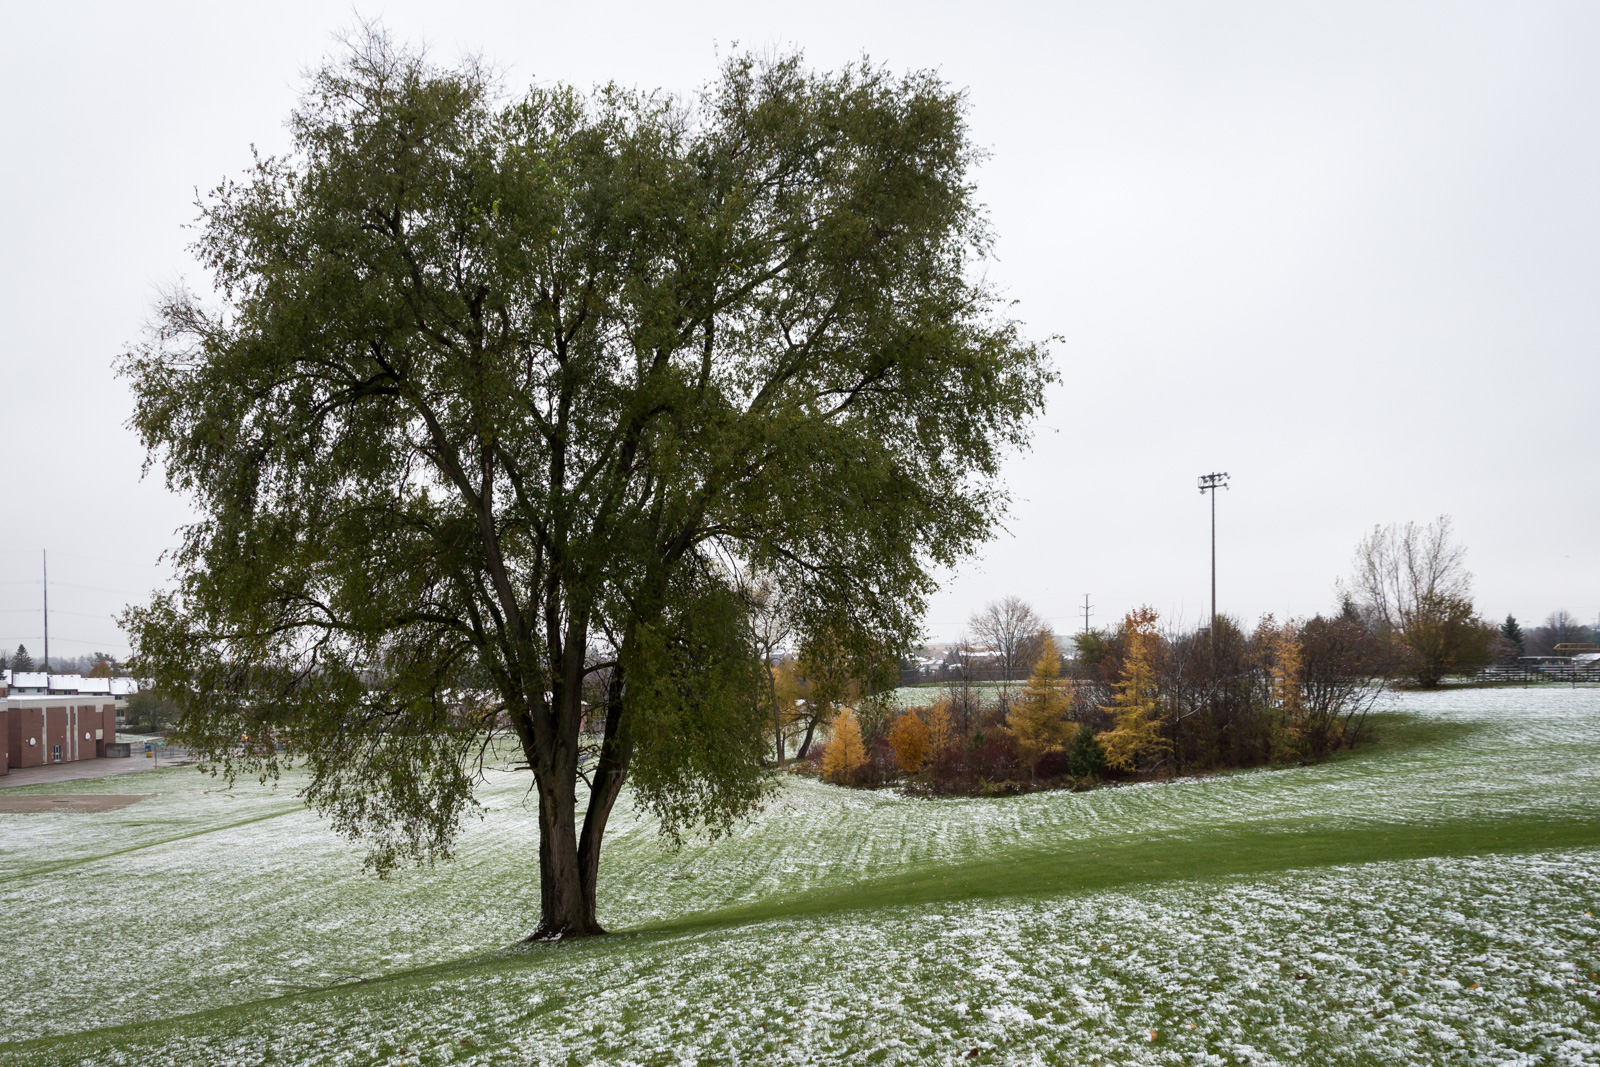
That little pond is probably 3m across. You can also see that at 10mm, I have to decide between a UV filter or a CPL filter because both are too much.

©Giliell, all rights reserved. Click for full size.
Part of my daily walk. The little green building is a water station.

©Giliell, all rights reserved. Click for full size.

©Giliell, all rights reserved. Click for full size.
One of the fun things: shooting up trees. The lens makes it look like the trunk is 100m high.

©Giliell, all rights reserved. Click for full size.

©Giliell, all rights reserved. Click for full size.
The trees are tall and narrow, but the lens adds some more.

©Giliell, all rights reserved. Click for full size.
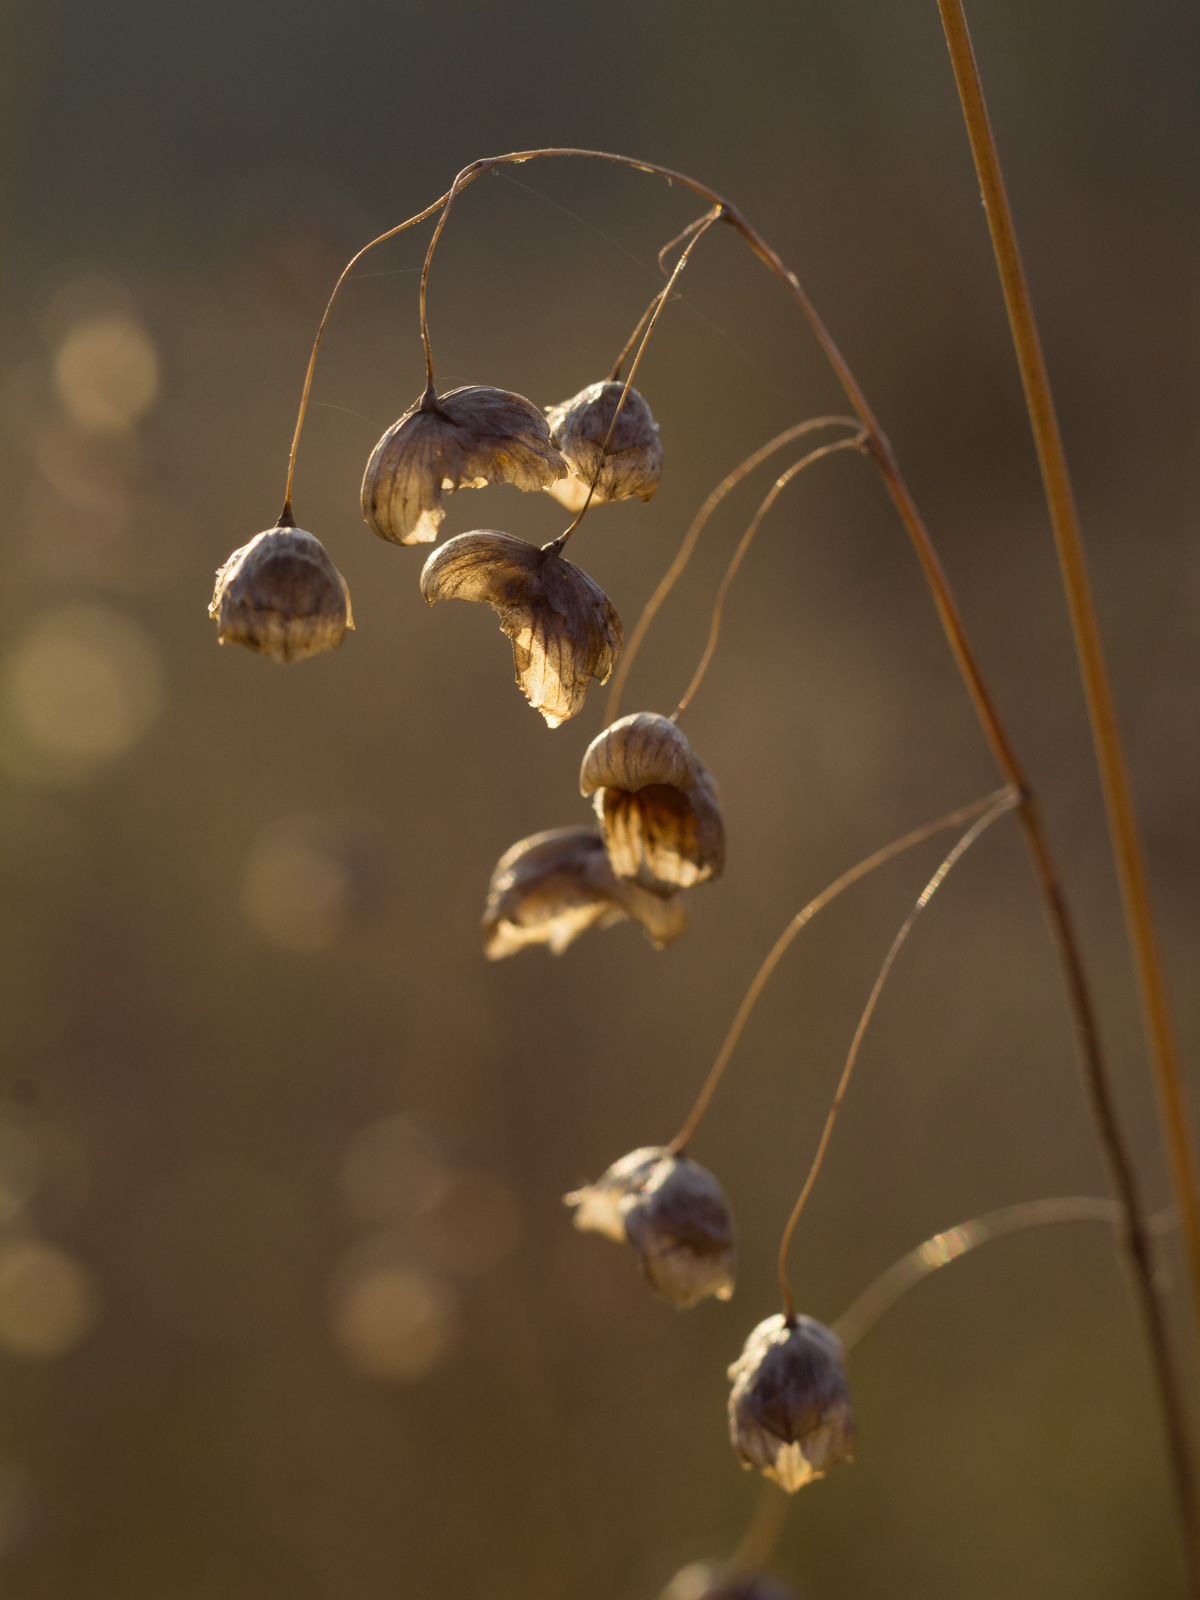
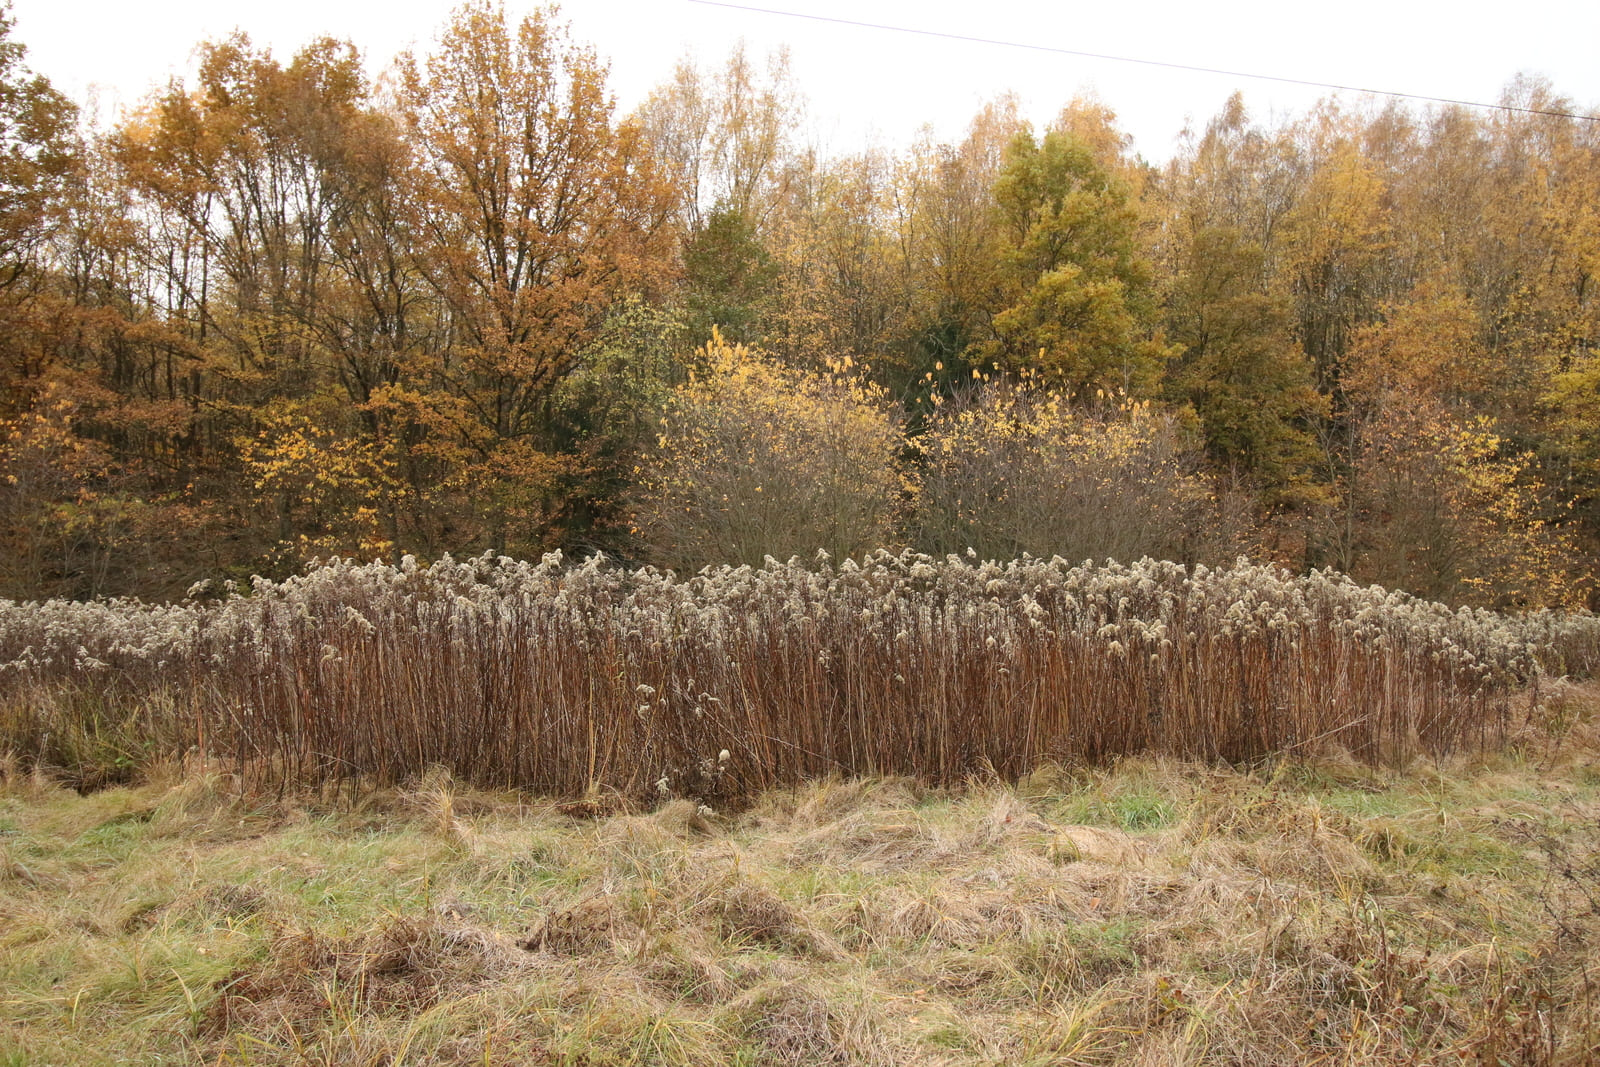
I’ve been wanting to take pictures of those cut off and dead vines for ages, but I couldn’t with my other lenses because I couldn’t move away enough. to give you an ides, this pic and the other two were taken by minimally moving the camera.

©Giliell, all rights reserved. Click for full size.

©Giliell, all rights reserved. Click for full size.
©Giliell, all rights reserved. Click for full size.
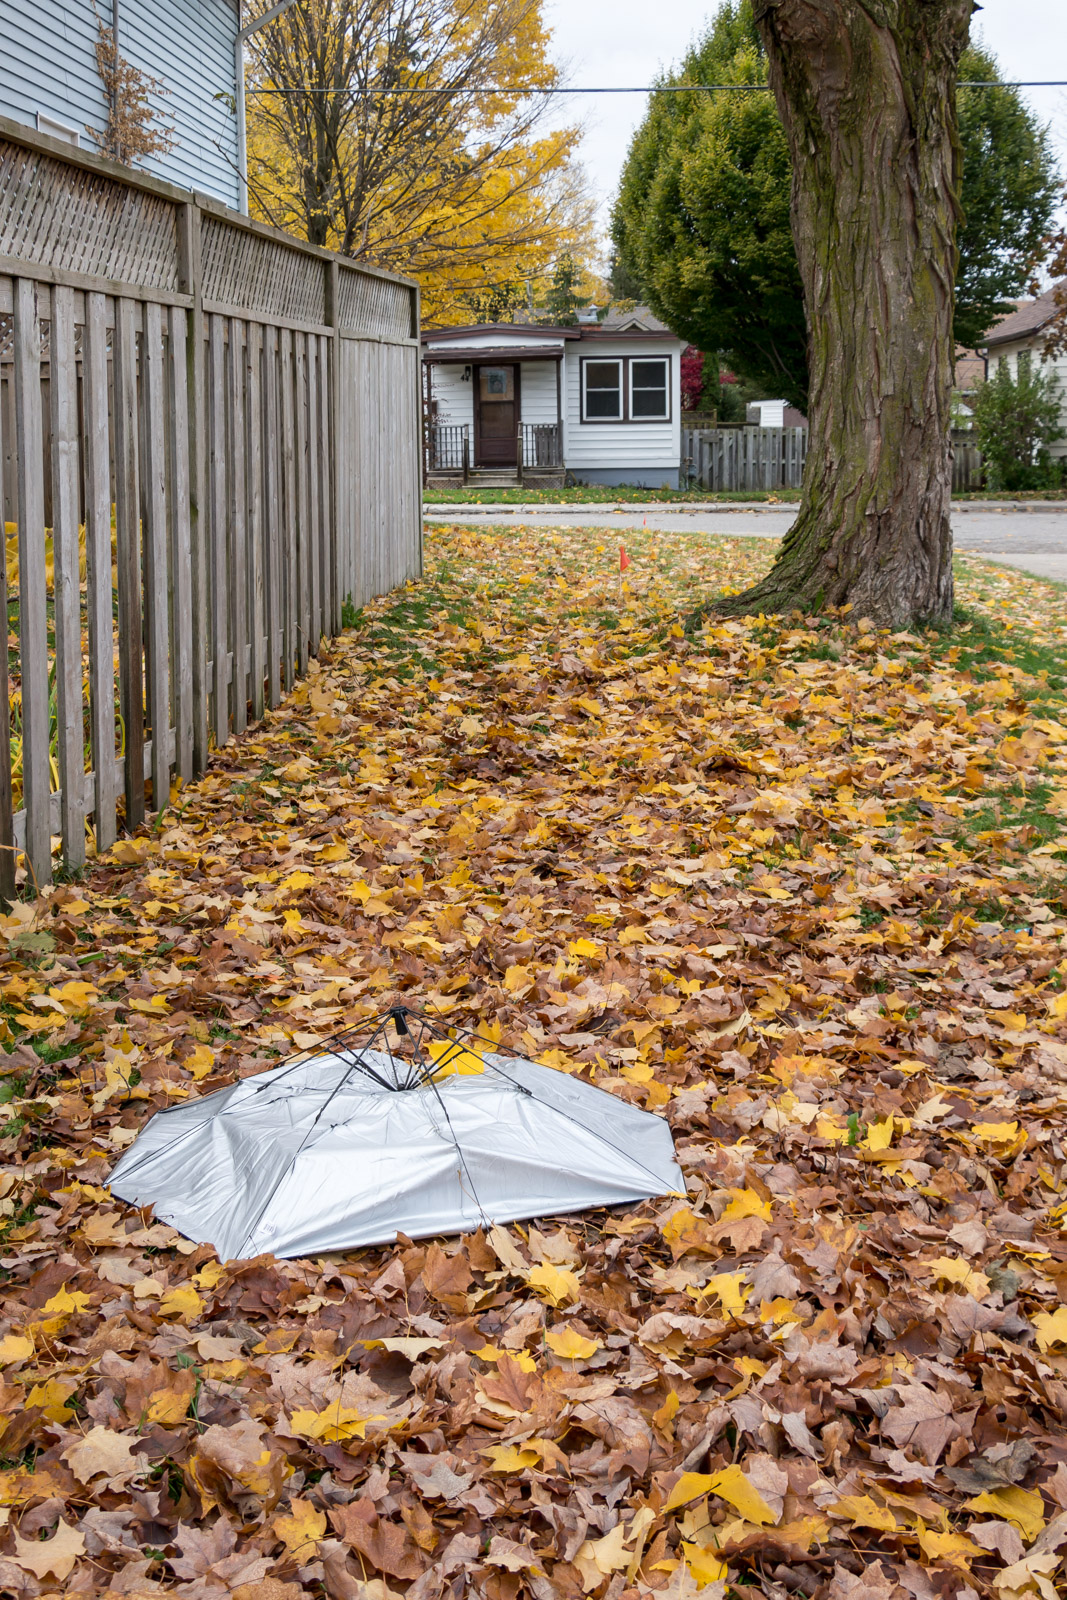
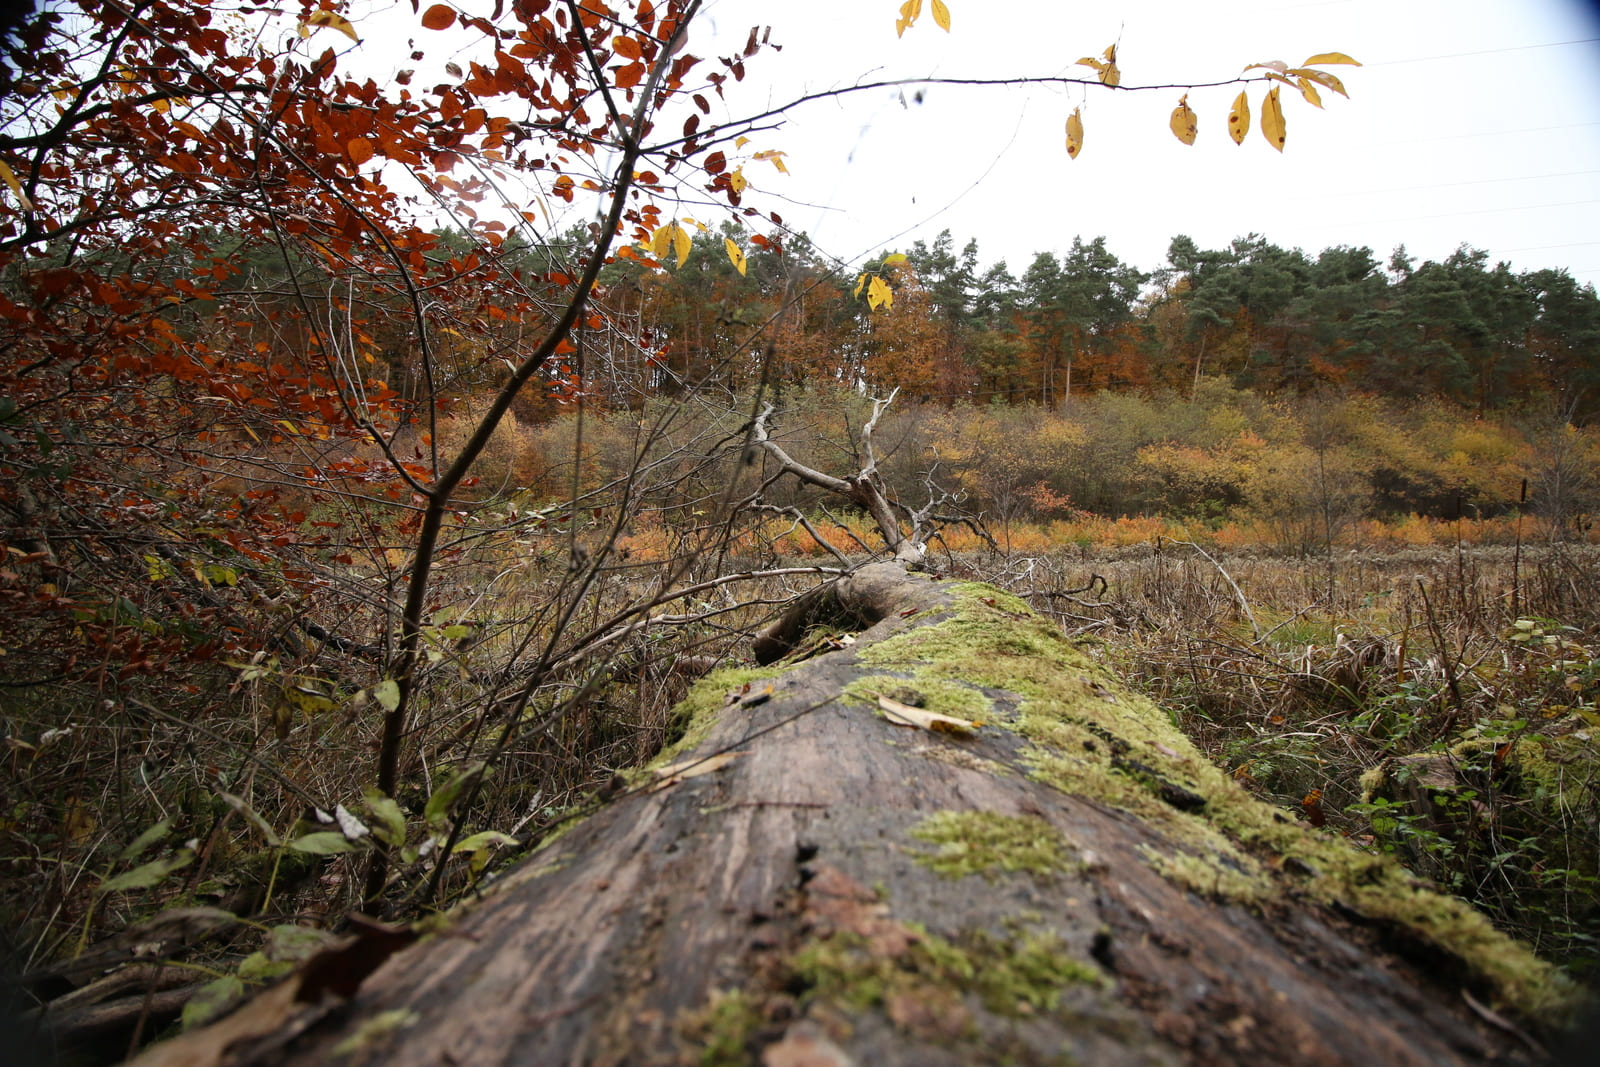
Another illusion of distance. In reality, the point where You can see the branch is about 2m from where I took the pic.

©Giliell, all rights reserved. Click for full size.
©Giliell, all rights reserved. Click for full size.

©Giliell, all rights reserved. Click for full size.
Probably my favourite one. another upshoot.