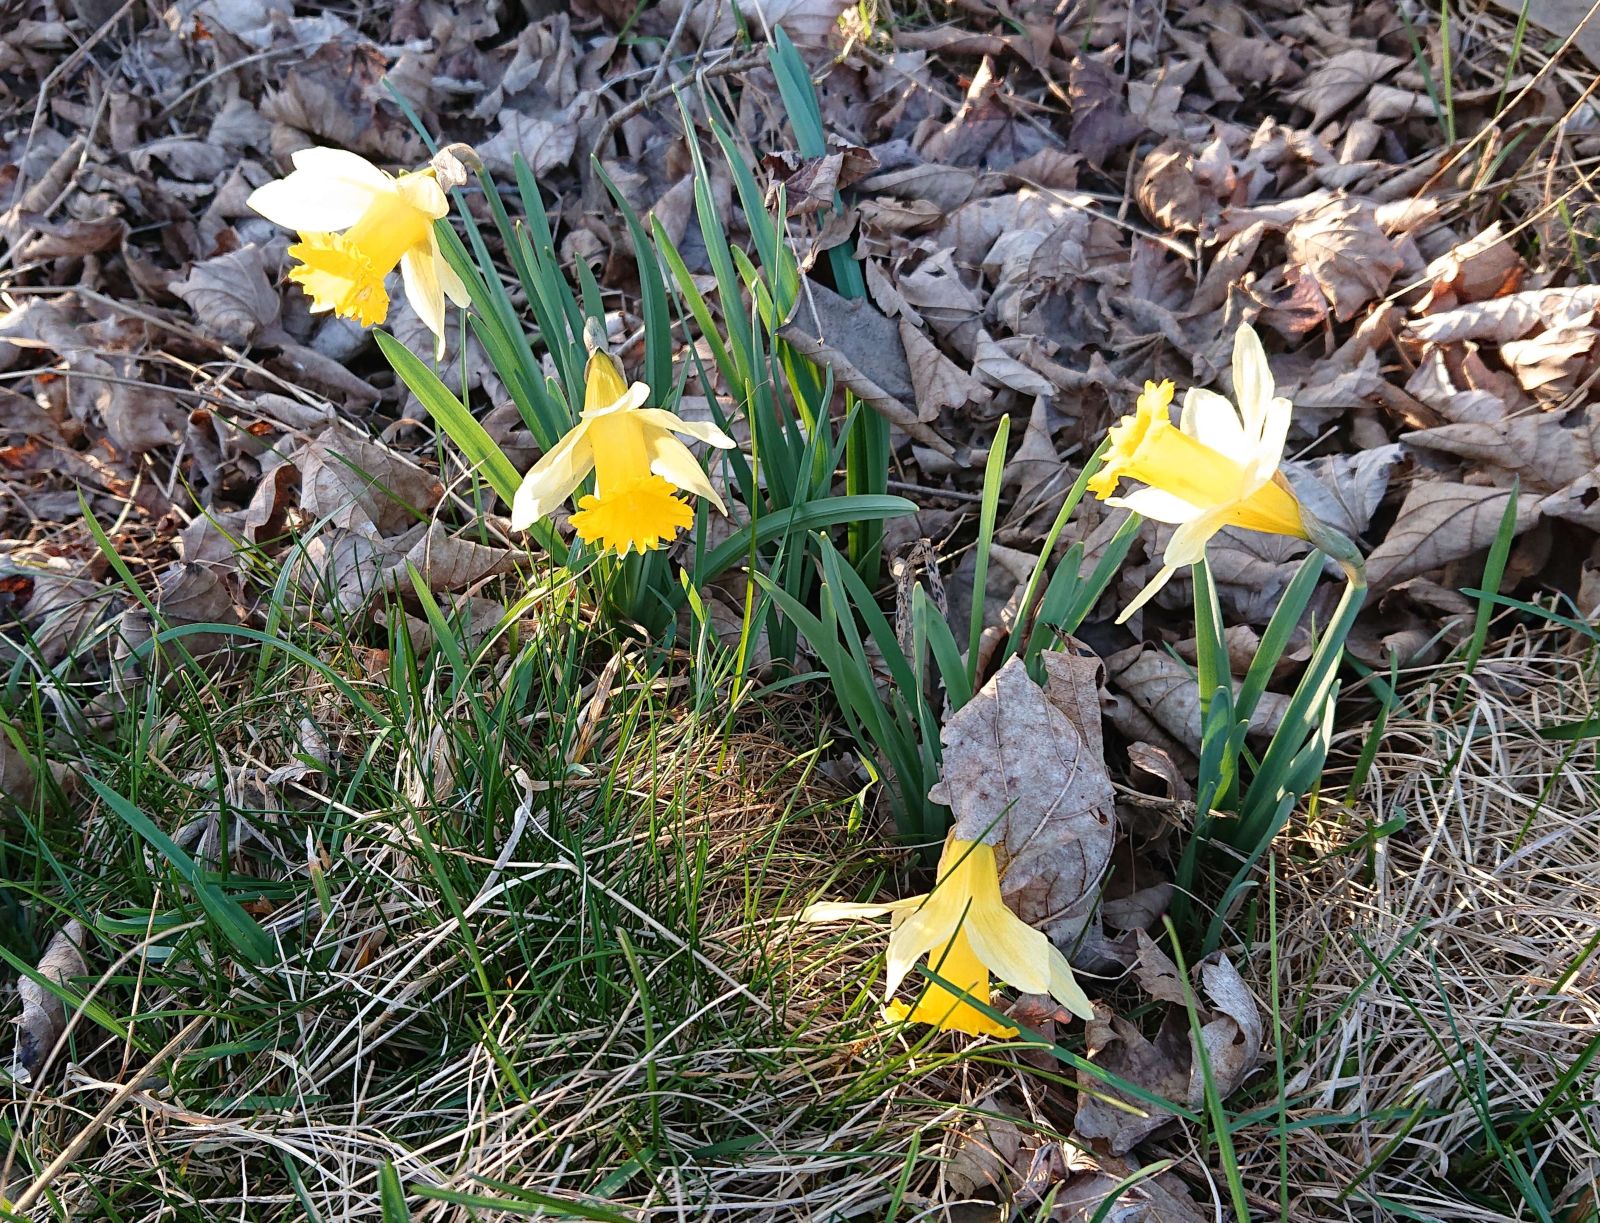
The first fruit tree started flowering – the rootstock of my plum.

© Charly, all rights reserved. Click for full size.

© Charly, all rights reserved. Click for full size.
I planted one of these separately and tried to graft the plum on it again, so I have two trees. The graft failed, but the tree continued to grow and eventually flower. I also let a second tree to freely sprout from root suckers because it was growing so vigorously that the plum itself might have problem to actually keep the roots alive. I have seen this happen to aronia grafted on mountain ash and thus I left mountain ash root suckers to grow on my aronia too and it has thus outlived other plants by about a decade by now and it still looks healthy. I do not think the old gardening wisdom of removing all suckers all the time is all that wise in this regard because trees need to have a harmony between what is above and below the ground. The voles managed to destroy some other trees by gnawing the roots faster than they can recover, and in my opinion, it is also possible for trees to die when too slow-growing graft is put on to vigorous stock. It is just my opinion based on my personal experience; I am not aware of any studies on the subject. I do not think one is forthcoming because it would take several decades of dozens of trees to be grown in the same environment and meticulously documenting all outputs. Which won’t happen, it would take too long for even a post-graduate researcher to see the fruits (no pun intended) of their labor.
I actually like the flowers of the rootstock and it is a shame that while it flowers extensively, there is very little fruit on it. Because although the fruit is more stone than flesh, it is actually very tasty. I like the flowers anyway and not everything in the garden needs to be useful to me directly. Although I would argue that providing early food to polinators actually is useful to me down the line.
© Charly, all rights reserved. Click for full size.
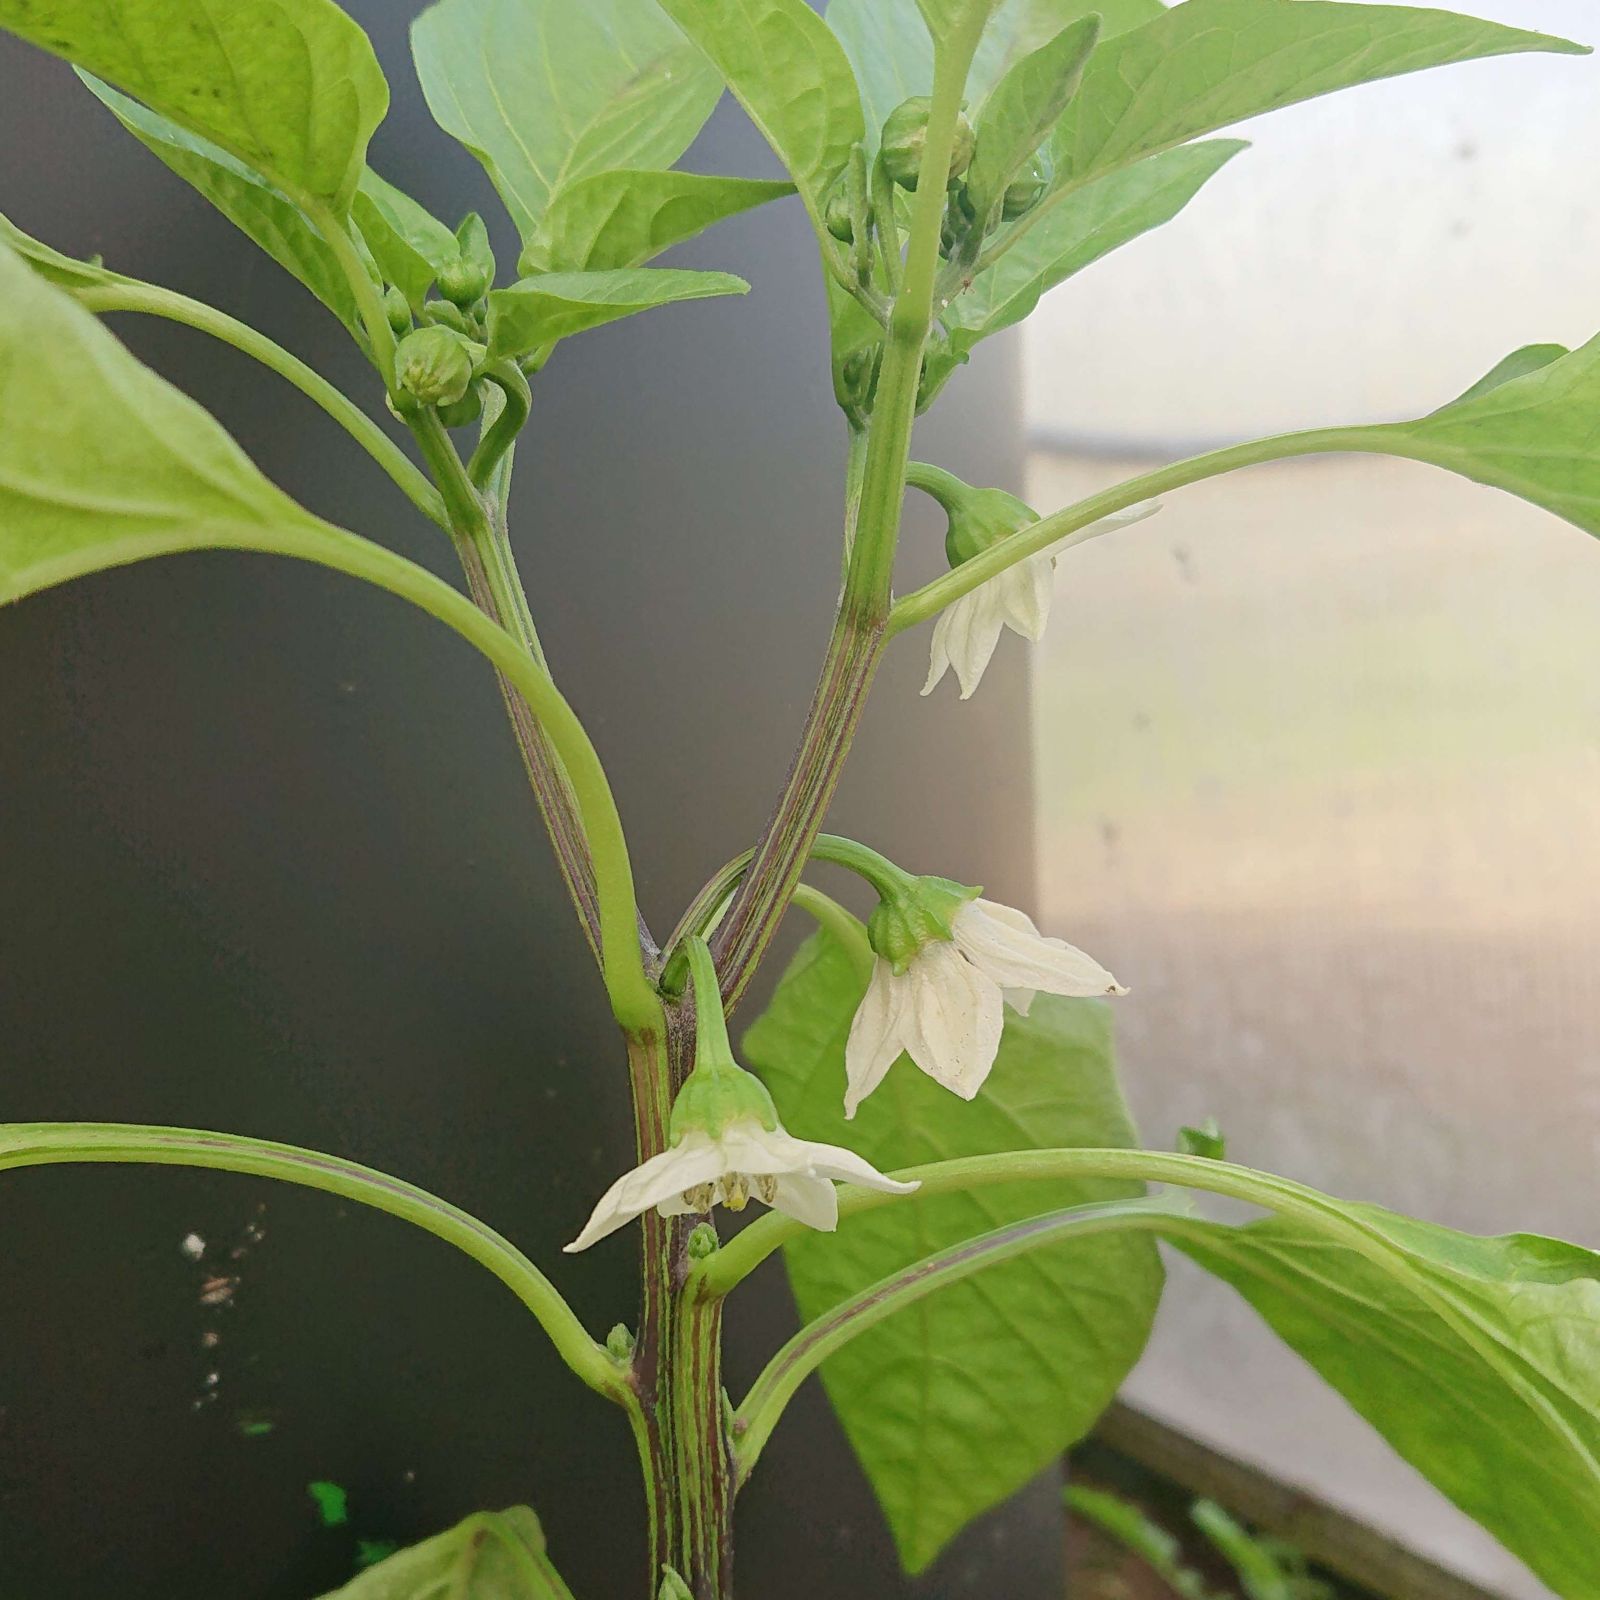
I put the bell peppers in the greenhouse, but I have not planted them in the ground yet. A bout of frost still can hit us, and I want to be able to move them indoors in case that happens. Nevertheless, the plants are apparently doing well because they have started to flower. I had played a bee with a fine brush because it was still too early for actual bees to get into the greenhouse, even if I left the door open. Which I do not do now, it is often still too cold.
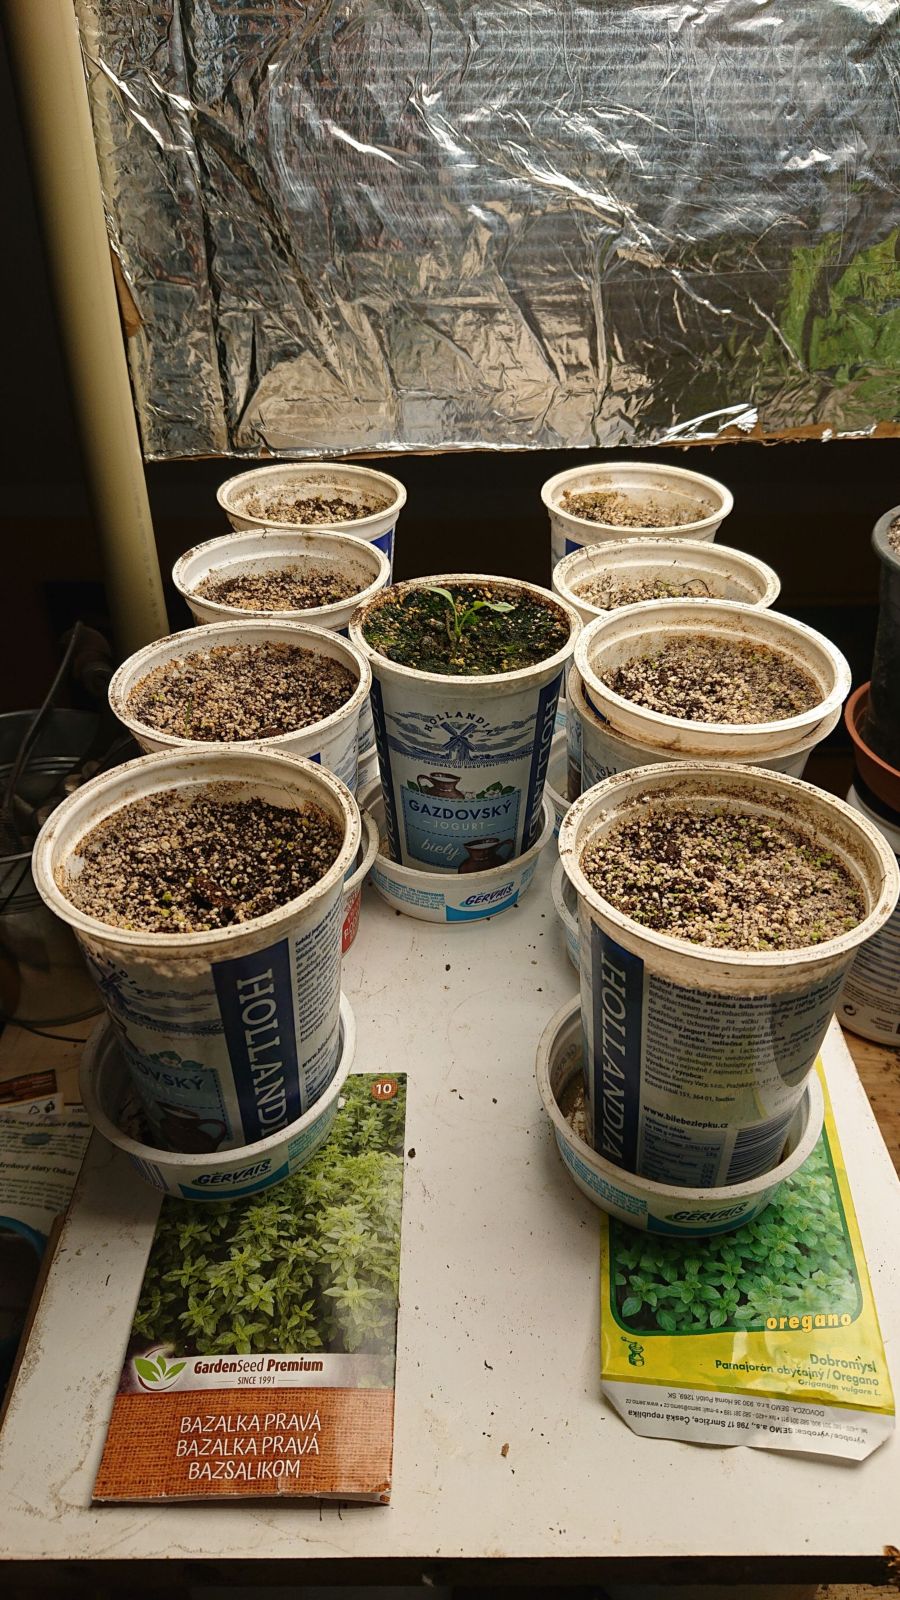
I also re-potted basil and oregano into individual pots, 21 plants of each. The jury is still out on whether they survive and if I manage to grow a sufficient supply of my favourite spices.
© Charly, all rights reserved. Click for full size.
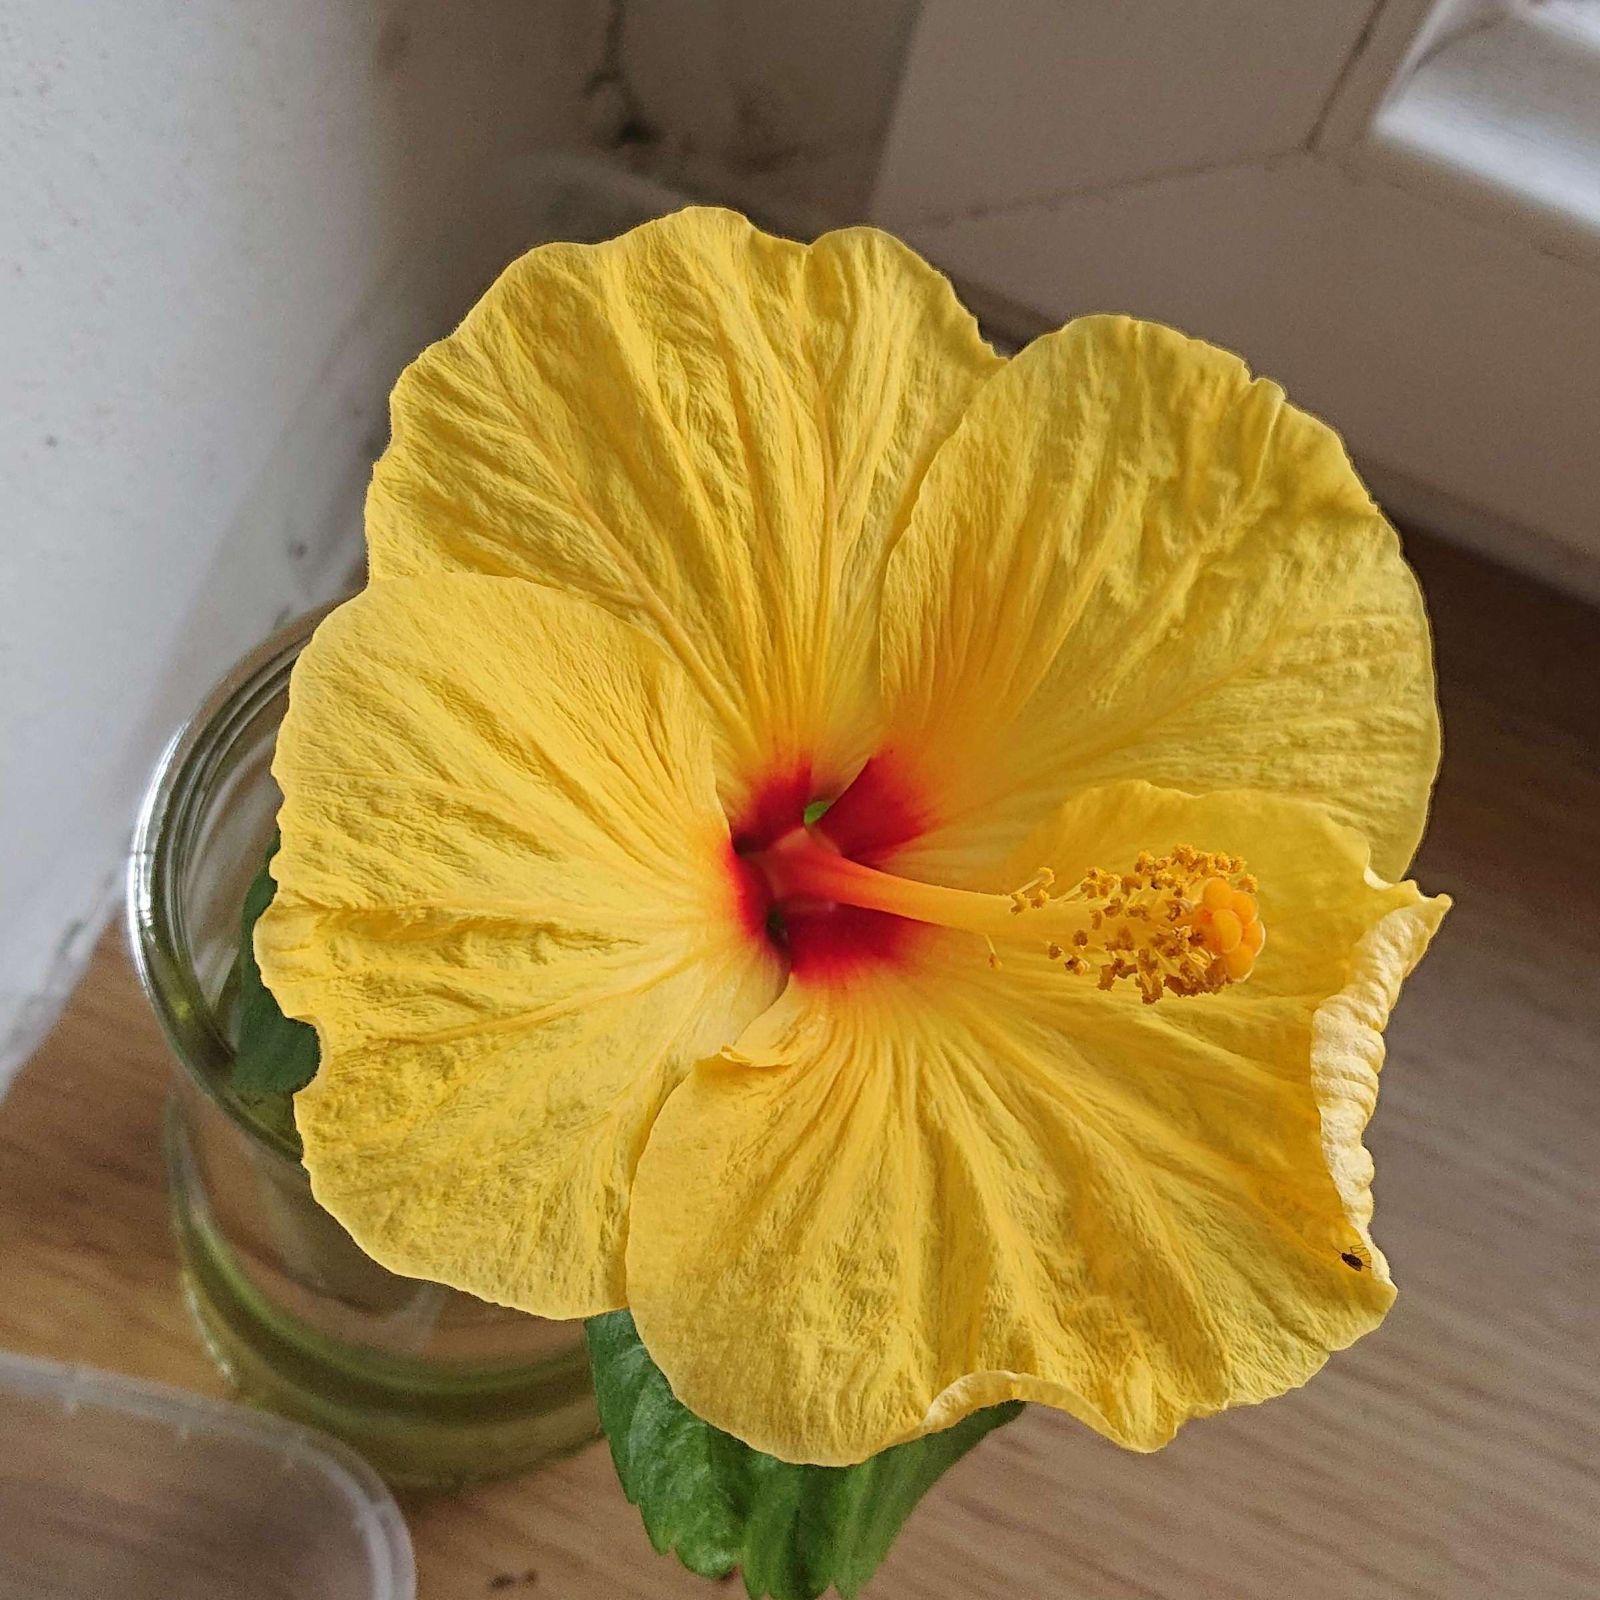
And the last flower is on a cutting of a hibiscus that my mother put in a glass of water. Normally, these cuttings drop the flower buds, but this one did not. There won’t be any use out of this, and it is not, strictly speaking, gardening-related. I include it because I think it is beautiful.