Avalus recently found an adorable tiny spider while out for a walk and luckily he had his camera at hand. You can see his wonderful photo below the fold. [Read more…]
Avalus recently found an adorable tiny spider while out for a walk and luckily he had his camera at hand. You can see his wonderful photo below the fold. [Read more…]
It’s jacaranda season and Los Angeles is abloom.

48 flowering jacaranda trees stretch from Colorado St. to San Fernando Rd. along Brand Blvd. in Glendale on Monday, May 25, 2020. (Photo by Dean Musgrove, Los Angeles Daily News/SCNG)
story via: The LA Times
With the kids back to school, me and Mr back to work, more masks are needed. After all, neither me nor Mr. have any intention of washing a handful of masks each night. The following are the most exciting. Usually for the patterned fabric there’s 2 or three more without any embellishments. Thanks to our panda for modelling. She doesn’t need any masks of her own but thinks they look cool.
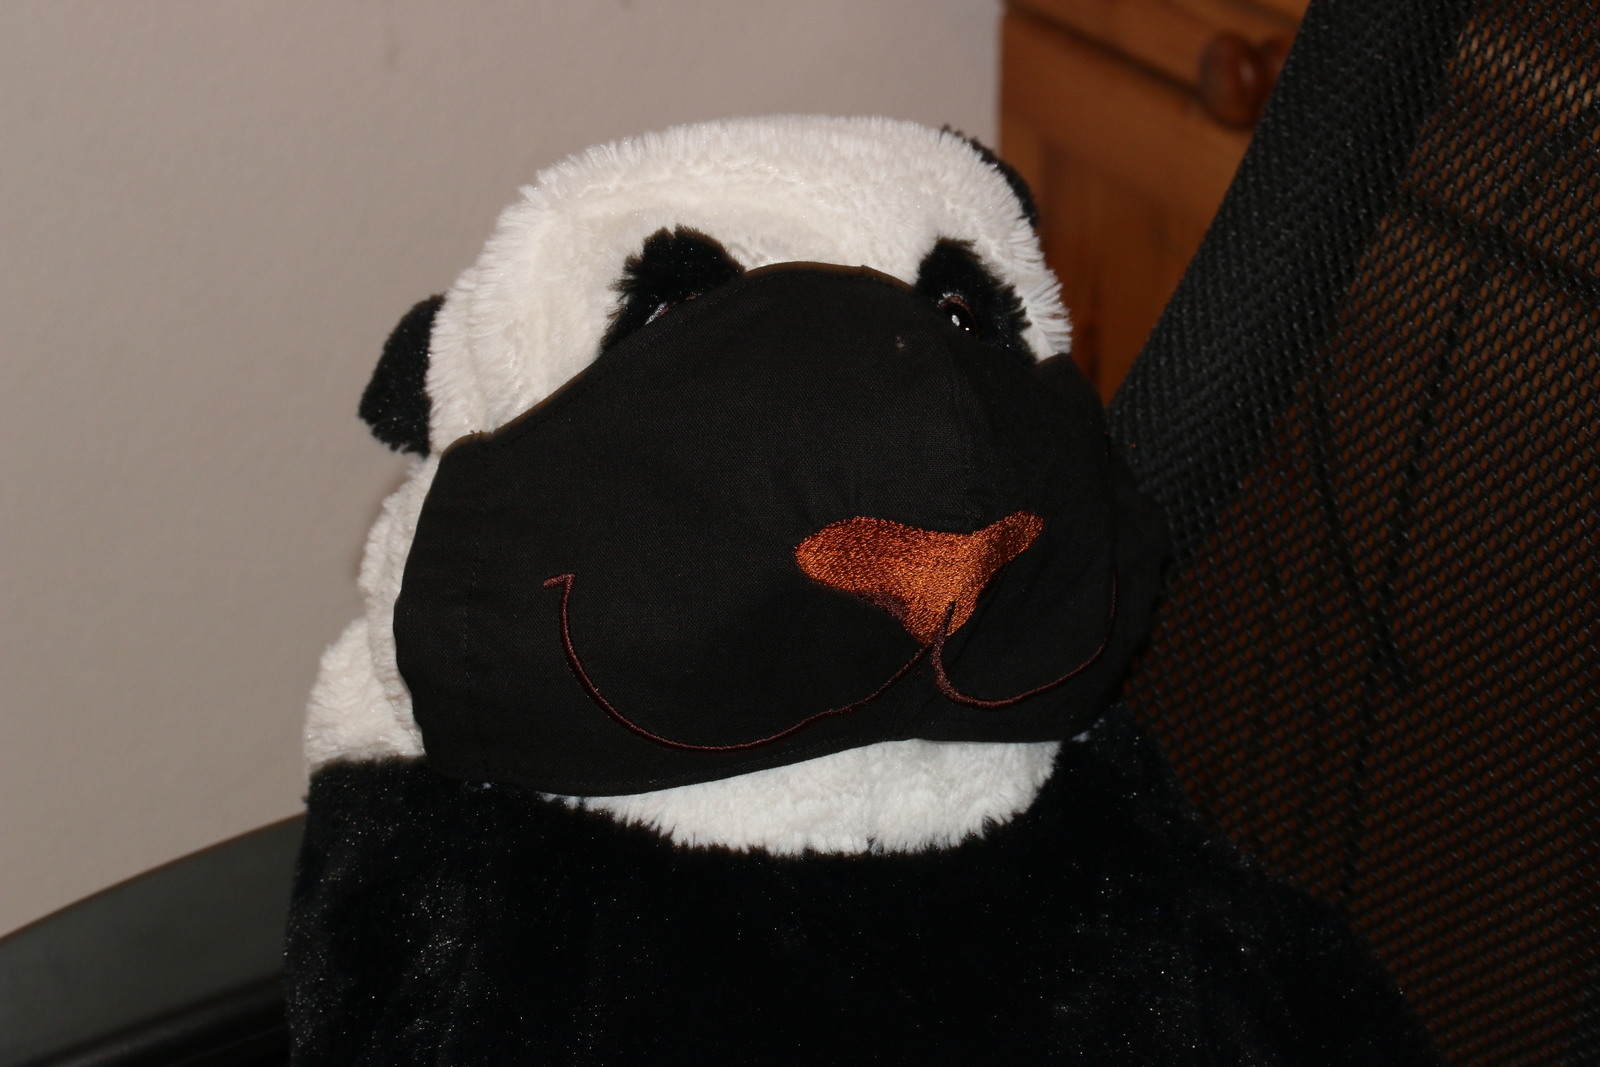
©Giliell, all rights reserved
More under the fold.
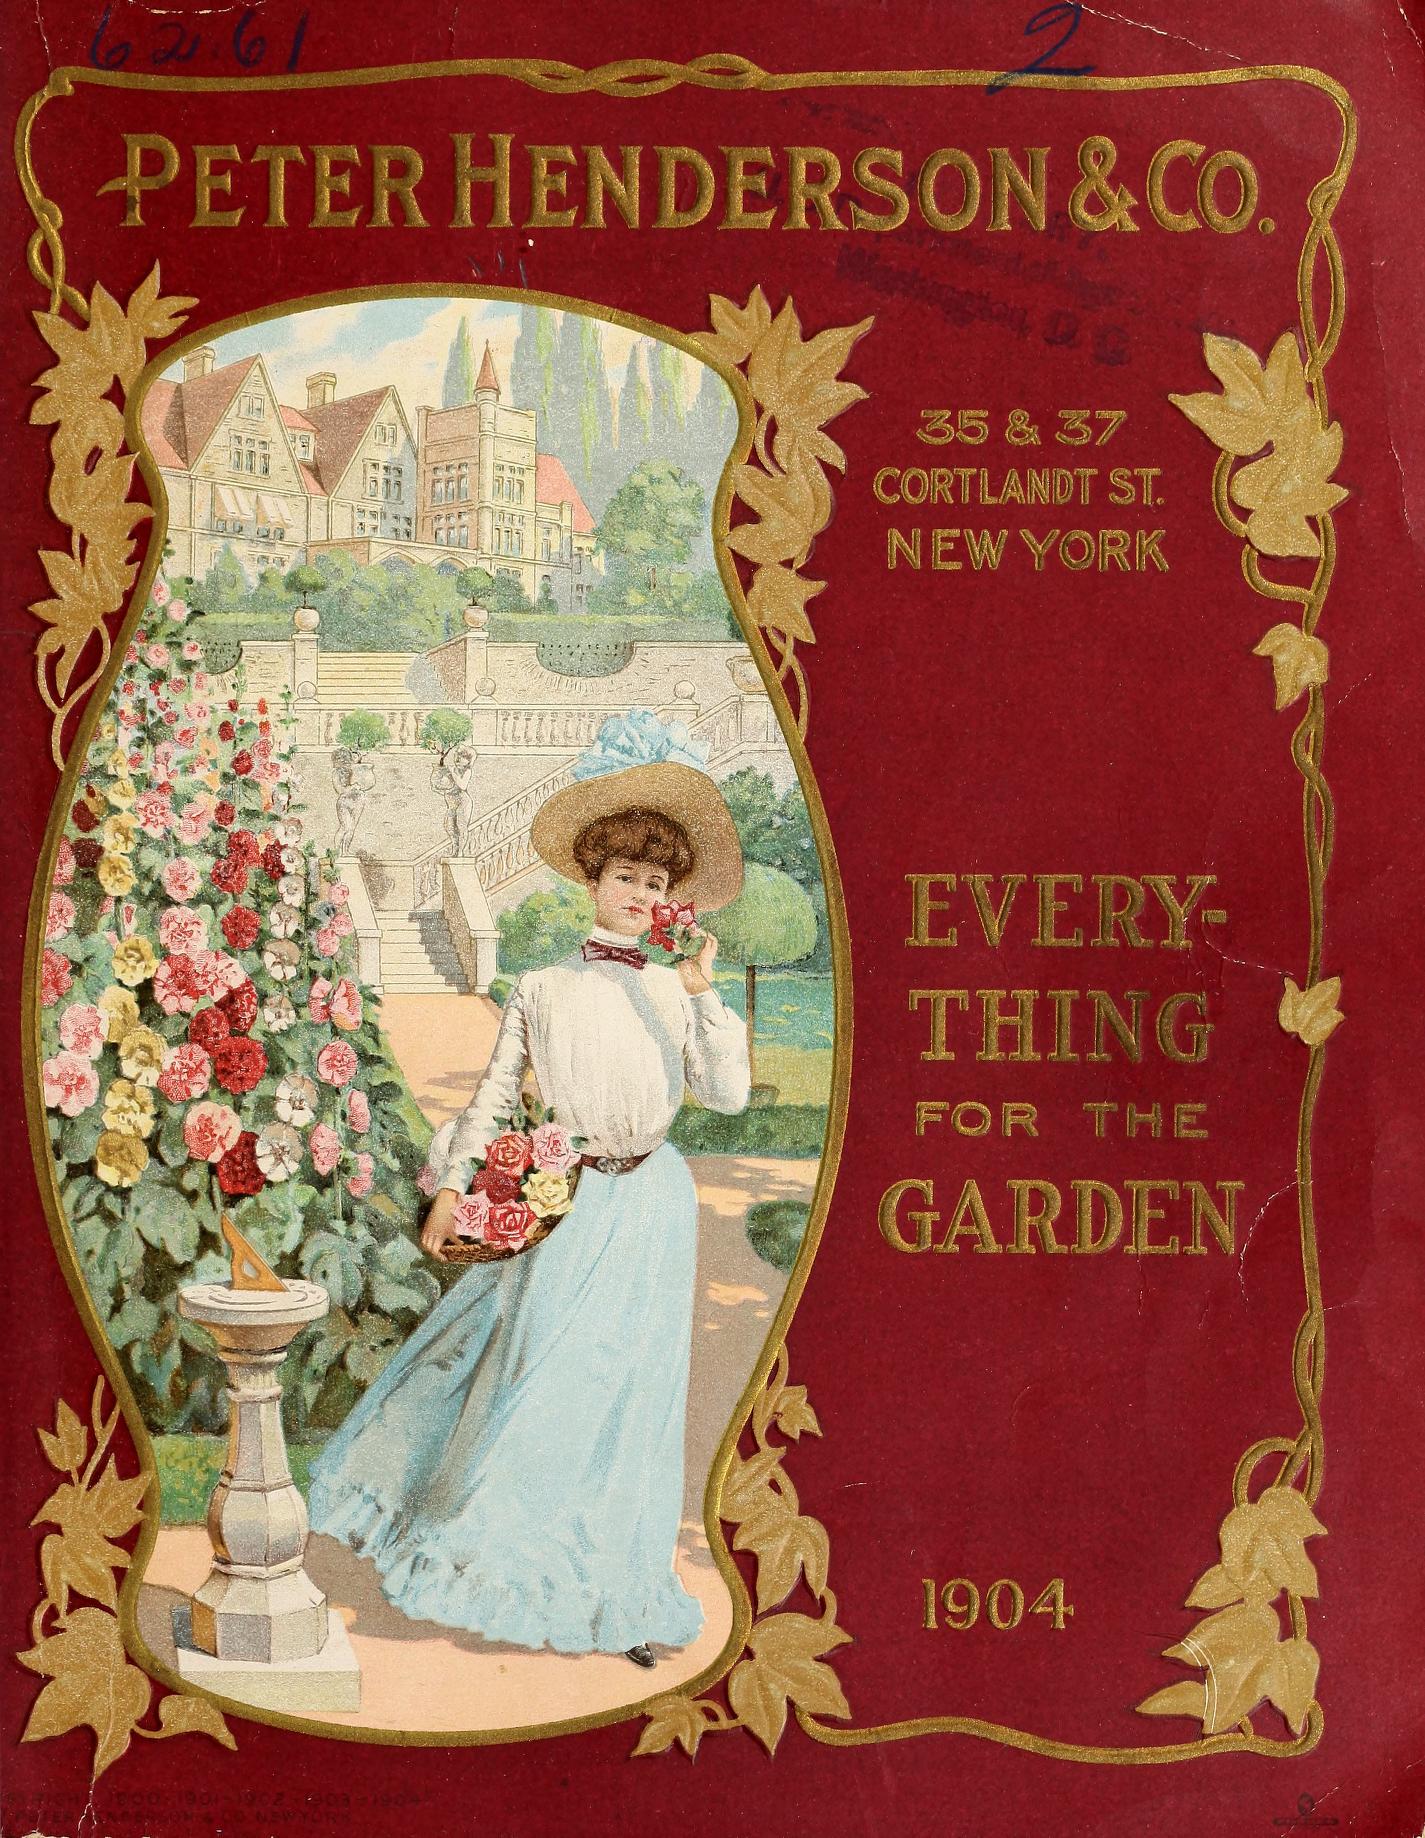
Everything for the Garde, Peter Henderson and Co., 1904 catalogue (front cover)

Everything for the Garde, Peter Henderson and Co., 1904 catalogue (back cover)
This is a beautiful catalogue with many delightful full-page coloured illustrations. You can see the whole thing at the link below.
via: The Internet Archive
From Nightjar,
Just sharing a couple of cirl buntings I’ve been seeing regularly around here.

Cirl Bunting (female), ©Nightjar, all rights reserved

Cirl Bunting (male), ©Nightjar, all rights reserved
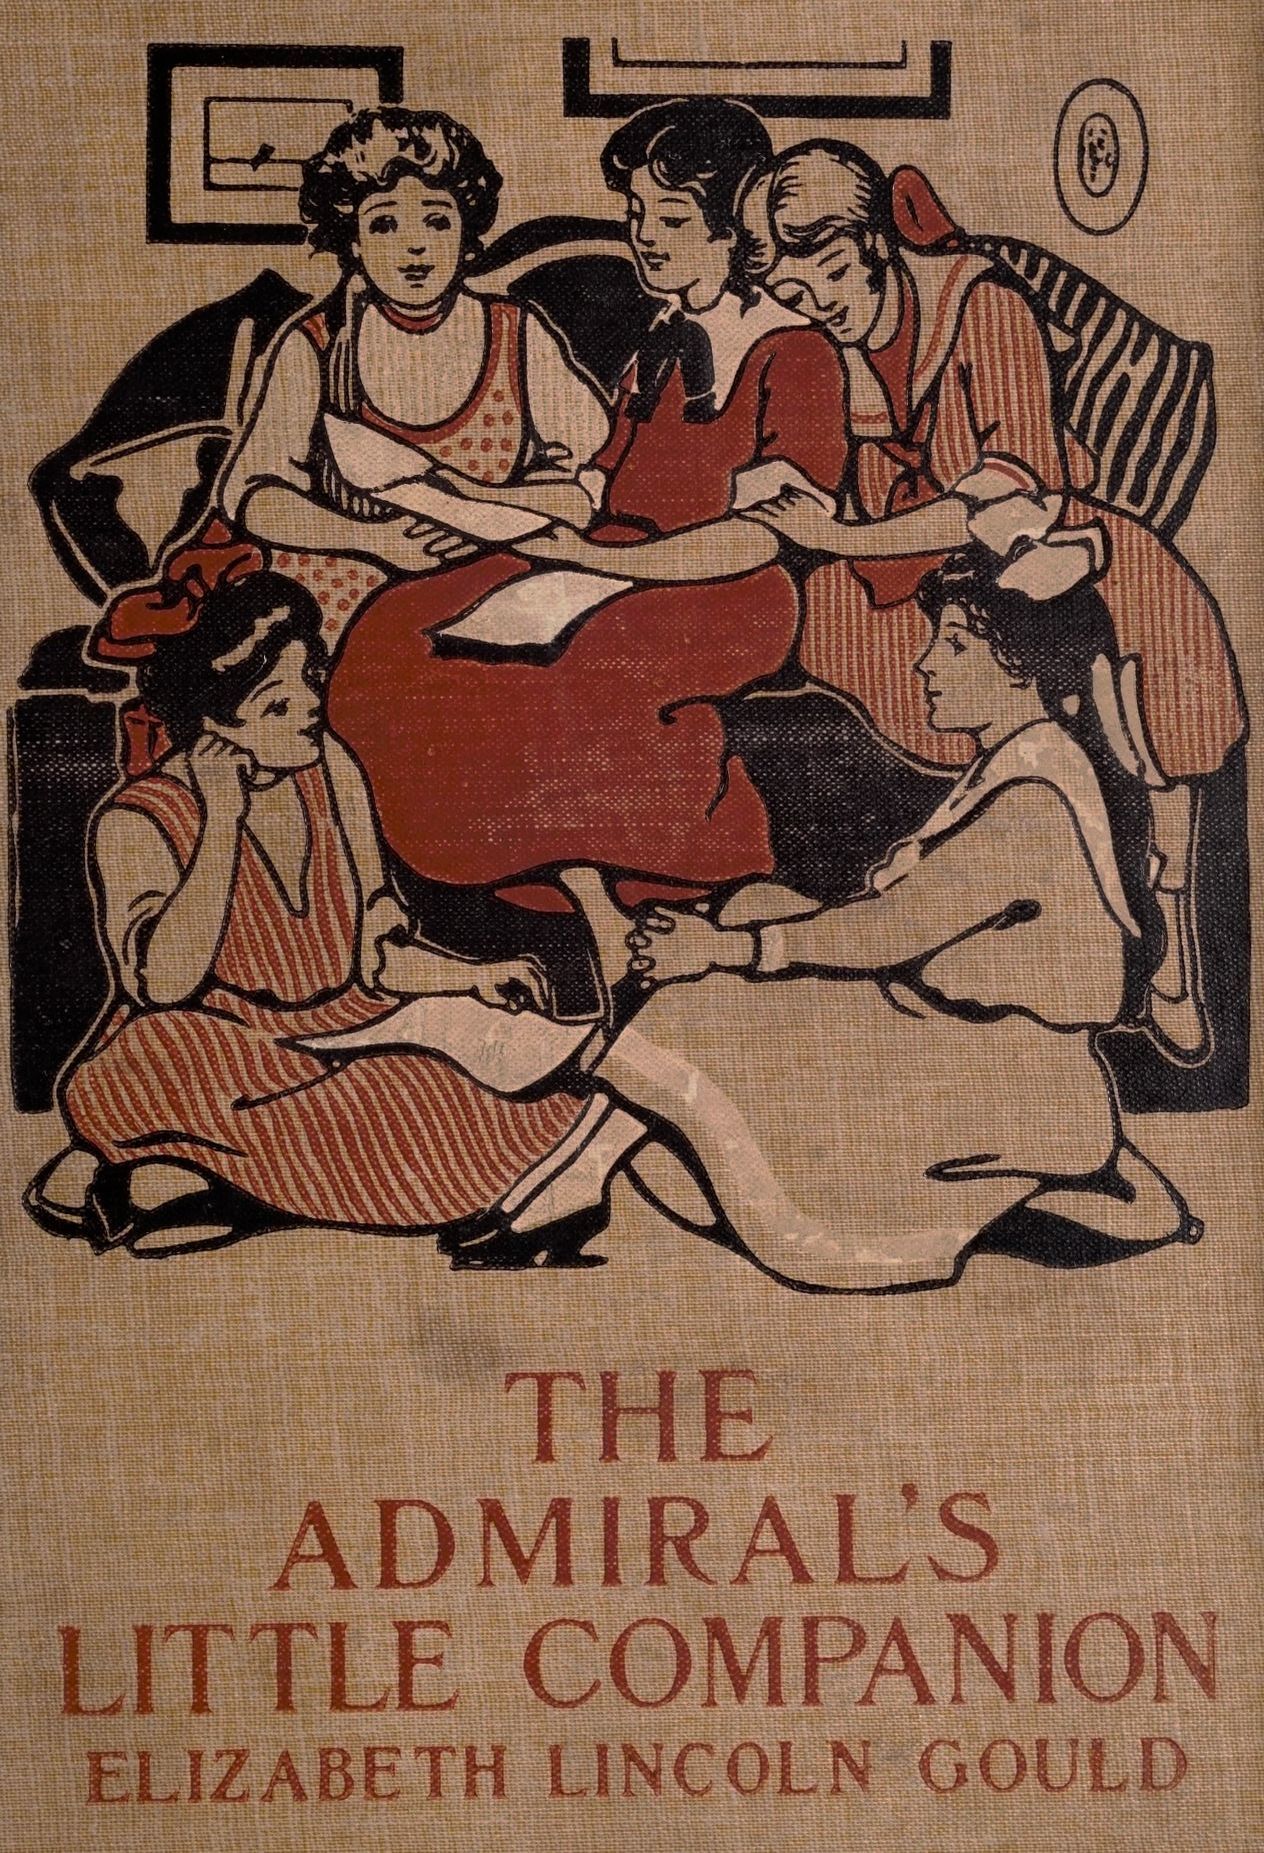
Elizabeth Lincoln Gould. The Admiral’s Little Companion. Philadelphia, The Penn publishing company, 1912.
These are my recollections of a life behind the iron curtain. I do not aim to give a perfect and objective evaluation of anything but to share my personal experiences and memories. It will explain why I just cannot get misty-eyed over some ideas on the political left and why I loathe many ideas on the right.
At school we were constantly reminded that we are living in a socialist country that takes great care of its people, and where everything belongs to everybody. However, one of my schoolmates has once said “If you read the definition of socialism in a dictionary, you realize we are not actually living in socialism”. Which is a pretty deep insight for someone under thirteen. But was he right?
The blaring of propaganda was constant, overt as well as covert, and it all was poised to inform us about all the ills the societies to the west of us suffer (most of which were, even in hindsight, spot-on) and all the wondrous technological and social advancements that the USSR has made over its competitors (which were, in hindsight, grossly oversold). But the system never got rid of several things that it has criticized. Like private property and money-based economics. Which has left it with the pesky problem of ownership of the means of productions, which I have addressed partially in the past. I have seen this named “state-run capitalism” in comments on FtB, which is a term that I have always found a bit peculiar.
And this was the base of my schoolmate’s argument. The people do not own the means of production, the state does. The people do not have a say in how the fruits of their labor get distributed and used, the communist party does that. And thus the society is not truly socialist and equal, because there are still social strata, only not divided by the personal wealth, but by the status within the ruling party structure. After which this stratification got, of course, cemented by personal wealth too, since the party top brass were not too shy about accruing for themselves a bigger piece of the pie than the rest has got, as it always happens.
But did this make the country “not socialist”? I personally do not think so. It was still definitively a state whose policies were leftist and, at least on paper, aimed at the common good. But the peons were expected to shut up and work their asses off for their masters under the guise of working for the greater good, with the promise that the socialist paradise is just around the corner, if not for them, then for their children for sure. And its arrival was postponed for nearly two generations before the system finally collapsed. Any and all actual progress, both social and technological, was made only extremely slowly, because every criticism implying that the current course is perhaps not ideal, however mildly stated, could have dire consequences for the person making it.
The people have learned this lesson the hard way before I was even thought of, in spring 1968. That year the Czechoslovak communist party underwent a widely popular reform and started “Socialism with human face” politics, which has kept the socialist part of the party agenda but has intended to make away with authoritarianism. The USSR did not like it and invaded us. The top czechoslovak politicians were forced to sign a treaty literally at gunpoint and that was the end of any and all attempts at making their version of socialism viable in the long term. Because the “socialism” was not what was problematic with the regime’s politics, the “authoritarianism” was.
But since those two were (and arguably still are) inseparable in the minds of the communist parties of greatest socialist states in history, it is no wonder they are inseparable in many people’s minds both in the west and east to this very day too. Thus the leftist politics of the sixties has built an invisible iron curtain in our colective consciousness between socialism and freedom. And tearing that one down seems more difficult than the real one.
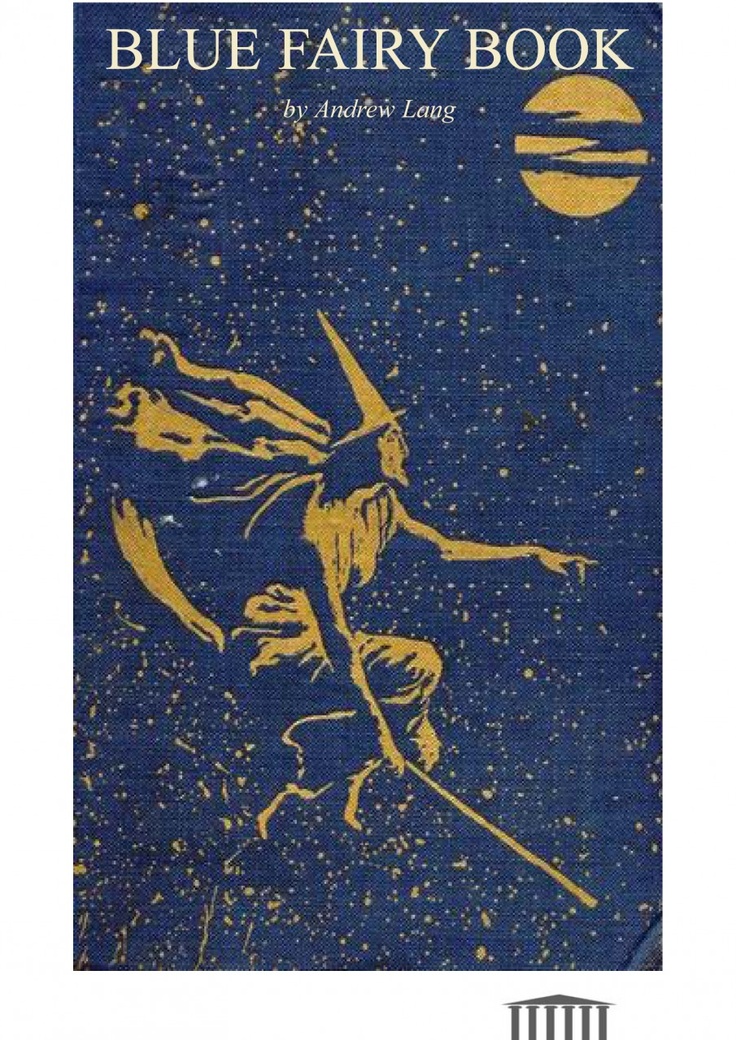
Andrew Lang. The Blue Fairy Book. Illustrations by H.J. Ford. New York, Longmans, Green and Co., 1889.
This book was originally published in 1889, however, I have added the coloured frontispiece from the 1922 edition to this post. I did so because the illustration is the work of Henry J. Ford, who masterminded the art for the entire original Lang coloured fairy tale set. Otherwise, the 1889 edition contains more stories and illustrations than the edition from 1922.
I did not include this step in the time measurement last time, and neither will I do so this time. It is about 10-15 minutes per blade and the only way to reduce that time would be to forgo it completely. If I only signed the blades with my logo, I would have made a significant improvement actually, but since I have decided to number them too, I am back to square one time-vise.
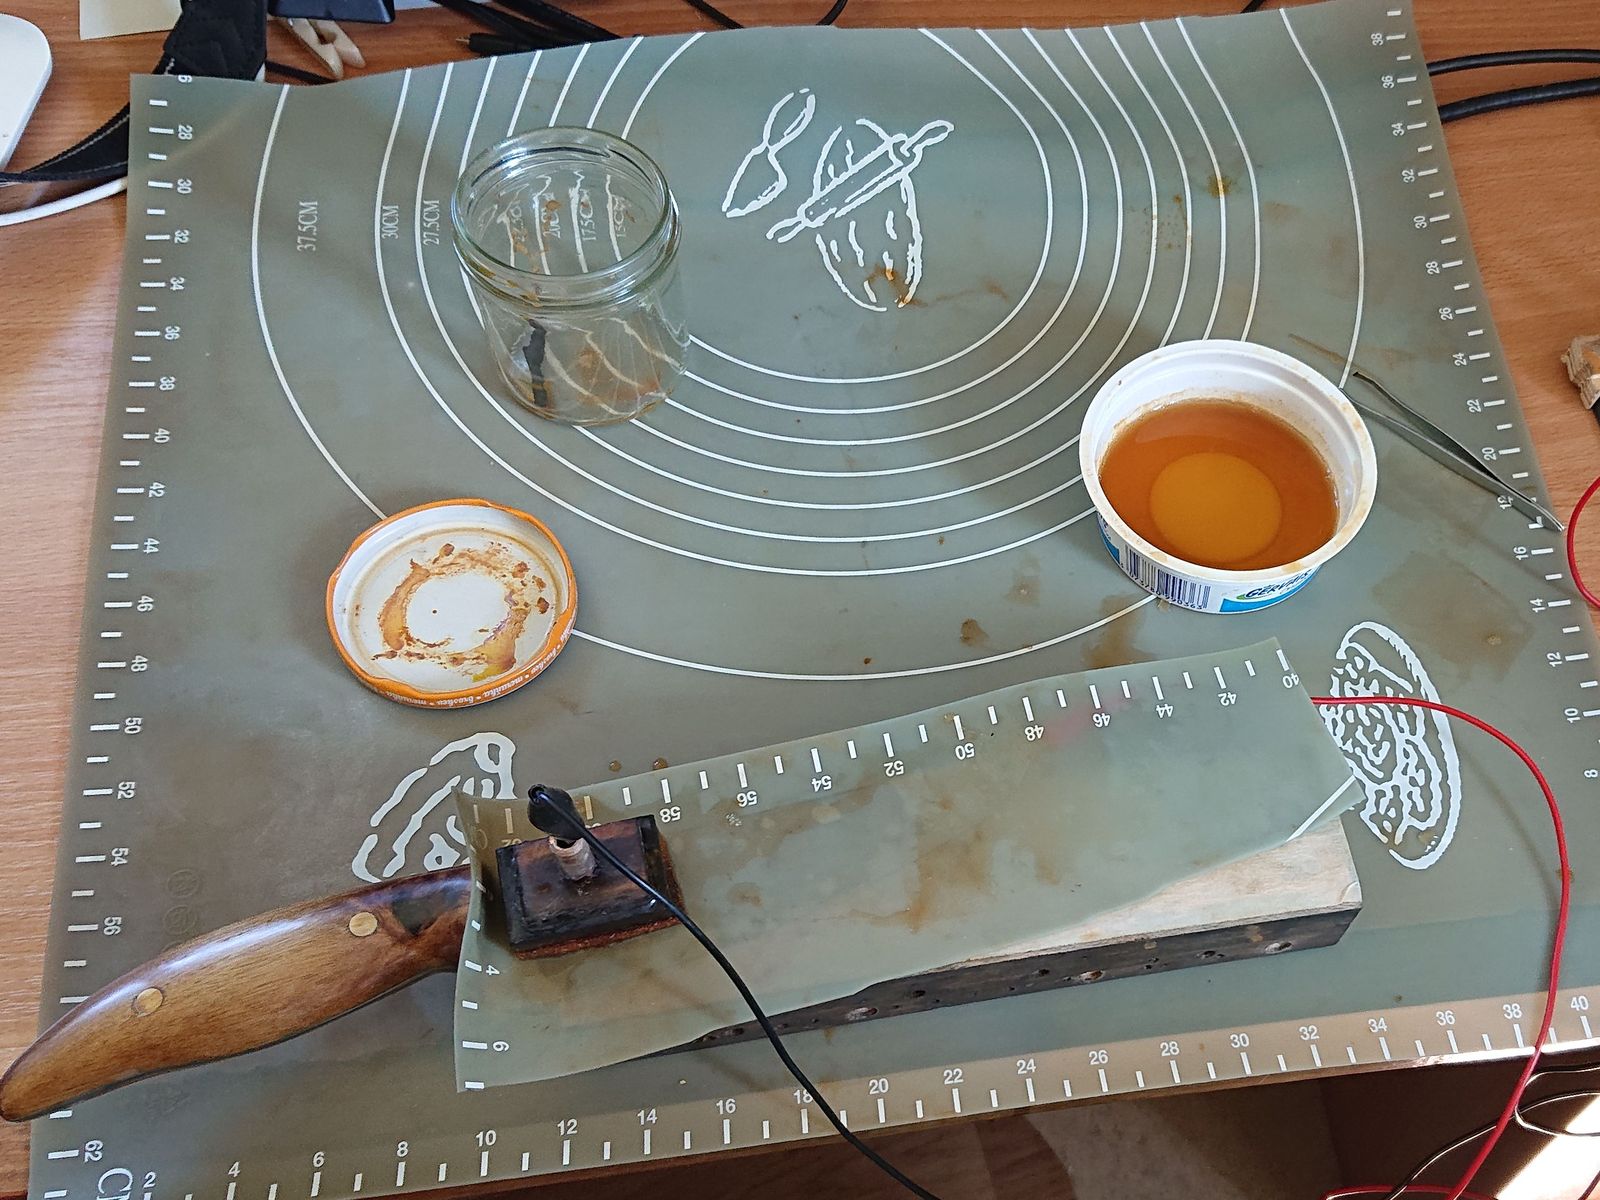
I wrote about my logo design in the Rondel Dagger series. At that time it was meant to be maybe only a one-time action, but the design has grown on me and I have decided to adopt it as my new maker’s mark for all my wood and metal projects. When working on my first commission, I have built myself a specialized etching electrode that allows me to etch the logo without having to mask the whole blade, prepare big solution baths or construct complicated barriers holding the etching solution in place.
This time around I have further improved on this and for the logo etching itself I have built myself a new stencil, since cutting the logo in adhesive tape each and every time leads to inconsistent results and is time-consuming. I tried to get my hands on photosensitive foil to make a stencil, but I was unable to find any seller in CZ offering one that is not for copper. And then I realized that my mother has an old silicone kitchen pad that she never uses, so I asked if I can destroy it in the name of science. She said yes, so I took it and I cut my logo in a strip cut out of it with a scalpel. It is water repellent, so the etching solution did not want to get in there, but a drop of dish detergent in the etching solution has solved (ahem) that problem.

© Charly, all rights reserved. Click for full size.
However, another problem persisted. Etching stainless steel works differently than etching carbon steel. When etching carbon steel with FeCl3 solution, all you need to do after the etch is to let the solution sit for a few seconds and it turns the inside of the etch black with oxides. For stainless steel this does not happen. You need to change the polarity of the electrodes to deposit a layer of black oxide on stainless steel. In order to do so I had to remove the crocodile clips and switch them between the blade and the electrode several times, which was onerous and annoying.

© Charly, all rights reserved. Click for full size.
I have performed tests on the piece of blade that I nearly ground through, and here you can see the results of various etching parameters. On the left, the two etchings are with five minutes of etching time, which was needlessly long and has led to etching the surrounding area under the stencil too. I found out that one minute is more than enough for this logo and those are the two upper logos in the middle. And as you can see, they are grey, not black, because I did not change the polarity. All the other etches are various iterations of me playing with the polarity and whatnot.
After this experiment I have spent a fruitful afternoon cursing in the workshop building this highly sophistimacated tool from a scrap of plywood, brass sheet metal, copper wire, and some left-overs of speaker cables.
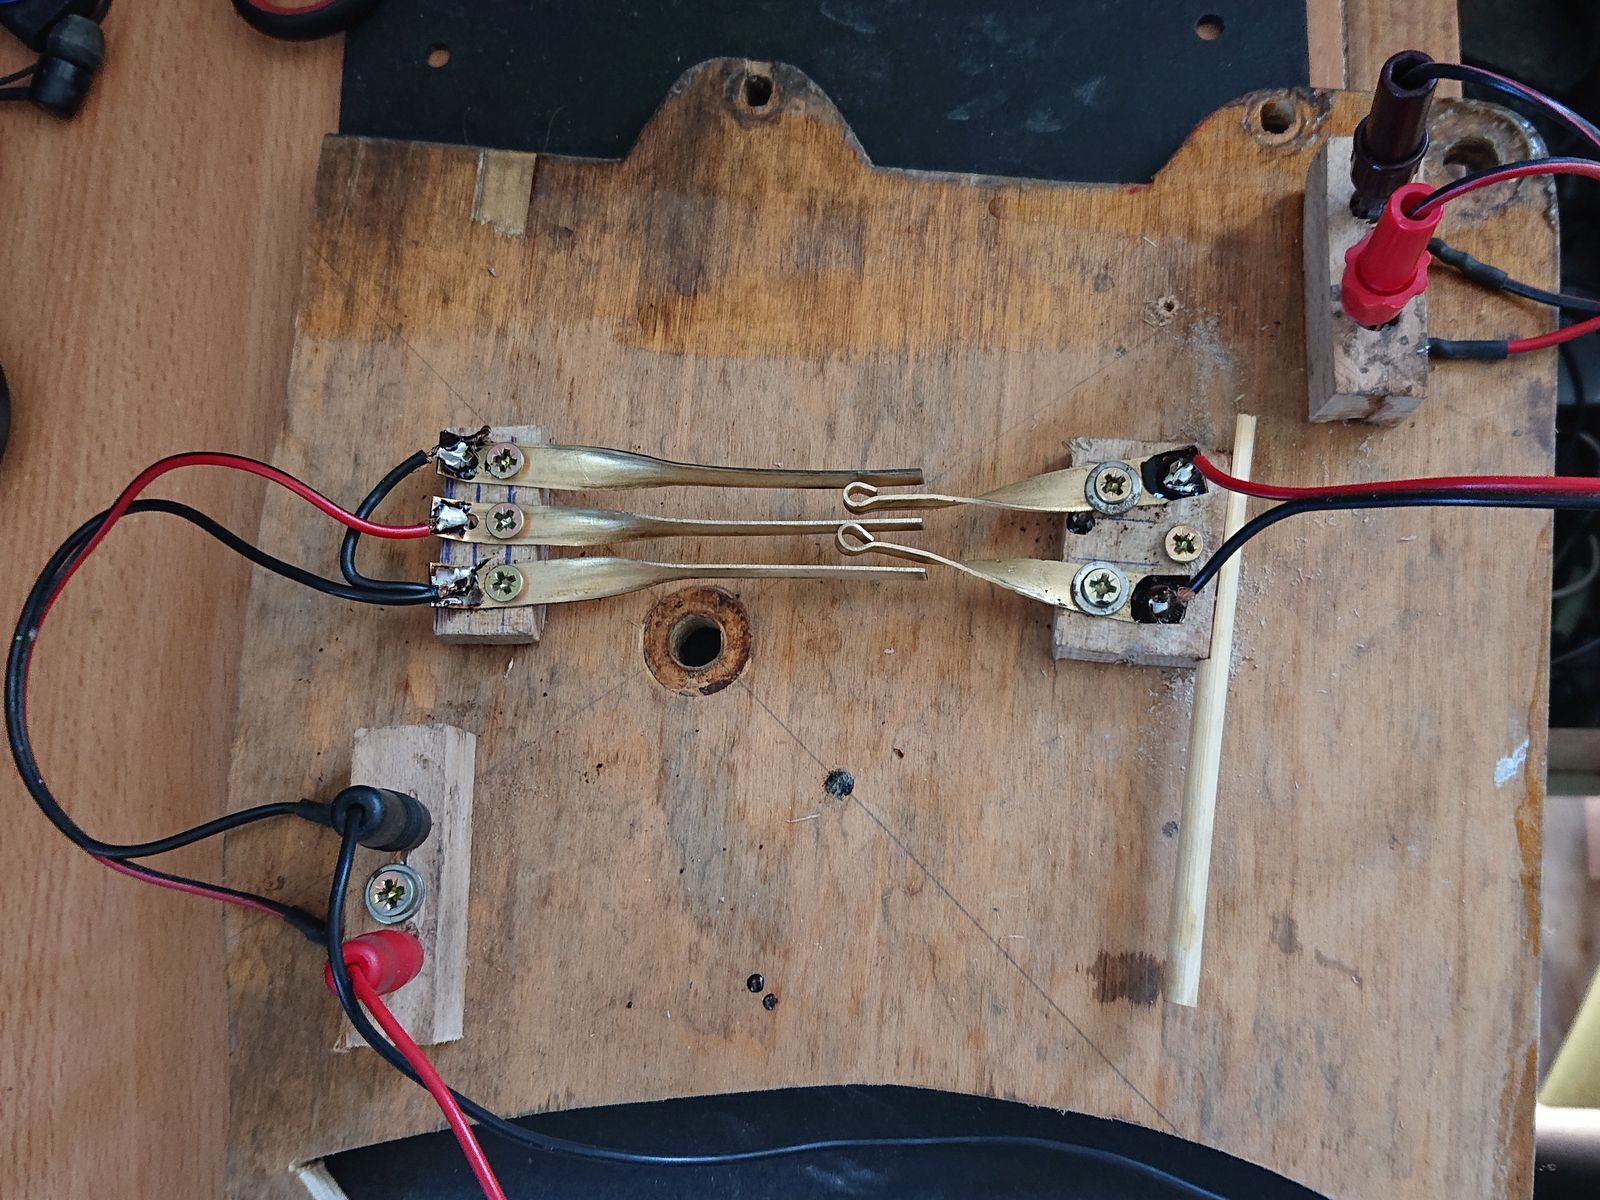
© Charly, all rights reserved. Click for full size.
I can plug my 12 V DC source in the input (on the right) and my crocodile clamps on the output. When the switch is held to the left, the red wire/clamp is the anode and it etches. When the switch is held to the right, the red wire is the cathode and it deposits metal ions (which quickly turn into oxides). And I can flip the polarity fairly quickly, and I can either make the logo entirely black or just the outline, depending on how quickly and how many times I switch the polarity. It was quite fun, although there is still some factor of unpredictability in the outcome that I was not able to figure out.
So I could go etching the blades that were ready and as a bonus I got good use out of the rest of the silicone pad too.
© Charly, all rights reserved. Click for full size.
And it worked really well. The best results I got with 1-minute held at etching current, then 10 seconds depositing current and then 1 minute quickly switching the polarity back and forth. After that I neutralized the remaining acid on the blade with washing soda solution, rinsed it off thoroughly and that was it. I got some teething trouble, etchings on some blades are not perfect, but they are not terrible either, they are all identical in shape and size and after I found the correct way, it took me less than 5 minutes per blade.
Etching the numbers was a different kettle of fish after that, for the numbers are tiny, Glagolitic numbers can be quite funny-looking sometimes and I do not think I can cut stencils for them from 1 mm thick silicone sheet. I might try, but for now I reverted to my old method – scalpel and plastic adhesive tape.
Next time I will show you the actual knives that came out of this. I have to decide whether to make one post presenting them all, or scatter them over several days. I think I will do the latter. Either way, taking pictures will take some time too.
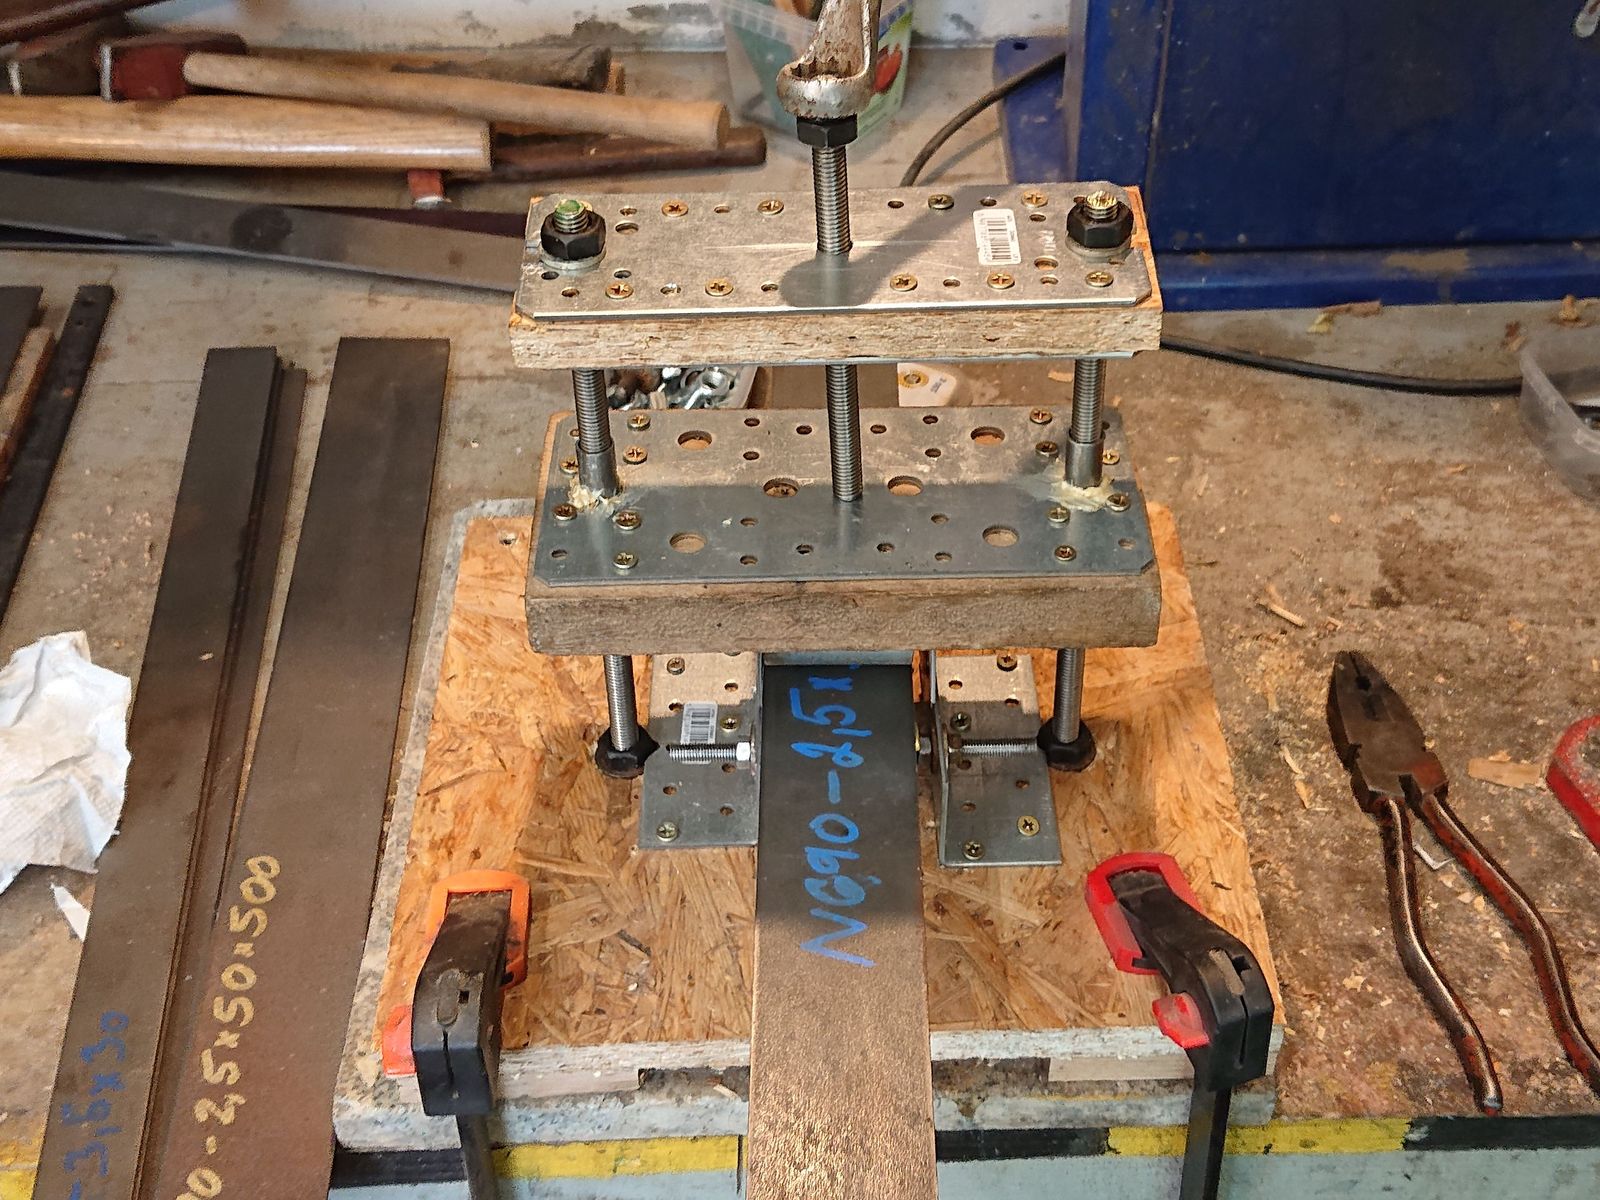
As I wrote at the beginning of my making kitchen knives project (oh my, is it over a year already?), the steel bars often need straightening before a knife can be made out of them. The method I used then was not particularly time-consuming, but it was very annoying, with the screws constantly falling off to the ground and me cursing all the time. So I have decided to build a jig to help with the job. And here it is.
© Charly, all rights reserved. Click for full size.
This simple thingie took me a ridiculous amount of time to make. Like, three or four times more than it probably should. It might even have cost me more time to build it than I will ever save by using it, depending on how many knives I will make in the future.
The principle is simple, there are three rollers made from old piping and some ball bearings. Two are fixed to the base plate and one is on a plate sliding on two columns opposite them and center between them. A screw in the center can push the upper roller down between the two stationary ones and thus it can bend steel.

© Charly, all rights reserved. Click for full size.
The use is easy. Put the end of a flat bar between the rollers with the concave side down, tighten the central screw a bit and pull the steel back and forth end-to-end through the rollers (but careful not to pull it out completely, because that would mean starting over). Then check for straightness, eventually tighten the screw a fraction, pull, check again, rinse and repeat until the bar is straight.
It works actually very well. I have straightened all my bar stock in minutes and to a better degree than I was able to achieve previously. But still…
Well, hopefully, the finishing works on the forge will go a bit faster, because without the forge I can’t do squat.

Mrs. Power O’Donoghue. Riding for Ladies. London, W. Thacker, 1887.
Side Saddle only, ladies.
via: The Internet Archive
This set of adorable photos come to us courtesy of Avalus, who submitted them way back in the fall of last year. Somehow I managed to lose track of them, and I apologize for the delay. I know you’ll enjoy them.
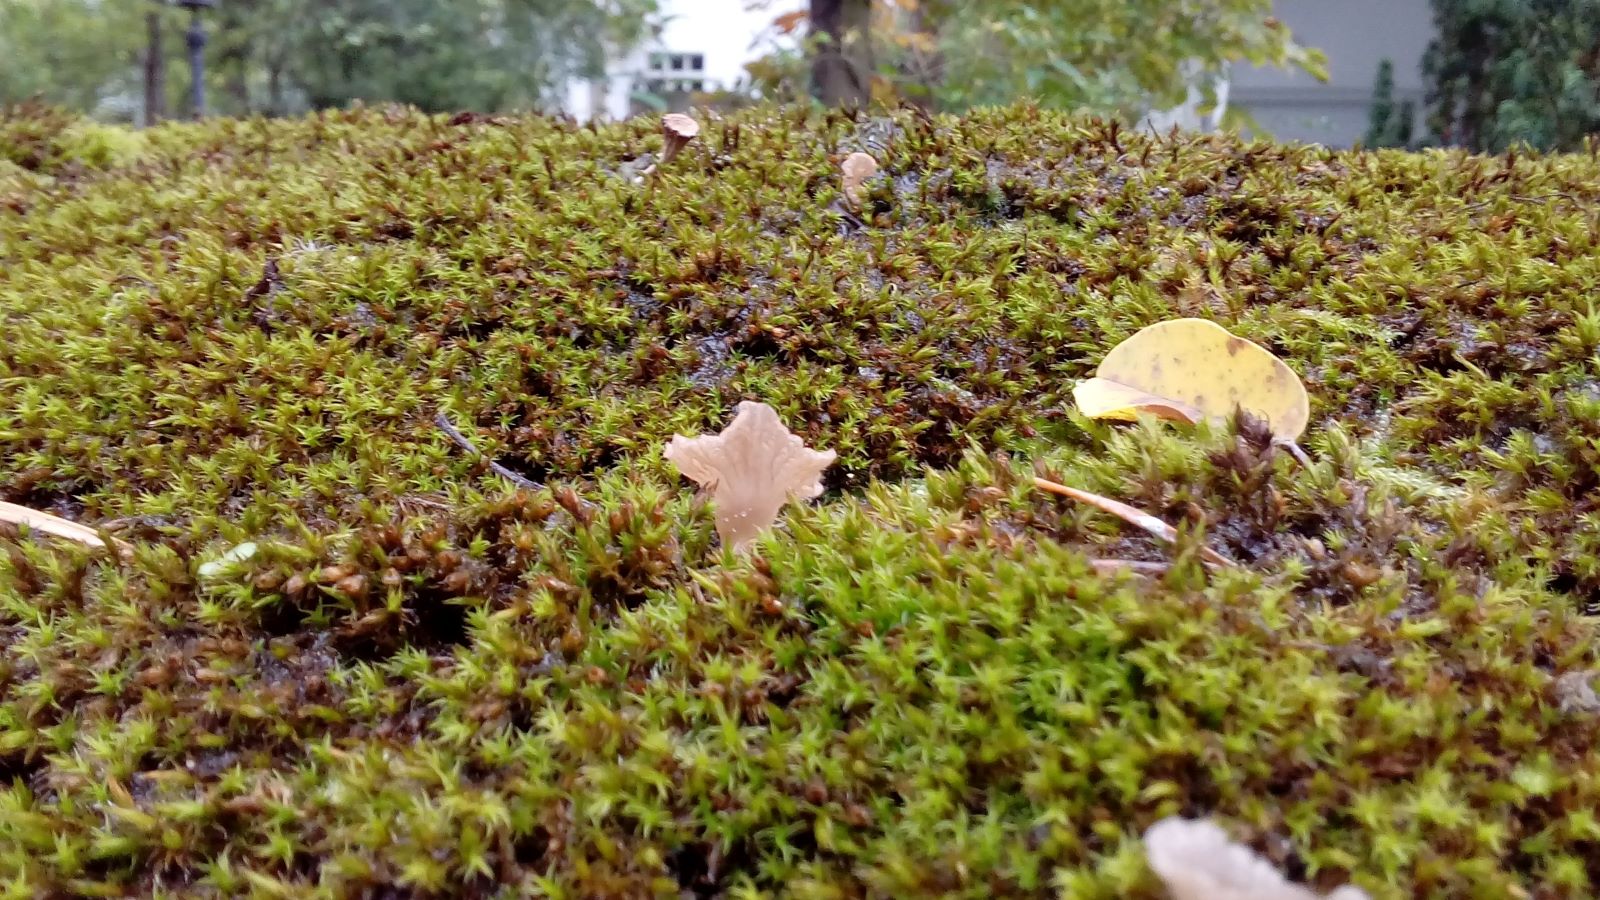
©Avalus, all rights reserved

Lilian Whiting. Athens, the violet-crowned. Boston, Little, Brown, and Company, 1913.
via: The Internet Archive