The shop doors project is finally drawing to a close. I’m “only” about a year and a half behind but I’m going to blame politically-induced psychological stress for my apathy – once it’s comprehensible then it’s excused, right?
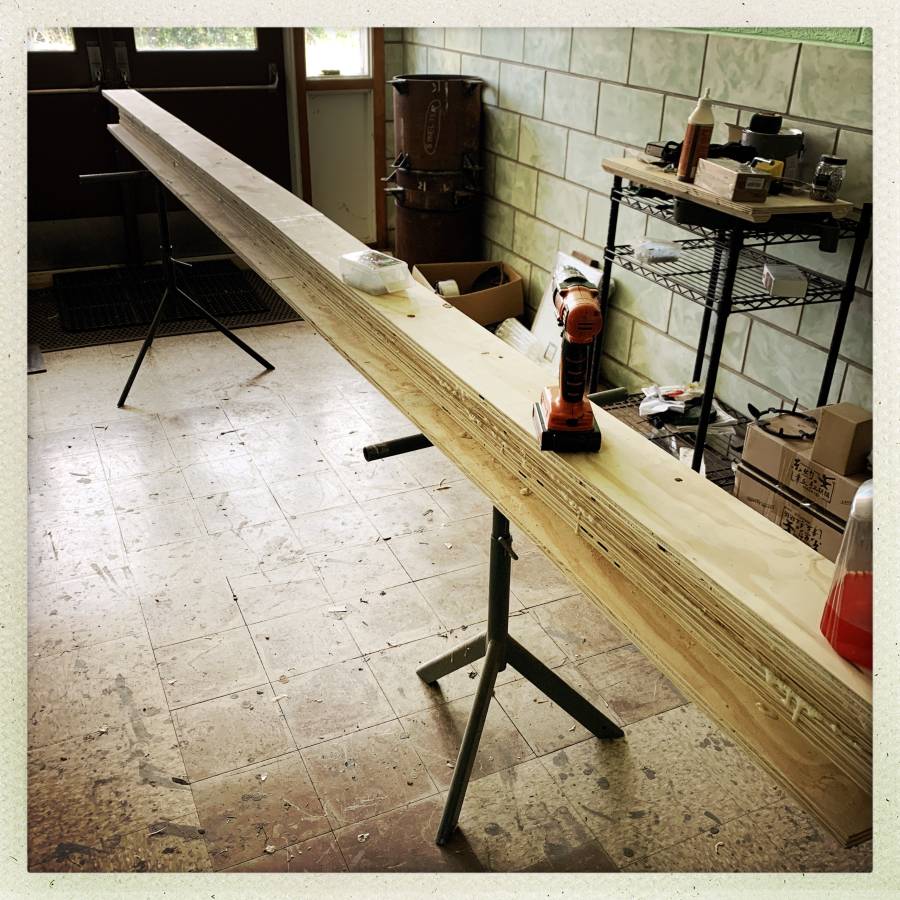
The way Japanese-style sliding doors are mounted is via a shallow groove in the floor/bottom surface that the bottom of the door slides in. At the top, there’s a groove the upper part of the door fits in. Let’s say the groove in the floor is 2mm deep – then the top “headspace” would be 8mm or so – enough to lift the bottom out of its groove and tip the whole thing out. I’ve made the bottom grooves in a piece of wide polypropylene that will also serve as a sill to keep wind and rain out, but the upper header beam was still missing, because it was going to be a large heavy thing. It doesn’t need to withstand much force at all but it’s got to be 14 feet long and wide enough for 2 of the doors to fit side by side (and a bit): a 5″ channel. The weight of something with a 5″ channel is going to be considerable, so the whole thing has to be able to support itself.
I used a bunch of strips of plywood and glue and laid the whole thing up with the cracks overlapping to make it strong. It’s still heavy! The whole thing weighs about 120lb. I can move it but it’s awkward.
Since it’ll be exposed to outdoor moisture (it will be up out of the rain) I painted it with a couple of coats of outdoor paint. Have I mentioned I hate painting? It seems like everything I build needs “just a couple of coats” of paint.
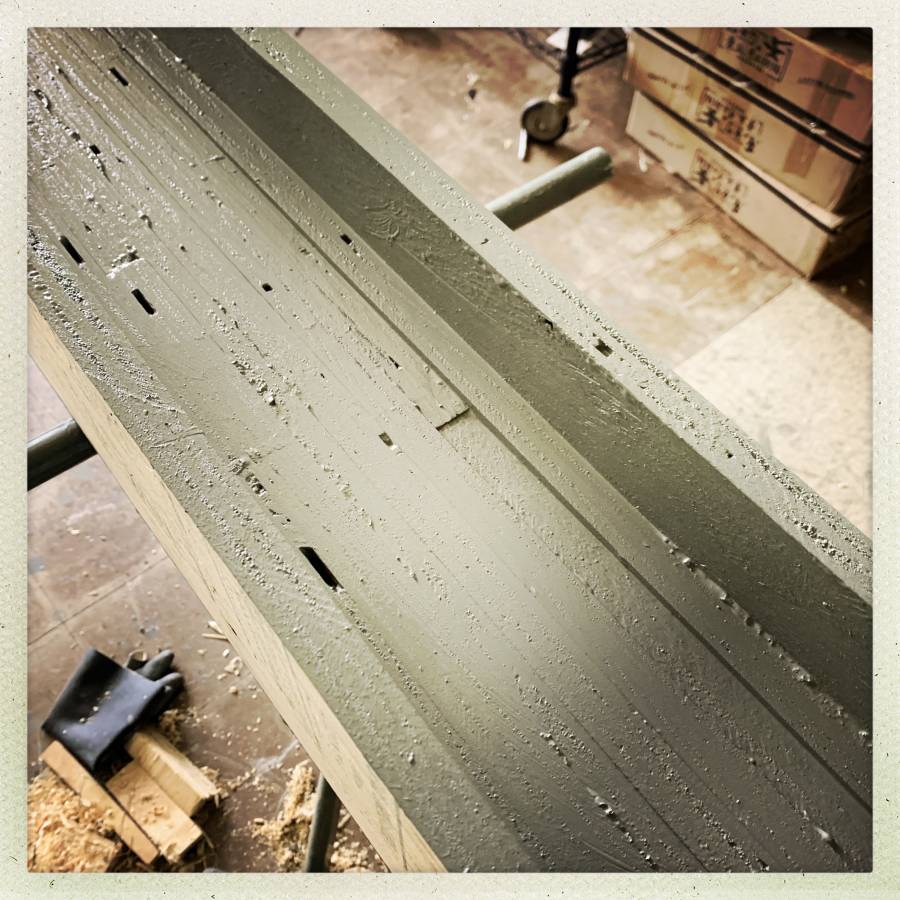
Painted plywood is amazing stuff, I have to say. The edges suck the paint right up until they seal, and then they’re fairly weather-proof. I expect this will outlast me by a decade or more, depending on how much longer I last.
I finally gave up and asked Mark if he’d help. We are both heading into creakytude but between the two of us we can get things done. We discussed it and concluded that the best way to proceed was to rent a drywall lift. That seemed like a great idea, except when we actually tried to do it, there were beams in the way and we had to lift the beam onto the lifter, anyway. But first, we had to get it onto the truck and tie it down to haul it the 5 miles to its new home:

Most of yesterday, it rained. That helped keep us cool and soggy, but it was a bit of a pain. For me, the rain is annoying since it covers my glasses and then I can’t see. I wound up with a pocketful of soggy paper towels for mopping my face and optics.
From there, we carried it to its new location and fortunately I measured everything correctly and it fit right. We lifted one end up, tied it in place with a strap, then lifted the other. Once the whole weight was up over our heads, it became too much to lift, so we rigged a bottle jack and a post and pumped it up into exactly the right position on one end. Then, I drilled through the beam and the purlin beam and popped in a bolt. The same process settled the other end and that was that.
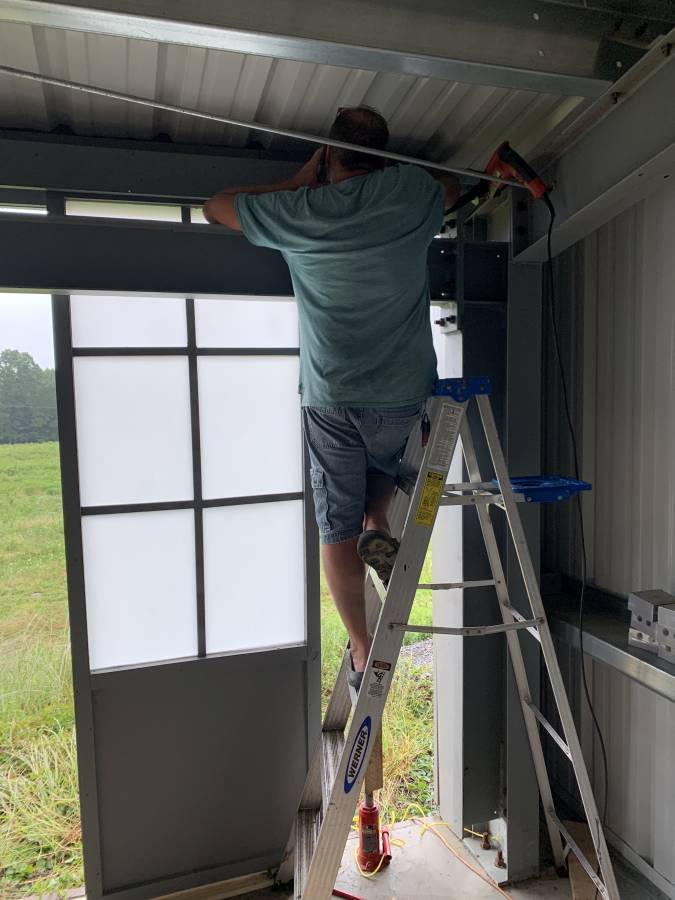
It doesn’t look like much because it’s all painted to match the beams of the building. In the lower right of the door you can see our clever setup with the bottle jack and the beam. We put the door in its bottom rail and pushed it into place to make sure everything was positioned correctly. Success!
The next steps are straightforward: I need to set up a couple bobs on string and use them to correctly position the floor rail, then drill the floor/rail and put some silicone caulk under it and screw it down to the concrete. Then, I need to haul the doors over and put them in place. I may put each door up on jacks and use a circular saw to shave a few mm off the top of each – to make them smooth, not because they’re too tall. I might very slightly angle the tops of each door so they are less likely to bind when slid.
Mark is actually an electrician, or was before he retired. He took a look around the shop and said, “you know we could knock this out pretty fast if you want…” So sometime in September we’ll wire the interior. After that, all that’s left to do is re-line my forge and light it up. I’ll need to get all the machines in commission – top off the hydraulic tanks, oil, check the belts, etc. Oh, and I’ll need to make the mounting-post for my vise. That’s all small(ish) projects.
Nicely done! I went the easy route and bought sliding door hangers for my covered deck; weighed about ten pounds so much easier to install.
Great to see “creaky” people like me get real work done.
(Sitting in California) Rain? Can we have some please?
Would you be willing to share a couple of pics of the whole building with the doors open/closed so we can understand how everything works?
*twitches at mix of metric and Imperial measures*
.
Good to see progress beinging made and that you had the sense to ask for help. Also a jolly good thing you painted the beam with exterior paint given the weather, I too suffer from the problem of rain and misting on glasses, it is why I am fond of brimmed hats of various kinds for various circumstances. Great news Mark will help you sort the electrics out too.
do you get a draft over the doors?
hopefully you get a chance to enjoy the workshop soon