Q’s van has one really nice feature: it’s long.
That means it’ll accept sheets of cut plywood, or assembled plywood beams. My Tahoe is nice but it’s not great for transporting 14-foot beams; that means 5 feet of beam hanging out the back, and the rear hatch up. Out here in the middle of noplace, you can get away with driving around like that, but it’s worrisome – might hit a motorcyclist with it, or it might get rammed through the front of the car or something unpleasant. Best not to take a chance.
I do a lot of building out of layered-up plywood. It’s great because it weathers well, it’s easy(ish) to assemble, not too expensive, and it won’t warp as badly as inexpensive boards. To keep inexpensive boards from warping, you have to layer, glue, and screw them, and by the time you’ve done that, you’ve made a bunch of plywood. May as well start with plywood. Also, you can get the thickness or length you want by controlling how the pieces are lapped and glued. That’s really useful: you can mix a couple layers of 3/4″ ply with a single inner layer of 1/4″ ply if you want some particular fraction.
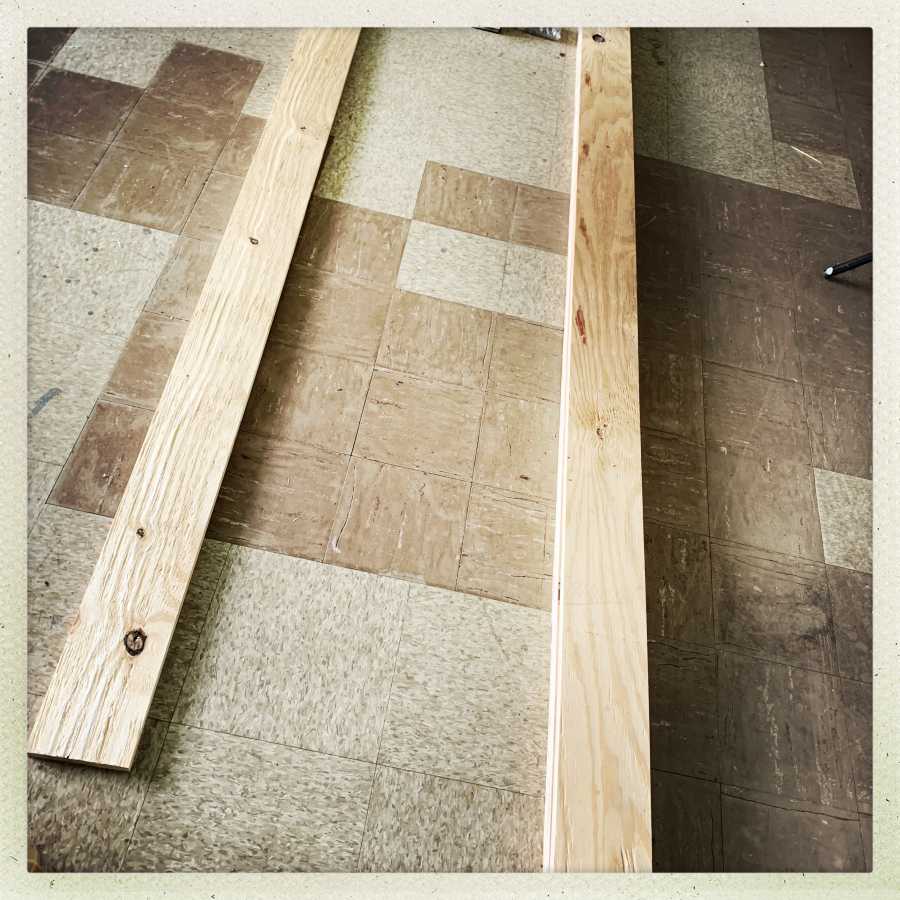
And, I have space in my shop for doing layouts. I can cut the pieces then assemble them (“experiential building”) on the floor of the front hall, make sure they look right, then add the next layer, etc. So, those are some components that eventually made up a 14-foot by 6 3/4″ beam. The height of the beam is based on the way the sheet of plywood divides, plus some fudge-factor for the table-saw’s kerf. We only had a little shredded strip of plywood left over to throw away.
By mid-afternoon this is how things looked. We’d fed a total of 6 sheets of plywood across the table-saw, making a great deal of sawdust and piles of plywood. Then it was time to glue and screw. Because some of the pieces were going to be large, heavy, and awkward, we built them to disassemble, by lapping the boards with a “no glue no screw” zone where we could just pull them apart. Final assembly would be more glue and screw after the beam is shaped.
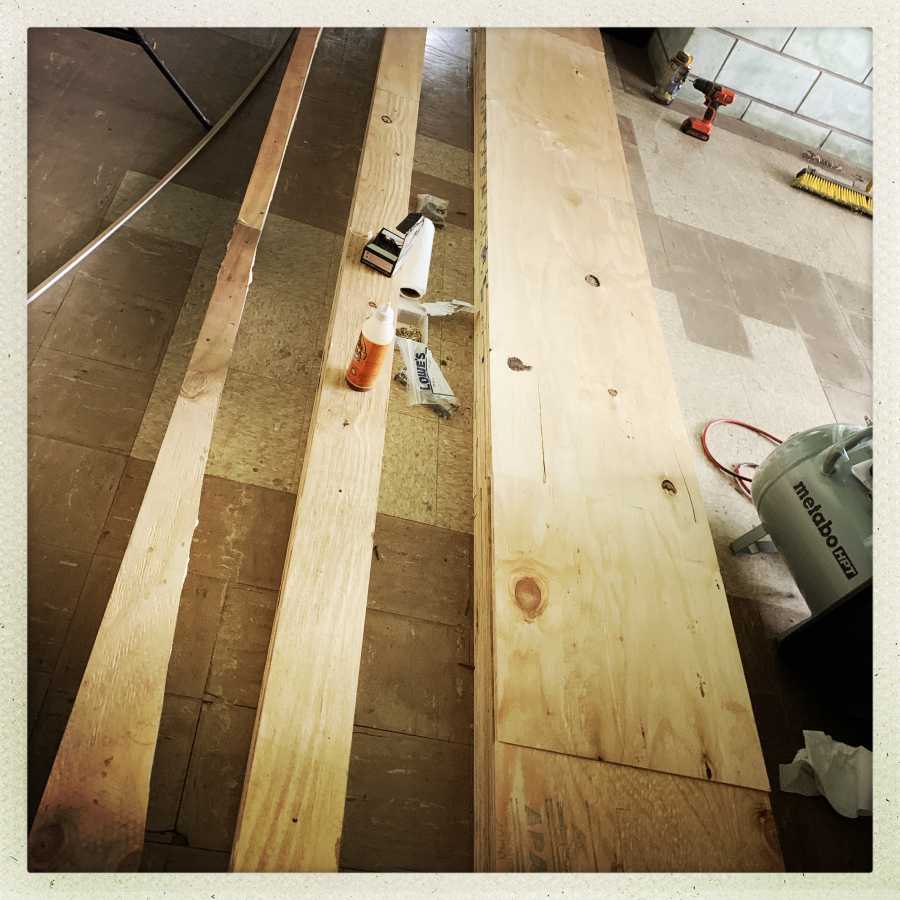
We started to worry that things were getting pear-shaped. The big beam on the right weighs about 200lb but it’s 15 feet long and breaks into 3 pieces. It’s awkward and we’re going to have to feed that through the big 14″ bandsaw by setting up a forest of work-stands and nudging it around on the saw’s deck. You can see that the left-most beam has been cut; that was the test-beam and it actually went pretty well. But the big beam is going to be a struggle.
- Plan A is to bandsaw it, assemble it, and everything will come out just fine.
- Plan B is that Plan A doesn’t work so well, and we assemble it, put it on jack stands, and do the cuts with a wood blade in a sawz-all. The main beam is 6 layers of 3/4 plywood and my circular saw and reciprocating saw don’t cut enough depth to get through it. Plan B may involve asking the guy up the street to trim the assembled beam with his chainsaw. He’s a chainsaw artist (he carves bears and stuff out of tree trunks) so that is a plausible possibility.
- Plan C is to chisel some of the layers apart and bandsaw them separately then re-assemble them. Plan C is not pretty.
- Plan D involves a bonfire and wasting some plywood, which is a plan I hate because plywood is not cheap.
We are still tracking Plan A but we’re worried enough that we did the other plans. One thing we are worried about is that if some glue got into one of the “no glue no screw” zone then the whole thing won’t come apart.
Some of the other materials we have assembled at the work site: 3 cans of fiberglass resin and hardener and associate buckets and paintbrushes, 1gal of black porch paint, and 1gal of cinnabar red porch paint, 20 feet of 1″ black cotton rope, 5 8″ lag screws, and a whole lot of gorilla glue and small decking screws.
I’ll keep you posted.

Congratulations to Commentariat(tm) agent Jeff S, who emailed me last night with an accurate hypothesis of what we’re making!